Introduction to Growing Potatoes at Home
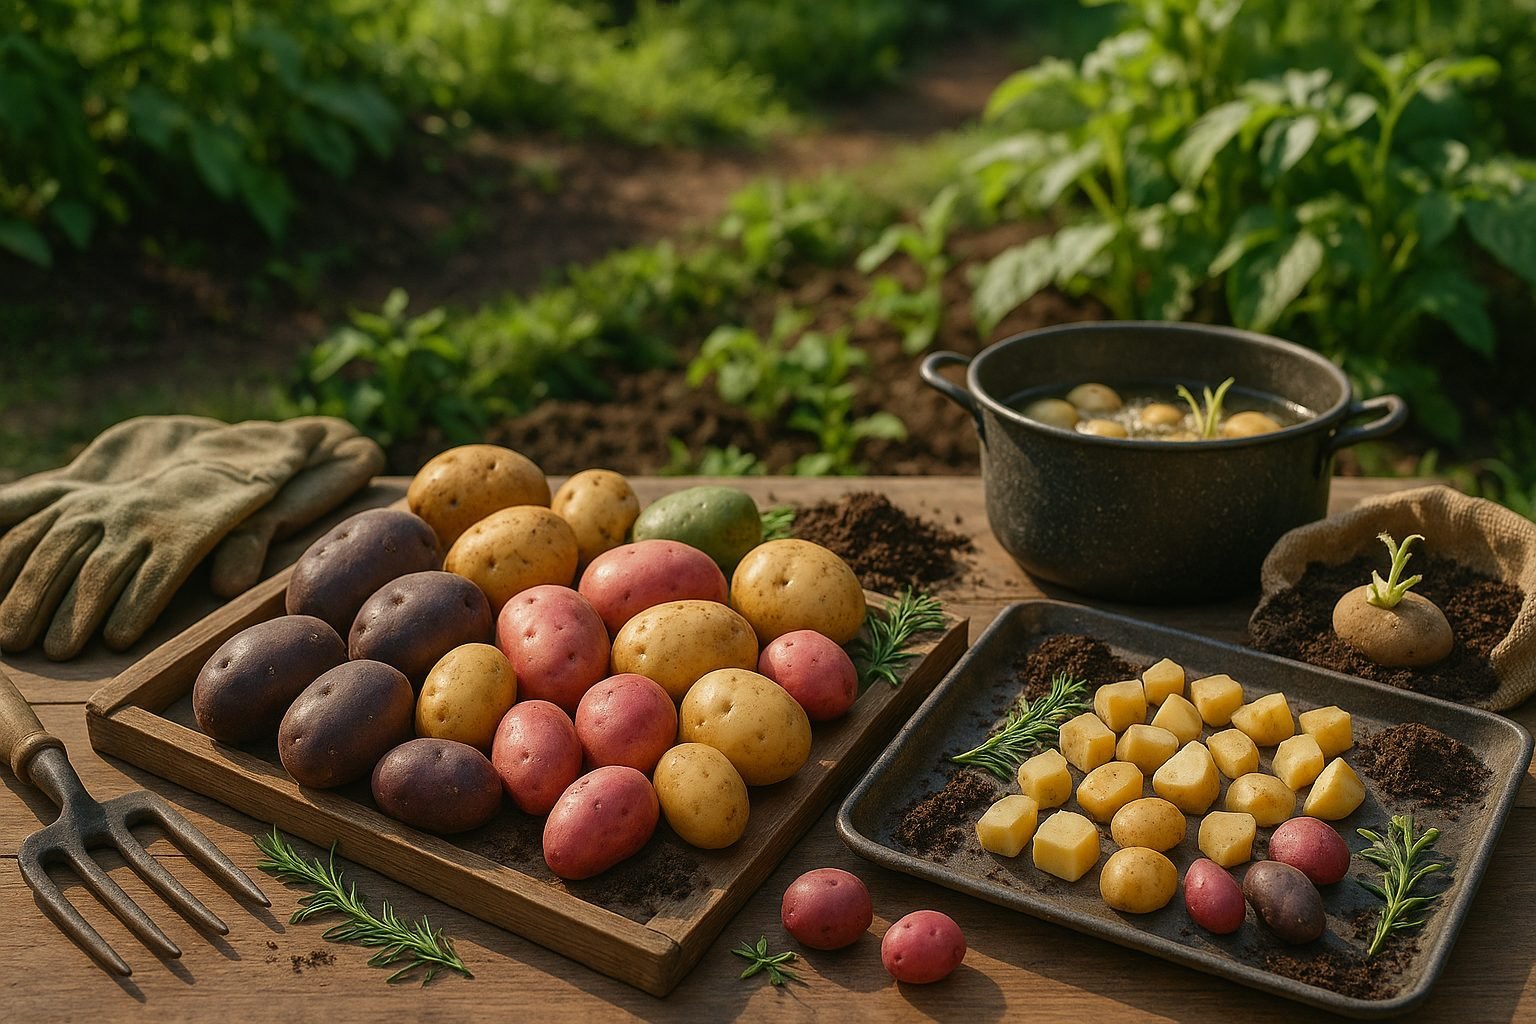
Knowing exactly when to plant potatoes can make all the difference between a so-so harvest and a bumper crop of delicious, homegrown spuds. Imagine digging up golden, earthy potatoes in your own backyard—far tastier than store-bought varieties and often at a fraction of the cost. Growing potatoes at home opens the door to an array of unique varieties not found on supermarket shelves, from creamy fingerlings to vibrant purple potatoes, each offering fresh flavors and textures for your table. The beauty? Potatoes are surprisingly simple to grow, even for beginners. All you need is a modest patch of well-draining soil or a few large containers, plus some basic care throughout the seasons.
Success starts by considering a few essentials. Potatoes thrive with plenty of sunlight, loose and nutrient-rich soil, and consistent watering. You’ll need a small plot of garden space or even just a couple of planters, some patience, and around three to four months from planting to harvest. But don’t worry—busy lives can easily accommodate a potato patch, as these resilient vegetables only require periodic attention once established. Before you get your hands dirty, check your frost dates and growing zone; timing is key, with planting windows varying by climate but always influencing your final yield.
In this comprehensive guide, you’ll learn everything you need to get started. We’ll walk you through choosing the right potato varieties for your tastes and climate, prepping soil for optimal growth, pinpointing the perfect time to plant potatoes in your zone, and providing simple, step-by-step instructions for planting and tending your crop. Finally, we’ll cover how to tell when it’s time to harvest and the best ways to store your potatoes so you can enjoy your homegrown bounty for months to come. Whether you have a sprawling backyard or just a sunny corner, your potato patch adventure starts here.
Choosing the Right Potato Varieties
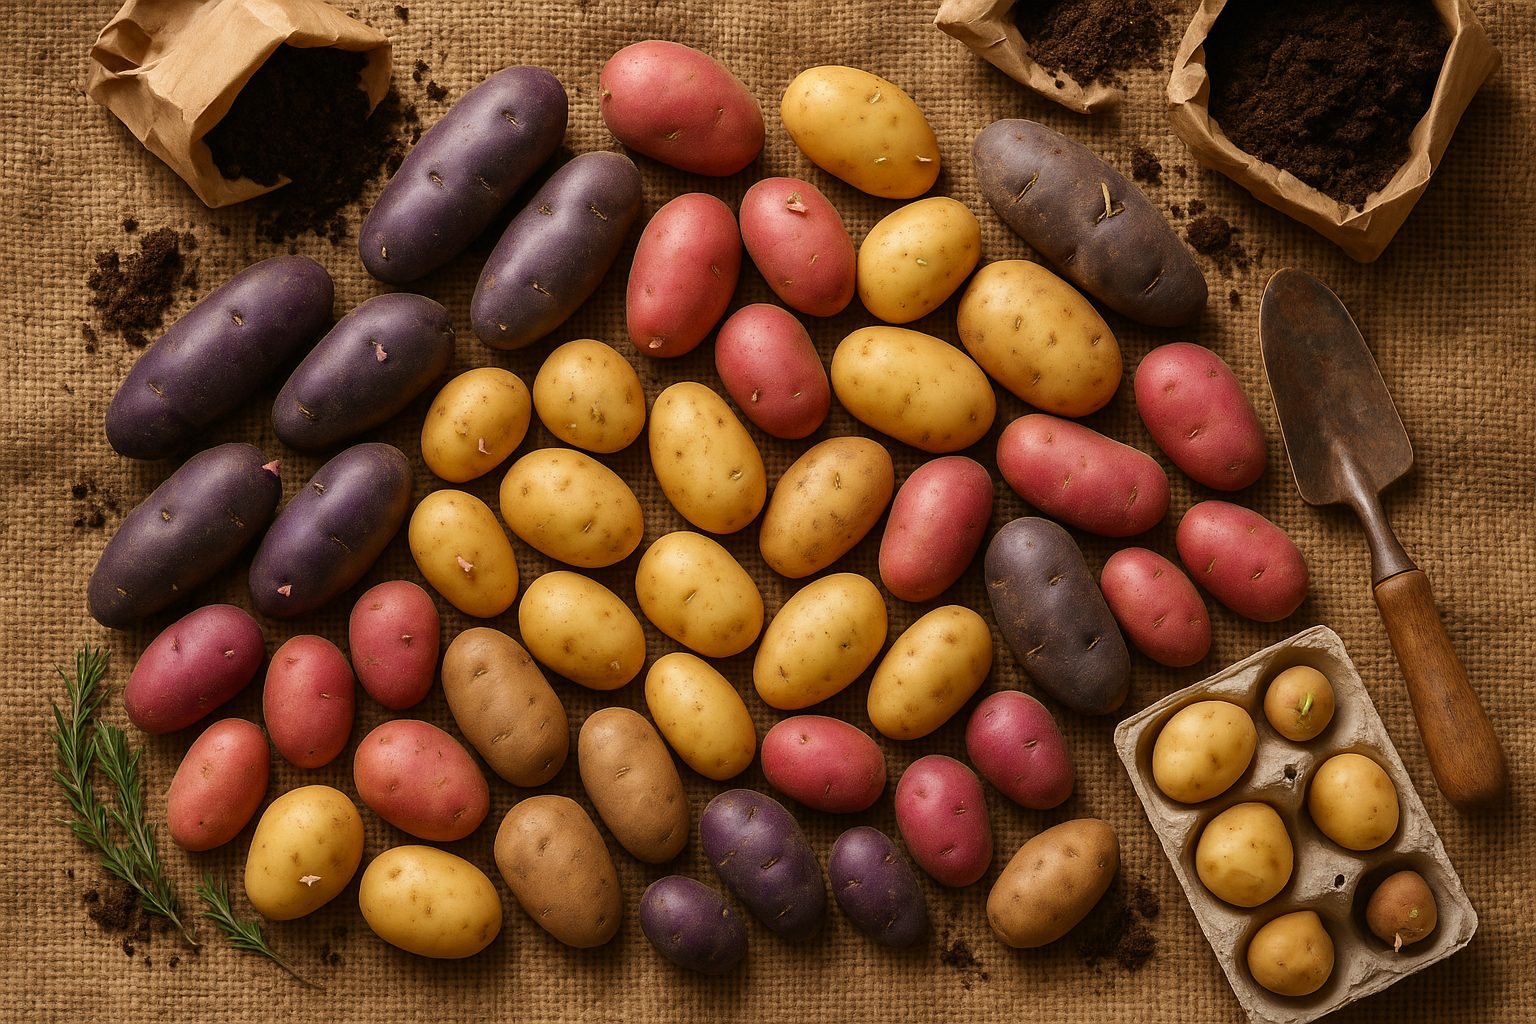
Picking the right potato varieties can make a huge difference in your garden harvest and your kitchen recipes. There are five main types to know: first earlies, second earlies, maincrop, salad, and late varieties.
First earlies, like ‘Rocket’ or ‘Swift,’ are ready within 10–12 weeks of planting and are perfect for new potatoes—small, tender, and delicious simply boiled with a little butter. Second earlies such as ‘Charlotte’ or ‘Nicola’ mature a bit later and are great for summer salads because they hold their shape well. Maincrop potatoes, including popular choices like ‘Maris Piper’ or ‘Desiree,’ take longer to grow but reward you with large harvests ideal for roasting, baking, or making fluffy mashed potatoes.
Salad potatoes—often grouped with second earlies—are typified by ‘Anya’ and ‘Pink Fir Apple’; they’re prized for their waxy texture, perfect for tossing into cold dishes. Late varieties, meanwhile, like ‘Cara’ or ‘Sarpo Mira,’ offer incredible storage potential, letting you enjoy homegrown potatoes well into winter. They’re a smart choice if you have the space and want longer-lasting yields.
For beginners, consider trying one or two from each group to discover your favorites. For boiling, go with ‘Charlotte’ or ‘Maris Peer’; for baking, ‘King Edward’ or ‘Jacket’; and for creamy mashed potatoes, you can’t go wrong with ‘Desiree’ or ‘Maris Piper.’
Whatever you pick, always buy seed potatoes from trusted garden centers, online suppliers, or local allotment societies. Certified seed tubers are disease-free and guarantee a cleaner, healthier crop compared to supermarket potatoes, which might carry viruses that compromise growth. Many beginners overlook this step, only to struggle later with poor yields or blight.
Don’t be afraid to experiment by growing a small patch of several types—this is the best way to get a feel for what thrives in your soil and matches your taste preferences. Trying different potatoes can lead to delicious discoveries, provide staggered harvest times, and protect your crop from losing everything to a single pest or bout of bad weather.
Gardeners often find that a mixed bag of new, waxy, and floury potatoes means there’s always something perfect for whatever dish you have in mind. So take the time to pick, plant, and taste a few kinds—you might be surprised which ones become your household favorites.
Preparing Your Garden or Containers for Planting
Getting your garden or containers ready for planting is the foundation for a healthy, productive season. Start by choosing a sunny spot; most vegetables and flowers need at least six hours of sun daily, so observe your yard or patio before settling on a location.
Next, focus on soil—whether you’re working with in-ground beds, raised beds, or pots, the ideal soil is loose, crumbly, drains well, and is rich in organic matter. To prep a garden bed, use a shovel or fork to loosen the soil to about 12 inches deep, breaking up clumps and removing stones and roots.
For raised beds or larger containers, fill them with a quality mix of about one-third garden soil, one-third compost, and one-third coarse material like perlite, coconut coir, or peat moss to keep it aerated.
A simple soil amendment recipe for both beds and containers is to blend two parts compost with one part well-rotted manure and work it into the top six inches of soil—this boosts nutrients and improves drainage.
Rotate crops each year by changing where you plant families like tomatoes, squash, or beans; this helps disrupt cycles of pests and soil-borne diseases that might linger in one spot.
Don’t forget to clean containers thoroughly before each planting and avoid waterlogging by making sure pots have drainage holes.
These steps will help build a resilient garden, whether you’re growing in a backyard plot or a set of balcony containers.
Step-by-Step: Planting Potatoes (When and How)
Planting potatoes is simpler than you might think, but timing and a few smart techniques make a big difference in your harvest. The best time to plant depends on your climate and the type of potato.
In cool-temperate zones, aim to plant two to four weeks before your last expected frost—late March to April is typical. Gardeners in warmer climates can start as early as January, while those in very cold regions should wait until the soil stays above 45°F. Early, mid, and late-season potato varieties have slightly different days-to-maturity, so check seed packets for specific timing.
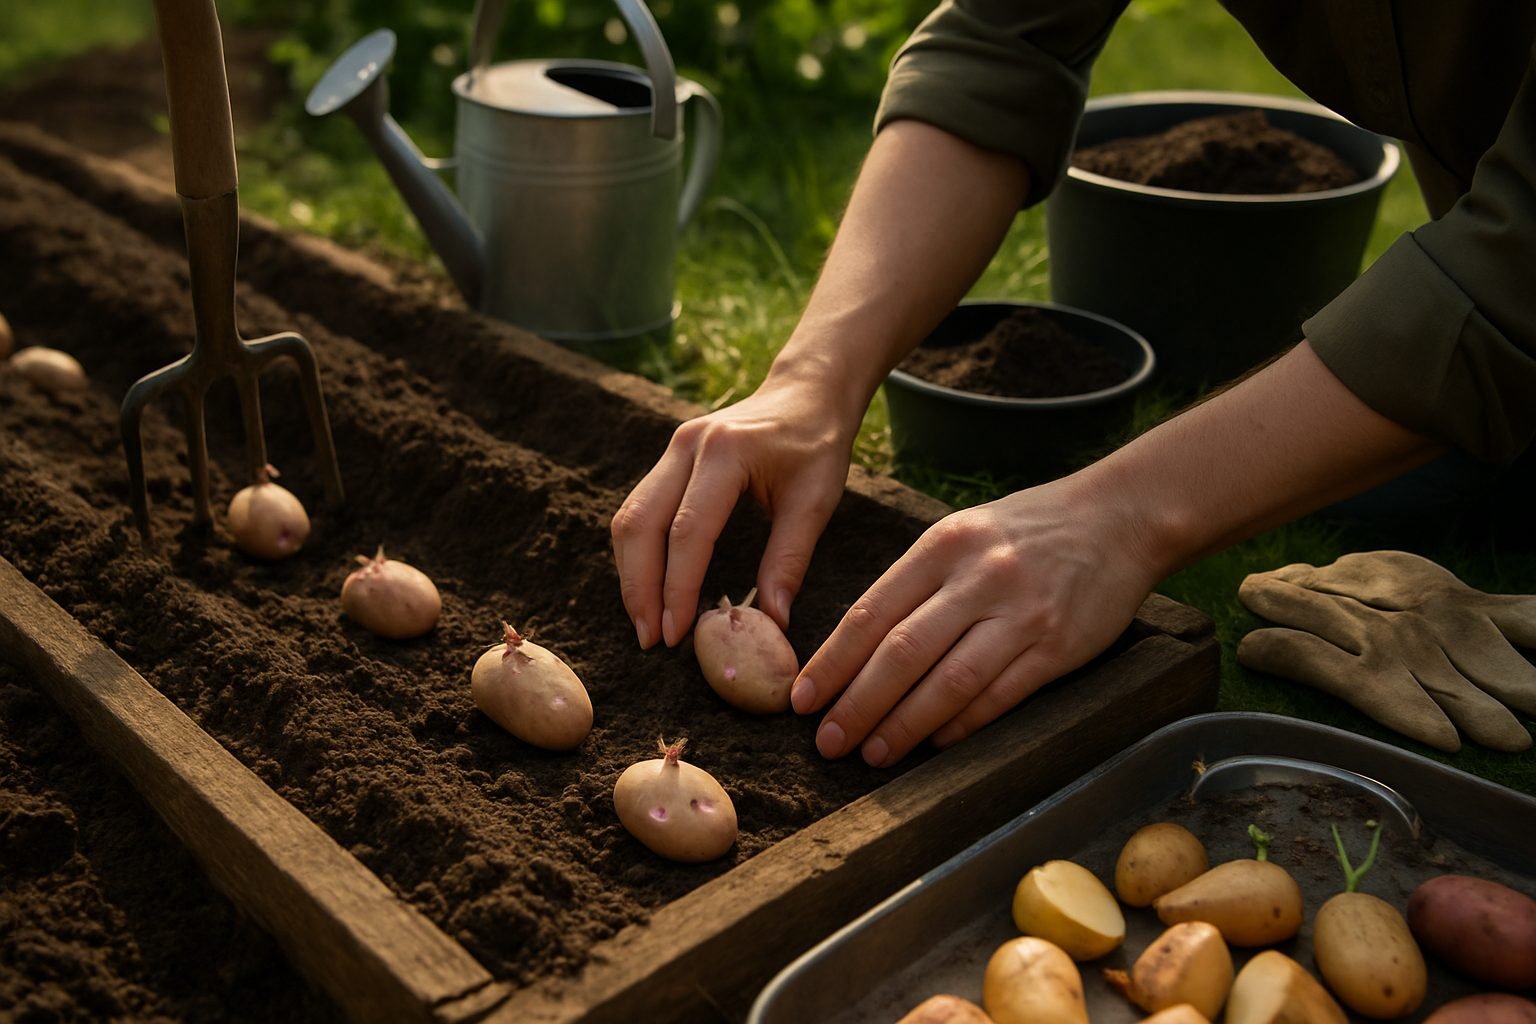
Before planting, try “chitting” your seed potatoes, which means letting them sprout indoors in a bright, cool space for two to three weeks. Chitting gives potatoes a head start, ensuring more vigorous plants and quicker emergence after planting. Once sprouts are about half an inch long, you’re ready to plant.
Whether you’re using a garden bed, raised bed, or container, plant each seed potato 4 inches deep with the “eyes” (sprouting side) facing up. Space them about 12 inches apart with rows 24–36 inches apart, or stick to 10–12 inch spacing in containers or raised beds to maximize your space.
For containers, use a deep pot, barrel, or grow bag, and gradually fill in more soil as plants grow—this encourages a bigger potato yield. In raised beds, blend compost or well-rotted manure into the soil for better drainage and nutrition.
For in-ground gardens, pick a sunny spot with loose, well-draining soil and avoid planting where potatoes or other nightshades grew last year. If your garden soil gets soggy, try planting in ridges or mounds to keep tubers from rotting.
And don’t forget to “earth up” or add extra soil around stems as the plants grow—this buries the developing potatoes and protects them from sunlight, which can cause greening.
With the right timing and approach, you’ll be harvesting homegrown spuds in no time.
Nurturing Potato Plants: Care and Common Issues
Caring for potato plants throughout their growing season means setting up routines that keep plants healthy and yields high. Start by watering your potatoes consistently, aiming for about 1-2 inches per week, especially during flowering, when tubers are developing underground. It’s best to water deeply early in the day, soaking the soil to encourage deep root growth, and avoid wetting the leaves as much as possible—wet foliage can invite diseases like blight.
Mulching is a smart move too: layer straw, shredded leaves, or untreated grass clippings around plants after shoots are 6 inches tall. Mulch holds in soil moisture, keeps weeds down, and prevents potato tubers from being exposed to sunlight (which turns them green and inedible). When it comes to food, potatoes aren’t heavy feeders, but a light hand with a balanced, organic granular fertilizer or compost every 3-4 weeks helps; just sprinkle gently around the base and water it in to avoid burning roots.
Earthing Up (Hilling)
One key chore unique to potatoes is “earthing up” or hilling. As plants grow, regularly mound loose soil or compost around the stems, burying the lower leaves and exposing just the top growth. Repeat this every couple of weeks as plants stretch taller, ideally building up 6-8 inches of soil by the time they flower.
Hilling insulates developing tubers from sunlight (which can cause solanine toxicity), protects them from sudden cold snaps, and encourages more tubers to grow along the buried stem sections—a simple way to boost your harvest!
Pests and Diseases to Watch For
Of course, potatoes are vulnerable to some common pests and diseases. Keep an eye out for Colorado potato beetles—look for their yellow-striped backs and clusters of orange eggs under leaves. Handpick beetles and larvae, knock them into a bucket of soapy water, and use floating row covers early in the season to prevent infestations.
For slugs, use beer traps, crushed eggshells, or diatomaceous earth as barriers around your plants. To prevent blight (a fungus that causes rapidly spreading brown spots and plant collapse), water at the soil level, remove lower leaves for airflow, and choose resistant varieties if blight is common in your area.
Scab, which creates corky brown lesions on tubers, is minimized by keeping soil evenly moist and slightly acidic—mixing in peat moss at planting helps lower pH.
Stick to these tips, and you’ll sidestep most problems while growing a healthy potato patch organically and with fewer chemicals.
Harvesting and Curing Potatoes for Storage
Harvesting potatoes at the right time is key for flavor, storage, and overall success. For new potatoes—usually harvested early for their thin skins and tender texture—look for plants that are still green and blossoming. Carefully dig them up about 2 to 3 weeks after flowering, when the tubers are about egg-sized. Gently brush away soil with your hands or use a small garden fork, being cautious not to pierce or bruise the delicate skins.
Maincrop potatoes (those intended for long-term storage) need a bit more patience: wait until the plants’ foliage has fully died back, which typically happens several weeks after flowering. This signals that the skins have thickened and the potatoes are mature, offering the best storing qualities. To harvest maincrop varieties without causing damage, insert a garden fork about a foot away from the plant’s base and lift the hill slowly, giving a wide berth to prevent spearing the tubers. Remove excess soil, but don’t wash the potatoes, as moisture can invite rot.
Curing Your Potatoes
Once harvested, curing your potatoes is just as important as gentle digging. Lay the unwashed tubers out in a single layer in a dark, well-ventilated space with moderate humidity, such as a garage or covered porch, for about 10 to 14 days. The ideal temperature for curing is between 45-60°F (7-16°C). This process heals any minor cuts or bruises by toughening up the skins, which extends storage life and reduces the risk of decay.
After curing, gently brush off any remaining soil and inspect for damaged spuds—use these first, as they won’t keep.
Proper Storage
Proper storage is crucial to keep your potatoes edible for months. Move cured potatoes to a cool, dark place such as a basement or cellar, aiming for a steady temperature between 38-40°F (3-4°C); lower temperatures can cause sweetening and higher ones spur sprouting. Maintain humidity at about 85-90% to keep the skins from shriveling.
Place potatoes in breathable containers like burlap sacks, baskets, or even cardboard boxes lined with newspaper. Avoid plastic bags, which can trap moisture and promote rot. Most importantly, keep potatoes away from any light, since exposure will cause them to turn green and potentially develop toxic solanine.
By taking these steps, you’ll have a stash of delicious, home-grown potatoes that lasts well into winter.
Frequently Asked Questions & Troubleshooting
If you’re new to growing potatoes, you might wonder why your plants seem stunted or why yields are lower than expected. Poor growth often results from planting in soil that’s too compacted, poorly drained, or lacking nutrients—potatoes thrive in loose, rich soil with plenty of organic matter.
Another common question is whether you can grow potatoes from those you buy at the supermarket. While it’s possible, store-bought potatoes are often treated to prevent sprouting or may carry diseases. Certified seed potatoes from nurseries or garden centers are a safer, more reliable choice.
If your harvest is small or the tubers are tiny, it’s often due to shallow planting or insufficient “hilling” (mounding soil around stems as the plants grow). Aim to hill your potatoes two or three times throughout the season to encourage bigger, better-formed tubers.
Pests like Colorado potato beetles or aphids can be tackled by hand-picking or using natural predators like ladybugs. Diseases such as blight are best managed by rotating crops each year and avoiding overhead watering.
For best results:
- Water consistently, but don’t overwater.
- Use mulch to conserve moisture and reduce weeds.
- Feed your plants with compost or a balanced fertilizer during active growth.
Don’t be shy about connecting with local gardening groups online or in person—they’re a fantastic source of advice and often organize seed swaps or plant exchanges. This lets you try different potato varieties and share experiences with fellow growers. These connections can help you troubleshoot problems quickly and discover tips that work best in your region’s unique climate and soil.