Introduction to Hilling Potatoes
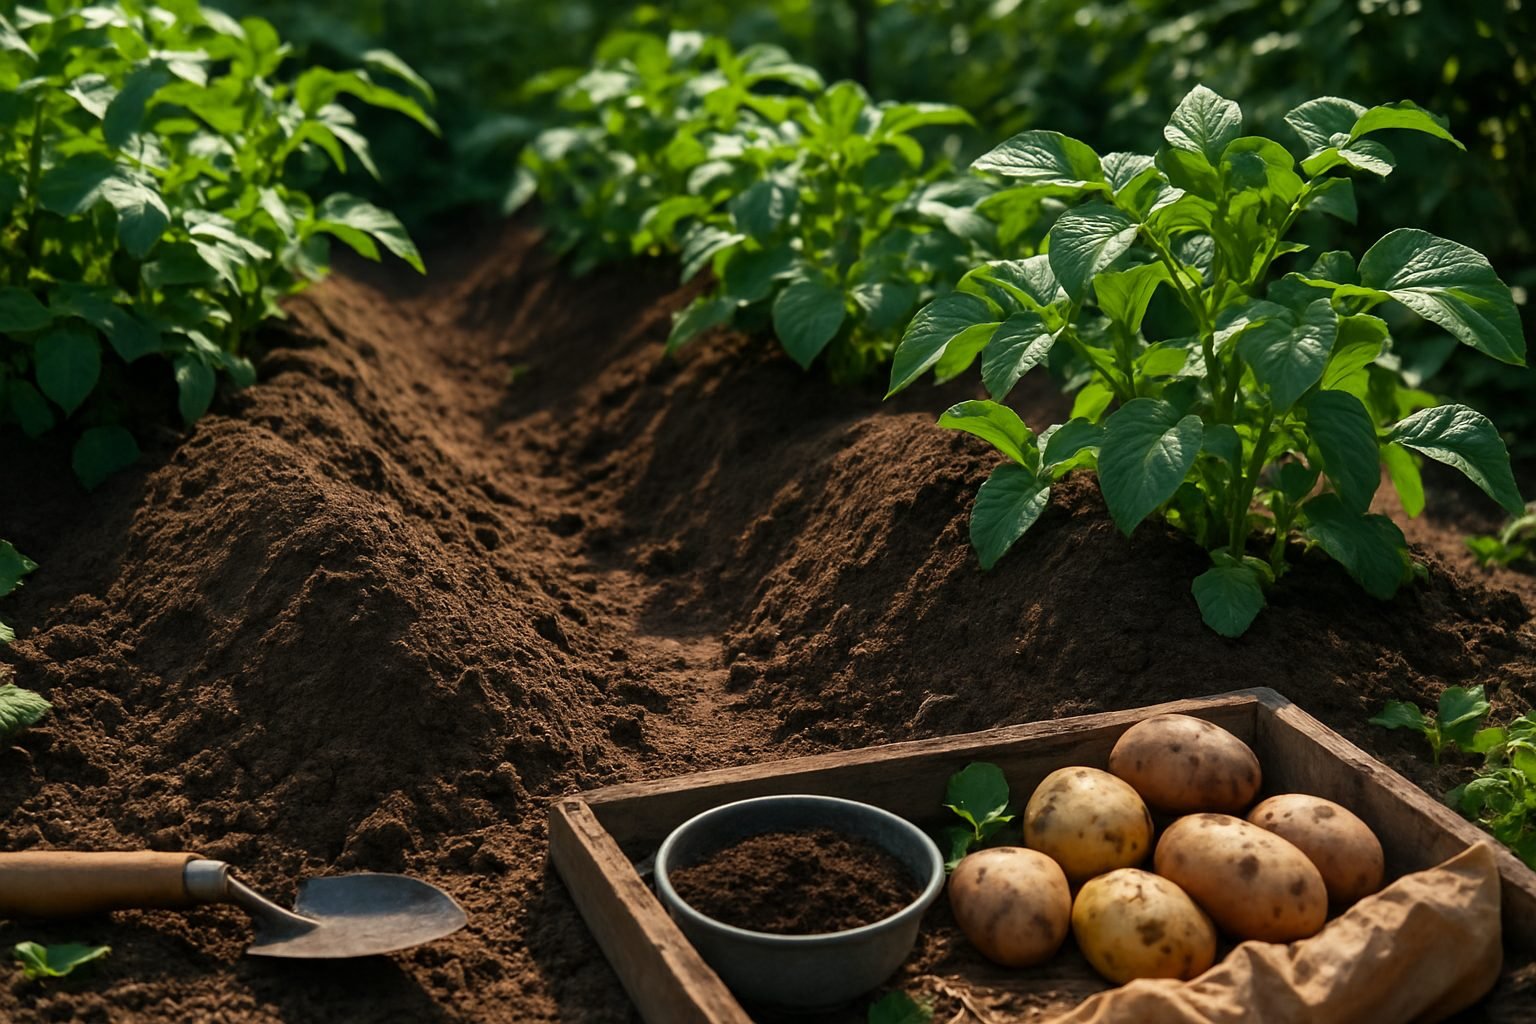
Hilling potatoes is an essential gardening technique that involves piling soil around the stems of your potato plants as they grow. For beginners, “hilling” simply means creating mounds or ridges of soil to cover the lower parts of the plant. But why go through the extra effort? The main benefits are twofold: hilling potatoes can significantly boost your harvest by providing more room for tubers to develop, and it also shields growing potatoes from sunlight, which helps prevent them from turning green and becoming toxic. Even if you’re short on time or space, this simple method can make a big difference in your garden’s success.
Many new gardeners worry about missing steps that could impact their potato yield or quality. Luckily, hilling is one of the most straightforward tricks you can use. All you need is a hoe or your hands, some loose soil, and a bit of timing. Throughout this article, we’ll walk you through when and how often to hill, how high your mounds should be, and what to do if your plants get too tall. You’ll also learn how hilling works with different potato growing methods—from raised beds to grow bags or even small container gardens. Whether you’re working with a large backyard or just a few pots on a balcony, mastering the art of hilling potatoes will set you up for a healthier, more bountiful harvest.
Understanding Potato Growth and Why Hilling Matters
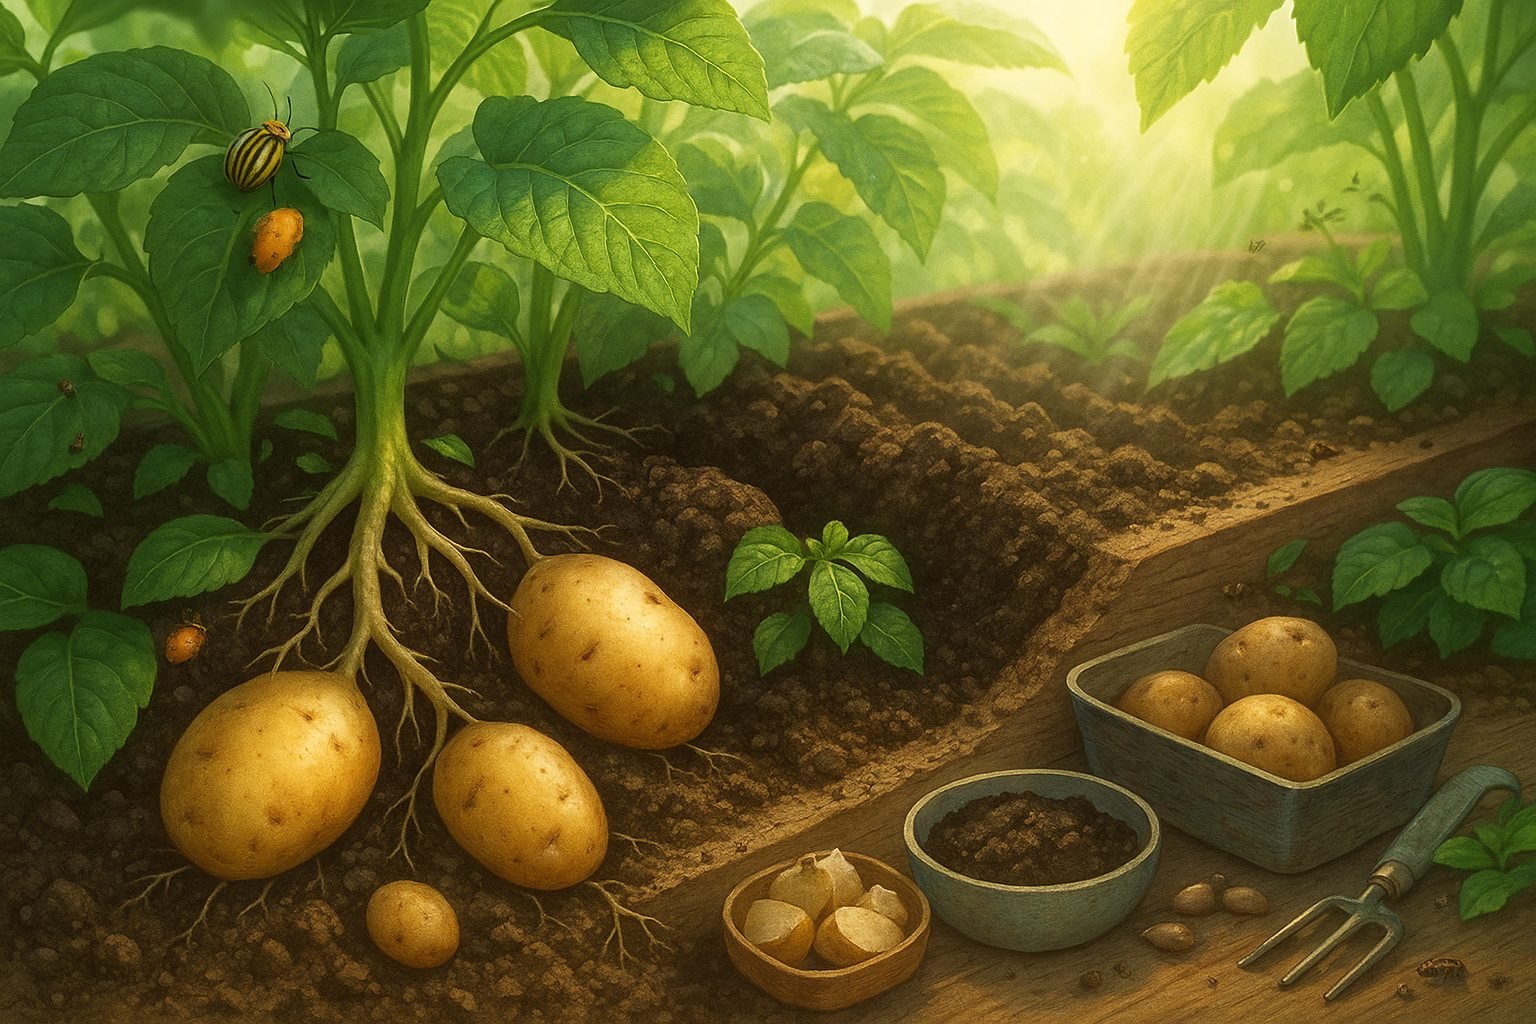
Potatoes grow underground from specialized stems called stolons, which extend outward from the main plant and swell at the tips to form tubers. Unlike many garden vegetables, the edible part of the potato is not a root but these thickened stems.
As the leafy green shoots rise above the soil, tubers develop just beneath the surface, making them vulnerable to sunlight and pests. If the forming potatoes peek out above the soil and are exposed to light, they begin to turn green due to chlorophyll production. This greening is not just cosmetic—when exposed to light, potatoes also produce higher levels of solanine, a natural toxin that can cause nausea or illness if consumed in large amounts.
To keep your harvest healthy and plentiful, gardeners practice hilling, which involves regularly piling loose soil or mulch around the base of the growing plants. Hilling serves several important purposes:
- Blocks sunlight from reaching developing tubers, preventing greening and toxin buildup.
- Encourages the plant to send out more stolons, increasing the number of potatoes you can harvest from each plant.
- Acts as a barrier against common pests like potato beetles and wireworms.
- Helps retain moisture around the tubers, reducing the risk of drying out or overheating.
For best results, start hilling your potato plants when the stems are about six inches tall. Cover the lower leaves with a few inches of soil, and repeat every couple of weeks as the plants grow. This simple practice can make a big difference in your yield and ensure your potatoes are safe and delicious.
Whether you garden in rows or containers, consistent hilling is a time-tested trick that sets up your spuds for success all season long.
When to Start Hilling Potatoes
Potatoes go through several key growth stages before it’s time to start hilling, and recognizing these early phases can help you maximize your harvest. After planting your seed potatoes, you’ll first notice small green shoots poking through the soil—this is called shoot emergence and usually happens about two to three weeks after planting, depending on the temperature and variety.
Soon after, the first leaves will unfurl, and the plant will begin to grow more rapidly. The best time to begin hilling your potatoes is when the plants reach about 6 to 8 inches tall, usually three to four weeks after planting. At this point, you should see several sets of leaves forming on sturdy stems.
A useful tip: start hilling as soon as you notice the lower stems becoming visible above the soil and before you spot any tubers or new roots near the surface—hilling at this stage protects developing potatoes from sunlight and reduces the risk of green, bitter potatoes. If you wait too long and see the soil cracking or tiny potatoes poking out, you’re a bit late, but it’s still better to hill than not at all.
Remember, hilling isn’t a one-time job; repeat it every couple of weeks as the plant grows taller, always keeping several inches of stem buried to encourage healthy tuber production.
How to Hill Potatoes — Step-by-Step Guide
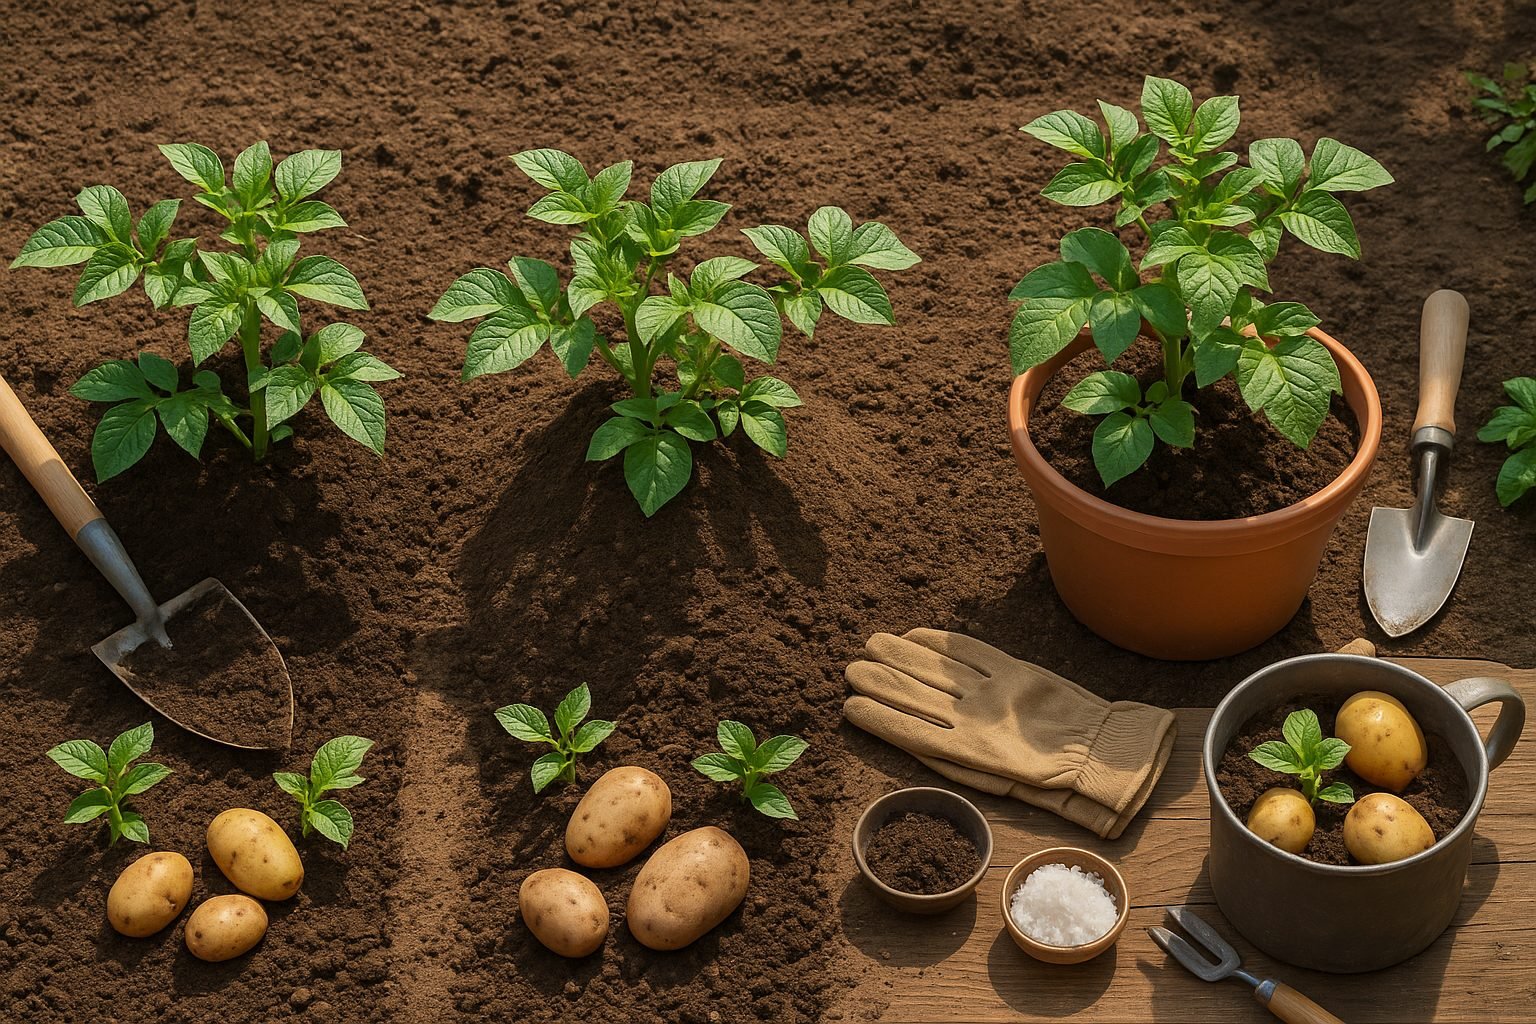
Hilling potatoes is a simple but essential gardening step that can boost your potato yield and protect developing tubers from sunlight and pests.
To hill potatoes the classic way, wait until your potato plants are about 6 to 8 inches tall. Gently mound loose soil around each plant, covering the stems up to just below the lowest leaves—usually about 4 to 6 inches of added soil per session.
Use a hoe or your hands to pull soil from either side of the row, forming a hill about 8 inches high as the season progresses. If you’re growing potatoes in rows, repeat this process every two to three weeks, or whenever plants grow another 6 inches—usually totaling two or three hilling sessions before the plants flower.
This continued mounding keeps sunlight off the developing potatoes and encourages them to form more tubers along the buried stem.
For container-grown potatoes, add more potting mix or compost as the plants grow, filling the container gradually and stopping about 1 to 2 inches below the rim. Aim for the final soil level to be at least 8 inches above your seed potatoes for best results.
Whether in the ground or containers, be gentle when adding soil to avoid damaging fragile stems.
With consistent hilling, your potato plants will stay healthy, minimize green, bitter tubers, and reward you with a bigger harvest.
What if You Forgot to Hill, or Started Late?
If you forgot to hill your potatoes or started late, don’t panic—it’s not always too late to take action. Hilling, ideally done when plants are about 6–8 inches tall, protects developing tubers from sunlight, which can cause greening and make them bitter or even toxic.
If you missed the ideal window, you can still mound soil or mulch gently around the plants, ensuring tubers are well-covered without damaging shallow roots. Mulch—like straw or grass clippings—works especially well as a quick fix if the soil is hard or plants are already tall.
While late hilling won’t undo early sun exposure, it can still prevent further greening and help conserve soil moisture. If your plants are already flowering or tubers are poking through and you don’t have enough soil to cover them safely, try piling up mulch instead; this method is easier on established root systems and still blocks light.
Unfortunately, if potatoes have been green and exposed for a long time, it’s unlikely you can fully recover those tubers, so you should avoid eating any green parts.
If you skip hilling altogether, expect a smaller, lower-quality harvest—tubers become exposed, turn green, and risk pest or disease issues. In some cases, you might still get a few usable potatoes, but investing a bit of time in late hilling or mulching can save much of your crop and is almost always worth a try.
Common Hilling Mistakes and Troubleshooting
One common mistake when hilling potatoes is starting the process too early or too late. If you mound soil before the shoots are at least 6 inches tall, you risk burying tender leaves and stunting growth. On the flip side, hilling too late means tubers could be exposed to sunlight, leading to green, bitter potatoes.
Use a loose, weed-free soil or compost mix—heavy or clay soils can compact around plants, suffocating roots and making it harder for tubers to expand. When forming hills, avoid packing the soil down tightly. Compacted hills not only prevent water drainage but also stress the plant, making it more susceptible to diseases like blight.
Be gentle to avoid snapping stems as you mound soil; using only your hands or a small tool helps, especially in tight rows. If you notice pest problems like Colorado potato beetles or signs of leaf blight, keep hills neat to improve airflow and check regularly for pests hiding around the base.
If you do find green potatoes, add an extra, looser layer of soil to shield them from light. Regularly check hills for erosion or displaced soil after heavy rain and gently re-form them as needed.
By paying close attention to timing, soil type, hilling technique, and plant health, you’ll avoid the most frequent pitfalls and achieve a healthier, more productive potato harvest.
Harvesting and Storing Hill-Grown Potatoes
Knowing exactly when your hill-grown potatoes are ready for harvest can make a big difference in their flavor and storability. After hilling—when you’ve mounded soil up the stems—keep an eye on the plant’s foliage. The ideal harvest time is about two weeks after the leaves and stems have yellowed and started to die back, signaling the potatoes have matured and their skins have toughened.
On a dry day, use a fork or spade to gently loosen the soil around the hill. Start several inches away from the base to avoid stabbing any tubers, then carefully lift the soil and feel for potatoes with your hands. Shake off loose earth, but don’t wash the potatoes yet. Gather them in shallow containers so you can handle each one gently and avoid bruises that would shorten storage life.
Once harvested, patience pays off in the curing stage. Lay the unwashed potatoes in a single layer in a dark, well-ventilated area at 50–60°F (10–16°C) with high humidity for 10–14 days. This lets their skins thicken and minor cuts heal, which helps prevent rot. Check for damaged or green potatoes and set those aside for immediate use, as they won’t store well (green skins can also be toxic).
After curing, brush off any dried soil and store your potatoes in a breathable container—like a paper bag, cardboard box, or basket—in a cool (38–40°F or 3–4°C), dark, and humid spot such as a cellar or basement. Avoid the refrigerator, which makes potatoes overly sweet, and keep them away from onions, as both release gases that hasten spoilage. Stored properly, hill-grown potatoes can last several months—a real reward for a careful harvest.
Key Takeaways and Final Tips for Potato Success
Mastering the art of hilling is crucial for a successful potato harvest—it’s not just about piling soil around your plants but ensuring their tubers stay shielded from sunlight, which helps prevent greening and toxic solanine production. Hilling also makes room for more potatoes to form along the thickening stems beneath the surface, leading to a bigger, healthier crop.
Beyond hilling, adopting a few simple practices can further improve your results:
- Apply a thick layer of organic mulch, such as straw or shredded leaves, to retain moisture, moderate soil temperature, and suppress weeds that compete with your potatoes for nutrients.
- Keep watering consistent, especially as tubers start forming. Aim to keep the soil evenly moist but not waterlogged, since irregular watering can cause cracked, misshapen potatoes or increase disease risk.
- Fertilize sparingly—a balanced approach supports robust growth without encouraging too much leafy foliage at the expense of tubers.
For best results, observe your plants closely throughout the season, noting what works well and where challenges arise. Don’t be afraid to experiment with different hilling heights, mulching techniques, or potato varieties. Gardening is as much about discovery as it is about harvest, so celebrate both your successes and your learning moments. Each season offers fresh opportunities to tweak your approach, leading to even better yields and bigger, tastier potatoes in the years ahead.