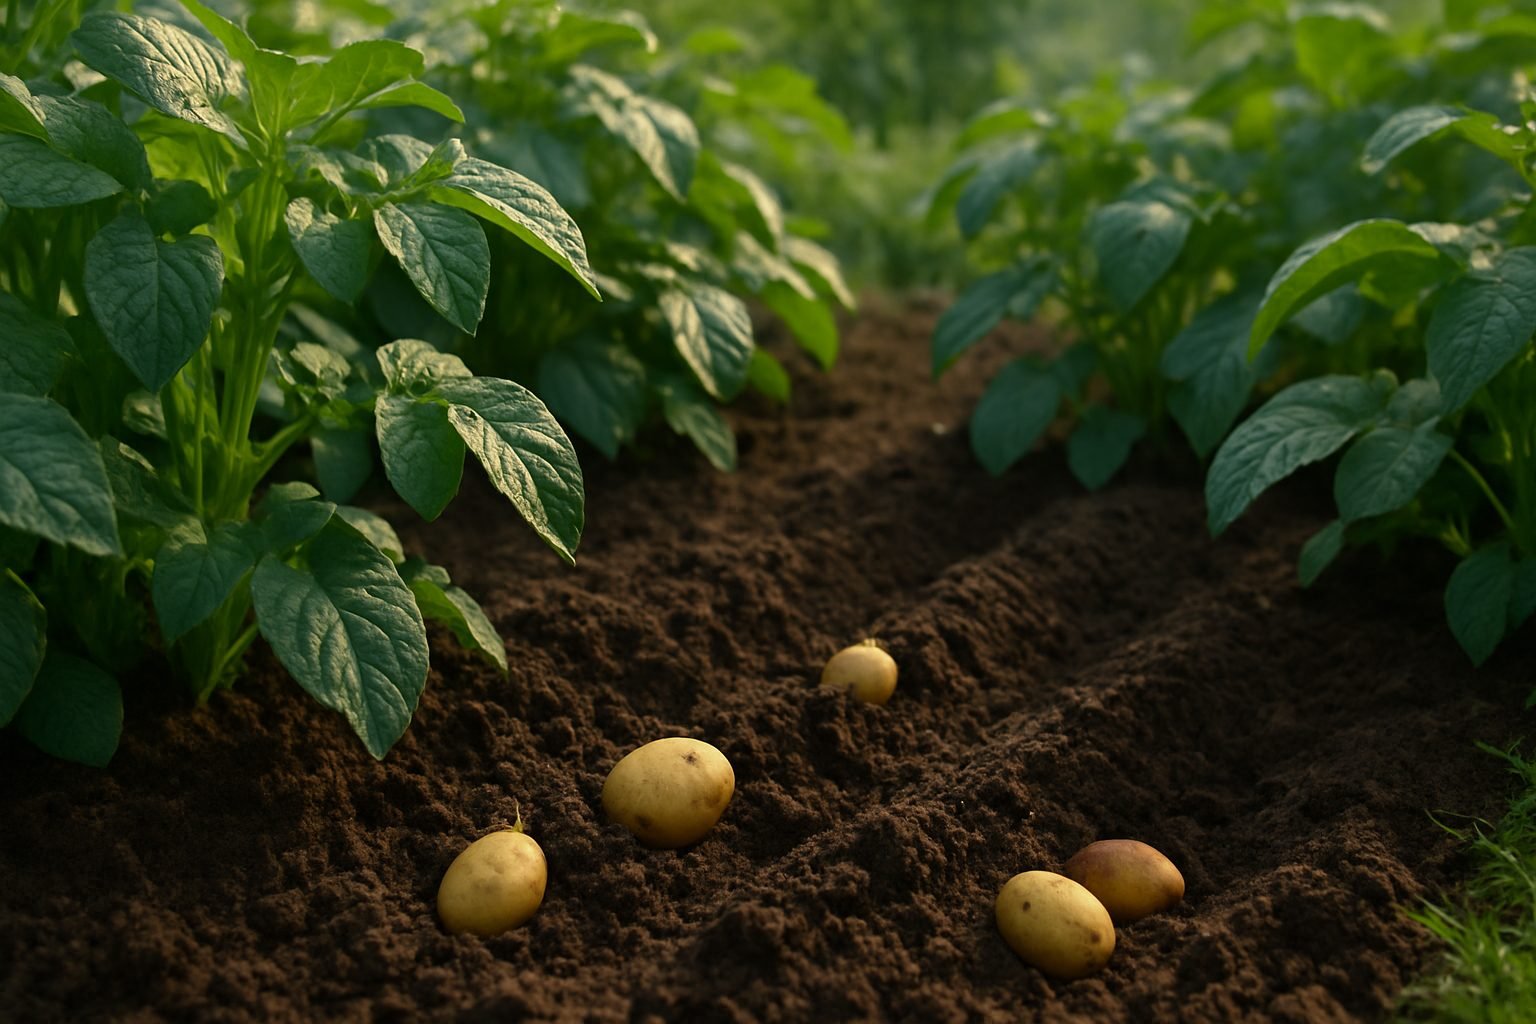
Recognizing Watering Needs in Potato Plants
When it comes to watering potatoes, getting it right can make all the difference between a mediocre harvest and a bumper crop of plump, healthy tubers. Understanding the watering needs of your potato plants is crucial for healthy growth—from the moment they sprout until you’re ready to dig up the bounty. Potatoes rely on a consistent moisture supply to support strong foliage and, most importantly, to develop those delicious underground tubers.
If you underwater your plants, you’ll notice warning signs like drooping, wilted leaves and stems, slow or stunted growth, and even premature yellowing. Overwatered potatoes, on the other hand, might display yellowing leaves as well but tend to look limp or waterlogged. You may also spot mushy stems or blackened spots near the base—a clear sign of rot setting in.
Proper watering goes far beyond simply hosing down your rows. Aim for deep and even moisture, focusing on giving them a good soak at the soil level rather than light surface sprays that barely reach the roots. The soil should remain moist but never soggy—think of the consistency of a wrung-out sponge.
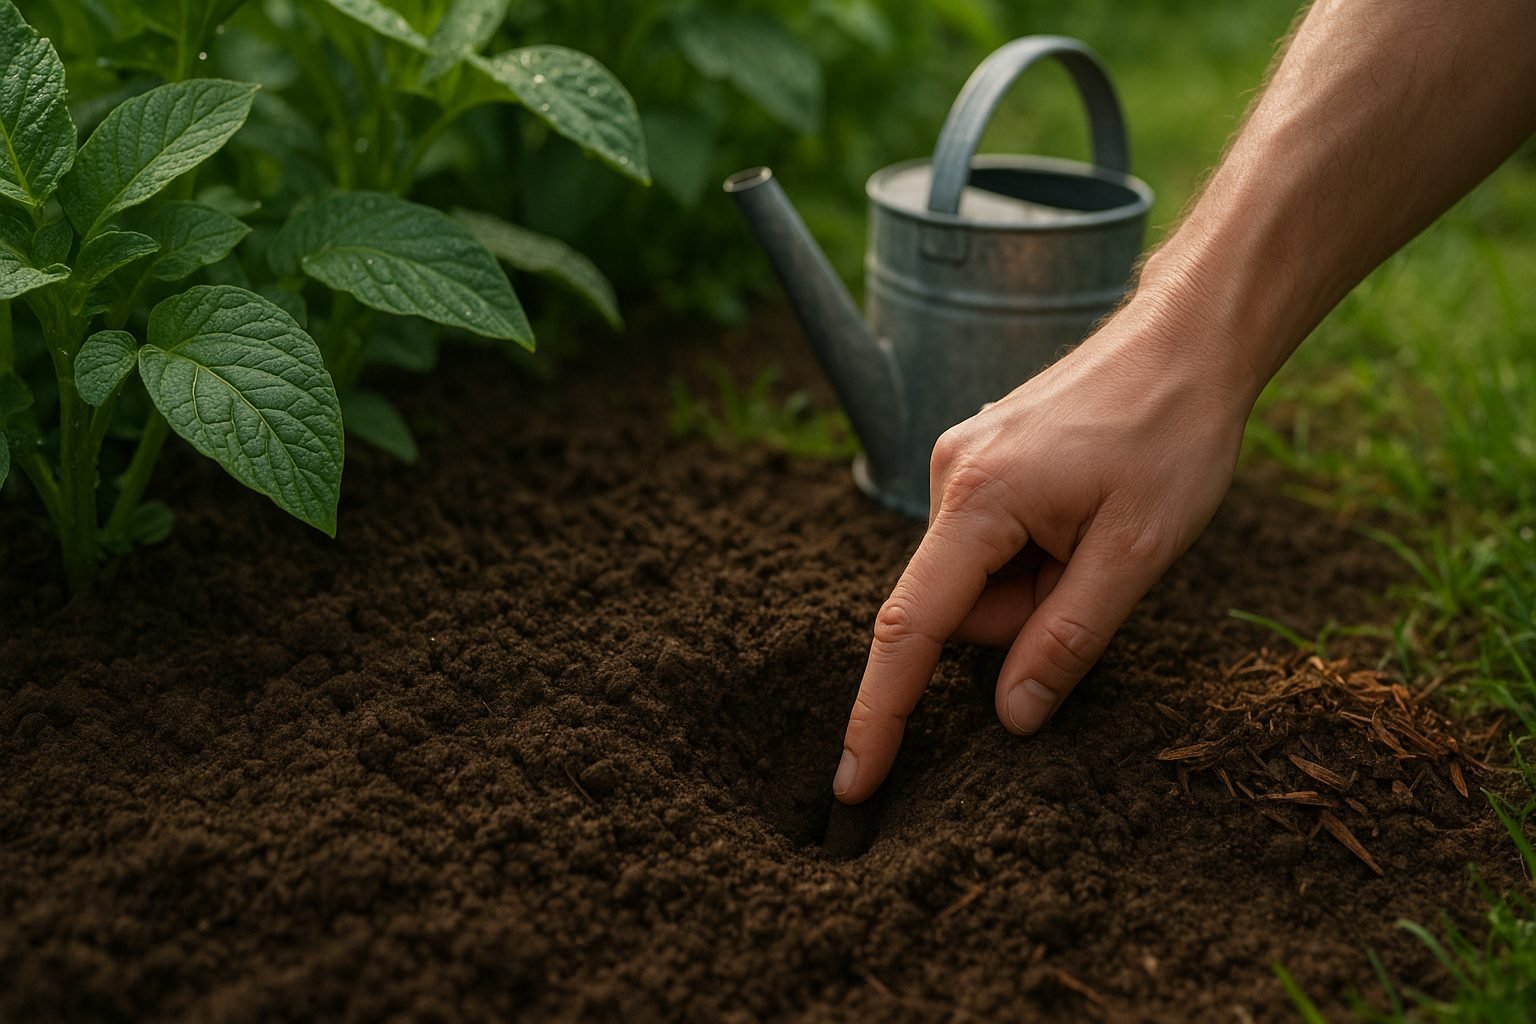
A useful tip: stick your finger into the soil about two inches deep. If it feels dry, it’s time to water; if it’s still damp, hold off for another day. Consistency is key, especially as the tubers begin to swell beneath the surface. Uneven watering—periods of drought followed by heavy soaking—can cause tubers to crack or develop uneven shapes.
A well-managed watering schedule doesn’t just boost potato yields; it also helps prevent diseases such as blight and root rot that thrive in overly wet or erratic conditions. Healthy potatoes need a balanced, predictable environment—ample but not excessive moisture, with soil that drains well after each watering.
By paying close attention to your plants’ visual cues and managing their moisture needs, you’ll set the stage for a rewarding, disease-free potato harvest.
Watering Potatoes During Key Growth Stages
Potatoes go through several growth stages, and knowing when and how much to water can make a huge difference in your harvest. During sprouting—the first stage after planting—keep the soil just lightly moist. Too much water can rot the seed pieces before they sprout, so aim for gentle, infrequent watering until shoots emerge.
As the plants move into the flowering stage, when tubers start to form underground, this is the most critical time for consistent moisture. At this point, potatoes need about 1–2 inches of water per week. Try watering deeply once or twice a week instead of daily shallow watering, which helps roots grow deeper. You might notice flower buds and blooms—this is your signal to be especially watchful. Dry soil now can lead to small or misshapen potatoes.
During tuber bulking, right after flowering, maintain steady moisture but avoid waterlogging the soil. Consider mulching to retain water and keep soil temperatures stable.
As plants begin to yellow and enter the maturation phase a few weeks before harvest, gradually reduce watering. This helps the potato skins firm up and reduces the risk of rot during storage. If heavy rain is forecast near harvest time, dig your potatoes early if possible to prevent them from absorbing too much moisture.
By matching your watering to each growth stage, you’ll give your potatoes the best chance for a healthy, abundant crop.
Soil Moisture and Water Management
Getting soil moisture and water management right is key to growing healthy potatoes. Potatoes thrive best in loose, well-draining soils like sandy loam or loamy soil, which allow roots to develop freely and minimize the risk of rot. Heavy clay soils can hold too much water, suffocating tubers and making them prone to disease, while soils that drain too quickly will leave potatoes parched.
To check if your soil has the right moisture level, try the finger test: insert your finger about two inches deep into the soil near your plants. If it feels cool and slightly damp but not wet, your potatoes are in good shape; if it’s dry or bone-hard, it’s time to water. For a more precise approach, use an inexpensive soil moisture meter to quickly assess moisture levels near the root zone.
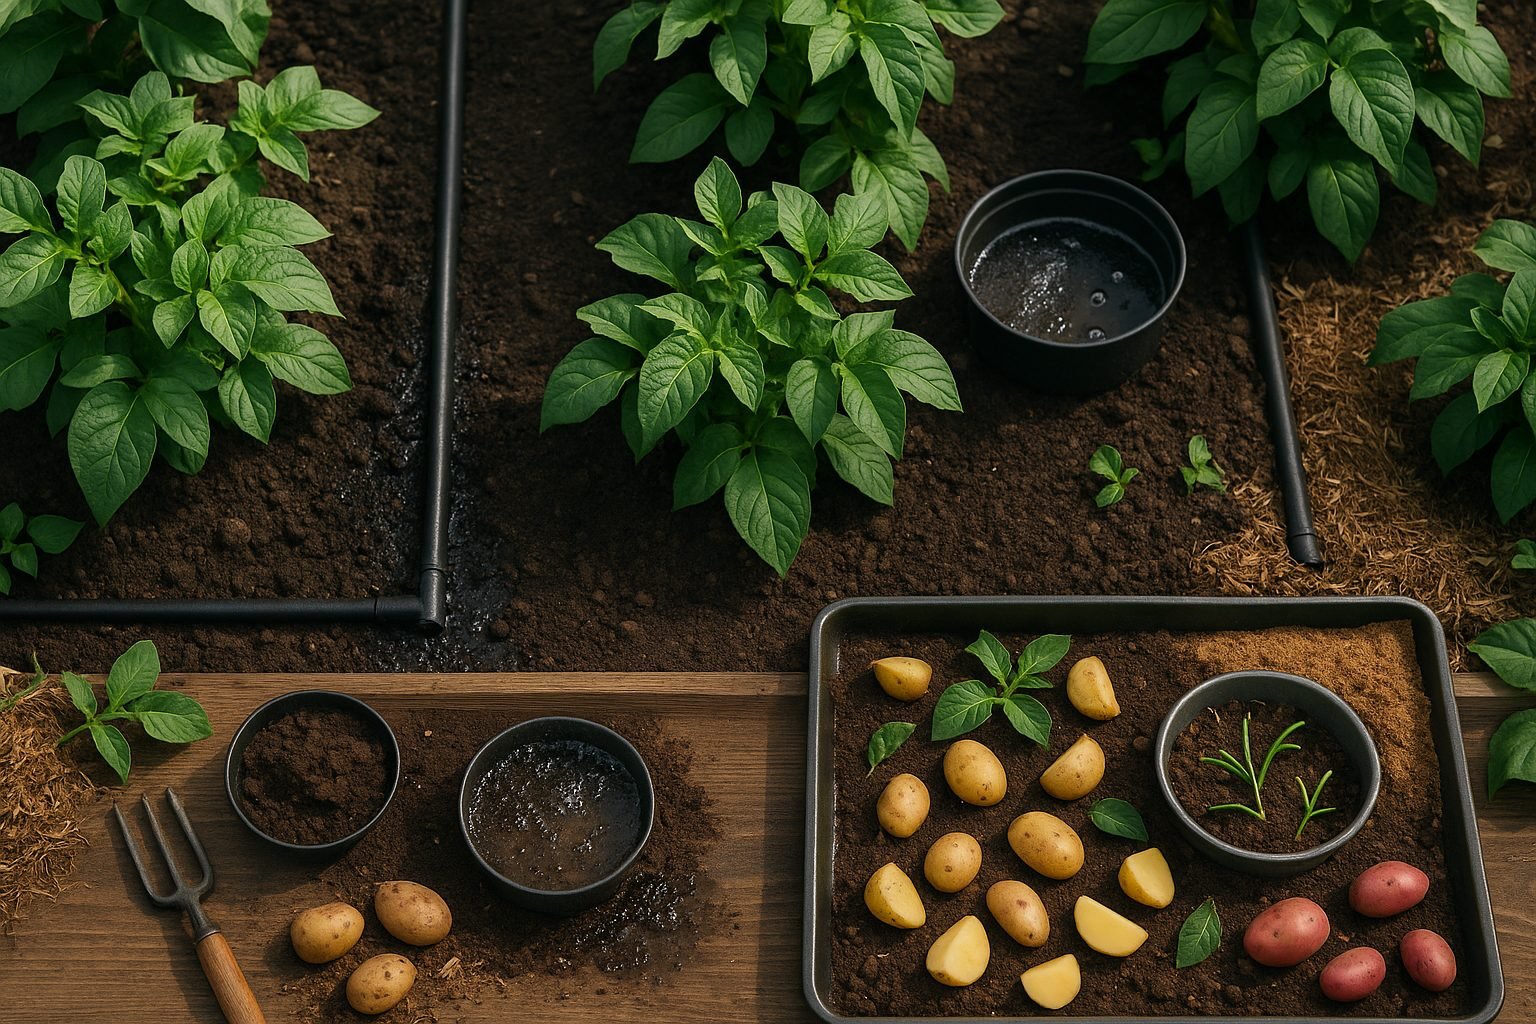
When it comes to irrigation, consistent moisture is important, especially during tuber formation, but overwatering can cause problems like rot. Drip irrigation systems deliver slow, steady water directly to the roots and minimize fungal issues by keeping foliage dry—making them ideal for potato beds. Soaker hoses are another great option, snaking between rows to evenly moisten the soil without much fuss. If you water by hand, target the soil and avoid wetting the leaves.
Early morning is the best time to water to let excess moisture evaporate during the day, keeping diseases at bay. With the right soil and a thoughtful watering routine, your potatoes will reward you with a healthy, abundant harvest.
Best Practices for Watering Potatoes
When it comes to watering potatoes, consistency and technique matter just as much as the amount of water you provide. In general, aim for about 1 to 2 inches of water per week, whether from rainfall or irrigation, but always adjust based on your local climate and soil texture.
Sandy soils dry out quickly and may require more frequent watering—perhaps every few days—while clay soils retain moisture longer and need less frequent watering. Check soil moisture by sticking your finger a couple of inches into the ground; if it feels dry at that depth, it’s time to water.
For best results, water in the early morning, which allows the foliage to dry out during the day and reduces the risk of fungal diseases. Always target the base of the plants rather than spraying water over the leaves, as wet foliage can invite blight and other diseases.
Avoid shallow watering, which encourages roots to stay near the surface and makes your plants more vulnerable to drought. Instead, water deeply so the moisture reaches the full root zone. A common mistake is allowing the soil to dry out completely; consistent moisture is especially critical when tubers are forming.
On the flip side, overwatering can be just as harmful, leading to rot and poor yield. Setting up a simple drip irrigation system or using a soaker hose can make maintaining the right moisture level much easier and ensure the water goes exactly where it’s needed.
By staying observant and adjusting your watering routine based on weather and soil, you’ll give your potato plants the best chance to thrive.
Harvesting and Storage Considerations
As potatoes near maturity, it’s crucial to gradually reduce watering to help toughen their skins, which protects them during harvesting and storage. About two weeks before your anticipated harvest date—when the plants’ leaves and stems start yellowing and dying back—stop watering altogether. This dry-down period encourages the potatoes’ skins to set and reduces the risk of rot later on.
Don’t rush this step; if the ground is very wet when you dig, the tubers may lift out with thin, easily damaged skins that are vulnerable to disease. Harvest potatoes on a dry day using a garden fork, gently loosening the soil to avoid bruising the tubers.
After lifting, let your potatoes cure by laying them out in a single layer in a dark, well-ventilated space (like a garage or covered porch) for one to two weeks. Proper curing allows any minor wounds to heal and the skins to fully harden.
Once cured, brush off loose dirt (don’t wash them, as moisture can promote decay) and move your potatoes to a cool (40–50°F), dark, and moderately humid place for storage—a basement or cellar often works well. Avoid storing potatoes near apples or onions, since they release gases that could speed up spoilage.
Check your stored potatoes every few weeks, and promptly remove any that show signs of rot to protect the rest. Following this process helps ensure your homegrown potatoes stay firm, tasty, and usable well into the winter months.
Troubleshooting Common Potato Watering Problems
Overwatering or underwatering your potato plants can lead to a range of issues, but with a little know-how, you can keep these problems under control.
Blight, a fungal disease that thrives on consistently wet foliage, is a common concern. To prevent it, water the soil rather than the leaves, and aim to irrigate in the morning so the plants dry quickly.
If you notice rough, scabby skin on your potatoes, this might be potato scab, which prefers dry, alkaline soils. Keep the soil evenly moist, mulch to retain water, and avoid adding lime, as it raises soil pH.
Tuber rot can occur in soggy conditions, causing potatoes to become mushy or discolored. Prevent this by ensuring your soil drains well and by reducing watering as harvest time approaches.
Cracked potatoes often signal irregular watering—long dry spells followed by heavy soaking. To avoid this, aim for consistent moisture, especially after the plants flower, by watering deeply once or twice a week depending on the weather.
If moisture problems persist, try these solutions:
- Amend your soil with organic matter like compost to improve texture and drainage.
- Consider raised beds to prevent waterlogging.
- For heavy clay soils, mix in sand or peat moss to create a loose, well-drained environment potatoes love.
- If your garden stays soggy after rain, install simple French drains or plant on mounded rows to improve drainage.
With a few adjustments and careful attention to watering, you’ll have healthier potato plants and enjoy a bigger, better harvest.