Why Grow Potatoes in Containers?
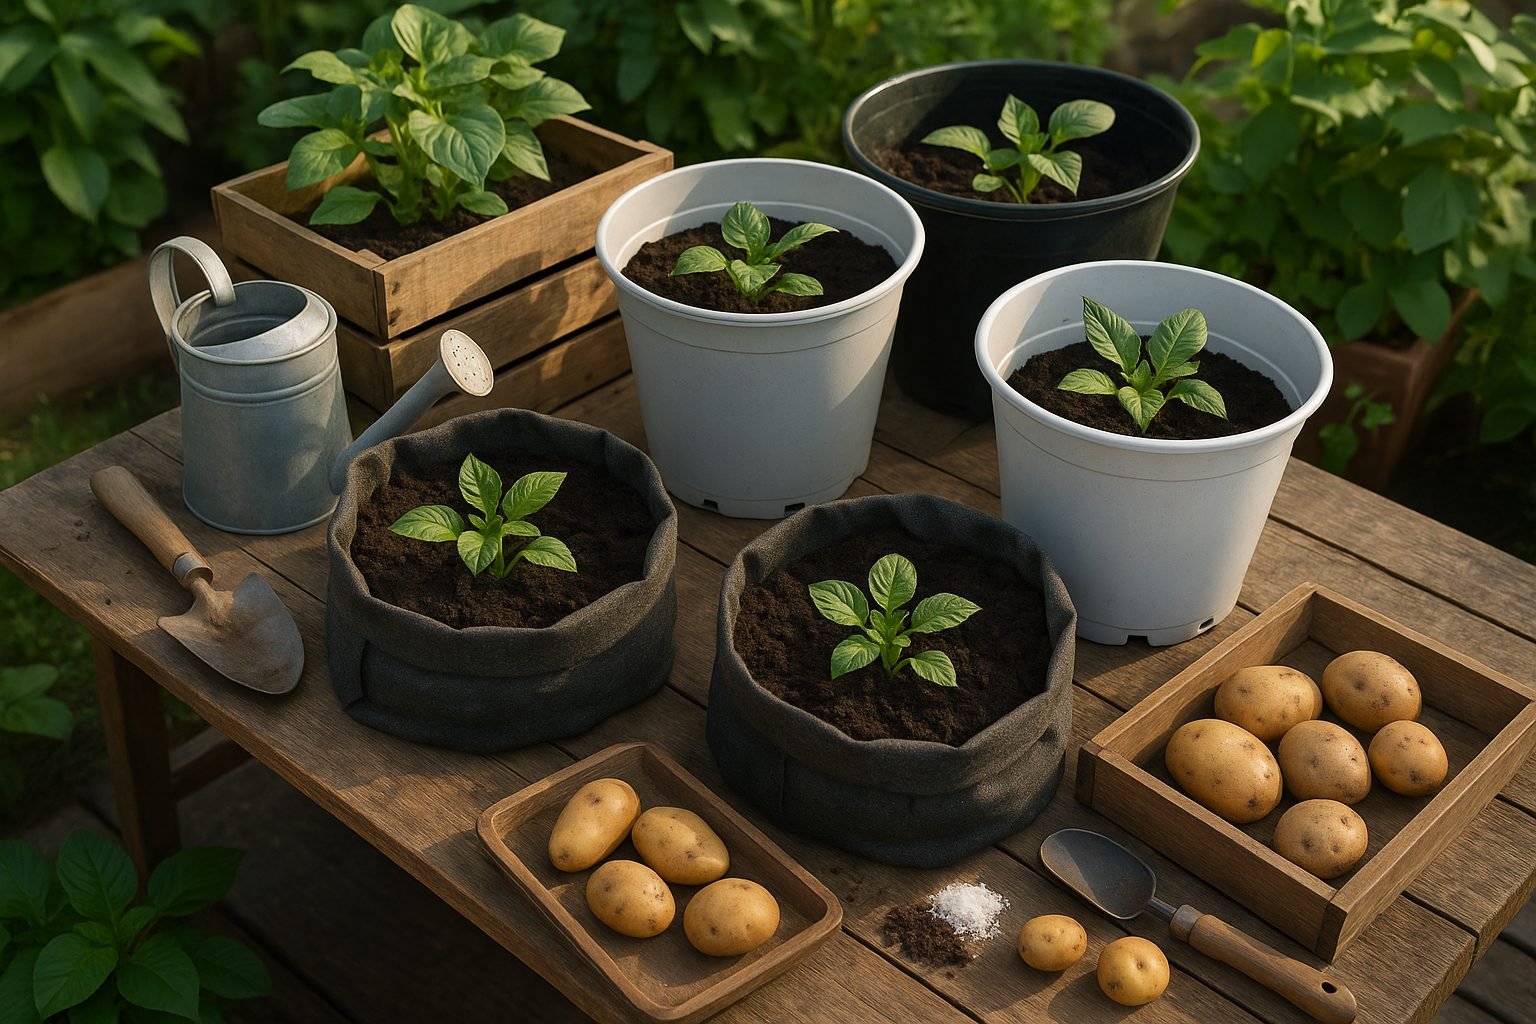
Growing potatoes in containers is an easy and rewarding solution for anyone short on garden space or dealing with poor soil. Whether you have a tiny backyard, an apartment balcony, or just want to keep things neat and manageable, containers offer a range of real-world benefits.
Not only do they save valuable ground space, but they also let you control soil quality and water levels with precision, greatly boosting your chances for a healthy potato harvest. Pests and diseases—common headaches in traditional garden beds—can be dramatically reduced by growing in pots, since containers are easier to monitor and isolate if needed.
Harvesting is a breeze, too: instead of digging through tough soil, simply tip out the container to enjoy instantly accessible, clean potatoes. This method is a game-changer for urban gardeners, renters who can’t dig up the yard, or anyone looking for a low-mess way to garden.
Even kids and beginners can join in without worrying about disturbing a traditional garden plot. With potatoes in containers, you open up the possibility of growing fresh food just about anywhere—on a sunny step, a concrete patio, or a high-rise balcony.
You get to experiment with different varieties, control the growing environment, and enjoy the satisfaction of homegrown potatoes, even in the heart of the city. If you’re short on space but big on flavor, containers are a smart, flexible, and surprisingly productive choice.
Choosing the Right Potatoes and Containers
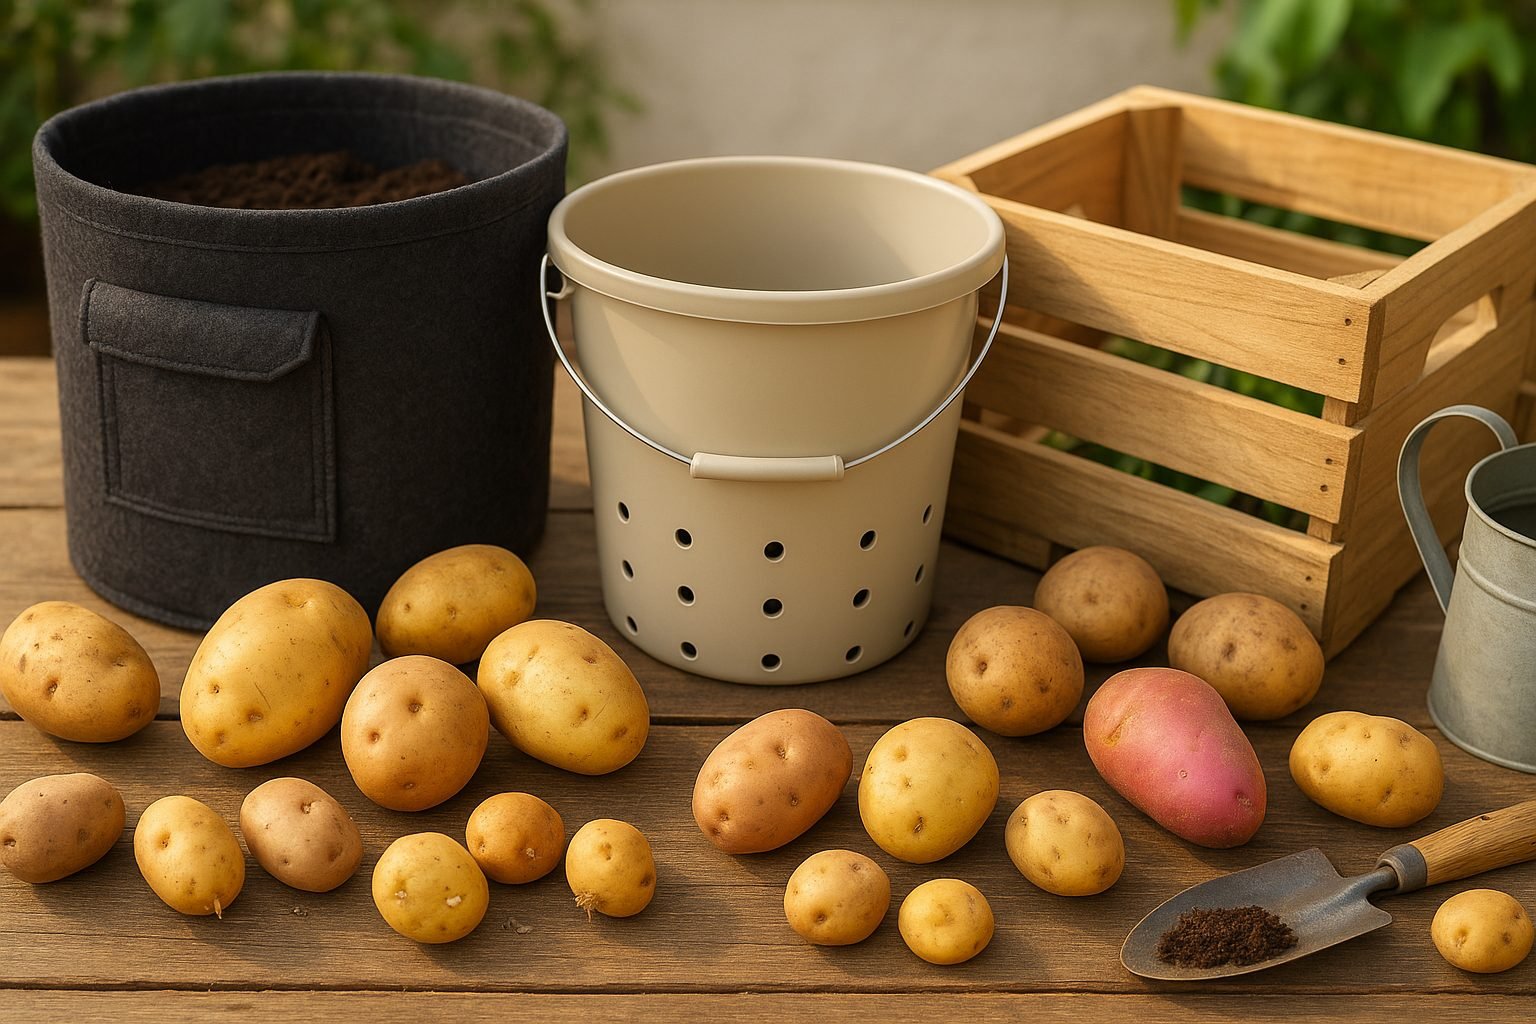
Selecting the best potatoes for container gardening starts with understanding the different variety types. Early potatoes, like ‘Rocket’ or ‘Foremost’, mature quickly and are perfect if you want a fast harvest or have limited space. On the other hand, maincrop varieties such as ‘Desiree’ or ‘Maris Piper’ take more time but offer larger yields—ideal for families or for storing potatoes after harvest.
Small, salad-type potatoes thrive in containers because they require less depth and mature rapidly, making them perfect for patios or balconies. Larger potatoes need more room and patience but reward you with bigger tubers.
When it comes to containers, flexibility is your friend. Purpose-made potato grow bags are popular because they’re lightweight, reusable, and collapse for easy storage. However, sturdy plastic pots, large buckets, or even old storage bins (with holes drilled in the bottom) work just as well—just make sure they hold at least 10–15 gallons to give the roots room to develop.
The key to a healthy crop is good drainage: always check that your chosen container has sufficient holes, or add a few yourself, to prevent soggy soil and rot. Materials such as food-safe plastic, fabric, or untreated wood are best since they won’t leach harmful chemicals into your crop or overheat in the sun.
As a practical tip, place containers on bricks or pot feet to boost drainage further and make harvesting easier. At the end of the season, simply tip the pot over and gather your homegrown potatoes straight from the soil.
When and How to Plant Potatoes in Containers
Planting potatoes in containers is a rewarding way to grow your own harvest, even with limited space. The best time to plant is after your region’s last spring frost—this is crucial because potatoes are sensitive to cold. In cooler climates, late March to early April is ideal, while in warmer areas, you can start as early as February or even plant a fall crop in mild regions.
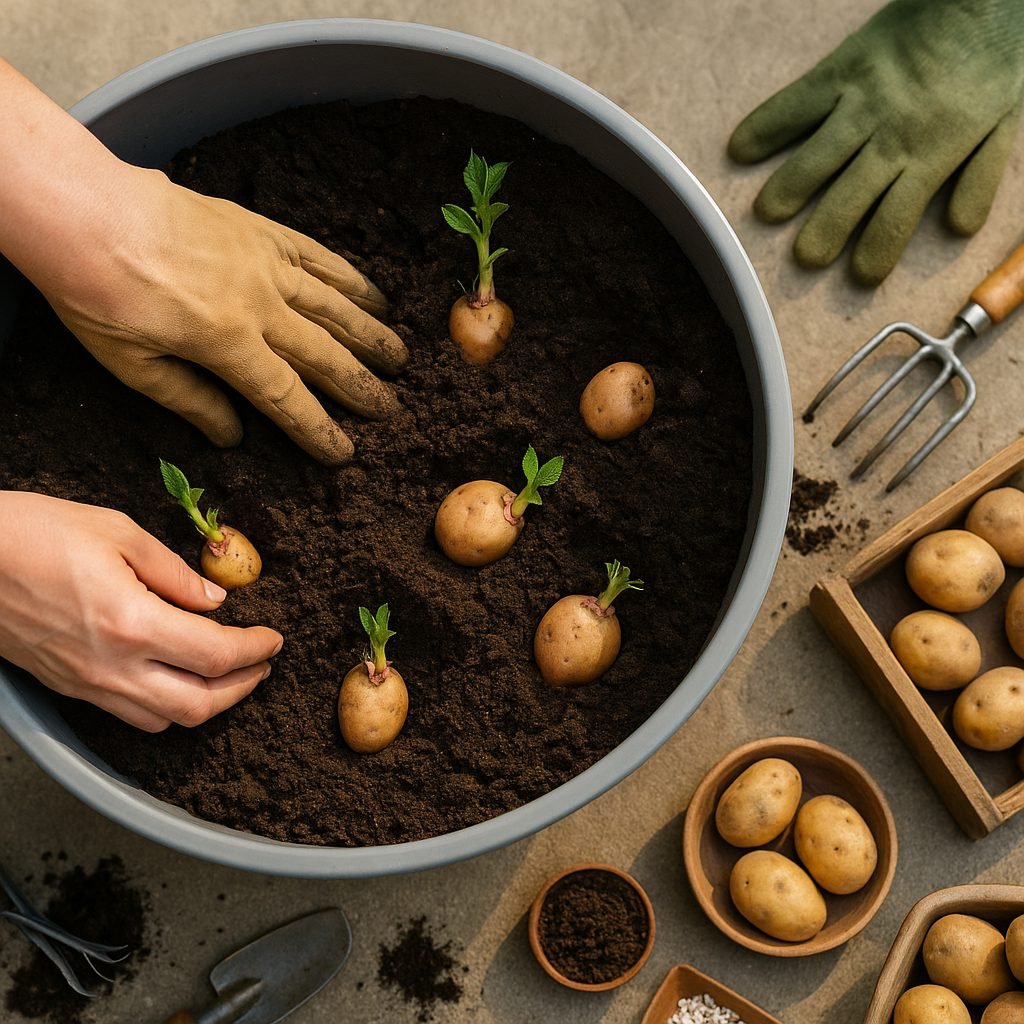
Start by preparing certified seed potatoes, which are disease-free and specifically meant for planting. A week or two before planting, place your seed potatoes in a bright spot to “chit”—let them sprout robust, short shoots. If your seed potatoes are large (bigger than a chicken egg), cut them into chunks, ensuring each piece has 1–2 healthy “eyes” (sprouts), and let the cut surfaces dry for a day to reduce rot risk.
To plant, fill your container with about 4–6 inches of high-quality potting soil. Space the potato pieces evenly, sprout-side up, about 6 inches apart. Cover with another 3–4 inches of soil. As the plants grow and shoots reach about 6 inches high, gently add more soil to cover all but the top leaves—this is called “earthing up” and it protects tubers from sunlight while encouraging more potatoes to form. Repeat this process gradually, never burying the entire plant, until the container is nearly full.
A good tip: Use large containers (at least 15 gallons) with drainage holes, and water consistently to keep the soil moist but not soggy. This simple method lets you enjoy a successful potato crop right on your patio or balcony.
Ongoing Potato Care: Watering, Feeding, and Management
Caring for potatoes in containers is all about balance—especially when it comes to watering. Potatoes need consistently moist soil, but letting containers become soggy can quickly lead to rot. A good rule is to water when the top inch of soil feels dry, and always check after rain or hot days. A deep but gentle soak ensures water reaches the roots. Using containers with drainage holes is a must.
For feeding, potatoes are heavy feeders and appreciate an all-purpose or vegetable fertilizer high in potassium—look for one with a nutrient ratio like 5-10-10. Apply fertilizer at planting, then again after shoots appear and when flowers bud, following label instructions to prevent burning.
Give your potatoes at least six hours of sun daily, as too much shade leads to leggy plants and small tubers. Rotate container locations or refresh soil each year to reduce the risk of soil-borne diseases.
Watch out for common pests like aphids or Colorado potato beetles; you can pick them off or spray with a mild, soapy water solution. If you see yellowing leaves or stunted growth, check that your container isn’t getting waterlogged (lift it—heaviness can mean too much water) and confirm your plants have enough sunlight. Sometimes yellow leaves are a natural part of the plant’s aging process, but if it happens too soon, inspect for pests or consider a balanced feeding boost.
With regular checks and a bit of TLC, you’ll keep your container potato crop thriving from first sprout to final harvest.
Harvesting Your Homegrown Potatoes
Knowing when to harvest your container-grown potatoes is key for the best flavor and texture. Watch for the potato plant’s foliage to yellow and start dying back—this usually happens about 10 to 12 weeks after planting early varieties, or 16 to 20 weeks for maincrop types. Once the leaves are mostly brown and dry, wait another week before harvesting to give the skins time to toughen up.
To dig up your potatoes, gently tip the container onto a tarp or large sheet, and sift through the soil by hand to avoid scratching or bruising the tubers. Be especially careful with your fingers, or use a soft gardening fork to unearth any that are still in the mix.
After harvest, avoid washing potatoes right away—instead, brush off excess soil with your hands. Lay the tubers out in a single layer somewhere cool, dark, and well-ventilated (like a garage or shed) for 7 to 10 days; this curing process helps heal minor nicks and thickens the skins for storage.
Once cured, store undamaged potatoes in a paper bag, cardboard box, or basket—somewhere cool and dark, but never in the fridge, as cold can turn their starches to sugar. Check your stored potatoes regularly and remove any that show signs of rot to keep the rest fresh and ready for use.
Tips for Success and Creative Container Potato Ideas
To boost your potato yields in containers, start by choosing a loose, well-draining potting mix and watering consistently—potatoes hate soggy soil but need steady moisture. Feed regularly with a balanced fertilizer, as container plants rely on you for nutrients.
Don’t be afraid to think beyond traditional pots; try growing potatoes in laundry baskets, food-grade buckets, or even old potato sacks. These creative containers allow for great drainage and make harvesting as easy as dumping out the contents.
Upcycle what you have—sturdy cardboard boxes or large storage bins can also do the trick. Just be sure to poke holes in the bottom for drainage.
Remember, every growing season is a chance to get creative and learn. Take notes on what worked, and don’t hesitate to try new container ideas or adjust your care routine. Gardening is about experimentation, so have fun finding what produces the best harvest in your space!