Introduction – Why Grow Potatoes at Home?
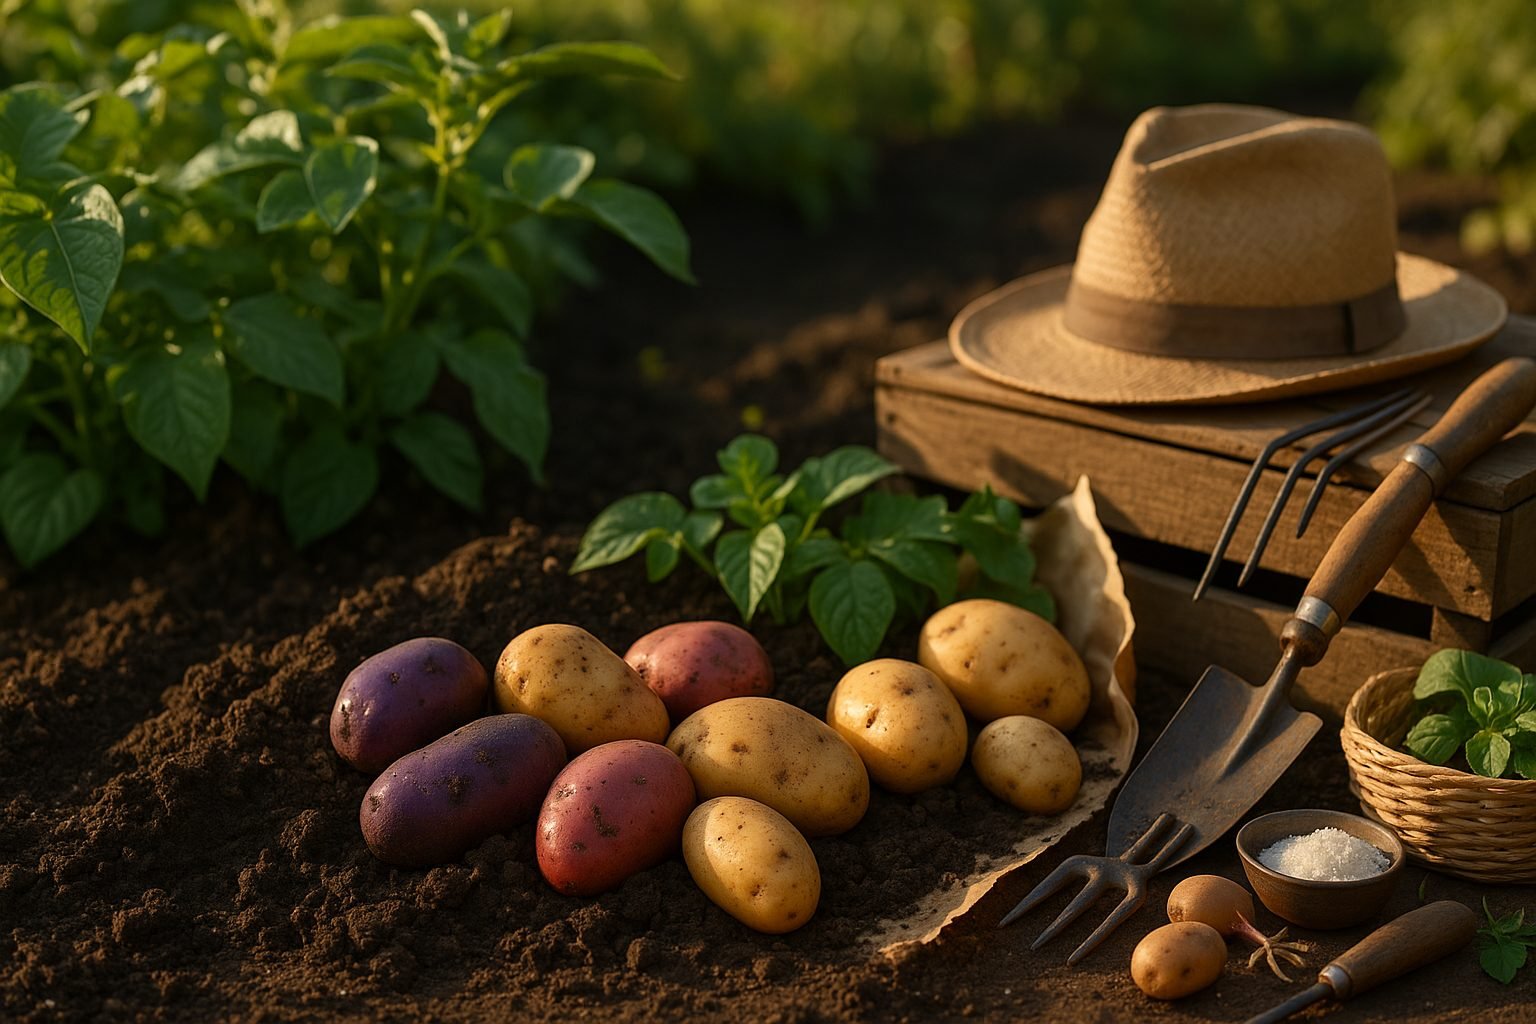
Learning how to grow potatoes at home can be a rewarding experience for gardeners of all levels, offering benefits that go beyond simply filling your pantry. There’s something special about pulling fresh potatoes from the earth—knowing exactly how they were grown and tasting the difference in every bite. Homegrown potatoes stand out for their flavor and creamy texture, easily surpassing the blandness of many store-bought varieties.
Plus, growing your own potatoes puts you in control: you can choose from diverse colors, shapes, and types unavailable at most supermarkets, from buttery Yukon Golds to purple Peruvian heirlooms.
Cost savings are another big bonus—buying a bag of seed potatoes is a small investment compared to what you’d spend over an entire season on retail produce. And once planted, potatoes are surprisingly low-maintenance, making them a great option for busy families or beginner gardeners. Kids especially love digging them up at harvest time, turning gardening into a fun, educational activity. Enjoyment goes beyond the table; gardening itself reduces stress, gets you outside, and gives you a sense of accomplishment.
In this comprehensive beginner’s guide on how to grow potatoes, we’ll cover everything you need to get started. We’ll walk you through choosing the right potato varieties for your taste and climate, prepping your soil and planting, easy care and troubleshooting tips, when and how to harvest for the best results, and how to store your bounty so you can enjoy homegrown goodness for months to come. Let’s dig in!
Choosing the Right Potato Varieties
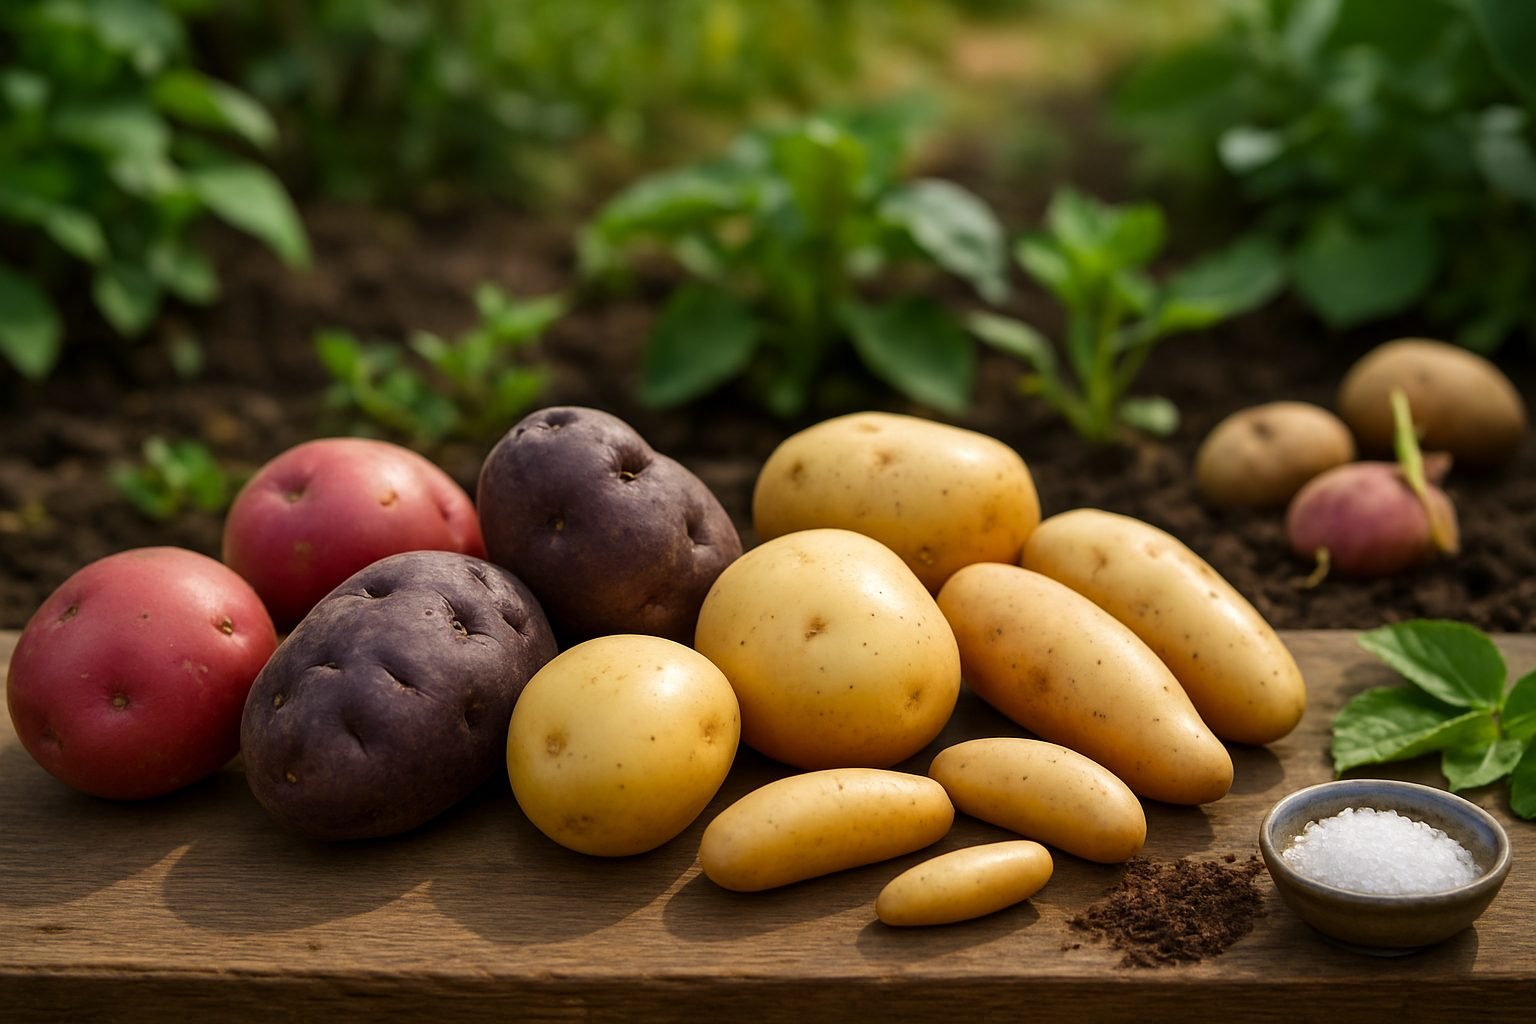
When it comes to growing potatoes, understanding the different types and selecting the best variety for your needs is key to a successful harvest. Potatoes are generally grouped into early (or new) potatoes, maincrop potatoes, salad or waxy types, and starchy or floury types.
Early potatoes, such as Rocket and Charlotte, mature quickly and offer small, tender tubers perfect for steaming or enjoying in salads. They’re a favorite among beginners because they’re ready in as little as 10-12 weeks and often escape late blight.
Maincrop varieties, like Desiree or King Edward, take longer to mature but yield larger, more storage-friendly potatoes ideal for roasting or mashing.
If you love creamy potato salads, go for waxy types such as Anya or Pink Fir Apple—their low starch content helps them hold their shape after boiling. On the other hand, starchy or floury potatoes, including classics like Maris Piper and Russet, are best for fluffy mash, chips, or baking thanks to their light, dry texture.
When shopping for seed potatoes, always choose certified disease-free seed potatoes from reputable suppliers rather than using supermarket potatoes, which may have been treated to prevent sprouting and can carry undetected diseases. Look for firm tubers with no signs of soft spots or mold; quality seed potatoes should be plump and healthy-looking, ideally with visible “eyes” from which new shoots will sprout.
Disease resistance is another crucial factor—some varieties have natural resistance to common pests and ailments like blight, scab, or eelworm, which means less trouble and fewer chemicals needed in your garden. Beginners often find varieties labeled as blight resistant, such as Sarpo Mira or Setanta, make for an easier, more reliable growing experience.
Choosing the right potato variety tailored to your climate, space, and preferred dishes ensures a rewarding, fuss-free first crop.
Preparing the Ground and Planting Potatoes
When it comes to growing potatoes, choosing the right planting spot makes all the difference for a healthy, bountiful harvest. Whether you have a sprawling garden, a compact raised bed, or just a few large pots or potato grow bags, potatoes adapt well as long as you meet their basic needs.
Choose a location that gets at least six hours of direct sunlight daily, as potatoes thrive best in sunny spots. The soil should be rich, loose, and well-drained—heavy clay soils can cause tubers to rot, while sandy, fertile soils promote even growth. Improve your soil by mixing in plenty of compost or well-rotted manure, which enriches nutrients and helps retain moisture.
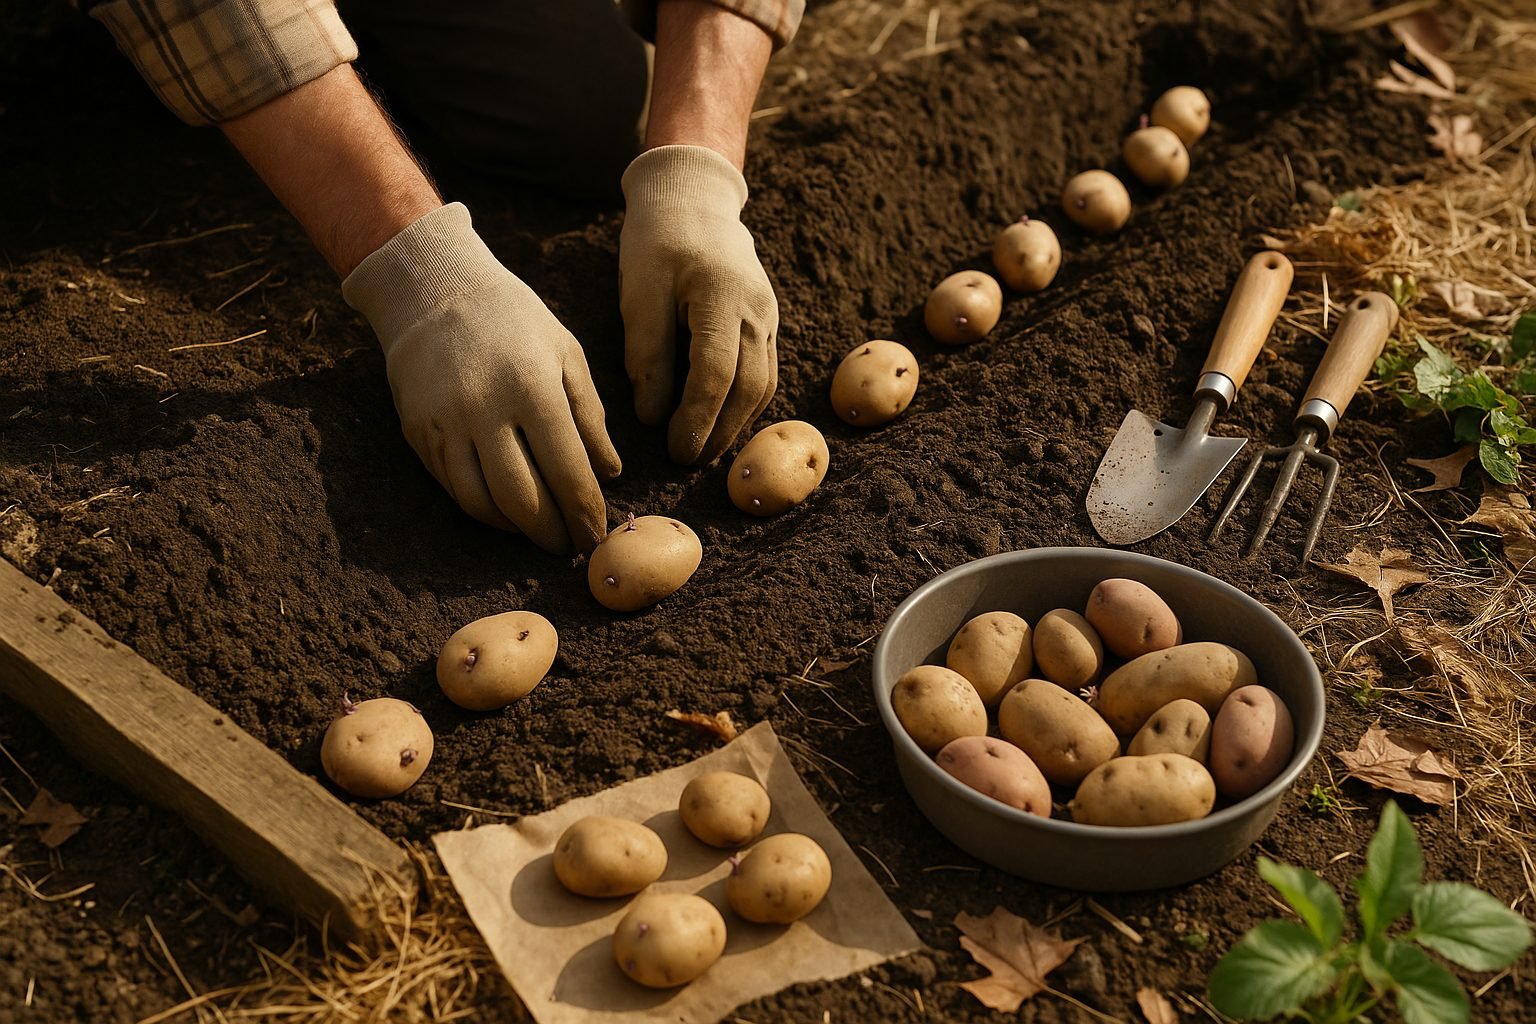
Aim for a slightly acidic to neutral pH, ideally around 5.5 to 7.0; simple pH kits from garden centers can help you check and adjust as necessary. Before planting, chit your seed potatoes by placing them in a cool, bright area for a couple of weeks, allowing sturdy green sprouts to develop—this gives the plants a head start once in the ground.
Whether using your garden bed, a raised bed, or a deep container, dig trenches about 4 inches deep and space seed potatoes 12 inches apart, setting rows roughly 30 inches apart to allow plenty of room for growth. If working in pots or potato bags, fill the bottom third with soil, nestle the seed potatoes a few inches deep, then cover and add more soil as sprouts emerge.
Start planting a couple of weeks before your last expected frost date so the shoots aren’t damaged by lingering cold. For those tight on space or wanting an easy harvest, grow bags and pots work wonders—just remember to water regularly, as containers dry out faster than traditional beds.
With thoughtful site selection, the right soil prep, and proper planting techniques, you’ll be well on your way to enjoying homegrown potatoes, even in surprisingly small spaces.
Caring for Growing Potato Plants
Potato plants thrive with the right care throughout their growing journey, starting with attentive watering. In the early stages, keep the soil consistently moist but never soggy—aim for about 1-2 inches of water per week.
As the plants mature and tubers begin to form (usually after flowering), increase watering to ensure the soil remains moist but not waterlogged. Erratic moisture can lead to malformed potatoes or problems like scab.
One of the most important potato-growing techniques is “hilling.” This means mounding loose soil around the base of the plant as it grows, usually after stems reach about 6-8 inches tall, then repeating every 2-3 weeks until flowering. Hilling protects tubers from sunlight—which turns them green and toxic—and encourages the plant to produce more tubers along the buried stems.
When it comes to feeding, potatoes appreciate a balanced fertilizer, particularly one higher in potassium and phosphorus and lower in nitrogen. This encourages healthy tuber growth instead of excessive foliage. Work in a compost-rich layer before planting, then top-dress with fertilizer mid-season.
Mulching with straw or shredded leaves helps retain moisture, suppress weeds, and keep soil cool.
Watch out for common pests such as Colorado potato beetles, aphids, and wireworms. Check plants regularly and hand-pick beetles, or use row covers to block pests early on.
For diseases like blight, water at the base of the plant rather than overhead to keep leaves dry, and always rotate crops to fresh soil each year. Healthy spacing, removal of infected plants, and clean garden practices go a long way toward keeping your potatoes happy and productive.
Harvesting and Storing Your Potatoes
Knowing the right time to harvest your potatoes is key to getting a tasty, long-lasting crop. Start by watching your plants: potatoes are usually ready two to three weeks after the foliage flowers. For new potatoes—smaller, tender spuds—you can gently dig around the base of the plants once they bloom. If you want mature potatoes for storage, wait until the foliage has yellowed and died back completely.
To harvest, choose a dry day and use a garden fork or your hands to loosen the soil around each plant, lifting carefully to avoid piercing or bruising the tubers. Work slowly and methodically, feeling for hidden potatoes as you go. For potatoes grown in containers or bags, gently tip the container on its side, then sift through the soil with your hands to collect the spuds—this technique is less likely to damage the delicate skins.
After harvesting, lay the potatoes in a single layer on newspaper or cardboard in a cool, airy place out of direct sunlight. This curing process, which should last about one to two weeks, allows their skins to toughen, making them less prone to damage and rot during storage.
Once cured, brush off any excess dirt, but avoid washing the potatoes until you’re ready to use them. Store your cured potatoes in a cool (45–50°F or 7–10°C), dark, and well-ventilated spot such as a basement or cellar. Use mesh bags, slatted crates, or paper sacks to promote airflow.
Check your stash regularly, removing any that show signs of sprouting or softness to prevent rot from spreading. To deter sprouting, keep light levels low and avoid storing potatoes alongside apples or other fruit, as the ethylene gas they emit can trigger sprouting.
By following these careful harvesting and storage practices, you’ll extend your potatoes’ shelf life and enjoy homegrown flavor long after the harvest season ends.
Troubleshooting Common Potato Problems
Yellowing leaves on your potato plants can indicate overwatering, underwatering, or a nutrient deficiency. Try adjusting your watering schedule and feed your plants with a balanced fertilizer to see if the leaves perk up.
If you notice rough, brown patches on tubers (a sign of scab), avoid planting potatoes in the same spot each year and choose scab-resistant varieties for the next season.
Blight appears as dark spots on leaves and stems. Quickly remove and destroy affected plants, space your potatoes well for better airflow, and consider spraying with an appropriate organic fungicide during damp weather.
Watch out for pests like Colorado potato beetles and aphids. Handpick beetles when you see them, use row covers early in the season, and attract beneficial insects to help keep pest populations down.
Good garden hygiene is one of your best defenses—clear away plant debris and rotate your crops regularly to prevent disease build-up in the soil. Building rich, well-draining soil also pays off, giving plants the strength they need to resist common problems.
Growing great potatoes takes a bit of trial and error, so don’t get discouraged by setbacks; every season teaches you something new. With these troubleshooting tips and prevention strategies, you’ll be well on your way to bigger, healthier, and more reliable harvests in your own backyard.
Final Tips & FAQs for Potato-Growing Success
For even more potato-growing success, consider succession planting—planting a few tubers every couple of weeks in early spring—so your harvest stretches out over the season instead of arriving all at once. If space is tight, try growing potatoes in containers or even sturdy reusable shopping bags; just make sure the container is at least 12 inches deep so roots have room to form lots of tubers.
When planting, bury your seed potatoes about 4 inches deep, then add more soil as the plants grow (“hilling up”) to encourage a bigger crop.
Curious about varieties? Branch out from the usual russets and try colorful options like Yukon Gold, Purple Majesty, or even small fingerlings—they offer fresh flavors and make for pretty harvest baskets.
Many wonder if you can use store-bought potatoes as seed; while it’s possible, grocery potatoes are sometimes treated to prevent sprouting and may carry plant diseases, so certified seed potatoes are a safer bet.
Beginners shouldn’t worry about perfection: start small, watch how your plants respond, and have fun experimenting with planting times or homemade container setups. Each season teaches a new lesson, so embrace every success—and potato-shaped surprise—as part of your homegrown learning curve.