When to Plant Potatoes in Containers
If you’re growing potatoes in containers, knowing the right time to plant is key to a thriving harvest. The timing depends on your climate.
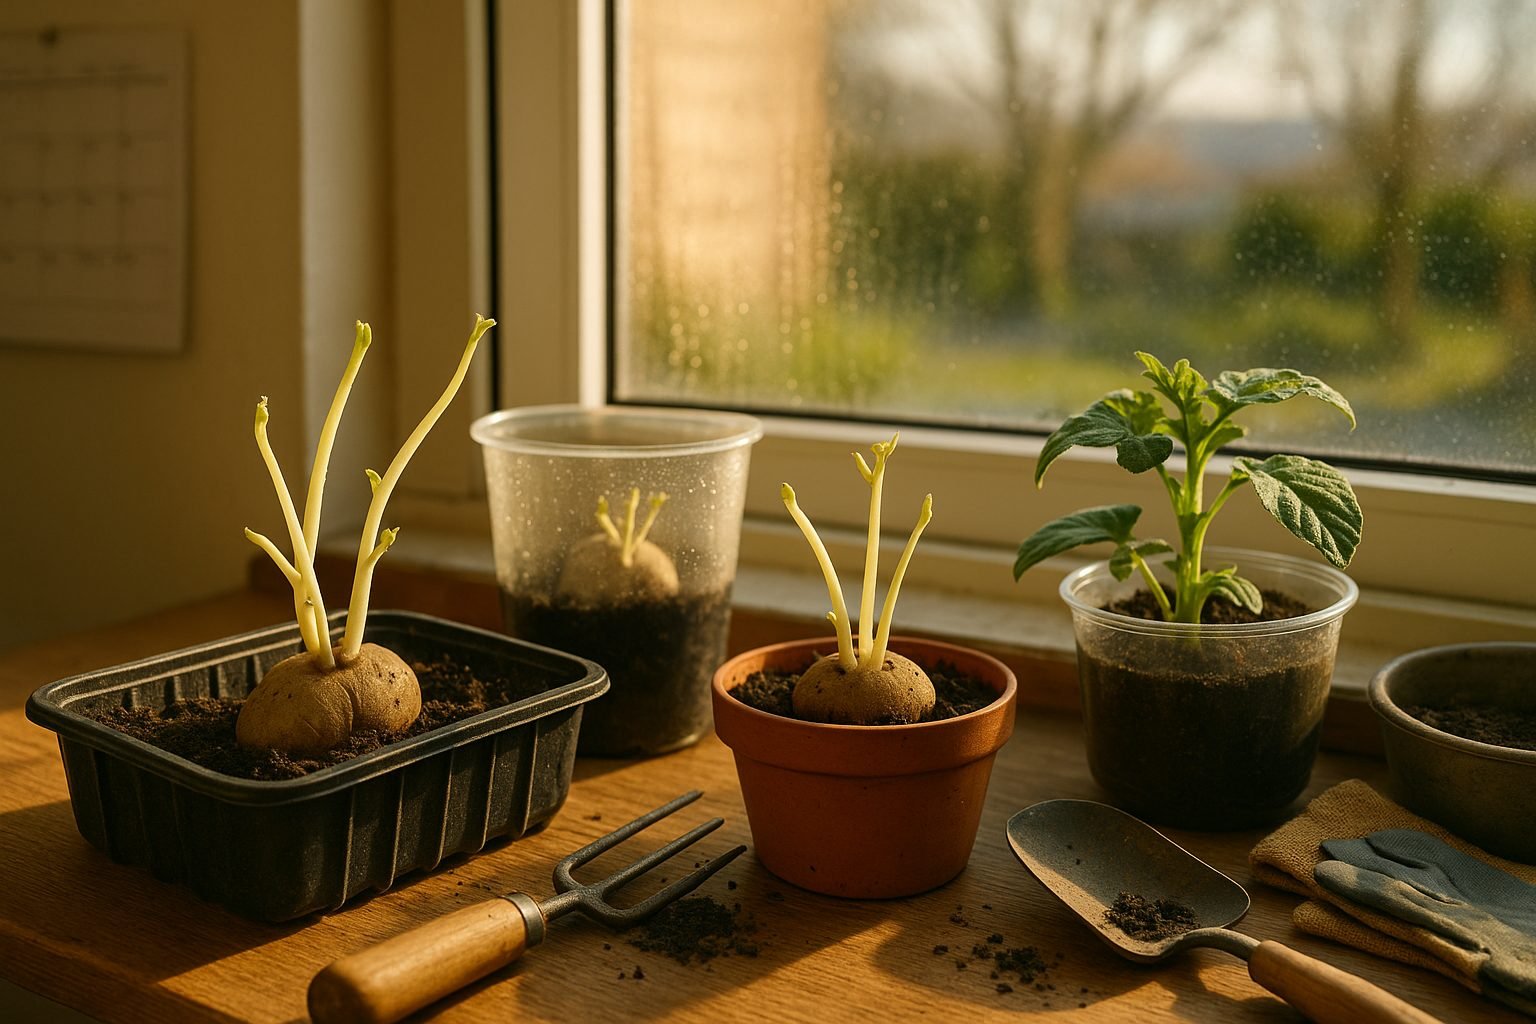
In cool regions, plant potatoes in containers two to four weeks before your last expected frost date—when night temperatures consistently stay above 40°F (4°C). Container-grown potatoes benefit from the insulation and portability of pots, allowing you to start them indoors to beat lingering cold and avoid late frosts. Simply start your seed potatoes in a sunny window or under grow lights, then move them outdoors when conditions warm up.
In warm climates, where spring arrives early or winters are mild, you can plant container potatoes from late winter through early spring—and even try a late summer planting for a fall crop. Just make sure daytime temperatures stay below 85°F (29°C) and nights above 40°F (4°C), since tubers won’t sprout or set well in extreme heat or lingering cold. Containers make it easy to follow the best light or move your crop to cooler, shadier spots as the season changes.
For every climate, remember potatoes sprout best when soil temperatures range from 45-70°F (7-21°C) and grow rapidly with consistently moist, well-drained soil. Using containers gives you more control over these conditions. In a nutshell, containers let you tailor potato planting to suit your season—whether that means jump-starting growth indoors during chilly springs or squeezing in extra harvests before a hot summer.
Choosing the Right Container and Soil
Selecting the right container is a crucial step for successful container gardening, and your choice largely depends on the type of plant, available space, and your gardening goals. Buckets, grow bags, and large pots each have their pros and cons.
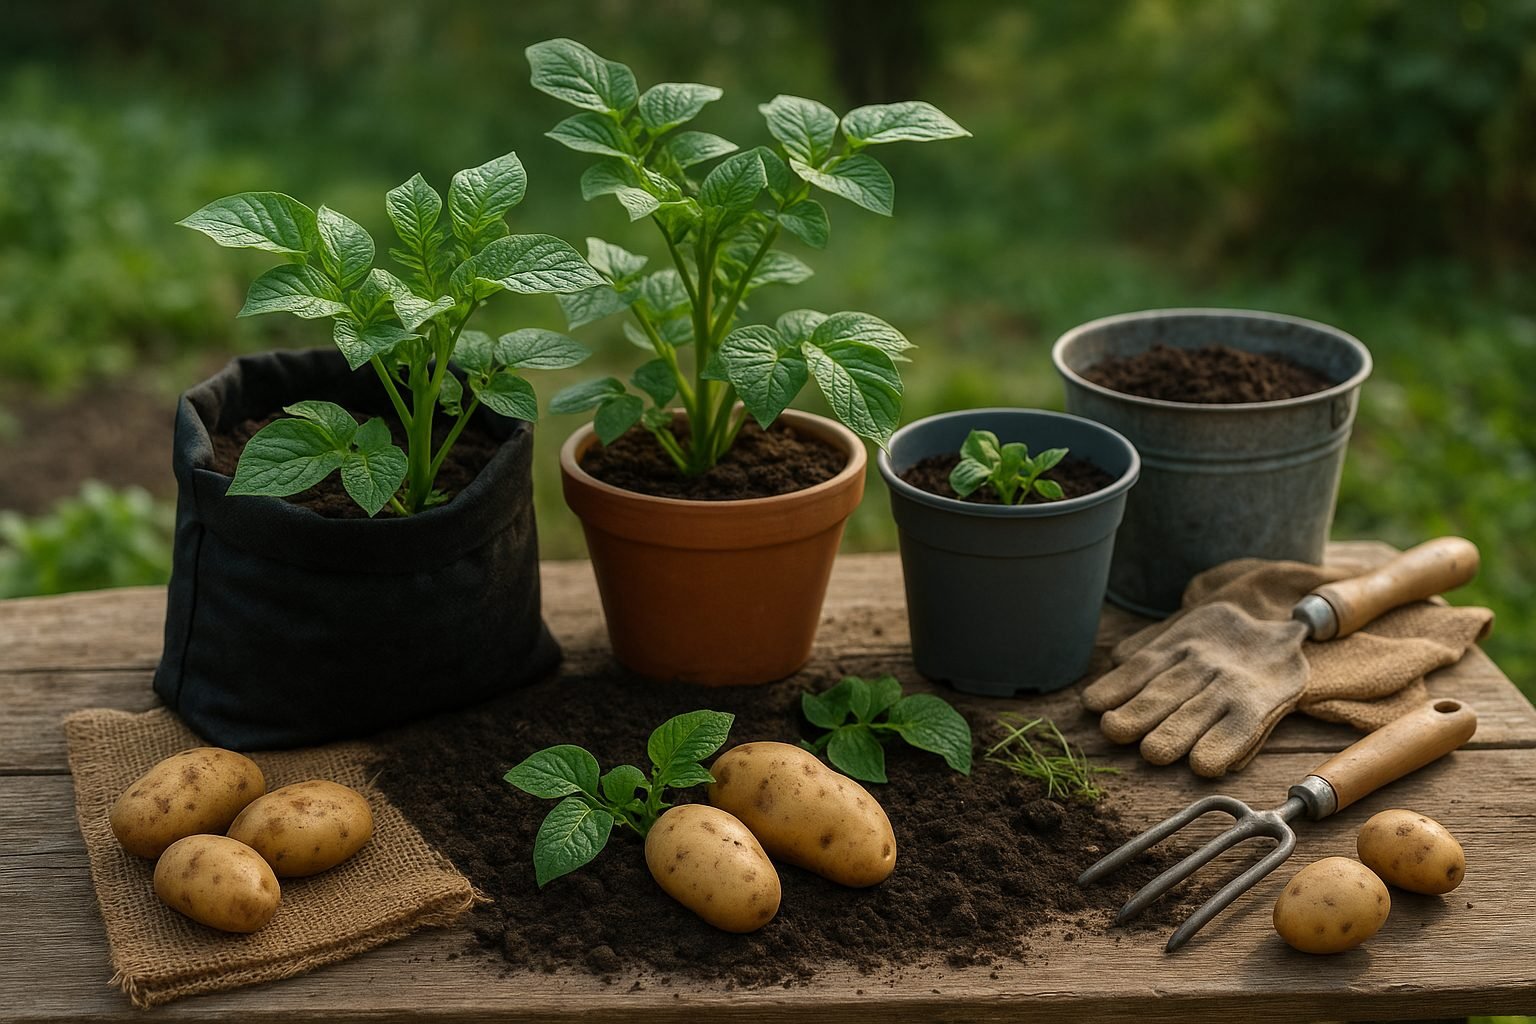
Buckets are budget-friendly and sturdy, but be sure to drill several holes in the bottom for proper drainage—without it, roots can rot quickly. Grow bags are gaining popularity because their breathable fabric enhances both drainage and root aeration, helping prevent overwatering and root-bound plants. However, they may dry out a bit faster and often require more frequent watering. Large pots, especially ceramic or plastic, provide ample room for root systems to expand and retain moisture longer, but check that they include drainage holes or add a layer of gravel at the base.
Whether you choose plastic, ceramic, or fabric, bigger is usually better—aim for containers 12 inches deep or more for most vegetables to give roots enough space.
Equally important is the soil you use. Plants grown in containers thrive in well-draining, loose soil instead of heavy garden dirt. Use a quality commercial potting mix or make your own by mixing peat moss or coconut coir, perlite, and compost. Avoid regular topsoil; it packs down in containers and stifles root growth. For extra nutrition, blend in slow-release fertilizer pellets.
Position your containers in a spot where they’ll receive 6–8 hours of sunlight daily—think south- or west-facing walls, patios, or balconies. To maximize plant health and reduce the risk of disease, ensure your containers aren’t crowded together, allowing for good airflow between them. Elevate pots slightly with bricks or stands if needed; this can improve drainage while keeping pests at bay. Keep an eye on changes in light throughout the seasons and adjust placement as necessary for the best results.
Selecting Potato Varieties for Containers
When growing potatoes in containers, choosing the right variety makes all the difference. Compact and early-maturing types are best since they don’t require deep soil and produce harvests quickly—perfect for patios or small balconies.
Look for varieties labeled as “new potatoes” or “early types,” such as ‘Yukon Gold,’ ‘Red Norland,’ or fingerlings like ‘Russian Banana.’ These varieties thrive in confined spaces and mature in as little as 60–80 days.
While you might be tempted to use sprouting potatoes from the grocery store, it’s best to invest in certified seed potatoes instead. Seed potatoes are disease-free, specially grown for planting, and have a higher chance of producing healthy plants. Grocery store potatoes can carry diseases, are often treated to prevent sprouting, and might yield disappointing results.
Many gardeners swear by the ‘Rocket’ variety, which is ultra-early and compact. ‘Charlotte’ and ‘Lady Christl’ are also favorites for container gardens, thanks to their manageable size and reliable yields. For even more color, try ‘Purple Majesty’ for small pots—its deep hue adds visual interest and flavor.
When shopping, check local nurseries or reputable catalogs for seed potatoes geared toward container growing. This simple choice will set your spuds up for success.
Planting Potatoes Step-by-Step
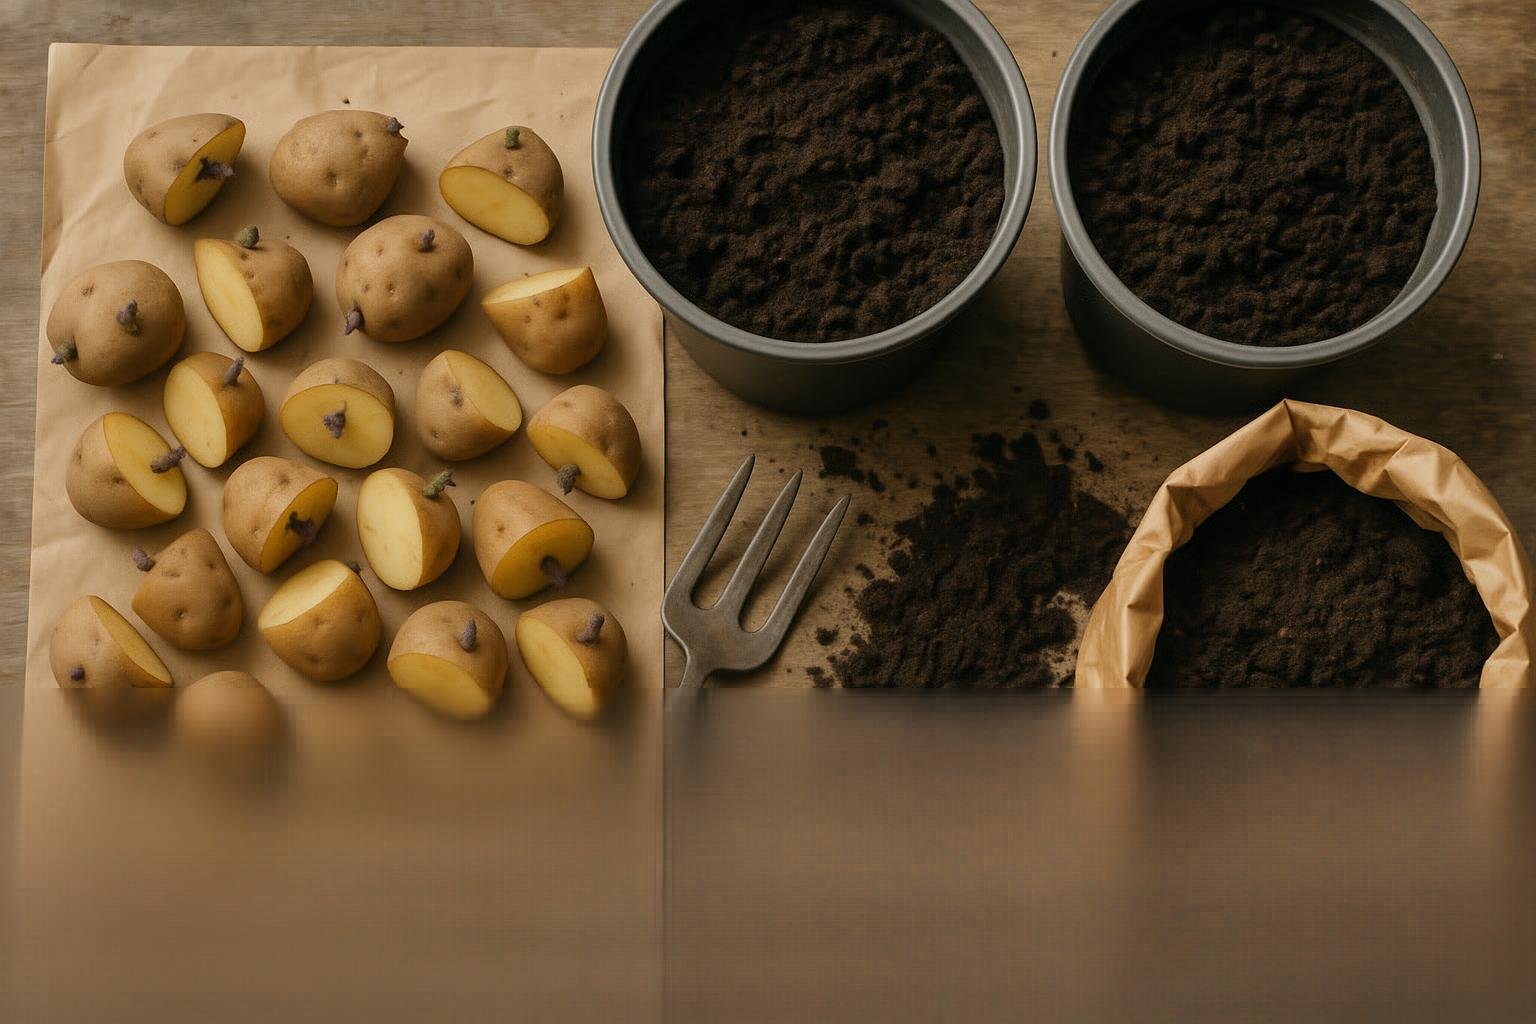
Before you plant potatoes, start by preparing seed potatoes—these are healthy, certified potato tubers cut into chunks, each with at least one or two “eyes” (the small dimples that sprout). Let the cut pieces air dry for a day or two in a cool place; this curing step helps form a callous over the cut surfaces, reducing the risk of rot once in the soil.
When it’s planting time and the ground has warmed (usually about two weeks after the last frost), dig trenches about 6 to 8 inches deep and space them 2 to 3 feet apart. Space the seed potato chunks about 12 to 15 inches apart within the trench, with the cut side down and the eye facing up.
Before covering the potatoes, mix in some compost or an all-purpose organic fertilizer—this gives the plants a nutrient-rich start and boosts overall yield. Cover the seed potatoes with about 4 inches of soil at first.
As the green shoots grow 6 inches tall, gradually pile more loose soil, compost, or straw around the base in a process called hilling, leaving just the top few inches of the plant exposed. Repeat this hilling process every couple of weeks as plants grow, adding soil each time to encourage more tuber formation along the buried stems—this simple method can double or even triple your potato harvest.
The extra soil also keeps sunlight from reaching the developing potatoes, ensuring they stay tasty and free from greening. With these steps, you’ll set your potato patch up for a healthy, abundant crop.
Caring for Potatoes in Containers
Growing potatoes in containers is practical and fun, but success hinges on attentive care. Start with regular, consistent watering—potatoes need moist (not soggy) soil. Check the soil daily; if the top inch feels dry, it’s time to water. Aim to water deeply, reaching the roots, but ensure excess moisture can drain out to prevent rot.
Overwatering is a common mistake—yellowing leaves, limp stems, and a musty smell signal trouble, so back off if you notice these signs. Feed your potatoes every 2-3 weeks with a balanced potato fertilizer (a 5-10-10 NPK works well), or mix in slow-release organic plant food at planting and supplement with liquid seaweed or fish emulsion as your plants grow.
Keep your eyes open for pests like aphids, Colorado potato beetles, or even slugs; hand-pick bugs, spray plants with a gentle soap solution, and inspect the undersides of leaves regularly. Watch for early blight—yellow spots or dark lesions on leaves—and remove affected foliage quickly to limit spread.
Good airflow helps; don’t overcrowd your container, and rotate it for even sun exposure. As your potato plants grow taller, support upward growth by “hilling”: gently mound more soil or straw around stems until just the top leaves show. This encourages more tubers to develop and shields them from sunlight, preventing green potatoes.
Healthy container potatoes thrive with attention to water, nutrients, and periodic monitoring—it’s a rewarding routine that pays off at harvest.
When and How to Harvest Container-Grown Potatoes
Knowing the right moment to harvest your container-grown potatoes can make all the difference in their flavor and storability. One of the clearest signals that your potatoes are ready is when the foliage begins to turn yellow and die back—typically about 10 to 12 weeks after planting for early varieties, or up to 20 weeks for main crop types.
If you’re craving tender “new” potatoes, you can gently dig around in the soil two to three weeks after the plants flower, feeling for small, thin-skinned tubers just under the surface. For mature potatoes, wait until the plants have completely died back; this allows the skins to toughen for better storage.
When it’s time to harvest, water the container lightly a day before to soften the soil. Use your hands or a small hand fork to carefully dig into the side of the container, starting far enough from the plant base to avoid piercing the tubers. Gently sift through the soil and lift out each potato, brushing off loose dirt but leaving them unwashed if you plan to store them—moisture can lead to rot.
Once harvested, let the potatoes cure in a cool, dry spot for about a week, which helps toughen the skins further. Remember, patience pays off with container potatoes: waiting just a bit longer after yellowing foliage means a bigger, more flavorful harvest.
Storing and Enjoying Your Homegrown Potatoes
After harvesting your homegrown potatoes, proper storage is key to keeping them fresh for months. Start by gently brushing off excess dirt, but avoid washing the potatoes until you’re ready to eat them—moisture can speed up rot. Let them cure in a cool, dark, and well-ventilated place for about two weeks; this toughens the skins and helps prevent spoilage.
Once cured, move your potatoes to a paper bag, basket, or cardboard box (never plastic, which traps moisture) and store them in a spot that stays between 45–55°F, like a basement or pantry. Check your stash regularly and remove any potatoes showing signs of sprouting or softness.
When you’re ready to enjoy your harvest, fresh potatoes shine in simple dishes: roast them with olive oil and rosemary, whip up a classic buttery mash, or create a quick skillet hash with eggs and herbs. Homegrown potatoes also make the best crispy wedges or potato salad.
If this year’s crop was a success (or even if you hit a few bumps), consider container growing again next season—it’s beginner-friendly and great for small spaces. You might also branch out and try other container crops like carrots, beets, or salad greens for a varied, tasty harvest right on your patio or balcony.