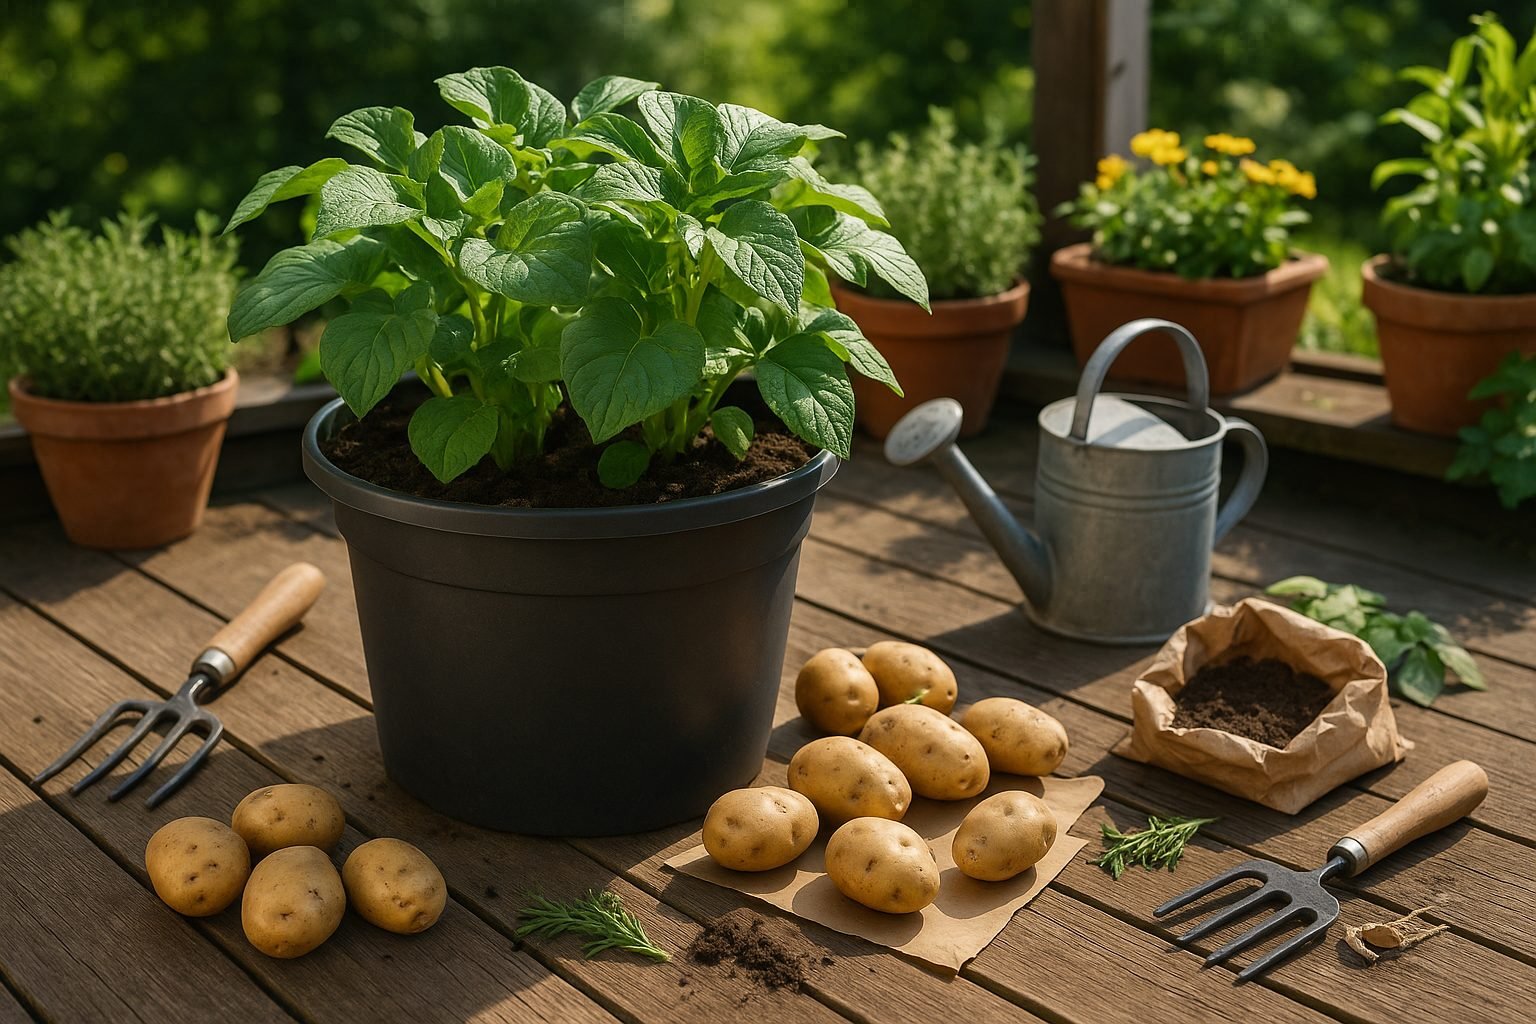
Introduction to Growing Potatoes in Buckets
Bucket potatoes have soared in popularity among home gardeners looking for fresh, homegrown produce without needing a sprawling backyard. Whether you live in an apartment or have limited gardening space, growing potatoes in buckets or barrels is a simple, space-saving solution that delivers big results. It’s perfect for beginners—just a handful of seed potatoes and some basic supplies are all you need to get started.
One of the main draws of cultivating bucket potatoes is the ease of managing your harvest. No digging through heavy soil or risking damage to the delicate tubers; simply tip the bucket and sift through the loose compost for your potato treasure. This method also helps with pest protection, keeping your crop elevated and making it tougher for common garden pests like Colorado potato beetles and wireworms to attack.
Urban gardeners especially appreciate how well potato buckets fit on balconies, patios, or even sunny doorsteps, making fresh food accessible no matter where you live. Plus, thanks to the controlled soil environment, you can monitor water levels and soil health much more effectively than with traditional in-ground gardening.
For best results, opt for potato varieties that thrive in containers—look for early or second-early types such as ‘Yukon Gold’, ‘Red Pontiac’, ‘Charlotte’, or ‘Rocket’. These mature faster and are well-suited to the unique conditions of a bucket. With a little care, you’ll soon be enjoying a bumper crop of delicious, homegrown potatoes right at your doorstep.
Choosing and Preparing Your Bucket
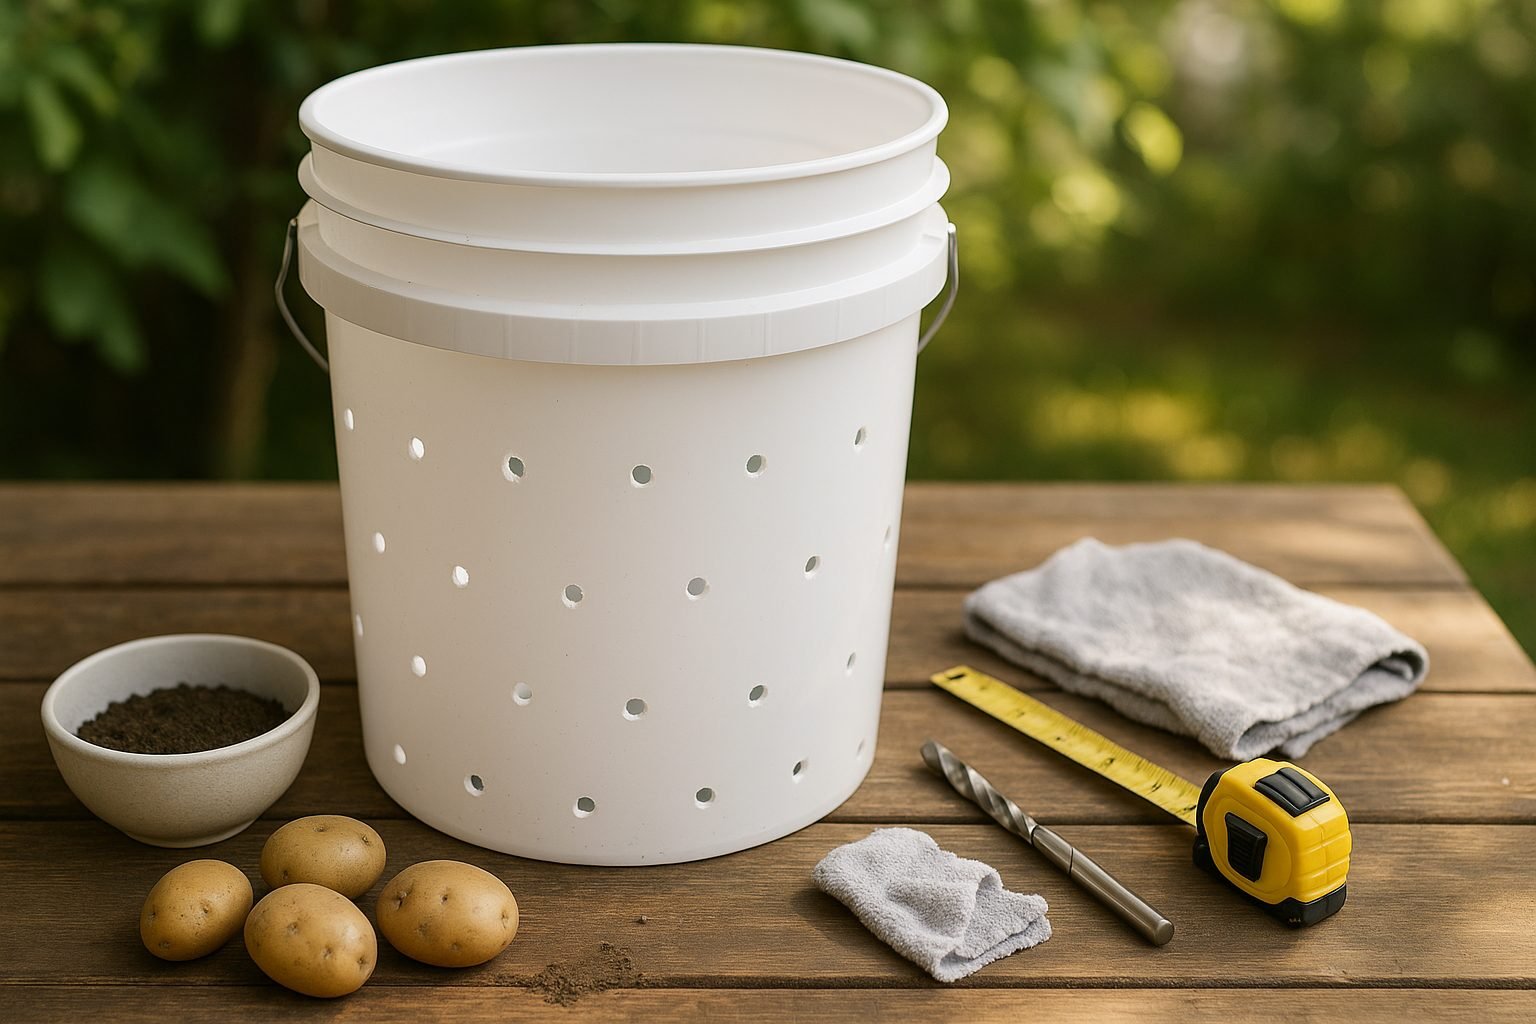
When choosing a bucket for growing potatoes, aim for a container that holds at least 5 gallons—common painter’s buckets or sturdy food-grade plastic buckets work well. Look for buckets that are clean and have never held toxic substances; food-grade buckets are safest and can often be sourced from bakeries, restaurants, or bulk food stores.
To ensure proper drainage, use a 3/8-inch drill bit to make 6-8 holes evenly spaced on the bottom of the bucket and a couple along the lower sides. Good drainage prevents soggy soil and rot, which potatoes are especially susceptible to.
Before planting, scrub the bucket thoroughly with warm soapy water and rinse well to remove residues. Then soak it in a diluted bleach solution (1 part bleach to 9 parts water), rinse again, and let it air dry. This helps eliminate any lingering pathogens or contaminants.
If desired, line the bottom of the bucket with a layer of newspaper or burlap to keep soil from escaping through the holes, though this step is optional.
When positioning your bucket, place it somewhere that gets at least six to eight hours of sunlight a day—potatoes thrive with plenty of light. Setting the bucket on bricks or a plant stand can boost drainage and protect surfaces from stains.
By selecting the right bucket and preparing it carefully, you’ll give your potato plants the best possible start.
Selecting and Preparing Seed Potatoes
Seed potatoes are specially selected potatoes used for planting rather than eating. They’re crucial because starting with certified disease-free seed potatoes greatly reduces the risk of common potato diseases such as blight or scab.
When preparing to plant, always purchase certified seed potatoes from reputable garden centers or suppliers. Avoid grocery store potatoes, which may be treated with sprout inhibitors or carry disease.
Before planting, you’ll want to “chit” your seed potatoes—a simple process that encourages the development of sturdy sprouts. To do this, place the seed potatoes in a cool, bright, but frost-free spot (like a windowsill or a tray in your shed), with the eyes facing up. Leave them for several weeks until the shoots are about 1/2 to 1 inch long.
If your seed potatoes are larger than a hen’s egg, cut them into chunks with at least two good eyes each. Allow the cut surfaces to dry for a day or two so they callous over—a step that helps prevent rot.
For container planting, such as in a standard 5-gallon bucket, use about 2 to 3 seed potatoes per container to ensure the plants have room to grow and produce a good crop.
By starting with healthy, properly prepared seed potatoes and using the ideal amount per bucket, you’ll be on your way to a successful homegrown potato harvest.
How to Plant and Care for Potatoes in Buckets
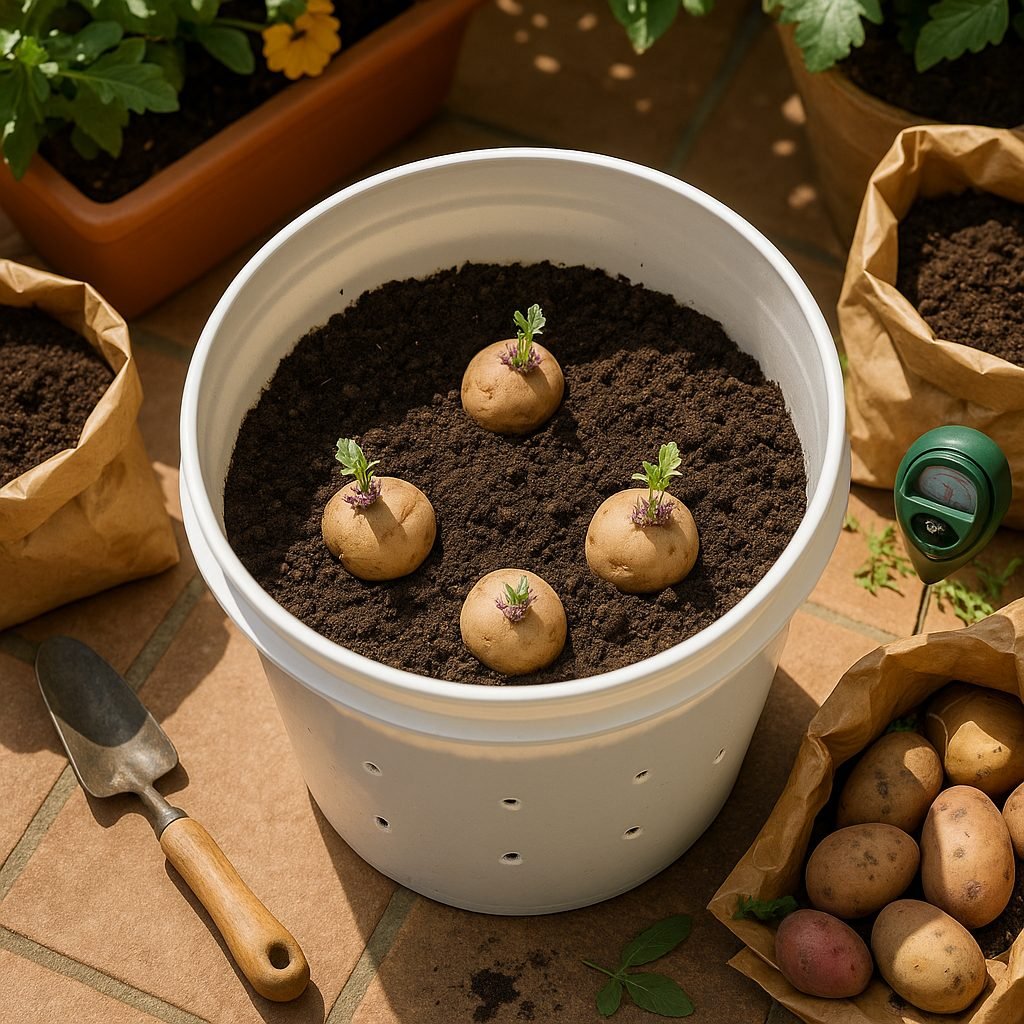
Growing potatoes in buckets is an easy, space-saving method that can yield impressive results—even if you have only a balcony or small yard. Start by choosing a deep bucket with drainage holes, at least 10-15 gallons in size. Fill the bottom five inches with loose, well-draining soil—a mix of compost, garden soil, and a bit of sand works well.
Potatoes thrive in slightly acidic soil with a pH of 5.5-6.5, so test your soil if you can and adjust as needed. Place three to four seed potatoes or potato pieces (each with one or two eyes) evenly spaced on the surface, about 4-6 inches apart. Cover them with three more inches of soil.
As green shoots reach about six inches tall, gently add more soil or compost around them, leaving the top leaves exposed. This process, called “hilling up,” encourages more tubers to form along the buried stems. Continue hilling every time the plants grow another six inches until the soil nears the rim of the bucket.
Potatoes need consistent moisture but don’t like soggy feet—check the soil regularly and water deeply whenever the top inch dries out. Aim for at least 6-8 hours of direct sunlight daily; place your bucket where it will get good sun, or move it as needed for the best exposure.
Fertilize with a balanced liquid feed or potato-specific fertilizer every 2-3 weeks for robust growth. Adding a scoop of compost on top during hilling also boosts nutrients. Keep an eye out for pests and remove any yellowing leaves, which can signal overwatering or disease.
With a little attention, you’ll be rewarded in about 12-16 weeks: simply tip the bucket over and harvest your homegrown potatoes!
Harvesting and Troubleshooting Common Issues
Knowing when to harvest potatoes is key to getting the best flavor and texture. For most varieties, wait until the plant’s leaves and stems start to yellow and die back, which usually happens two to three weeks after flowering. If you’re growing for “new potatoes,” you can try gently digging around the base for small, tender tubers about a week after the plants flower.
Harvesting from a bucket is straightforward, but gentle handling is important—dump the contents onto a tarp or large container, and use your hands or a small garden fork to carefully sift through the soil. Watch out for any hidden potatoes so you don’t accidentally pierce or bruise them.
If you’re having growing troubles, overwatering is a common culprit. It causes yellowing, wilting, and mushy potatoes, so be sure buckets have drainage holes and let the soil dry slightly before watering again. Pest infestations like aphids or potato beetles can be handled early by hand-picking bugs or using insecticidal soap.
For diseases like blight, remove and destroy infected foliage quickly and avoid overhead watering to keep leaves dry. Regularly check your plants for any signs of stress like brown spots, holes, or wilting, and address them early—healthy, stress-free plants are much more likely to yield a great potato harvest.
Keeping each step simple helps you enjoy a stress-free, bountiful bucket of potatoes.
Expert Tips for a Successful Potato Bucket Harvest
To ensure a successful potato bucket harvest, start by choosing a spot that gets at least six hours of sunlight each day—potatoes thrive in bright, warm conditions. Consistent moisture is key, so check the soil daily; it should feel damp but never soggy, as waterlogged conditions invite disease. Placing your buckets on bricks to improve drainage can help prevent root rot.
When the season ends, you can reuse your soil, but only after removing old roots and debris, then mixing in fresh compost to recharge nutrients. To avoid potato diseases, don’t plant potatoes or other nightshades (like tomatoes) in the same soil two years in a row; rotate with leafy herbs or beans in between.
For extra healthy plants, mulch around your potato stems with straw or leaves to lock in moisture and keep the tubers cool—this also discourages weeds. Consider interplanting with basil or marigolds, which can repel pests naturally and encourage vigorous growth.
Growing potatoes in buckets is not only space-smart but also surprisingly rewarding; even first-timers are often amazed by the bounty hidden beneath the soil. With a few simple tweaks and a dash of patience, you’ll soon lift the lid on your own homegrown harvest—and there’s truly nothing better than that first taste of potatoes you nurtured from scratch.