Introduction to Raised Bed Potato Growing
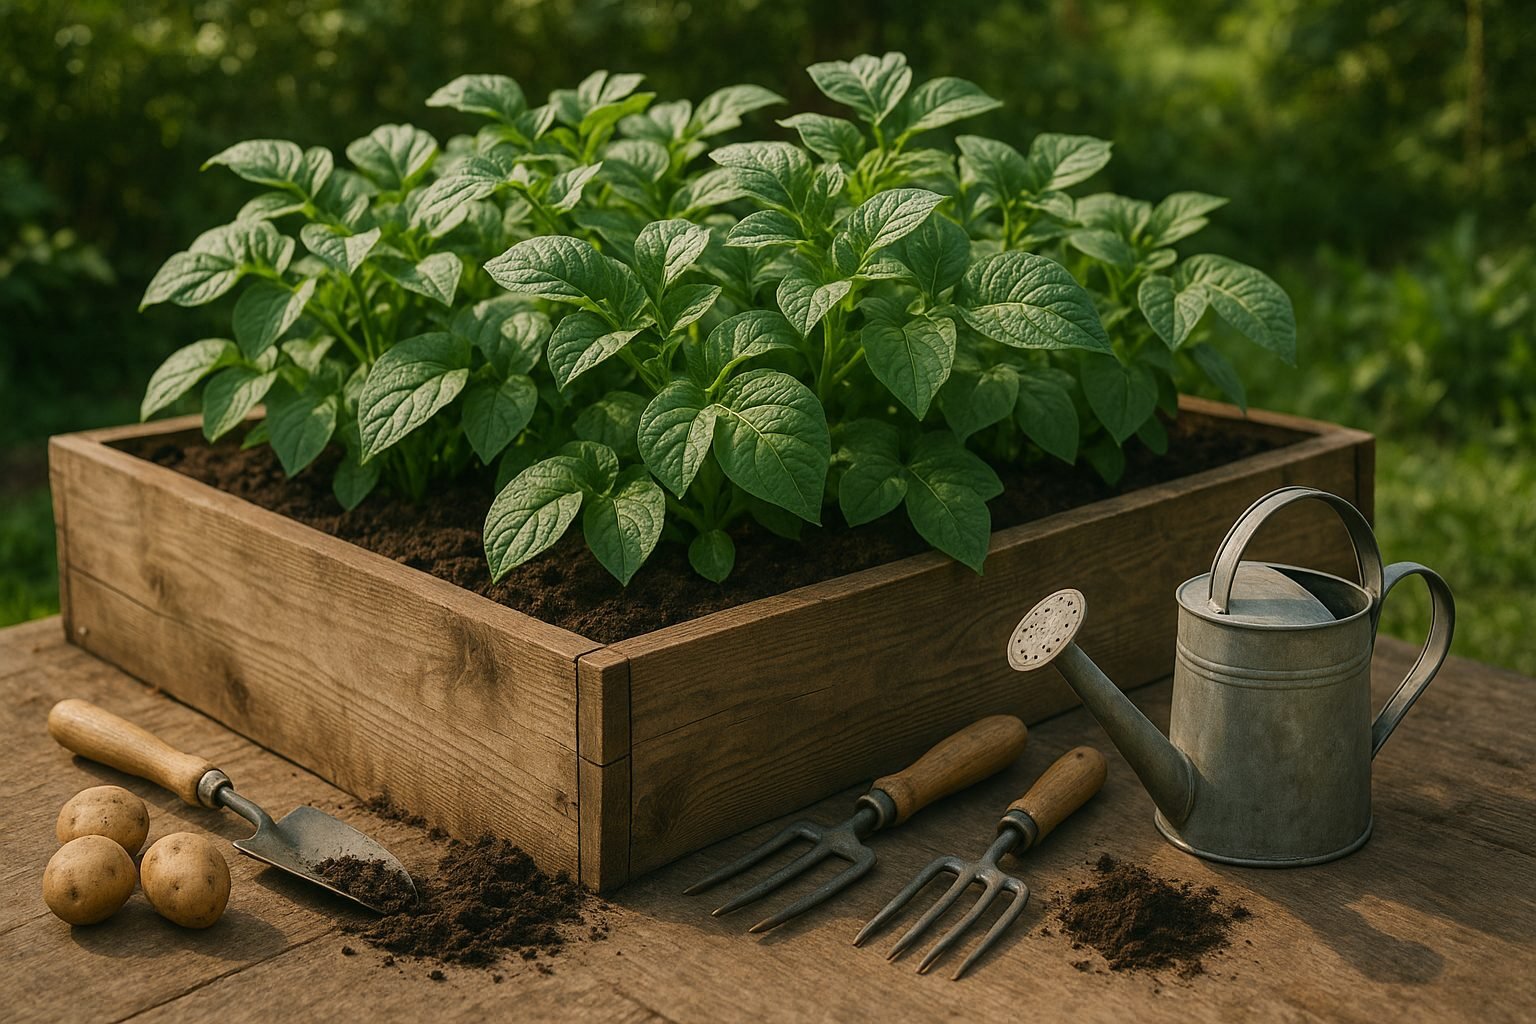
Getting your potato bed layout right can make all the difference when it comes to growing delicious, high-yield spuds at home. Raised beds and containers are surging in popularity for potato growing—and for good reason. Not only do they save precious space in smaller yards, but they also let you take control of your soil quality, drainage, and nutrient content.
By lifting potatoes away from native soil, raised beds reduce the risk of soil-borne diseases and make it much harder for pests like wireworms or nematodes to wreak havoc. Compared to traditional in-ground planting, a carefully designed potato bed layout in raised beds allows for better airflow, easier hilling, and more efficient watering.
You’ll also appreciate the convenience of harvesting: no back-breaking digging, just lift and collect! In this hands-on guide, we’ll walk you through how to design the ideal potato bed layout for lush growth and maximum yield, from choosing the right site and soil mix to organizing your spuds and caring for them all season long.
Whether you’re a first-time gardener or an experienced green thumb looking to fine-tune your technique, you’ll find practical tips that turn your potato patch into a bumper crop.
Choosing the Right Potatoes and Preparing Seed Potatoes
Selecting the best potato variety is key when growing in raised beds or containers. Early potatoes, like ‘Yukon Gold’ or ‘Red Norland,’ mature quickly and are great for small spaces since they produce a crop before diseases can set in. Maincrop potatoes, such as ‘Russet Burbank,’ need more time and room but yield larger harvests—ideal if you have bigger containers or want to store potatoes for winter. Fingerling types, like ‘Russian Banana,’ are compact, tasty, and perfect for limited space while offering gourmet flavors.
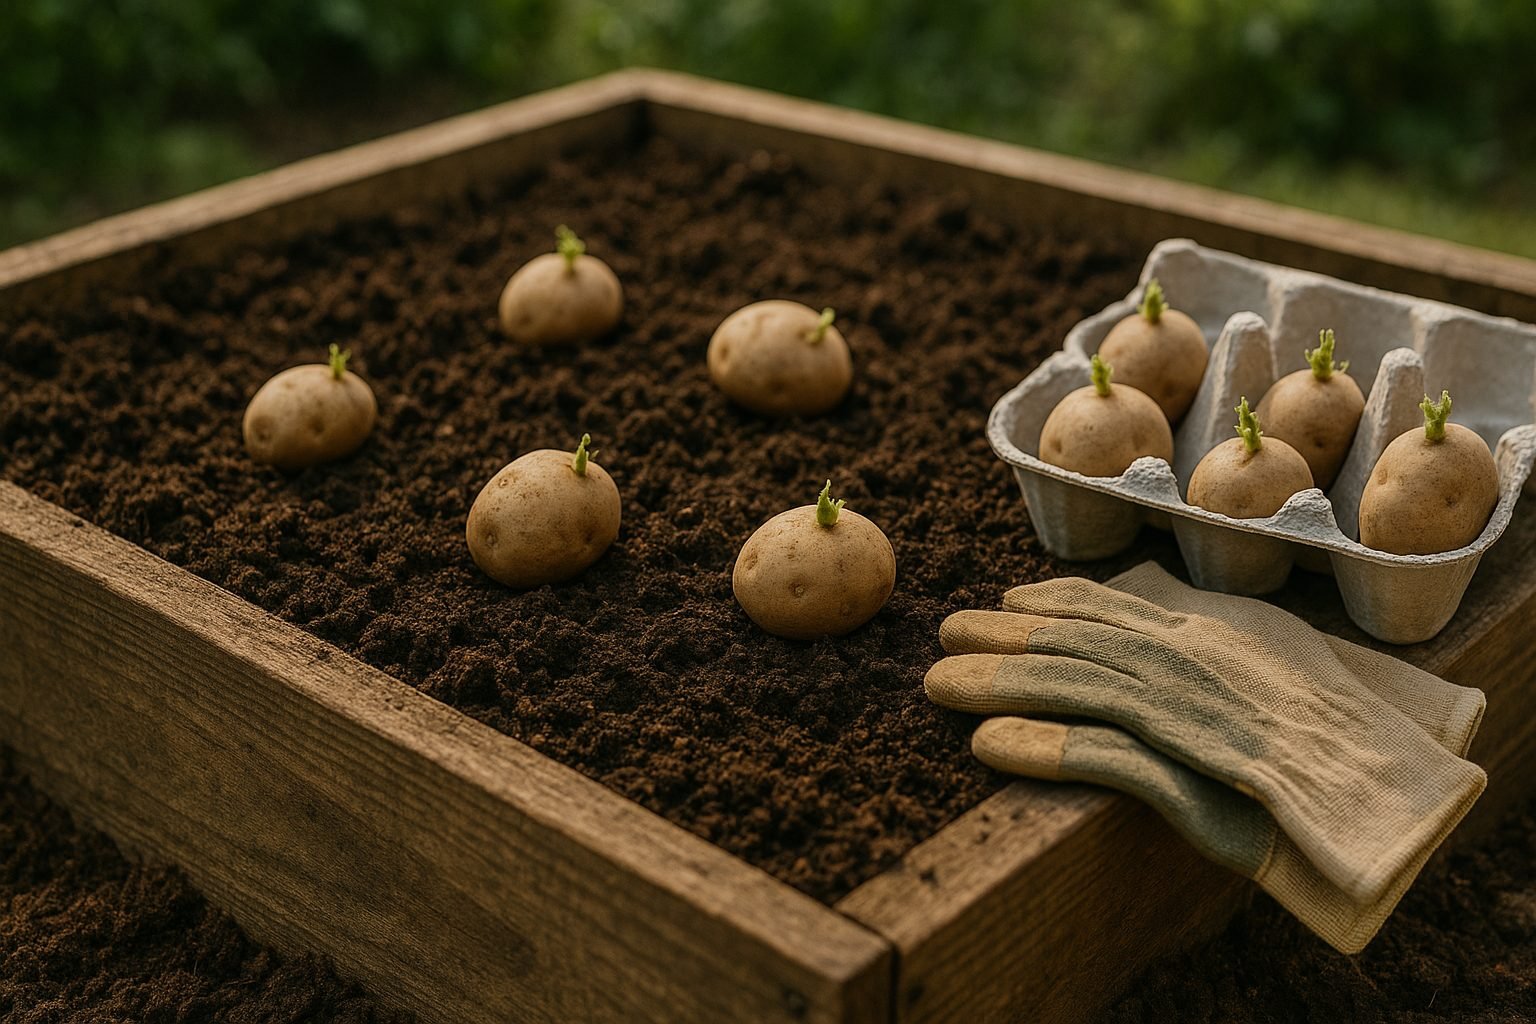
For planting, always use certified seed potatoes instead of store-bought eating potatoes. Seed potatoes are disease-free tubers specifically sold for planting, helping prevent blight or other problems that can ruin your crop. Before planting, try “chitting”—simply place your seed potatoes in an egg carton or tray in a cool, bright spot for a few weeks. Allow the stubby green sprouts to grow to about an inch long; this gives the plants a quick start once they hit the soil, often leading to better germination, faster growth, and bigger yields.
Taking a bit of time to choose the right type and prepare your seed potatoes pays off at harvest.
Planting Potatoes in Raised Beds or Containers
Planting potatoes in raised beds or containers is a straightforward process that delivers reliable harvests and is especially helpful if you have limited garden space or poor soil.
Start by filling your raised bed or large container with 4-6 inches of loose, well-draining soil—potatoes do best in a blend of compost and potting mix, enriched with aged manure.
Planting in Raised Beds
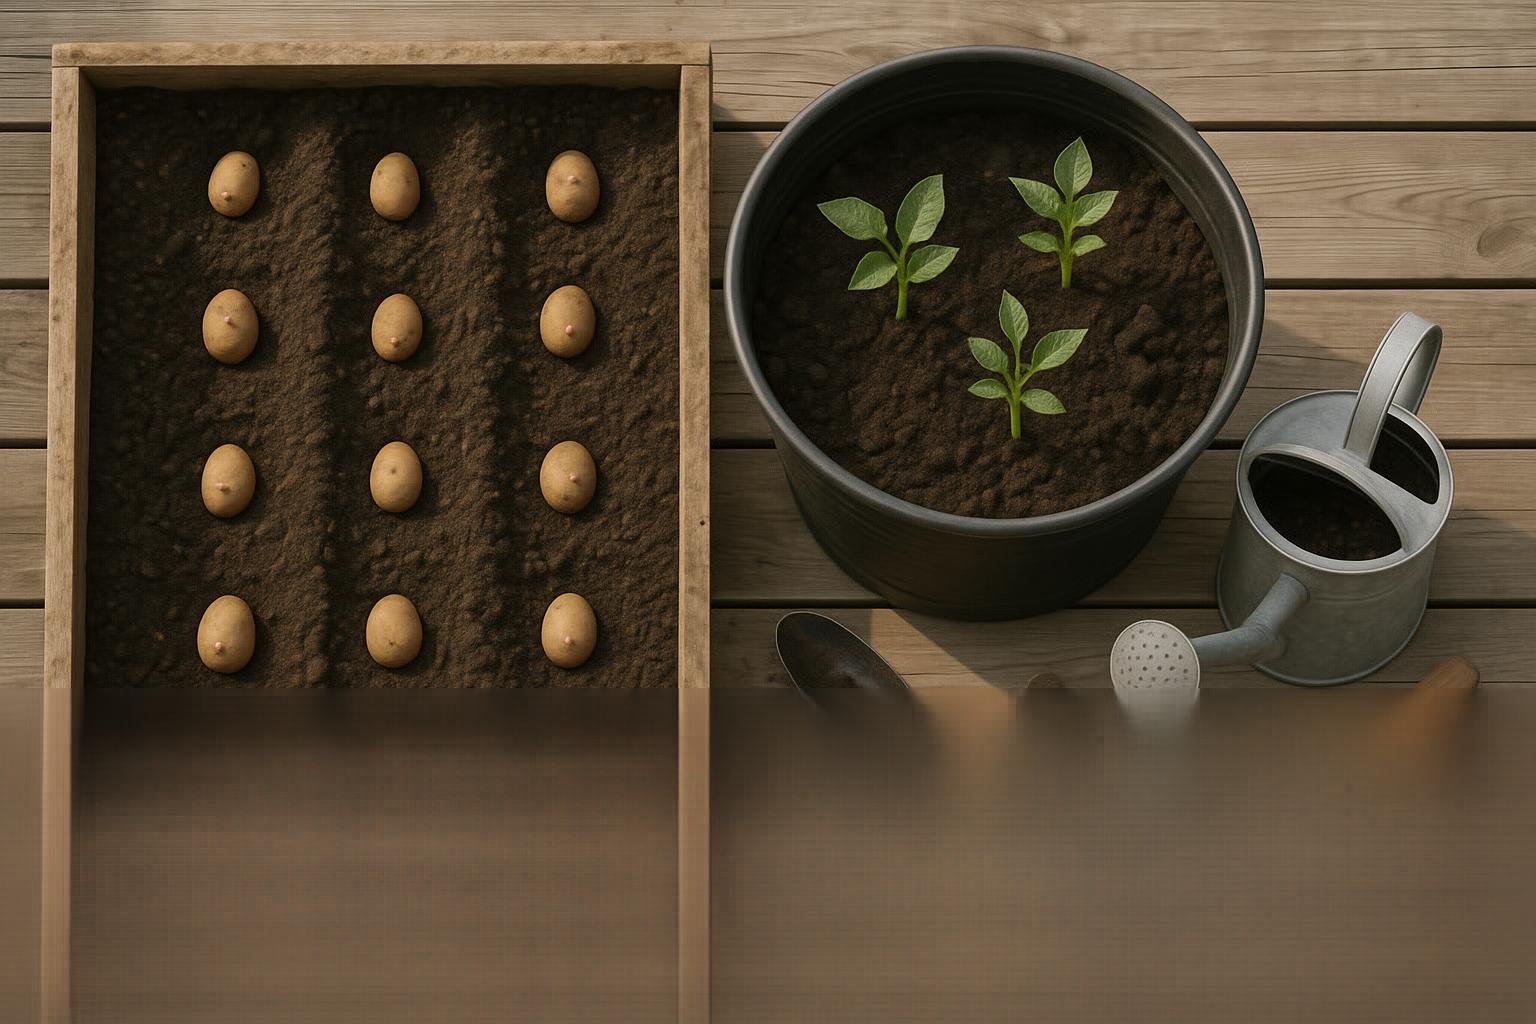
For raised beds, plant seed potatoes (small potato pieces with at least one eye) about 3-4 inches deep and space them 12 inches apart in rows 18-24 inches apart. This spacing allows enough room for the tubers to develop.
Planting in Containers
In containers, use the layering method: place seed potatoes on the soil surface, cover with 3-4 inches of soil, and as the shoots grow to about 6 inches tall, add more soil around the stems. Repeat this process until you reach the top of the container.
This mimics traditional trenching, where gardeners dig a shallow trench in open ground, plant potatoes at the bottom, and gradually fill in with soil as the plants grow.
Why Use These Methods?
- The layering method in containers maximizes space and keeps tubers covered to avoid greening.
- Trenching helps manage weeds and directs root growth in open plots.
Ensure your soil is consistently moist but never soggy, and use containers with drainage holes to prevent rot.
Potatoes thrive in full sun—aim for 6-8 hours per day—so place your beds or containers in a sunny, sheltered spot.
The best planting time is early spring, about 2-4 weeks before your area’s last frost date.
For a successful crop, use certified disease-free seed potatoes and avoid planting them in the same spot as other nightshades from the previous year.
With the right setup and a little attention, growing potatoes at home can be easy and rewarding—perfect for beginners and experienced gardeners alike.
“`html
Caring for Potato Plants: Hilling and Watering
Hilling is a key technique in potato care that involves mounding loose soil around the base of the growing plants, usually when stems reach about 6-8 inches tall. This covers developing tubers, protecting them from sunlight—which can turn potatoes green and toxic—and encourages the plant to grow more tubers along buried stems.
It’s best to add two to three inches of soil every 2-3 weeks, or whenever you see new growth poking above the last hill.
Consistent watering is equally important; aim for 1-2 inches per week, focusing on keeping the soil evenly moist but not waterlogged. Water early in the day to allow leaves to dry and avoid fungal issues. Watch for signs of moisture stress, like yellowing leaves or curly foliage.
Potato plants are vulnerable to pests such as Colorado potato beetles and aphids, as well as diseases like blight and scab. To keep problems at bay:
- Rotate crops yearly.
- Remove plant debris at the end of the season.
- Inspect plants regularly for pests and hand-pick beetles when you see them.
Mulching can help with both moisture retention and weed control, promoting healthier and more productive potato plants.
“`
Harvesting and Curing Potatoes for Storage
Knowing when to harvest potatoes is key to getting the best flavor and longevity in storage. The perfect time to dig up your crop is when the plants’ foliage has turned yellow and started to die back; this usually happens two to three weeks after they finish flowering.
For raised beds and containers, use a small garden fork or even your hands to gently uncover the potatoes, being careful not to puncture or bruise their skins. Work from the edges and lift the soil slowly to expose the tubers.
Once harvested, leave your potatoes on the surface of the soil or in a cool, shaded spot for a few hours to dry and brush off any excess dirt—avoid washing them at this stage.
Curing is the next crucial step to toughen the skin and lengthen storage life. Spread the unwashed potatoes in a single layer in a well-ventilated, dark space at around 50 to 60°F (10-16°C) with moderate humidity for 10 to 14 days.
After curing, gently rub off soil, check for damaged potatoes to use first, and store healthy tubers in a cool, dark, and dry place. This simple process can keep your homegrown potatoes fresh for months.
Extra Tips for Better Potato Yields
To boost your potato harvest, try companion planting with crops like beans and corn, which enrich the soil and deter pests. Adding marigolds nearby can also help keep harmful insects at bay.
For a natural growth boost, mix in aged compost or well-rotted manure before planting to provide essential nutrients, and spray diluted seaweed or fish emulsion as a gentle foliar feed during the season.
If your yields are small, check for compacted soil or overcrowding—potatoes need loose, aerated ground and enough space between seed potatoes to form well-sized tubers. Make sure you’re hilling soil up around the stems as they grow; this not only supports larger harvests but also helps prevent green potatoes, which form when tubers are exposed to sunlight. Green potatoes can be toxic, so keep them covered and harvest promptly.
To make the most of limited space, try growing potatoes in large containers or vertical grow bags—you can even layer seed potatoes in staggered intervals for a continuous supply. In regions with longer growing seasons, start a second round of planting soon after the first harvest to enjoy multiple crops in one season.
With these extra tips, you’ll see your potato patch thrive with bigger, healthier yields.
Conclusion and Next Steps in Your Home Potato Garden
Growing potatoes in raised beds and containers offers great benefits—improved soil control, easier harvesting, and fewer pests compared to traditional in-ground planting. Remember to choose quality seed potatoes, provide plenty of sun, and keep the soil moist but not soggy for the best results.
Don’t hesitate to try different potato varieties or new growing techniques each season; experimenting can lead to surprising yields and flavors. Share your own tips, stories, or questions in the comments below—let’s learn from each other’s successes and challenges as you grow your own tasty harvest right at home!