Introduction to Radishes
Winter radish growing is gaining popularity among home gardeners looking to extend their harvests beyond the usual spring bounty. Radishes have long held a special place in backyard plots thanks to their crisp bite, vibrant colors, and the fact that they can be ready to eat just weeks after planting.
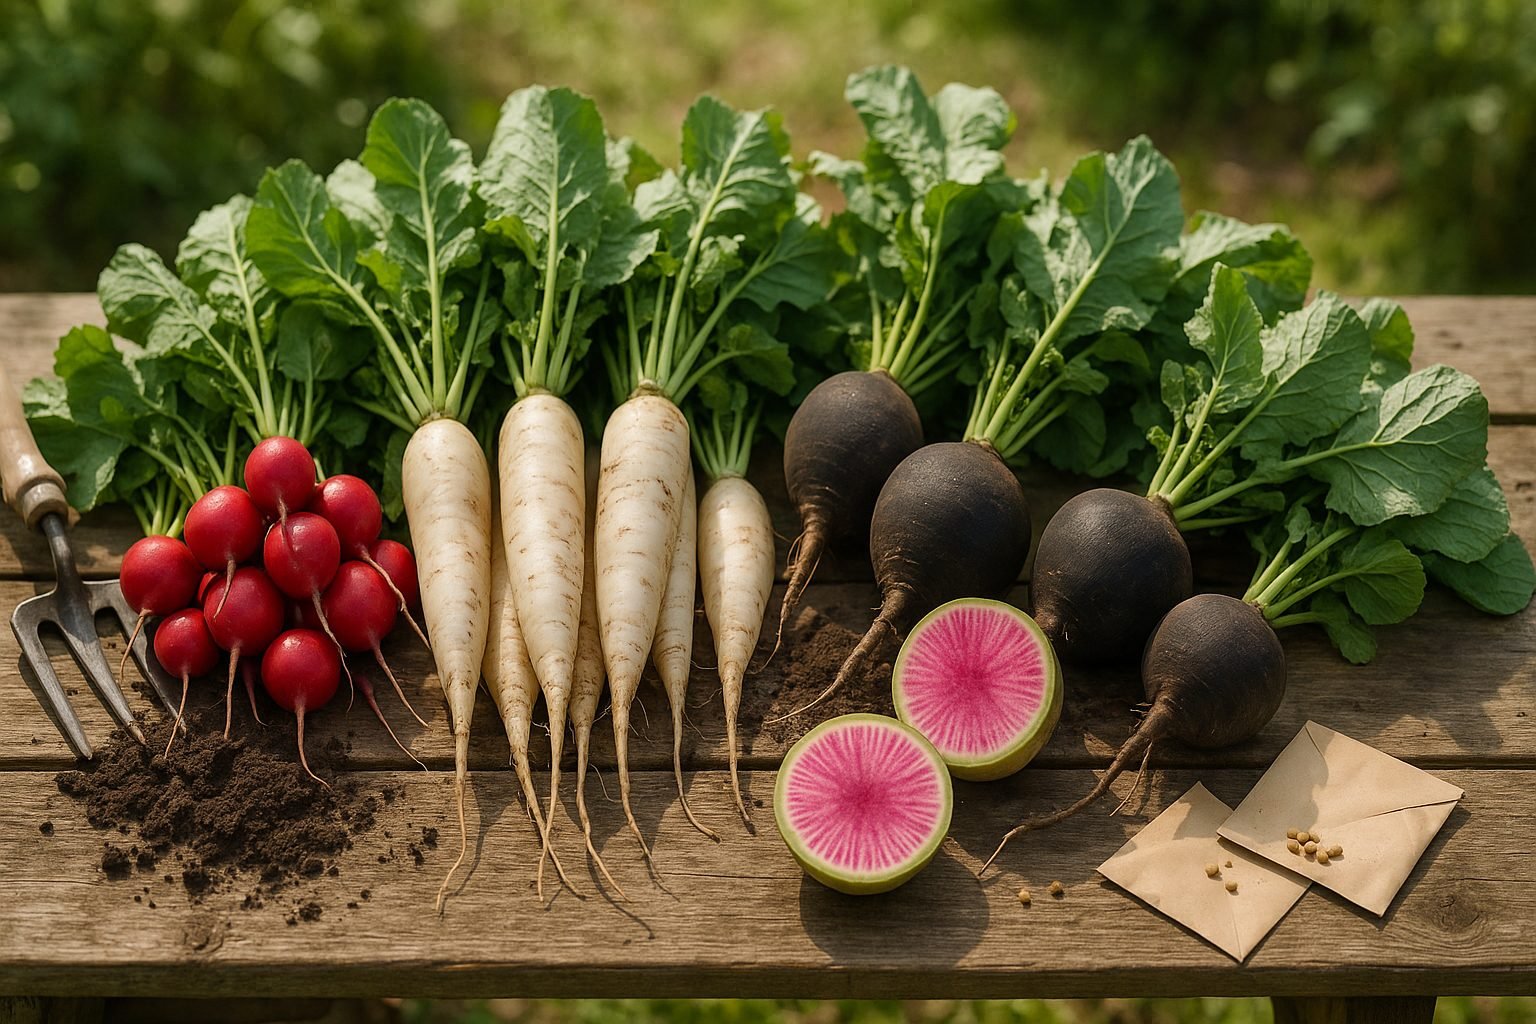
Most people are familiar with spring radishes—compact and peppery varieties like ‘Cherry Belle’ or ‘French Breakfast’—which grow fast and are perfect for impatient gardeners. But winter radishes, such as ‘Daikon’ and ‘Black Spanish,’ offer a different experience. These varieties require a longer growing season, often up to two or three months, and develop into larger, sturdier roots that store well and bring a milder, sometimes sweeter flavor to salads, stir-fries, and winter stews.
What makes radishes especially appealing is their fuss-free nature: they germinate readily, don’t demand constant attention, and thrive in small spaces. Whether you’re looking for an early spring snack or a hearty addition to your cool-weather table, experimenting with different radish types can keep your gardening routine fresh and your meals exciting.
If you’re considering diving into winter radish growing, you’ll find it’s not as complicated as it sounds and can be a rewarding way to keep your garden productive, even when the days grow short. Plus, with a little planning, you can enjoy fresh, homegrown flavor and crunch well into the coldest months of the year.
Choosing the Right Radish Variety for Your Garden
When planning your radish patch, picking the right variety makes a big difference in taste, appearance, and success. Cherry Belle is a classic favorite for beginners—its small, round, bright red roots mature quickly and thrive in containers or tight garden beds, making them perfect for small spaces or urban gardens.
French Breakfast radishes offer a crisp, mildly peppery flavor, with their unique oblong pink roots tipped with white; they’re also compact, easy to grow in raised beds, and add flair to salads with their attractive look.
For those craving something visually striking, Watermelon (or “Red Meat”) radishes boast a white-green exterior with a dramatic pink center, delivering a sweet, mild spice—though they need a bit more garden space and a late summer to fall sowing for best color and flavor.
If your goal is pickling or winter storage, consider Daikon or Black Spanish varieties. Daikon radishes grow long, white roots that love cool weather and loose soil; they’re a staple in Asian dishes and high-yielding for large plots or deep containers. Black Spanish, with its rough black skin and spicy white flesh, is incredibly hardy for colder climates and has excellent storage qualities.
When choosing seeds, think about your gardening goals:
- For quick snacks and salads, go with Cherry Belle or French Breakfast.
- For culinary variety or storage, try Daikon or Black Spanish.
- If you want a showstopper for party platters, Watermelon is your pick.
Always read seed packet notes on size and days to maturity for the best fit in your garden plan.
Preparing the Soil & Sowing Seeds
Getting your garden off to a strong start begins with preparing the right soil—think loose, crumbly, and well-draining, so roots can establish easily without waterlogging or compaction. Avoid overly rich, nitrogen-heavy soil, as this can lead to lush leafy growth at the expense of flowers or fruits.
To prep a garden bed, start by loosening the soil down to at least eight inches with a fork or spade, breaking up clumps and removing rocks or old roots. Mix in a moderate amount of compost to improve texture and fertility without overdoing nutrients.
If you’re short on space or soil quality is poor, container gardening is a smart alternative. Use large pots or raised beds filled with quality potting mix; just make sure containers have drainage holes to prevent soggy roots.
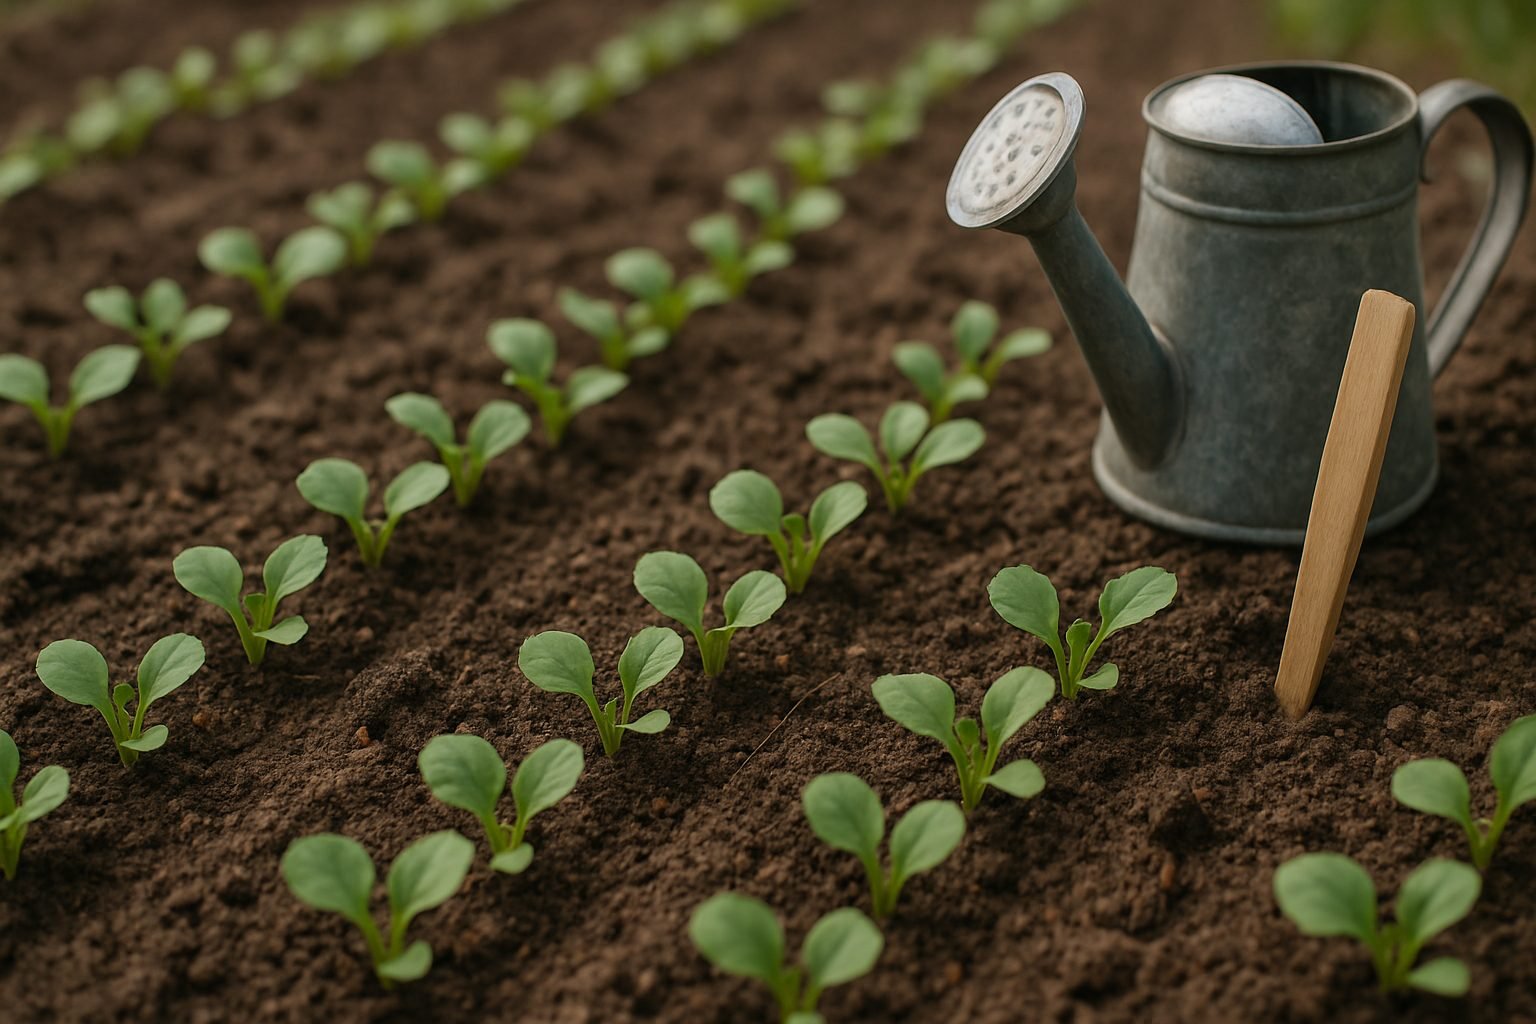
When sowing seeds, always check the packet for specific depth—most seeds do best planted about two to three times their width deep, but tiny seeds often just need a light dusting of soil on top. Space seeds as directed to avoid overcrowding, which stunts growth and encourages disease; if you’re unsure, thin seedlings after they sprout to keep plants at the recommended distance.
For a steady supply of fresh veggies or blooms, try succession planting by sowing a small batch of seeds every couple of weeks rather than all at once. This way, as one crop matures, another is just getting started, giving you a continuous harvest through the season.
Keep the seedbed moist but not soaked until seeds germinate, and consider using a light row cover to protect tender seedlings from birds or harsh sun.
With these practical steps, you’ll set your garden up for a healthy, productive season—whether you’re working in a backyard bed or a handful of containers.
Growing Conditions & Ongoing Plant Care
Carrots thrive best when they receive full sun, but if your garden tends to get very hot, a little afternoon shade can help prevent heat stress and bolting (premature flowering that damages the roots). Consistent soil moisture is essential—aim to water deeply once or twice a week, depending on rainfall, allowing the top inch of soil to dry out between watering to avoid rot.
Right after sprouting, thin seedlings so they stand 2-3 inches apart; this gives each carrot enough room to develop straight, robust roots. To prevent bolting, try to sow only when daytime temperatures stay below 75°F. If a heatwave occurs, protect your crop with a lightweight row cover to keep the roots cool.
Mulch is your friend when growing carrots: spread 2-3 inches of organic mulch, such as finely shredded leaves or straw, around seedlings after thinning. This helps retain moisture, suppress weeds, and maintain steady soil temperature—all of which carrots love.
Hand-pull weeds regularly instead of hoeing, as hoeing can disturb the delicate root systems. By following these strategies, you’ll encourage strong, healthy carrots that develop to full size without splitting, forking, or becoming tough from stress.
Harvesting Radishes at the Right Time
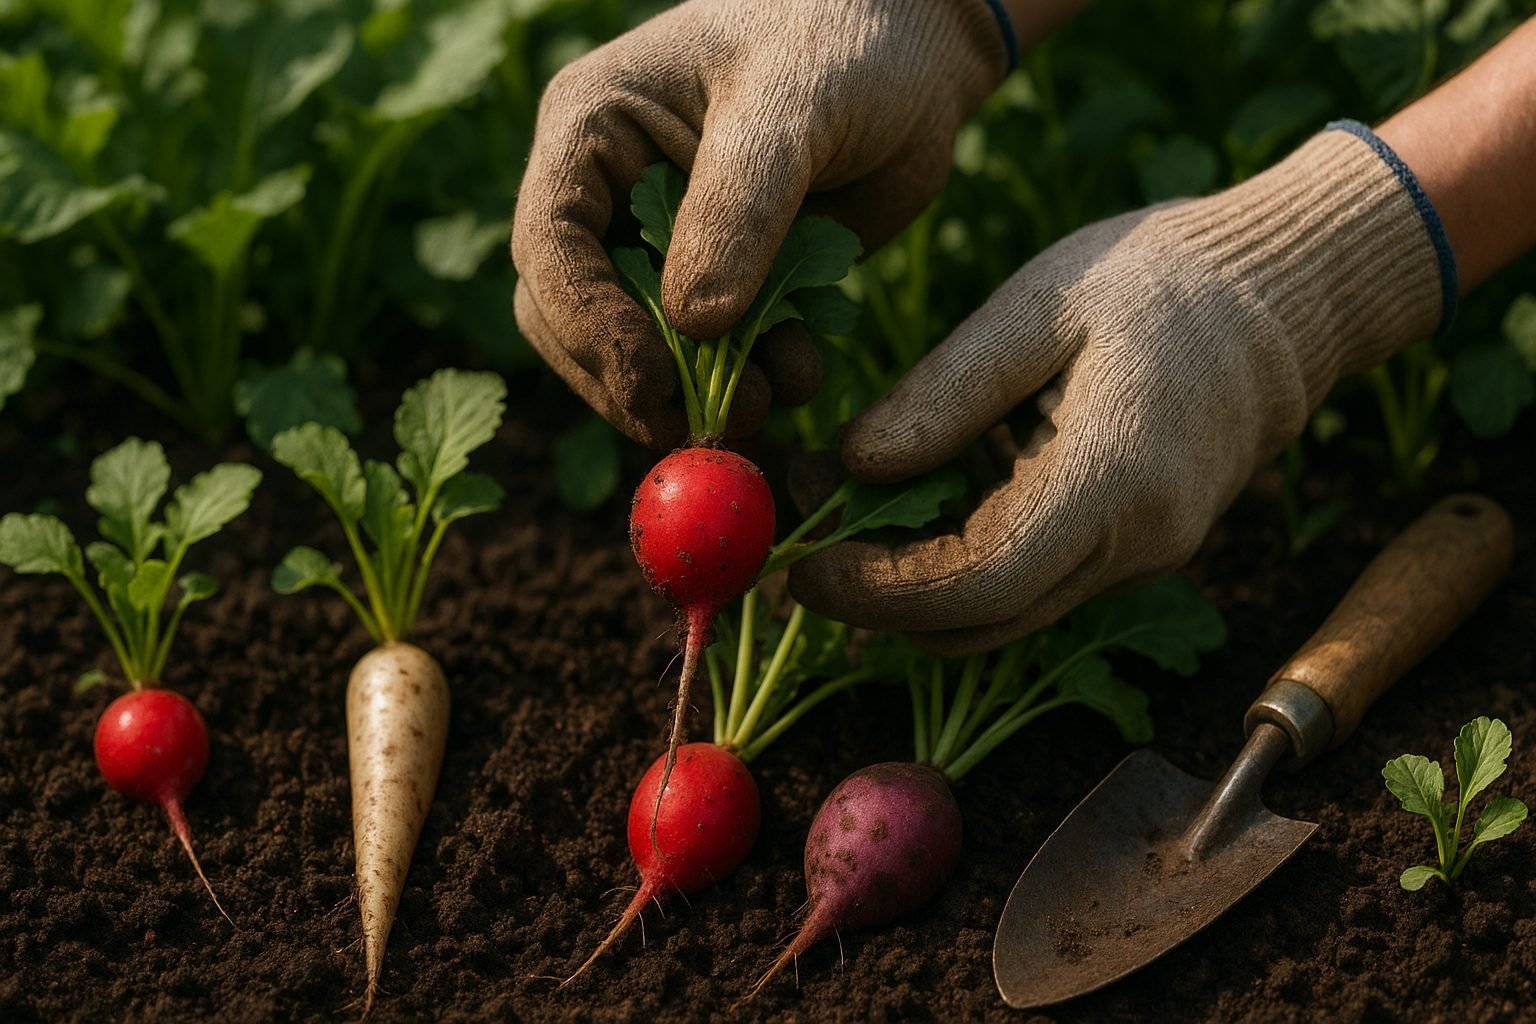
Knowing when to harvest radishes is key to enjoying their crisp texture and mild flavor. Radishes mature quickly—some varieties are ready in as little as three weeks—so it’s important to keep an eye on their progress. Check the seed packet for your specific variety’s maturity date, but a good rule of thumb is to look for roots about one inch in diameter peeking above the soil.
Gently brush away a little dirt to inspect their size without pulling them out prematurely. If you wait too long to harvest, radishes can become woody, tough, and overly spicy or bitter. To avoid this, harvest regularly and don’t let the bulbs stay in the ground past their prime.
When pulling radishes, grasp the greens just above the root and tug firmly but gently to avoid snapping the greens or bruising the root. After harvesting, cut off the leafy tops, as they draw moisture from the roots and can make radishes go soft.
For best storage, place the roots in a perforated or loosely closed plastic bag and refrigerate them. They’ll stay crisp and tasty for up to two weeks, while the greens are best eaten within a day or two, tossed into salads or sautéed.
Regular harvesting not only ensures the best flavor but also encourages a fresh crop if you plant new seeds in the cleared space.
Common Problems & How to Solve Them
Growing healthy radishes often means tackling persistent pests, diseases, and growth quirks. Flea beetles—tiny, black hopping insects—can leave a shotgun blast of holes in leaves and slow plant growth. To deter them, use lightweight row covers soon after sowing and keep the garden bed free of weeds where beetles hide. If you spot them, sprinkling diatomaceous earth around the base of plants can help.
Root maggots, another common problem, create tunnels in radish roots, leaving them inedible. Floating row covers and rotating crops each season help break their lifecycle.
Downy mildew, a fungal disease, causes yellow patches on leaves and thrives in moist conditions. Space your radishes to ensure good air flow, water at the base instead of overhead, and remove any affected foliage promptly.
For root deformities like splitting or hollowing, the culprits are often inconsistent watering or harvesting too late. Try watering evenly, keeping soil moisture steady, and harvesting as soon as roots mature—usually 3-5 weeks after sowing.
Environmental stress plays a big role too; heat can turn radishes tough and spicy, so plant early spring or fall, avoiding summer heat. Overcrowding leads to stunted, misshapen roots, so thin seedlings to allow 2 inches between each plant for ideal growth.
By being proactive and adapting your routine, you’ll have a better shot at a healthy, delicious radish harvest.
Creative Ways to Use Radishes in the Kitchen
Radishes are wonderfully versatile, bringing a peppery crunch and vibrant color to a wide range of dishes. The classic way to enjoy them is sliced fresh into salads, where their crispness brightens up leafy greens, but that’s just the start.
Try pickling thinly sliced radishes with vinegar, sugar, and a pinch of salt for a tangy topping on tacos or sandwiches—quick pickles are ready in less than an hour! For a mellower, sweeter flavor, toss radishes with olive oil and salt, then roast them in the oven; they transform into tender bites similar to roasted potatoes.
Sautéing radishes with butter and herbs is another easy method, making them a delicious side dish your family might not expect. Don’t toss those radish greens—sauté them like spinach, blend into pesto, or add to soups for a peppery twist.
Around the world, cultures celebrate radishes in creative ways:
- In Korea, they’re key to making kimchi.
- In Mexico, sliced radishes are a crunchy taco garnish.
For picky eaters or kids, try offering radishes as “edible paintbrushes” for dips, or slice them into fun shapes and sprinkle a tiny bit of salt to mellow the spice. Their pretty colors and playful crunch often win over hesitant tasters.