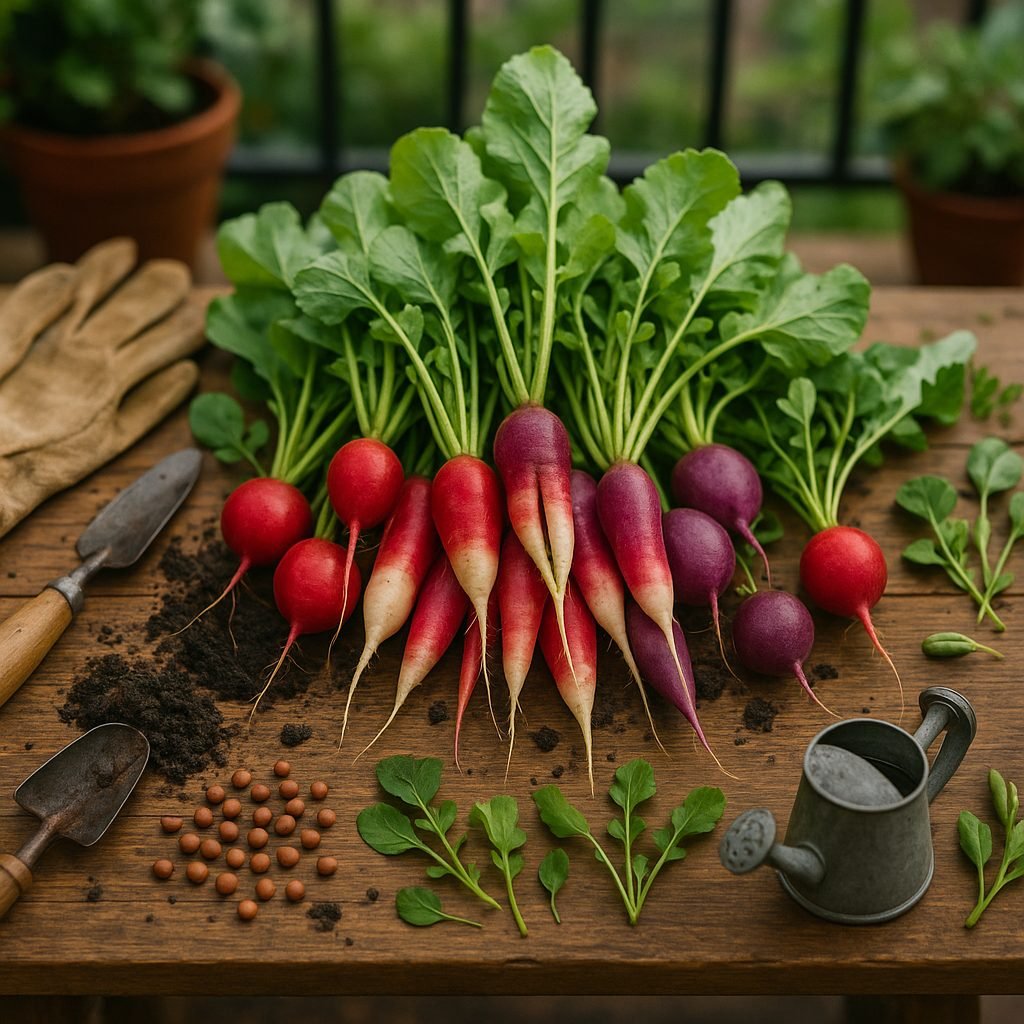
Getting Started with Radishes
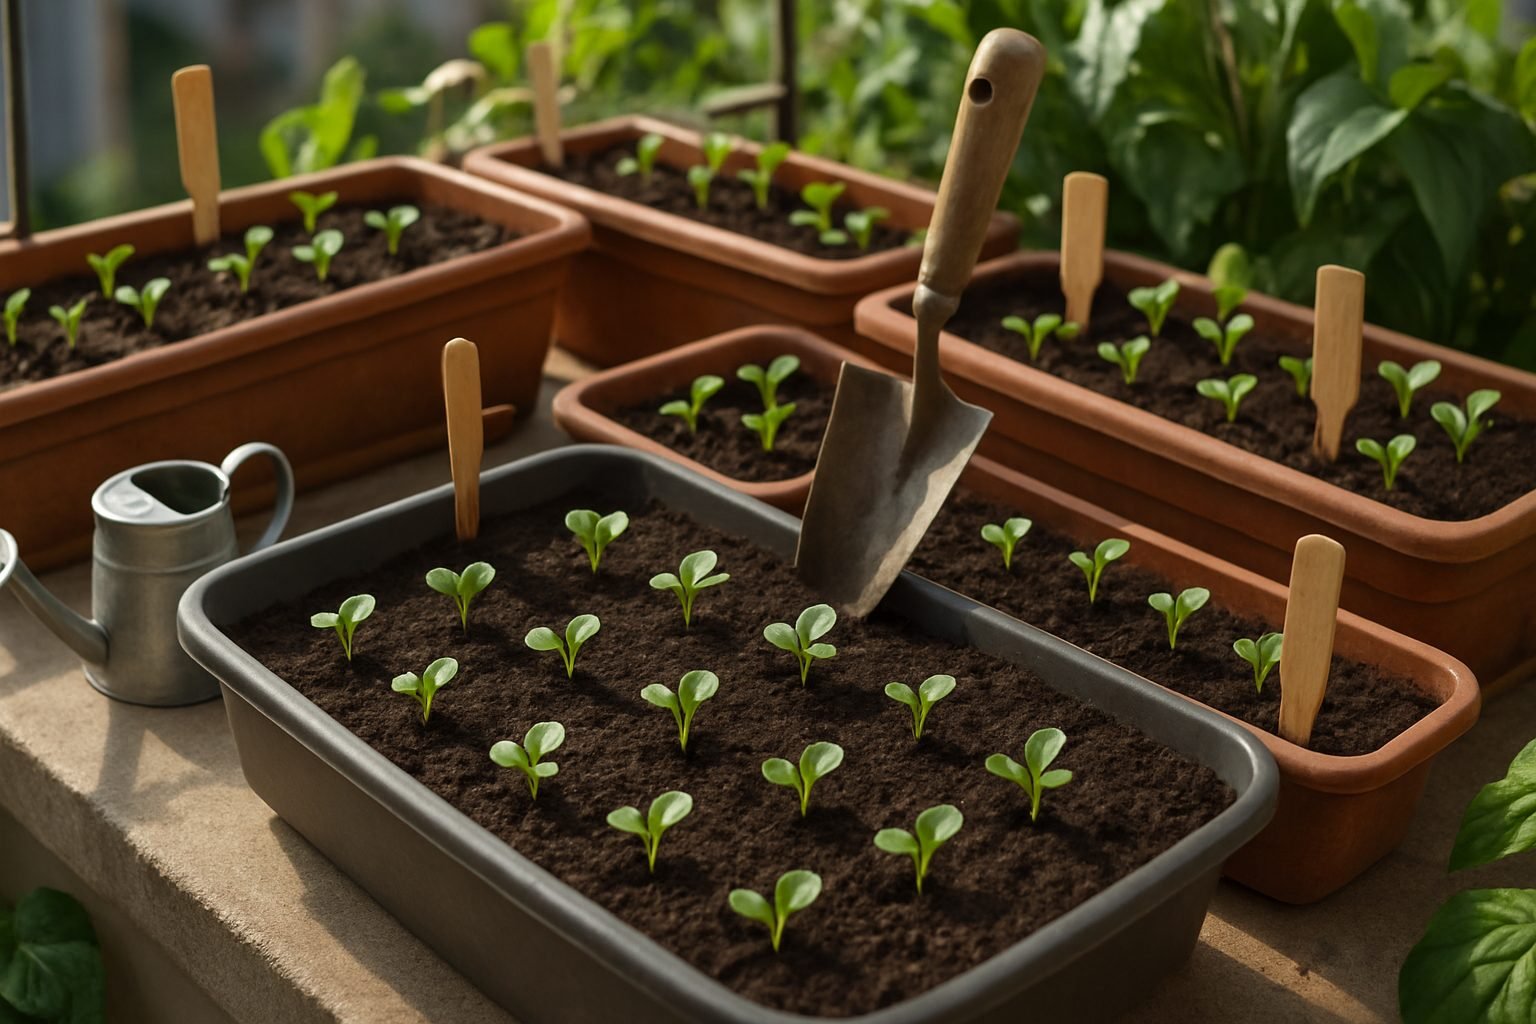
If you’re looking for an easy entry point into urban or apartment gardening, small space radish projects are a perfect place to start. Radishes thrive in tight spots, making them ideal for containers, window boxes, or even balcony rail planters. What sets radishes apart for beginner gardeners is their exceptionally fast growth—many varieties are ready to harvest in just three to four weeks! Plus, they require minimal maintenance and adapt well to being sown close together, making the most of every inch.
Varieties and Characteristics
Radishes come in a surprising array of types and colors. The most common are spring radishes, like the crisp, round ‘Cherry Belle’ with its bright red skin and white interior. These mature quickly and are best eaten raw. In contrast, winter radishes, such as daikon or black Spanish types, grow larger, may sport white, black, or even green skins, and develop a milder, sometimes spicier flavor as they mature over a longer season. Whether you prefer radishes that are globe-shaped, oval, or cylindrical, there’s a type to fit your taste and your tiny garden plot.
What You’ll Need to Get Started
Getting started is simple. You’ll need radish seeds, shallow containers or a small garden bed with good drainage, and loose, fertile soil. Essential tools include:
- A hand trowel for planting
- A small watering can to keep the soil moist but not soggy
- Plant labels for keeping track of varieties
Because radishes don’t demand complicated care, a pair of gardening gloves and a sunny windowsill or balcony are often all you need. With just these basics, you’ll be savoring crunchy, homegrown radishes in no time.
Choosing the Best Radish Seeds and Varieties
When you’re new to growing radishes, picking the right variety can make all the difference. Classic options like Cherry Belle are favorites for beginners because they mature quickly (just about 22 days), offer a crisp, mild flavor, and grow well in most climates.
French Breakfast radishes are another great pick—they have a slightly elongated shape, eye-catching red-and-white coloring, and a mild, sweet taste that works well in salads. For a colorful twist, try Easter Egg radish mixes; you’ll get a rainbow harvest of purple, pink, white, and red roots that look beautiful on the plate and make gardening fun for kids.
When selecting seeds, consider your local climate and when you plan to plant. For example, if you have a short spring, look for varieties that mature quickly. In cooler climates, most radishes thrive best, but some, like White Icicle, can handle a bit of early summer heat.
Think about how you want to use your radishes too—smaller, tender varieties are great for snacking raw, while larger types like Daikon are ideal for pickling or cooking.
For purchasing seeds, check out local garden centers, which often stock seeds suited to your region. For a broader selection and convenience, reputable online retailers like Johnny’s Selected Seeds, Baker Creek Heirloom Seeds, and High Mowing Organic Seeds offer high-quality, organic, and non-GMO options.
Always look for organic certification if you want to avoid chemicals and support sustainable practices. Freshness matters with radish seeds, so double-check the “packed for” date on packaging to ensure good germination rates.
Remember, starting with quality seeds tailored to your needs sets you up for a more successful, satisfying harvest.
Preparing the Soil and Garden Bed
Radishes thrive in loose, well-draining soil with a slightly acidic to neutral pH, ideally between 6.0 and 7.0. Before planting, check your soil’s texture by squeezing a handful—if it crumbles easily rather than clumps, you’re in the right spot.
For garden beds, remove any rocks or clumps and loosen the soil to at least 6 inches deep to give those fast-growing roots plenty of room to expand. In containers, choose pots that are at least 6–8 inches deep, fill them with a high-quality, peat-free potting mix, and ensure the bottom has drainage holes to prevent soggy soil.
Whether you’re working in a raised bed, container, or traditional plot, enrichment is key: work in a couple of inches of well-rotted compost or aged manure before sowing seeds. For an extra nutrient boost, sprinkle in an organic, balanced fertilizer following the package directions—radishes aren’t heavy feeders, but some phosphorus can help root development.
Avoid fresh manure or high-nitrogen fertilizers, as these encourage leafy tops instead of crisp bulbs. Add a final touch by smoothing and lightly watering the soil before planting; this helps seeds settle in and ensures even sprouting.
With a little prep, you’ll set the stage for a strong, healthy radish crop, whether you’re cultivating a backyard row or a windowsill container.
Sowing Radish Seeds
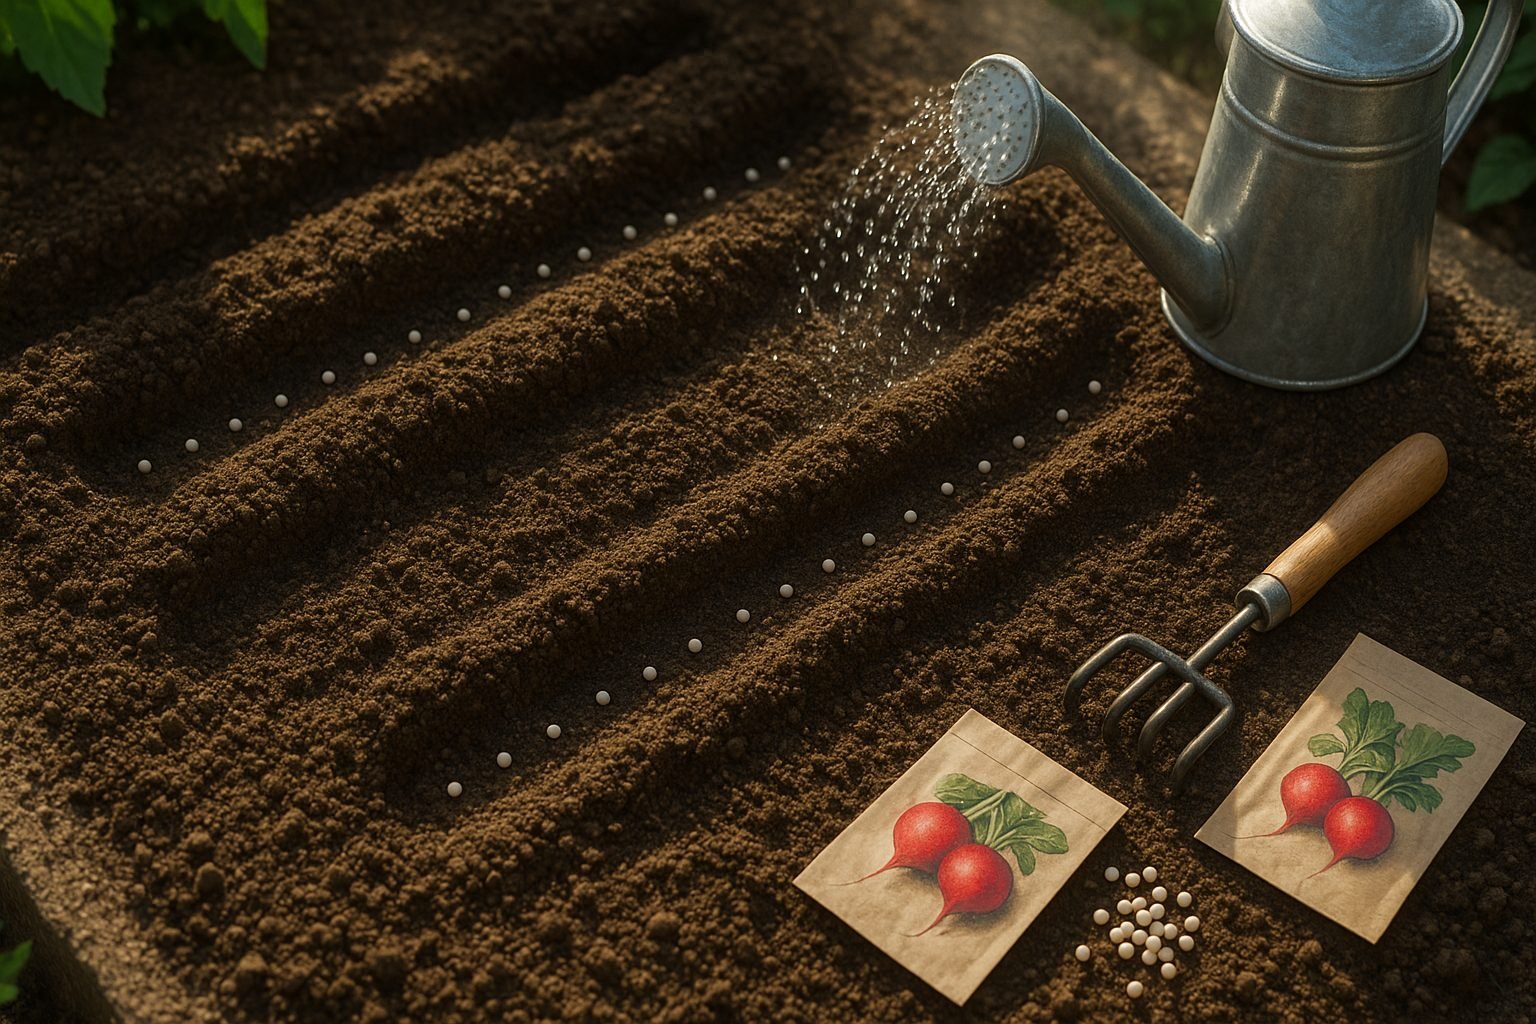
Sowing radish seeds is a straightforward process, but a few simple steps will help ensure a strong, healthy crop. Start by choosing a sunny spot with loose, well-drained soil. Direct sowing is best for radishes, as they dislike being transplanted and may become misshapen if their roots are disturbed.
Plant the seeds about half an inch deep and space them one inch apart in rows that are 12 inches apart. For a continuous harvest, sow a small batch every one to two weeks.
As seedlings emerge—usually within a week—thin them out to at least two inches apart so each plant has space to develop a round, crisp root. Radishes grow quickly and can be planted in early spring as soon as the soil is workable, and again in late summer for a fall crop, since they mature rapidly and prefer cooler weather.
When watering, aim for consistent moisture; dry spells can cause radishes to bolt or turn woody, while overly wet conditions may encourage root rot. Use a gentle spray to avoid washing away seeds or disturbing tender seedlings, and consider mulching the soil lightly to retain moisture and suppress weeds.
Keep the area free from competing weeds and check for pests like flea beetles. By following these practical tips, you’ll be rewarded with crisp, flavorful radishes in just 3 to 5 weeks—perfect for salads and snacking straight from the garden.
Caring for Growing Radishes
Radishes thrive with consistent moisture, but it’s important not to overwater—aim to keep the soil evenly damp, not soggy, to prevent issues like splitting or woody roots. Set up a routine to water your radish bed when the top inch of soil feels dry, rather than sticking to a strict schedule. This helps prevent drought stress, which can make the flavor too strong or the texture tough.
When it comes to fertilizing, radishes are light feeders and perform best with a modest application of balanced, slow-release fertilizer at planting. Too much nitrogen encourages leafy growth at the expense of root development, so resist the urge to supplement heavily.
Keep your radish patch free of weeds so the roots don’t have to compete for nutrients and water. Hand-pulling or hoeing works best since radishes are shallow-rooted and can be easily disturbed by deep cultivation. Applying a thin layer of mulch, like straw or shredded leaves, helps maintain soil moisture, suppress weeds, and limit soil-borne diseases from splashing onto the plants.
Watch out for common pests such as root maggots and flea beetles. Floating row covers can serve as an effective barrier, especially during the first weeks after planting.
For natural synergy, grow radishes alongside carrots, lettuce, or peas, which help break up the soil and maximize your garden space. However, avoid planting radishes near brassicas like cabbage or broccoli, as they share similar pests and could attract them in greater numbers, threatening your radish crop.
With these simple care habits, your radishes will be crisp, flavorful, and ready to harvest in just a few weeks.
Harvesting Radishes for Best Flavor
Knowing when to harvest your radishes is key to enjoying their crisp texture and peppery flavor. Generally, radishes are ready to pull about three to four weeks after planting, but size is your best indicator—look for bulbs about one inch in diameter. You can check this by gently brushing away a bit of soil at the base. The tops should be vibrant and leafy, and the root should feel firm when squeezed.
If left in the ground too long, radishes tend to become woody and overly spicy. To harvest, grasp the base of the leafy tops and gently pull straight up while supporting the root to avoid breakage or tearing. Brushing off excess soil right away keeps the roots from getting soggy.
Once harvested, cut off the tops about an inch above the root to keep the radishes fresher longer, as the leaves draw out moisture. Store unwashed radishes in a perforated bag or container in your refrigerator’s crisper drawer; they should last up to two weeks.
Don’t toss those greens! Radish tops are edible and nutrient-rich—try adding them to salads, sautéing with garlic and olive oil, or blending into a pesto for a peppery kick. Quick action in harvesting and storing gives you the freshest crunch and lets you enjoy the whole plant.
Troubleshooting Common Problems
Growing radishes can be rewarding, but a few common problems might crop up along the way.
Flea beetles are tiny black insects that leave small holes in radish leaves, stunting their growth. To keep these pests at bay, try covering young plants with floating row covers and sprinkling food-grade diatomaceous earth around the base.
Bolting—when radishes flower and go to seed prematurely—often happens if temperatures rise suddenly or if you wait too long to harvest. To prevent this, plant radish seeds early in the spring or late summer when conditions are cooler, and pick them as soon as they reach the right size.
Poor growth and misshapen roots usually trace back to compacted soil, overcrowding, or inconsistent watering. Make sure your soil is loose, well-drained, and free of rocks, and thin seedlings so each plant has space to form a proper root.
Rotate radishes with other crops each year to reduce pest buildup in the soil. Lastly, add compost before planting to keep your radish patch rich in nutrients—which not only helps this crop but also creates resilient soil for next season’s planting.
With a little attention, you’ll enjoy crisp, healthy radishes year after year.