What Are Radishes and Why Grow Them?
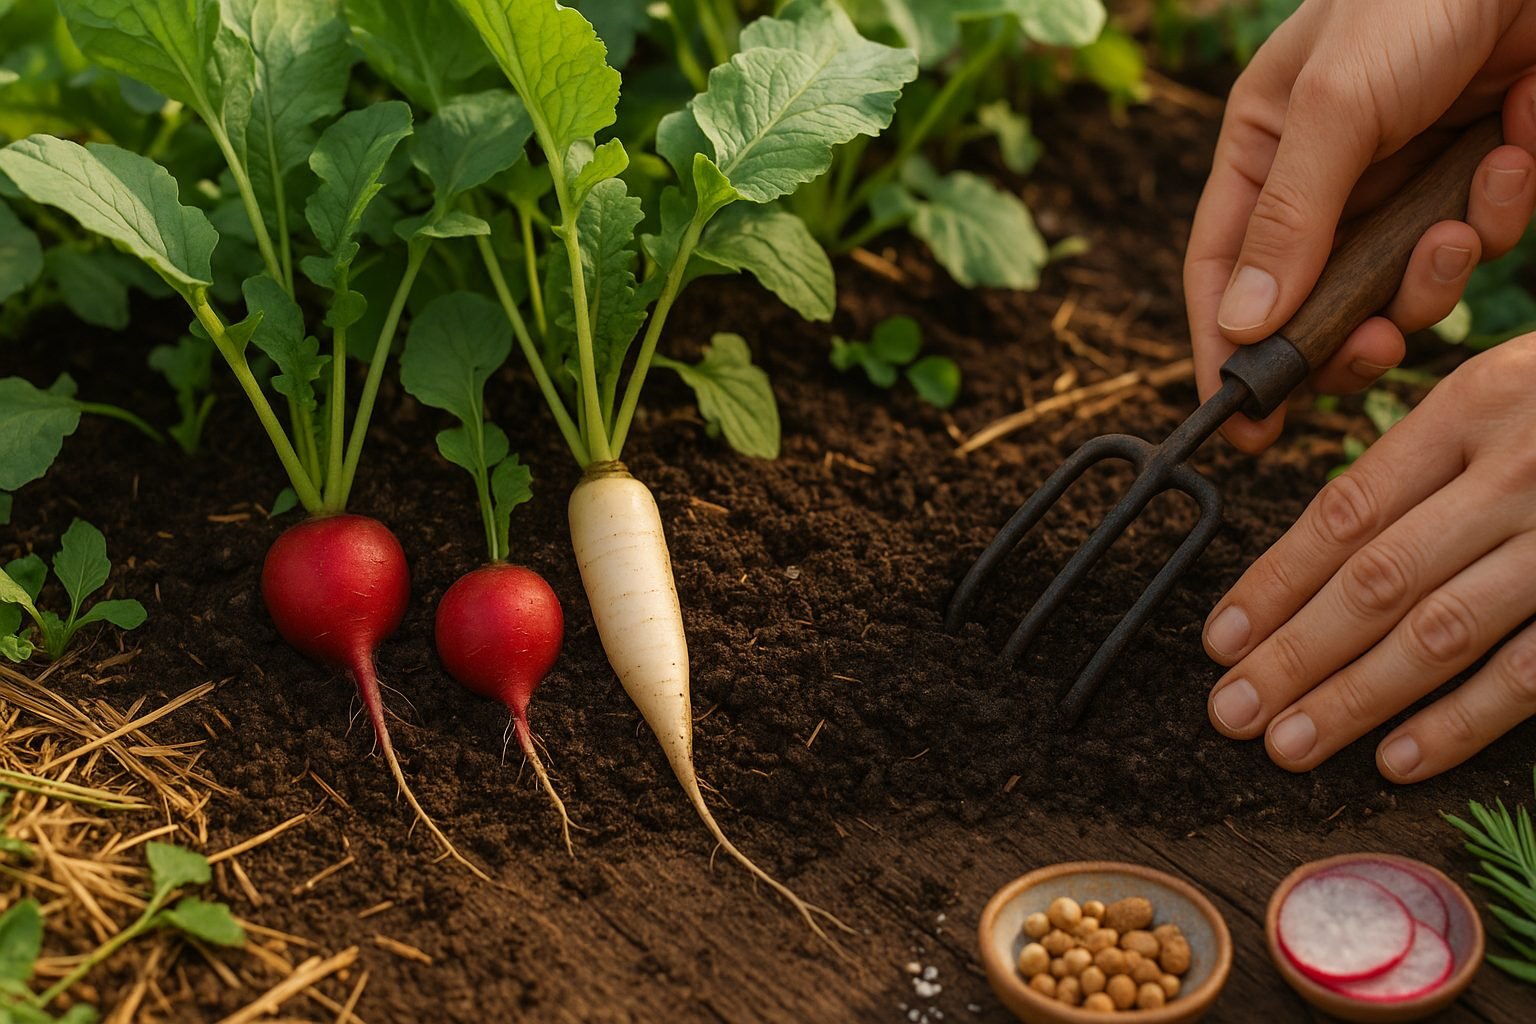
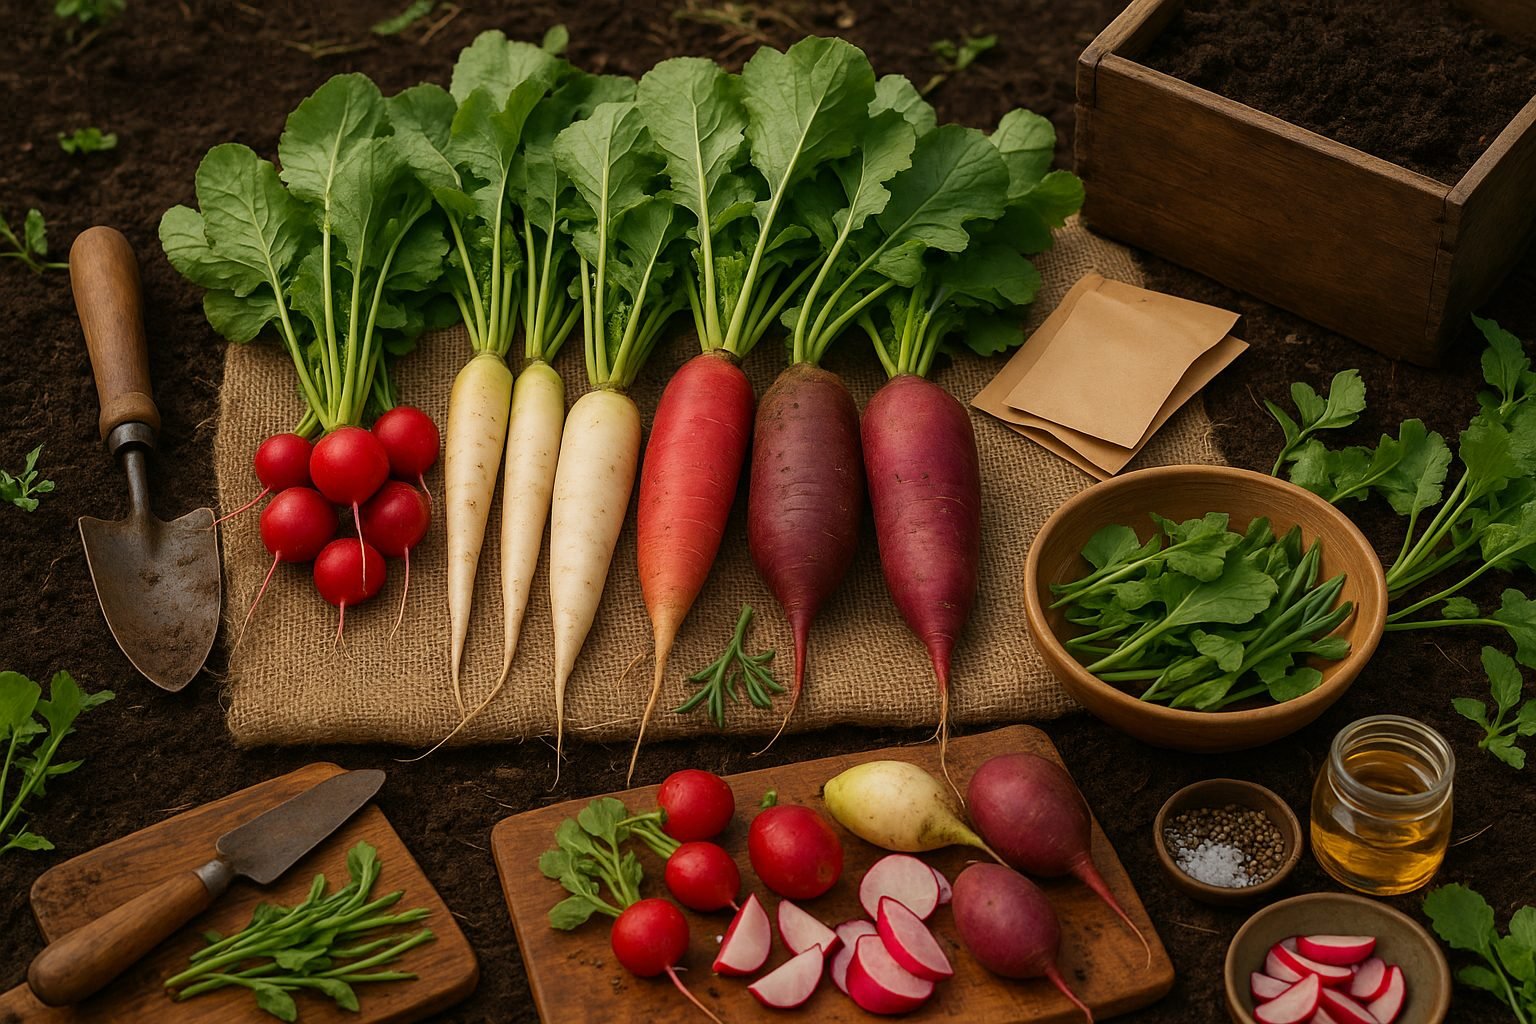
Planting radishes is one of the most rewarding ways to jump into home gardening, whether you’re an experienced grower or just getting your hands dirty for the first time. Radishes are crisp, peppery root vegetables that come in various shapes and colors, commonly grouped into two main types: garden radishes and daikons.
Garden radishes, like the familiar Cherry Belle or French Breakfast, are small, round or oval, and mature in a matter of weeks, making them ideal for impatient gardeners. Daikons, on the other hand, are larger, often white, and milder in flavor, with some varieties growing over a foot long—ask any stir-fry enthusiast about their versatility!
The benefits of growing radishes go far beyond their quick turnaround. Their reliable germination means they’re perfect for filling gaps in the garden or for experimenting with succession planting. Plus, radishes are high in vitamin C, antioxidants, and fiber, supporting a healthy diet.
Because they require minimal space and thrive in cool weather, you can enjoy fresh, crunchy radishes almost year-round with just a little planning. If you’re searching for an easy, satisfying crop, don’t overlook the humble radish—it’s much more than just a salad garnish.
Choosing the Right Radish Variety
When it comes to picking the perfect radish variety for your garden, it helps to know the main types and how they fit your needs.
Spring radishes, like ‘Cherry Belle’ or ‘French Breakfast’, are quick-growers—often ready in under a month—and ideal for cooler spring or fall temperatures. Their small, crisp roots are perfect for salads and snacking, making them great for beginners or those with limited garden space.
Winter radishes, such as ‘Black Spanish’ or ‘Watermelon’, grow larger and store longer, thriving in cooler autumn months. They need more room and patience since they take longer to mature but reward you with a heartier flavor.
Daikon radishes, popular in Asian cuisine, can get quite big—sometimes a foot long—and work best in loose, deep soil and moderate climates. Try them pickled, roasted, or in stir-fries for a different twist on the classic radish taste.
No matter your choice, always buy seeds from a reputable source and look for recent packing dates to ensure good germination rates. For the best results, choose varieties matched to your growing season and space, and don’t be afraid to experiment. Planting a mix means you can enjoy fresh radishes over several months and in more dishes.
Preparing the Soil and Planting
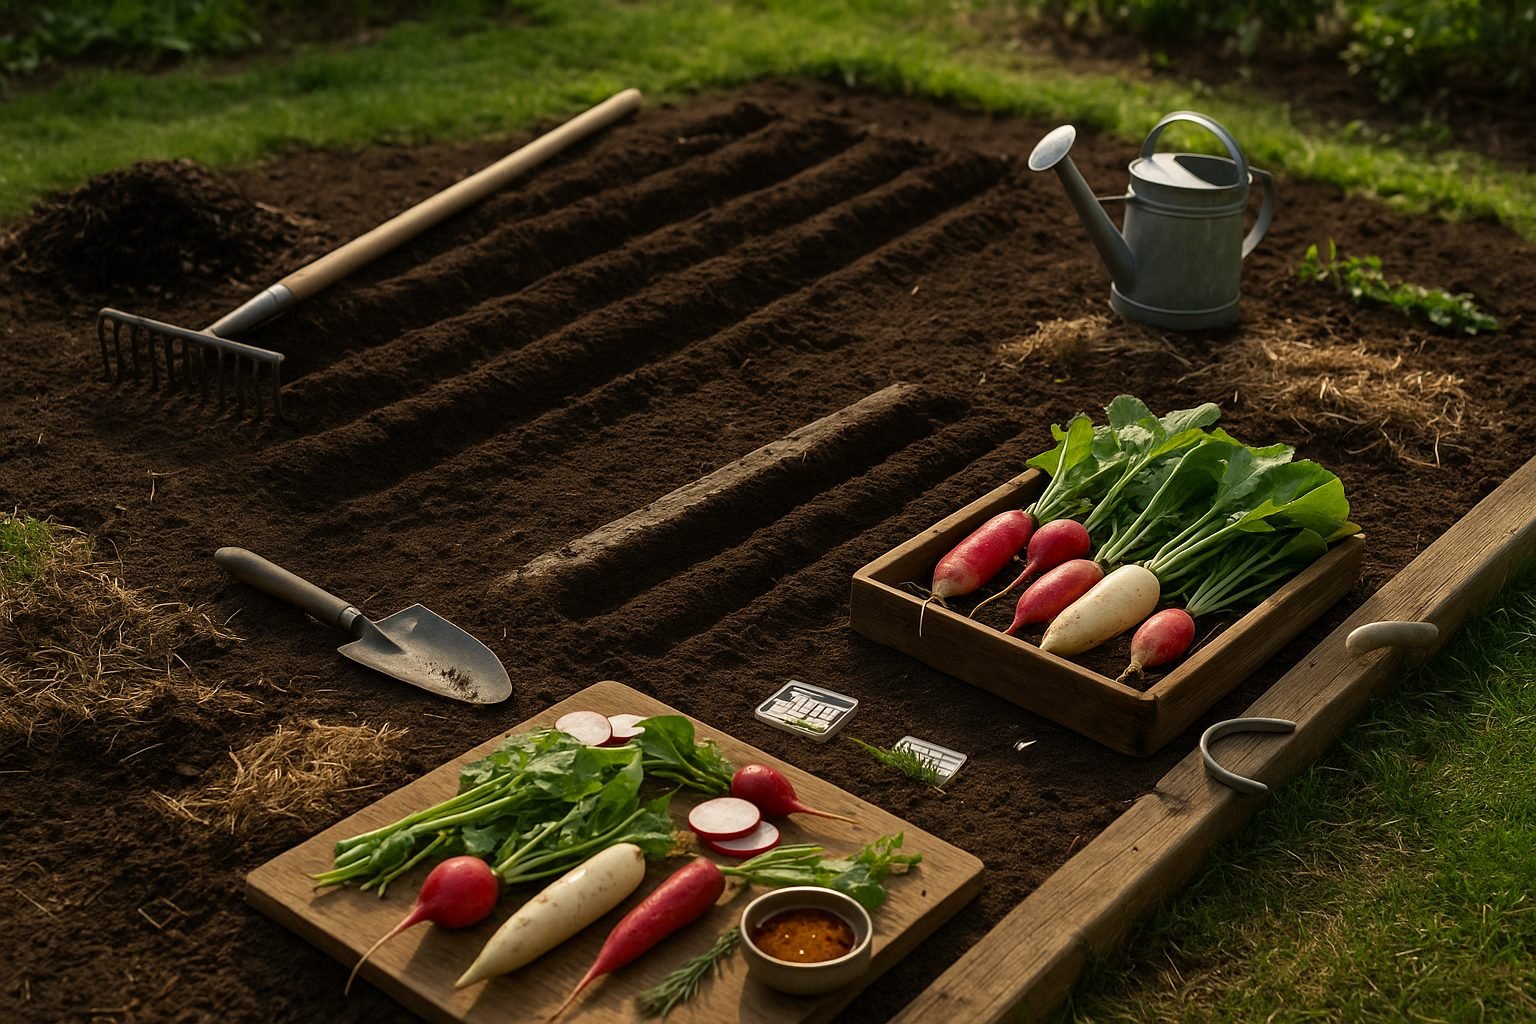
For a thriving garden, start with soil that’s loamy, rich in organic matter, and drains well—most vegetables prefer a slightly acidic to neutral pH (6.0-7.0). Avoid heavy clay or sandy soils by mixing in compost or peat moss to balance texture and nutrients. Your chosen spot should get at least 6-8 hours of direct sunlight daily, as most crops need plenty of light to grow strong.
Begin by clearing the area of weeds, rocks, and any leftover plant debris; this helps prevent competition and disease. Next, loosen the top 8–12 inches of soil with a shovel or garden fork, breaking up large clumps so roots can penetrate easily. Mix in 2–3 inches of compost or well-rotted manure across the surface, and test the pH with a home soil kit—add lime to raise pH or sulfur to lower it, as needed. Level the soil with a rake and lightly water to settle it before planting.
When sowing seeds, follow packet instructions closely: most vegetable seeds go ¼ to 1 inch deep, spaced according to their mature size. For example, carrot seeds should be about ¼ inch deep and spaced 1–2 inches apart, while bean seeds need more room—1 inch deep and 3–4 inches apart. Always plant during your region’s optimal window; for most annual vegetables, this is in early spring after the last frost or in late summer for a fall harvest.
Keeping the soil consistently moist—not soggy—during germination will help seeds sprout reliably. Starting with the right foundation ensures healthy plants and a bountiful harvest.
Caring for Your Radishes: Watering, Thinning & Maintenance
Keeping your radishes healthy starts with consistent watering, as their roots need steady moisture to develop firm, crisp bulbs. Aim to provide about one inch of water each week, adjusting for rainfall and soil drainage—radishes in containers may need checking every other day. Try to water at the base of the plants to avoid wetting the leaves, which can invite disease.
Overwatering or allowing the soil to dry out can both cause your radishes to crack or grow woody. Stick your finger into the soil: if the top inch feels dry, it’s time to water.
In the early stages, radish seedlings come up thickly, so thinning is crucial to prevent overcrowding, which leads to tiny or misshapen roots. Once seedlings are a couple of inches tall, gently thin them so each plant stands about two inches apart, snipping extras with scissors to avoid disturbing roots.
Routine care makes a big difference; weed frequently to prevent competition for nutrients and water—radishes have shallow roots and can easily be outcompeted by faster-growing weeds. Mulching lightly with straw or shredded leaves helps retain soil moisture and keep weeds in check.
Lastly, keep an eye out for common pests like flea beetles and snails; remove them by hand or use row covers if you notice persistent problems.
By giving your radishes a little attention each week, you’ll be rewarded with crisp, flavorful harvests all season long.
Common Problems: Pests, Diseases & Solutions
Gardeners growing radishes often face a handful of stubborn pests and diseases, but staying proactive can keep your crops healthy.
Flea beetles—those tiny, hopping insects—chew small holes in radish leaves, stunting growth, especially in seedlings. To deter them, cover young plants with lightweight row covers or sprinkle food-grade diatomaceous earth around the base.
Root maggots, another common pest, tunnel through the radish root itself, causing wilting and pithy, inedible bulbs. Rotating your radish planting location each year and applying beneficial nematodes to the soil help break the pest cycle organically.
On the disease front, downy mildew creates fuzzy gray patches on leaves, slowing development and leading to yellowing. Prevent this by ensuring good air circulation and avoiding overhead watering.
Another frequent problem is bolting—when radishes “go to seed” early—spurred by heat or drought. Planting radishes in cool weather and keeping the soil evenly moist vastly reduces the risk.
If you notice stunted, woody, or pithy radishes, it’s often a sign of stress from nutrient-poor soil, crowding, or inconsistent moisture. To troubleshoot:
- Thin seedlings early so each one has space.
- Enrich soil with compost before sowing.
- Water regularly, aiming for soil that’s damp but never soggy.
Checking these basics and responding quickly keeps radish problems manageable, so you can enjoy crisp, healthy harvests all season long.
When and How to Harvest Radishes
Knowing when to harvest radishes is key to getting crisp, flavorful roots rather than tough or woody ones. Most radish varieties are ready to pull just three to five weeks after planting, but it’s important to watch for signs like the roots visibly pushing up above the soil surface and reaching a diameter of about one inch (the size of a ping-pong ball).
To harvest, gently loosen the soil around the base and pull up the radish by its greens so you don’t break or damage the root. Immediately rinse off any dirt under cool running water. Cut the leafy tops to about an inch above the root to extend freshness, as leaving the greens on can draw out moisture and make them go soft faster.
Store radishes in the refrigerator in a plastic bag or an airtight container layered with damp paper towels—they’ll typically last one to two weeks.
If you leave radishes in the ground too long, they can become pithy and overly spicy; if picked too early, they may be small and less flavorful. For overgrown radishes, try slicing them thinly for salads or pickling to soften the texture. Always check your crop regularly to enjoy them at their peak!
Radish Uses in the Kitchen
Radishes are incredibly versatile and add a fresh crunch to many dishes. The simplest way to enjoy them is raw—slice them thinly for salads, use as a colorful sandwich topping, or dip in hummus for a quick snack.
Roasted radishes take on a mellow, slightly sweet flavor; just toss halved radishes with olive oil, salt, and pepper, then roast until tender for an easy side dish.
Pickling is another popular method—just soak sliced radishes in a quick brine of vinegar, sugar, and spices for a tangy topping on tacos or grain bowls.
Beyond their peppery bite, radishes offer vitamin C, potassium, and fiber. Don’t toss the greens! Radish tops are edible and nutritious—perfect sautéed with garlic or blended into pesto for extra flavor and nutrition, helping you cut down on kitchen waste while stretching your grocery dollar.