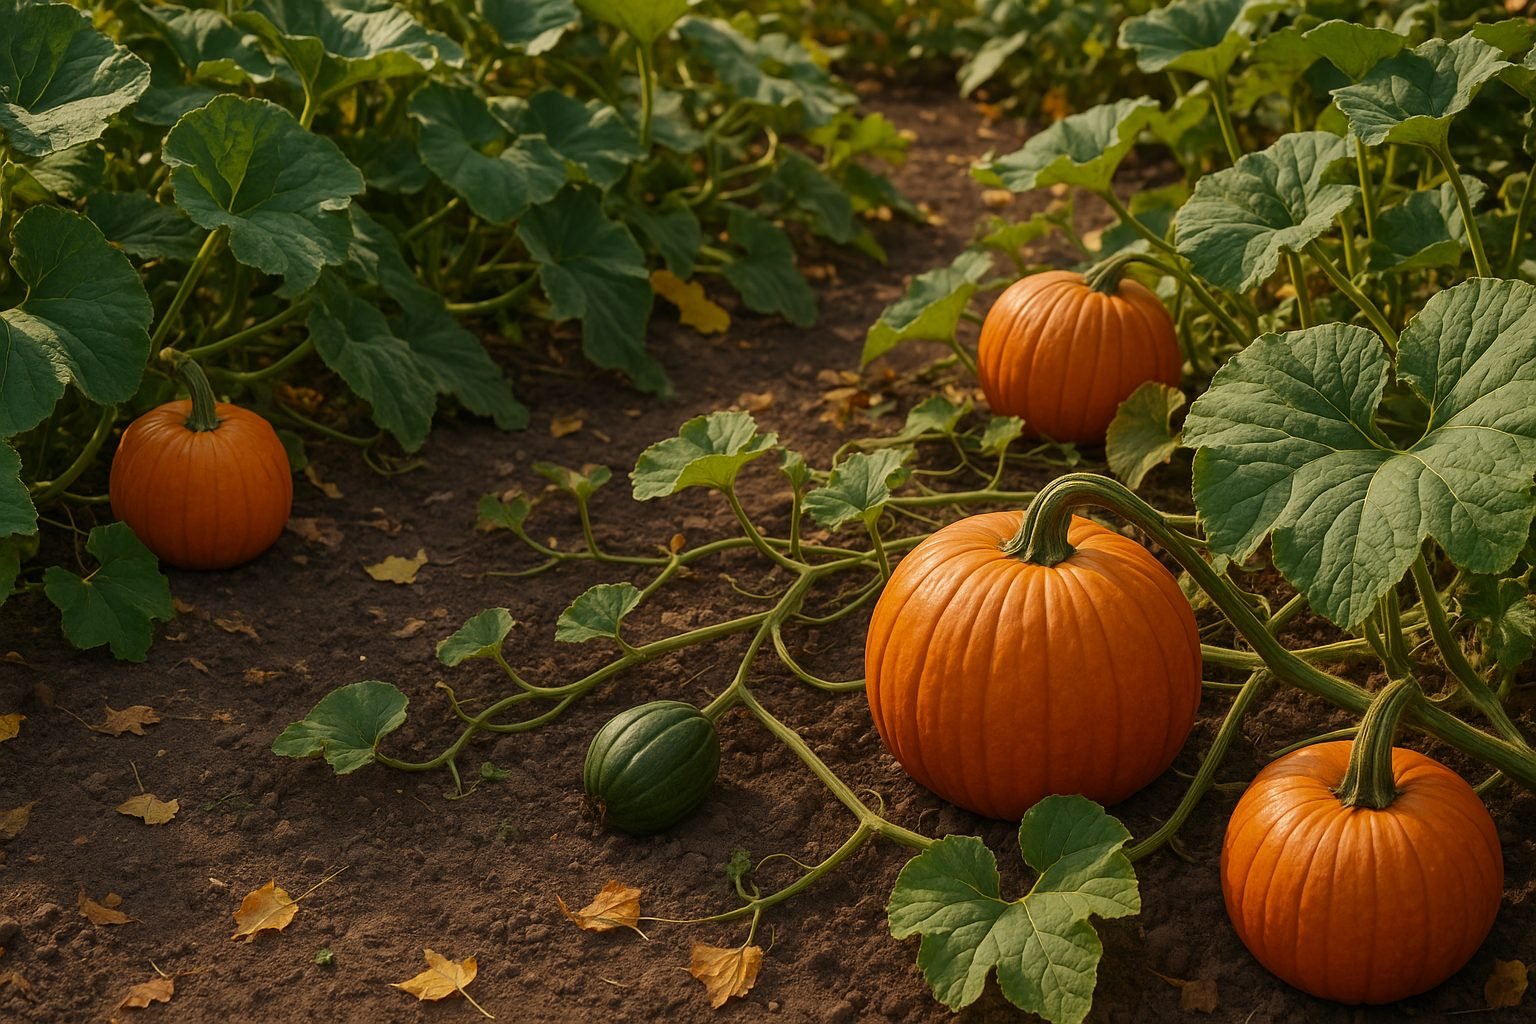
Introduction to the Pumpkin Life Cycle
Understanding the pumpkin growth stages is key to nurturing a productive garden, no matter your experience level. Whether you’re a seasoned gardener dreaming of the ultimate autumn harvest or a first-timer planting seeds with kids, knowing each step in a pumpkin’s life cycle helps you anticipate challenges and maximize success.
From preparing the soil to spotting fragile seedlings as they break through, watching pumpkins develop is a lesson in patience and care. As the vines start to crawl and the broad leaves unfurl, you’ll see tiny flowers bloom—each one a promise of pumpkins to come. These flowers lead to small green fruits that gradually swell and change color, signaling that harvest time is approaching.
Recognizing these distinct pumpkin growth stages not only makes it easier to address issues like pests and watering at the right times but also lets you celebrate every milestone along the way. For example, knowing when vines usually bolt means you can provide support or redirect growth before things get unwieldy. And when you see the first female flower open, you know it’s time to encourage pollinators or even hand-pollinate for better yields.
By following the journey from seed to harvest, you’ll be better equipped to choose when to fertilize, prune, or protect your pumpkins, leading to plumper, healthier fruit. Whether your goal is carving jack-o’-lanterns or baking perfect pies, this guide will help you understand each stage and get the most from your pumpkin patch.
From Seed to Seedling: Germination and Early Growth
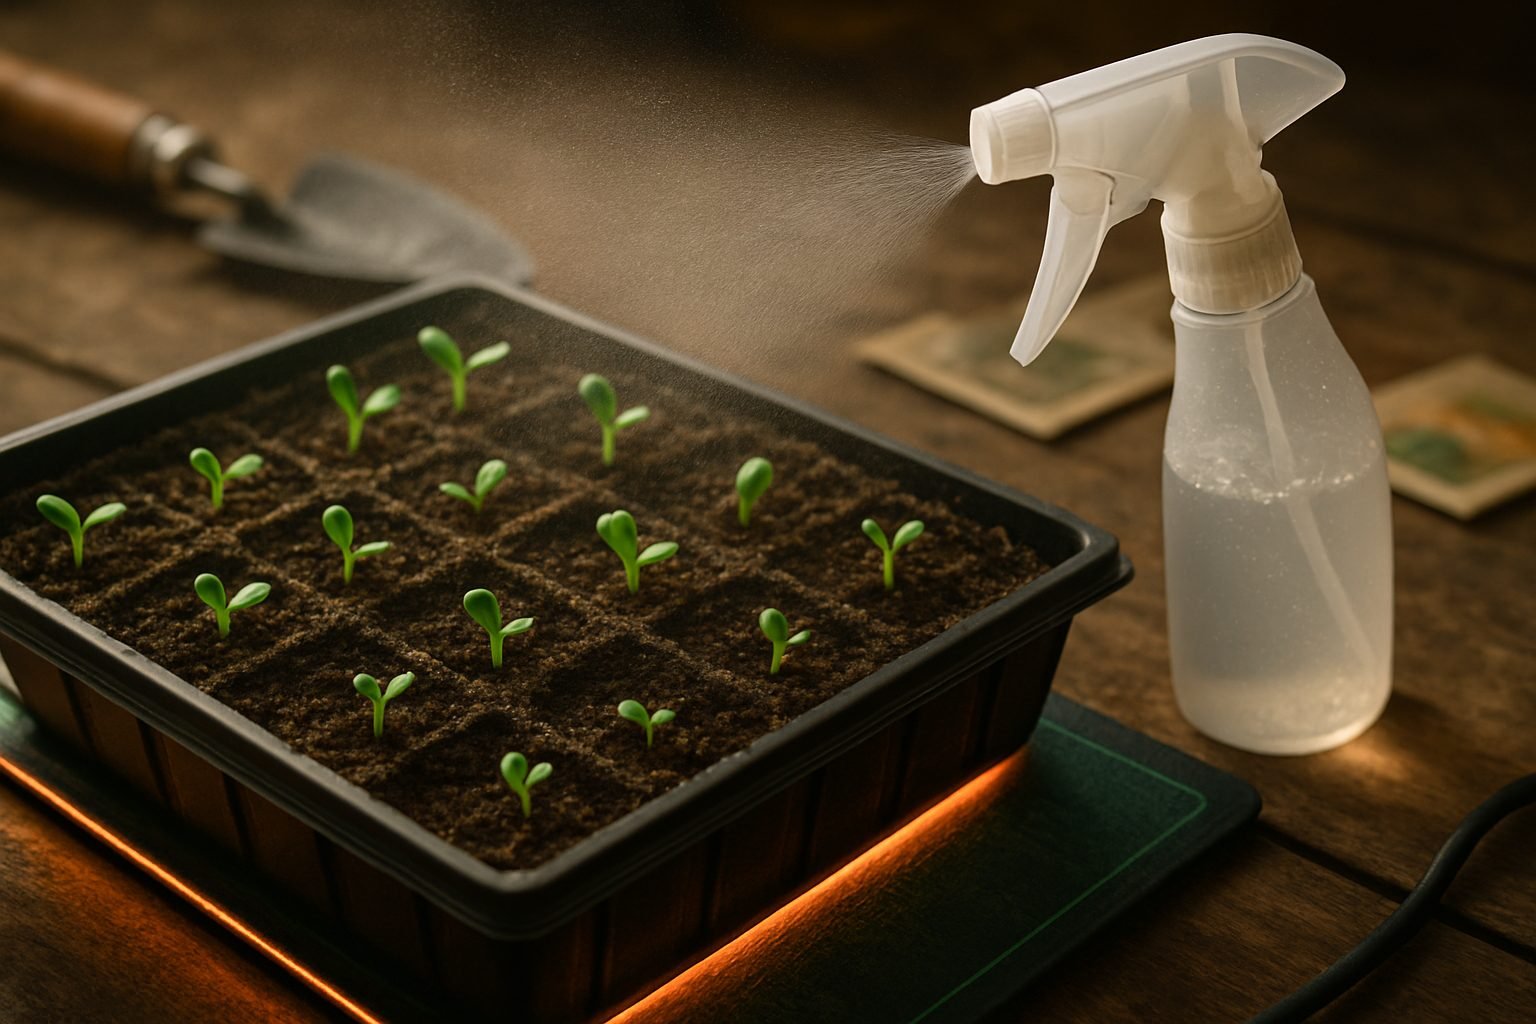
Getting seeds to sprout is both exciting and easy when you create the right environment. Most vegetable seeds need a soil temperature between 65°F and 75°F (18°C–24°C) to germinate properly. Use a seed-starting heat mat or keep trays indoors if your space is cool.
Keep the soil evenly moist but not soggy, since excess water can rot seeds. Using a spray bottle helps provide gentle, consistent moisture. Light requirements depend on the plant: some seeds, like lettuce, need light to germinate, while others, like beans, prefer darkness. Always check your seed packet for specifics.
Usually, you’ll see the first signs of life in 5–14 days, though some seeds take longer. Watch for tiny green shoots breaking through the soil.
Once seedlings emerge, you’ll notice the first leaves, called cotyledons, which are rounded and smooth and don’t look like the plant’s mature leaves. Cotyledons provide stored food for the seedling’s initial growth.
After a few days to a week, the plant will produce true leaves, which look more like the adult plant’s foliage and are crucial for capturing sunlight and supporting further development. For example, tomato cotyledons are oval and flat, while the true leaves are frilly and deeply lobed. Knowing the difference helps you time important steps, like thinning crowded seedlings once they’ve developed true leaves for better growth.
Providing warmth, moisture, and the right lighting helps ensure strong seedlings, setting the stage for a healthy, productive garden.
Vine Development and Leaf Growth
As the growing season progresses, grapevines and similar climbing plants shift from slow, steady growth into a phase of rapid vine elongation—typically occurring in late spring to early summer, once the threat of frost has passed and temperatures consistently warm up. This transition marks a critical point where you’ll notice new shoots racing upward and outward, often gaining several inches per week.
Healthy, vibrant leaves are essential during this stage, as they serve as the plant’s powerhouse for photosynthesis—converting sunlight into energy that fuels further expansion and supports fruit development later on. To maximize leaf health, keep foliage free of disease and pests by regularly inspecting for signs of damage and promptly removing affected areas.
As vines surge in length and density, give them plenty of support to avoid tangling or breakage. Install trellises, arbors, or sturdy netting early, and gently tie new shoots as needed. Managing space is just as crucial—train vines to grow along a clear path and periodically prune excess or wayward growth to ensure good air circulation, which helps prevent fungal diseases.
These strategies not only keep your plants vigorous and tidy but also prepare them for a productive harvest season ahead.
Flowering and Pollination Process
Understanding the flowering and pollination process is key for anyone hoping for a successful pumpkin harvest. Pumpkin plants produce both male and female flowers, each with distinctive characteristics:
- Male flowers usually appear first and are attached to long, thin stems.
- Female flowers grow closer to the vine’s base and have a small bump (the ovary) beneath the bloom, which looks like a miniature pumpkin.
Typically, male flowers open about a week or two before female flowers, priming the vine for pollination as soon as the first female blooms. Successful fruit set depends on the transfer of pollen from the male flower’s stamen to the sticky stigma inside the female flower—a job usually handled by bees and other pollinators.
To attract these helpful insects, plant pollinator-friendly flowers like marigolds, sunflowers, or zinnias nearby, and avoid using pesticides early in the day when pollinators are most active.
If you notice few pollinators or poor fruit set, you can hand pollinate: pick a freshly opened male flower, gently remove the petals to expose the pollen-covered stamen, and lightly touch it to the center of an open female flower. Repeat this process with other blooms in the early morning for the best results.
Observing which flowers are emerging and stepping in when necessary ensures that more of your female flowers develop into healthy pumpkins, maximizing your harvest.
Fruit Set and Maturation
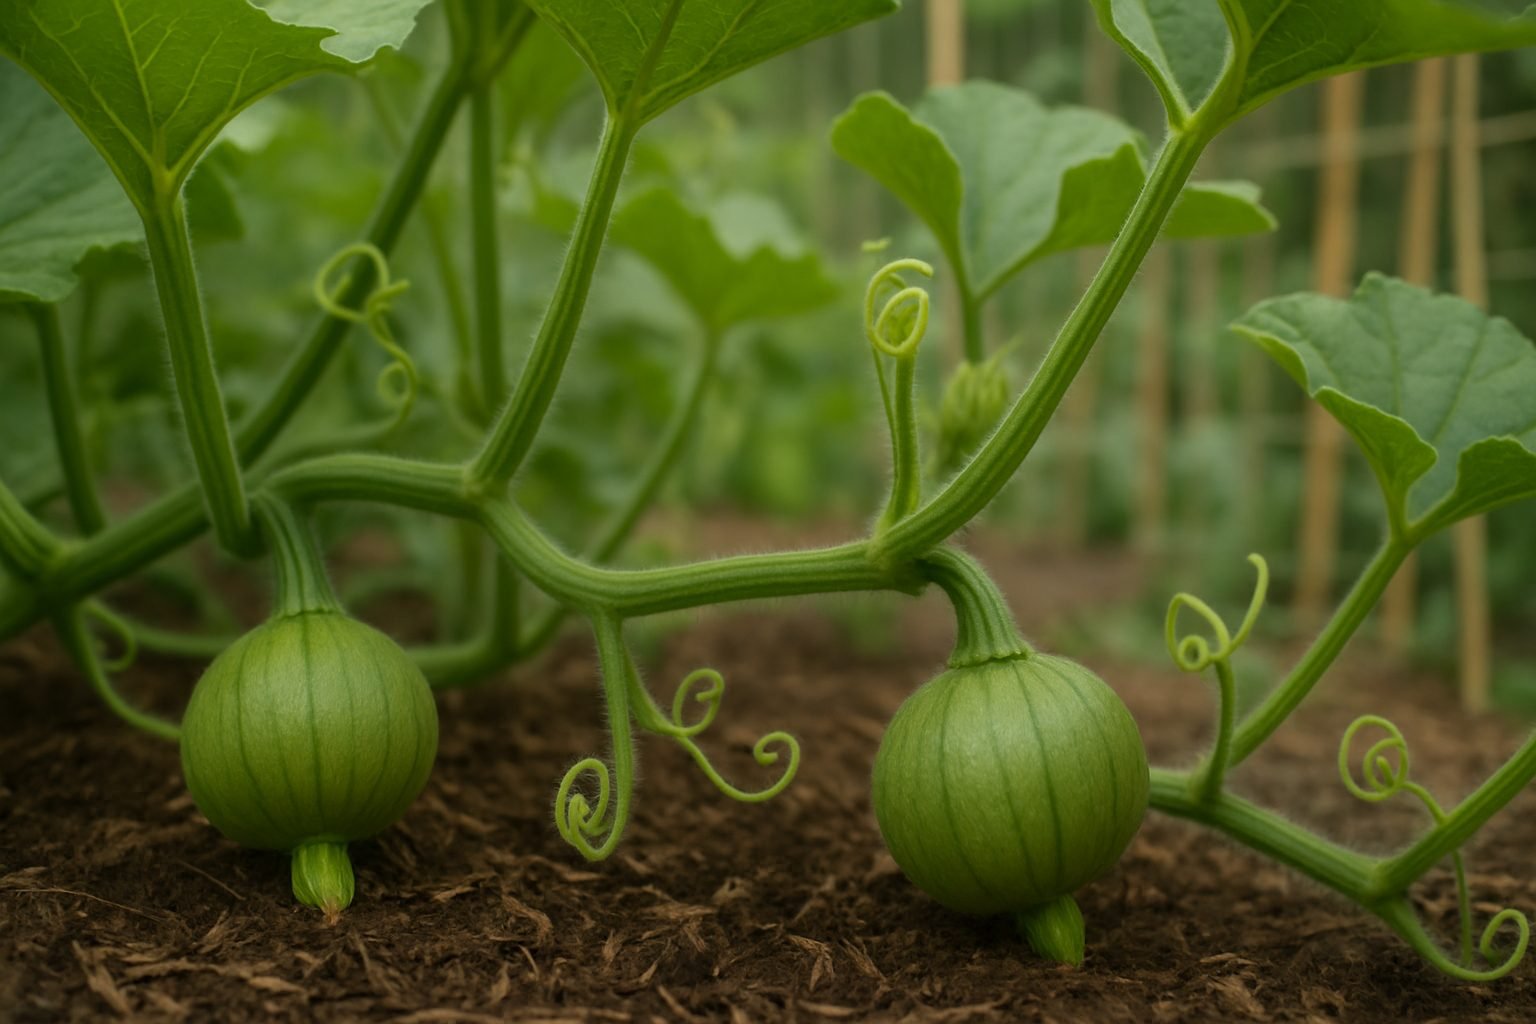
Once a flower has been successfully pollinated, a fascinating transformation begins as the ovary swells and gradually turns into a developing fruit. In the initial stages after pollination, you may notice that the fruit is quite small, often green, and firm to the touch.
Over the coming weeks, the fruit grows in size as cells rapidly divide and expand, making regular watering especially important to prevent stress and ensure even growth—soil that dries out can lead to smaller, misshapen fruit or even fruit drop.
As the fruit matures, its color typically shifts, such as green tomatoes turning red, bananas moving from green to yellow, or apples blushing as they ripen; this change signals that sugars are accumulating and the fruit is becoming more palatable. Meanwhile, the texture softens due to natural chemical changes, making the fruit juicy and easier to eat.
For healthy fruit development, it’s critical to provide balanced nutrition; supplementing soil with compost or a slow-release fertilizer can supply essential nutrients like potassium, which aids in fruit quality and flavor. Mulching can help retain soil moisture and reduce weeds that compete for resources.
Keep an eye out for pests or diseases during this time, as developing fruit is especially vulnerable—prompt removal of affected fruit or leaves can prevent problems from spreading.
Finally, be patient: harvesting fruit too early may mean it lacks flavor, while leaving it too long can attract insects or result in overripening. Observing the changes in your fruit—size, color, and texture—can help you judge the perfect time to harvest and enjoy nature’s reward for your careful attention.
Ripening and Harvest Time
Knowing exactly when your pumpkin is ripe makes all the difference between a sweet, colorful harvest and a disappointing crop. Start by checking the color: a pumpkin is ready when it shows a consistent, deep orange (or the mature shade for its variety) with no green patches on the skin. Gently press the fruit; ripe pumpkins feel firm and heavy for their size, never squishy.
Check the stem—it should be tough, dry, and cork-like, never green or supple. Tap the shell lightly; if it sounds hollow, that’s a good sign it’s mature.
When it’s time to pick, use garden shears or a sharp knife to cut the pumpkin from the vine, leaving at least 2-4 inches of stem attached. This “handle” helps prevent mold and early decay. Handle pumpkins carefully, lifting from underneath rather than by the stem, which breaks easily.
After harvesting, cure your pumpkins by placing them in a warm, dry spot (about 80°F with good air circulation) for 7-10 days—places like a sunny porch or a ventilated garage work well. Curing toughens the skin, heals minor nicks, and helps prevent rot.
Once cured, store pumpkins in a cool, dark, dry location (ideally 50–55°F) to keep them firm and edible for months. Avoid stacking them, as pressure points can cause soft spots and speed up spoilage.
By watching ripeness closely, handling carefully, and curing thoroughly, you can enjoy your homegrown pumpkins all through fall.
End of Season: Seed Saving and Plant Renewal
As your pumpkin vines fade and the season winds down, it’s the perfect time to prepare for next year by saving seeds. Start by choosing your healthiest pumpkins with the best traits; these will give you strong, vibrant plants in the future.
Cut the pumpkin open and scoop out the seeds and pulp. Place the seeds in a bowl of water—viable ones will sink, while floating seeds are often not as strong. Rinse the good seeds thoroughly, removing all bits of pulp, then spread them in a single layer on a paper towel or mesh screen to dry completely for at least a week.
Once dry, store seeds in a labeled paper envelope or glass jar, kept in a cool, dark, and dry spot to prevent mold and preserve their viability. If you’re keen on keeping specific pumpkin genetics—say, from a favorite variety—be sure to grow only that type nearby to avoid unintentional cross-pollination, which can create surprising (and sometimes unwanted) results.
Throughout the pumpkin life cycle, from seed to sprout to vine to harvest and back again, you become a steward of renewal. If you have favorite pumpkin-saving hacks, heirloom stories, or questions, drop a comment below! Sharing your experiences helps gardeners everywhere, and together, we keep the cycle growing strong.