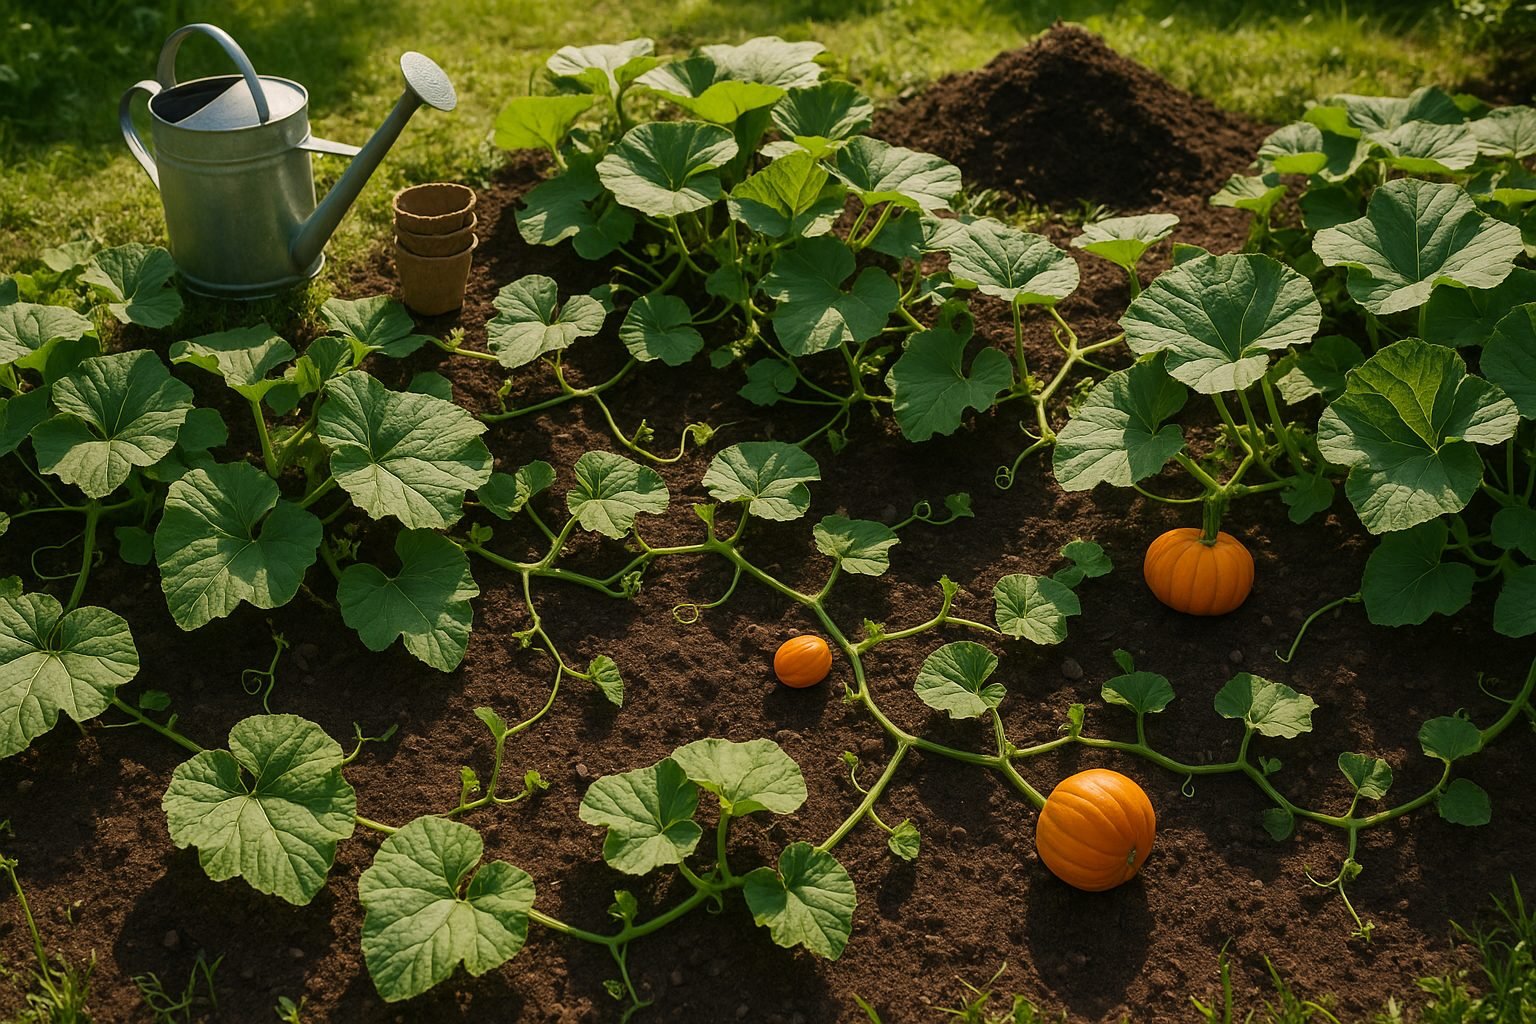
Understanding Pumpkin Seedling Transplanting Basics
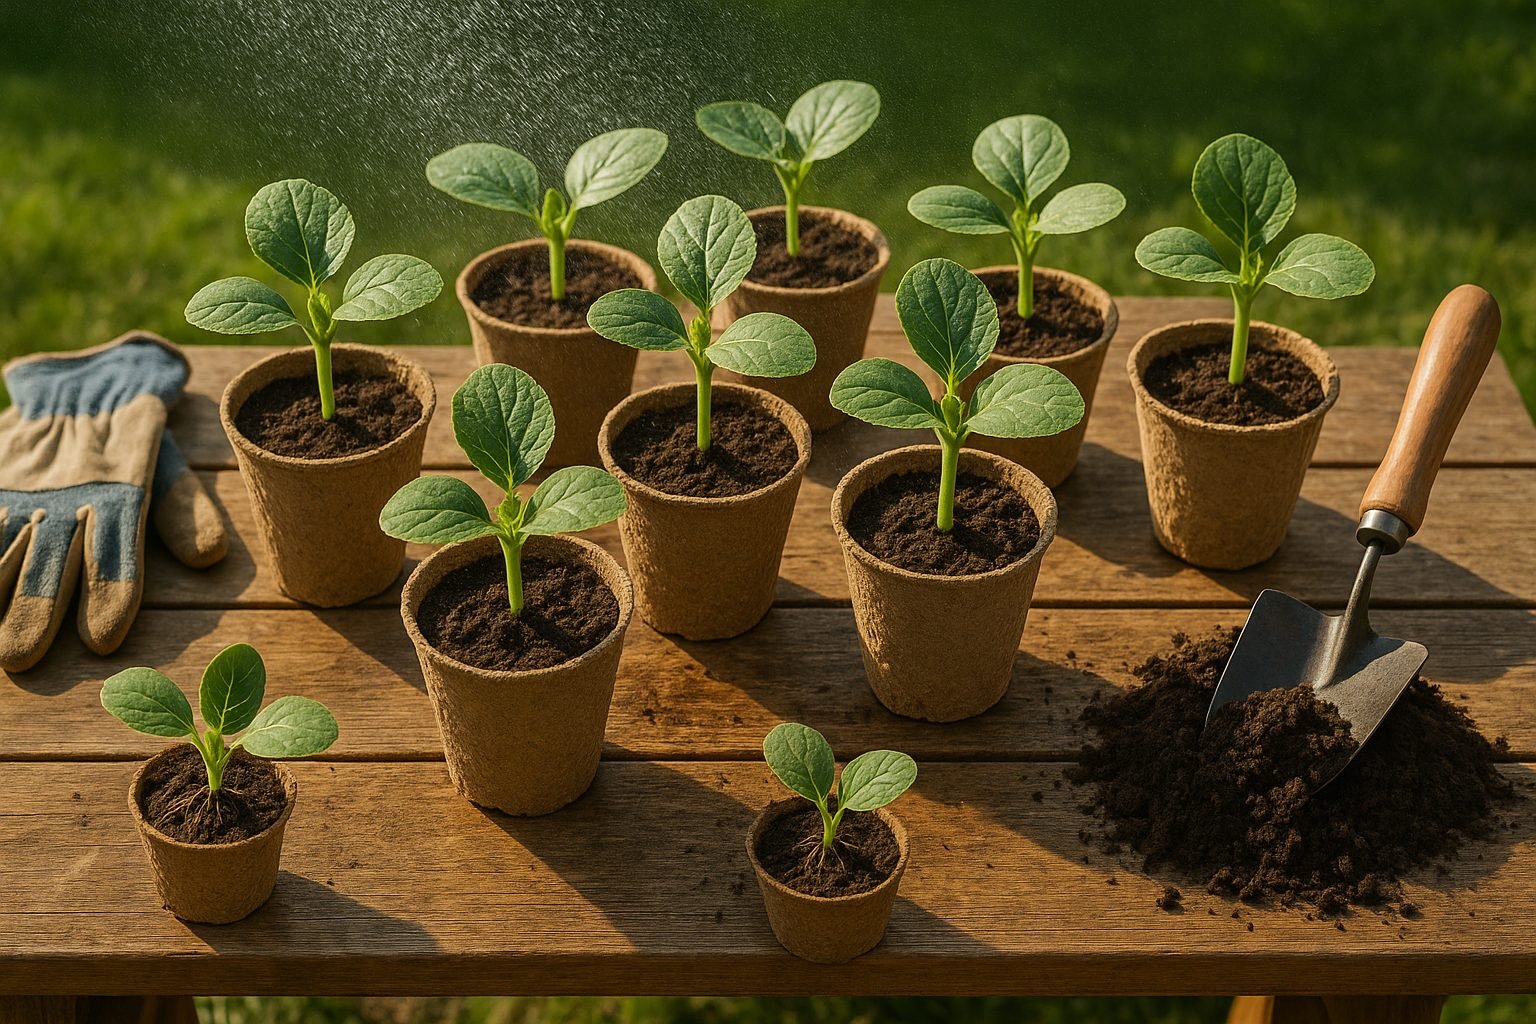
Transplanting pumpkin seedlings is the process of moving young pumpkin plants, which have been started from seed indoors or in a controlled environment, into the open garden soil where they’ll continue growing until harvest. The main purpose of transplanting pumpkin seedlings is to give these sprawling vegetables a head start, especially in regions with a short growing season or unpredictable spring weather.
When you start pumpkins indoors, you control their early growth conditions, shielding them from cold snaps, pests, and heavy rains that can stunt or kill delicate seedlings. Compared to direct sowing—planting seeds straight into your garden bed—this method can lead to earlier harvests, stronger seedlings, and a better overall yield.
Advantages of Starting Indoors
One major advantage of starting indoors is that you can time your plantings so the pumpkin seedlings are just the right size when outdoor temperatures become reliably warm—typically two to three weeks after your region’s last frost. This flexibility ensures seedlings aren’t exposed to late frosts that would otherwise kill them. Additionally, younger plants face less competition from weeds and are less likely to succumb to soil-borne diseases common in early spring. For home gardeners, this means more control and fewer losses.
Challenges of Transplanting Pumpkin Seedlings
However, transplanting pumpkin seedlings isn’t without its challenges. Pumpkins have sensitive root systems that don’t like being disturbed, so careful handling during the move is essential. Using biodegradable pots or peat pellets can minimize transplant shock, making the transfer less traumatic for the plant.
Despite these difficulties, seeing your carefully nurtured pumpkin plants thriving and sprawling across the garden—producing big, healthy fruit—is a reward well worth the extra effort. With a bit of planning and care, transplanting pumpkin seedlings can transform your patch into a bountiful, vine-covered oasis.
Best Timing for Transplanting Pumpkin Seedlings
Transplanting pumpkin seedlings at the right time is crucial for healthy growth and a bountiful harvest. Ideally, wait until the soil temperature consistently reaches at least 65°F (18°C), as pumpkins are sensitive to cold roots and can quickly suffer from stunted growth if planted too soon.
Check the air temperature as well: daytime temps should be reliably above 70°F (21°C), and night temperatures should stay above 50°F (10°C). For most regions, this means transplanting seedlings after your area’s last expected frost date—usually about two weeks later to be safe. Always consult your local frost calendar, as frost can kill young pumpkin plants overnight.
The variety you grow also affects transplant timing. Small pie pumpkins or bush types often mature faster, typically within 85–100 days, while large jack-o’-lanterns or giant varieties can need up to 120 days. Count backward from your area’s usual first fall frost to ensure your pumpkins have time to ripen before cold weather hits. For example, if your first fall frost is mid-October and you’re growing a variety that takes 100 days, aim to transplant seedlings no later than early July.
Gardeners in northern regions with shorter, cooler summers should start seeds indoors 2–4 weeks before the last frost and use plastic mulch or row covers to warm the soil and protect young plants. In warmer southern areas, gardeners may transplant as early as late March or April, but should still avoid any late cold snaps.
No matter your location, harden seedlings off for a week before transplanting to prepare them for outdoor conditions. By matching your transplant schedule to local climate, soil warmth, and the pumpkin variety, you’ll set your crop up for vigor and a timely harvest.
How to Prepare Pumpkin Seedlings for Transplanting
Getting your pumpkin seedlings ready to move outdoors starts with the crucial step of hardening off, which helps them adjust from cozy indoor conditions to the tougher outdoor environment. Begin this process about seven to ten days before transplanting.
On the first day, place your seedlings outside in a sheltered, shady spot for a couple of hours, then gradually extend their outdoor time and exposure to sun and breeze each day. By the end of the week, your pumpkins should be spending a full day outdoors, including a few hours of direct morning sunlight. This toughens them up against wind, temperature swings, and sunlight.
This gradual acclimatization helps prevent transplant shock—a sudden stall in growth or wilting caused by environmental changes. To further minimize shock, transplant on an overcast day or in the evening when it’s cooler, and water the seedlings thoroughly before and after moving them.
Handle the young plants gently by their leaves, not their stems, since stems are more sensitive to damage. Adding a little compost or starter fertilizer to the planting hole and keeping the soil consistently moist for the first week can promote quicker recovery and steady growth.
Your pumpkin seedlings are ready for transplanting when they have at least two or three sets of true leaves (beyond the initial rounded seed leaves), are several inches tall, and have sturdy stems that don’t flop over. Healthy seedlings also show a rich green color and no signs of wilting or pest issues.
With these strategies, your pumpkin seedlings will be primed for a strong start in your garden.
Preparing the Planting Site
Choosing the right spot for your pumpkin patch is crucial to a healthy harvest. Start by finding a garden location that gets at least six to eight hours of full sunlight daily—pumpkins are sun lovers and won’t thrive in the shade. Make sure there’s plenty of room for vines to sprawl; a single plant can need up to 50 square feet, so plan spacing to prevent crowding and allow for good airflow.
Look for natural windbreaks like fences or shrubs that can protect delicate seedlings from harsh winds. The ideal soil for pumpkins is loose and well-draining, with a pH between 6.0 and 6.8—use a simple soil test kit to check, and amend with lime or sulfur if needed. Enrich the soil with lots of organic matter such as compost or well-rotted manure, which boosts both fertility and moisture retention.
To improve drainage, especially if you have heavy clay soil, consider building raised garden beds; mound up the soil in small hills about three feet wide and plant two to three seedlings per hill. If using containers, pick ones at least 20-25 gallons in size and fill with a high-quality potting mix that drains well.
Before transplanting, water the soil thoroughly to settle it and help the roots establish. Remove any weeds or debris to give seedlings a head start, and lay down some mulch to keep moisture levels steady and reduce future weeding chores. Taking these steps at the beginning sets up your pumpkin plants for strong, healthy growth all season long.
The Transplanting Process Step-by-Step
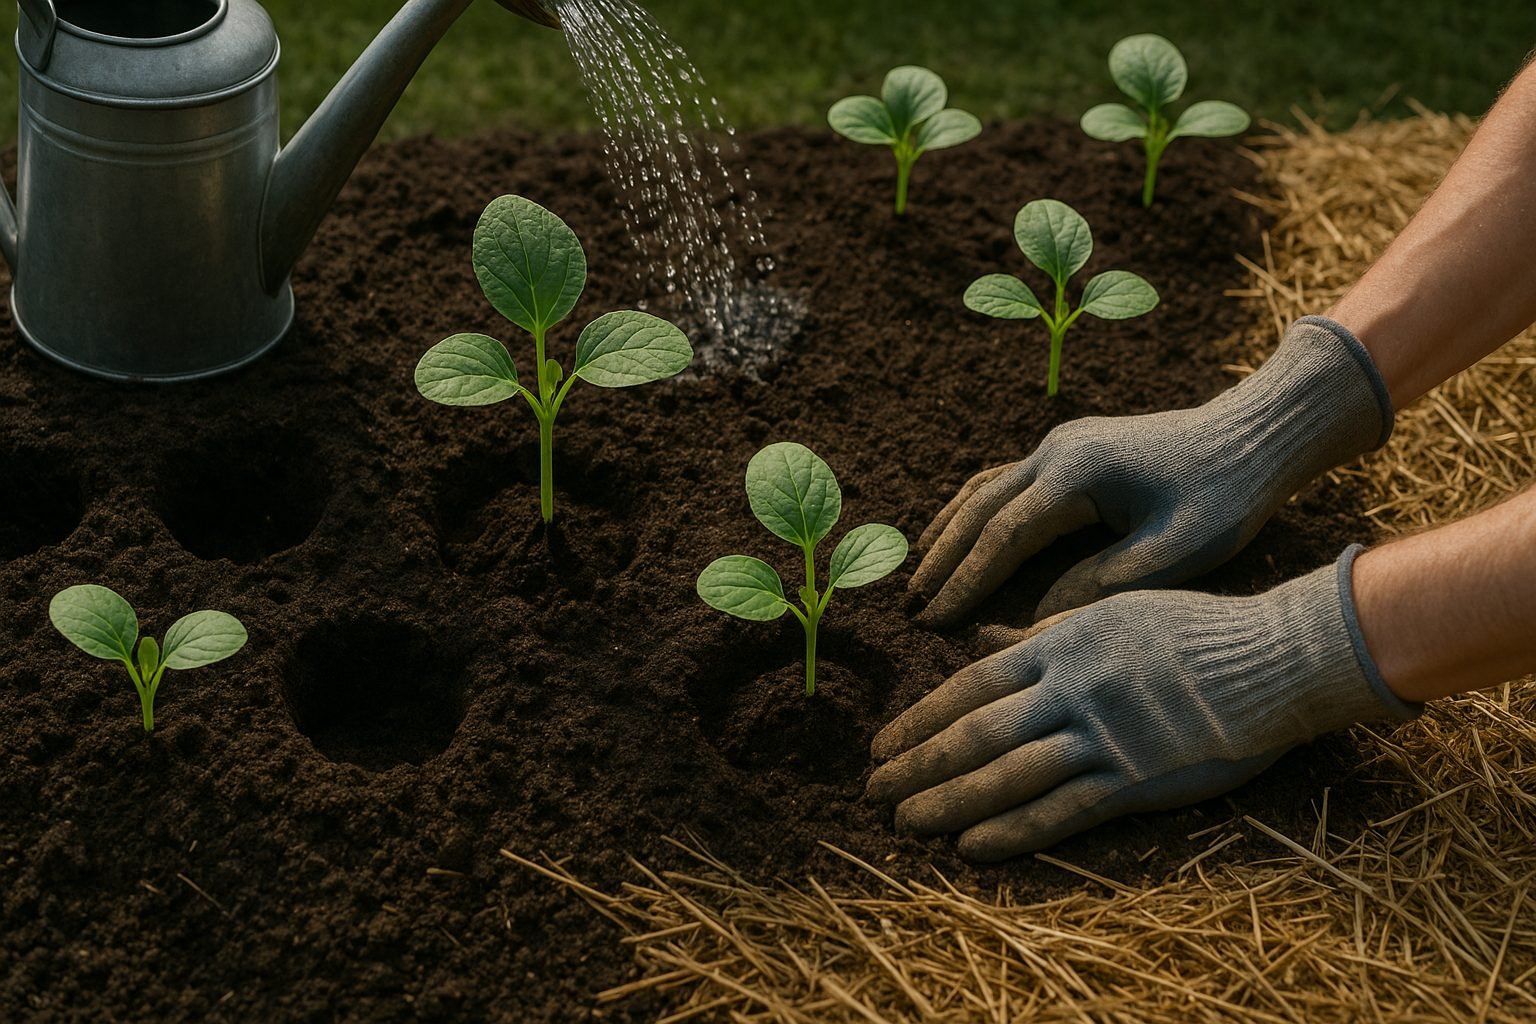
Transplanting seedlings into the garden isn’t just about digging a hole and dropping in a plant—timing, technique, and aftercare all matter for strong, thriving growth. Begin by choosing a cool, cloudy day or late afternoon to avoid stressing the seedlings with intense sun.
Prepare your garden bed by loosening the soil and mixing in compost for extra nutrients. Dig holes that are just deep enough so that the seedling sits at the same soil level it did in its container; for tomatoes and some other vegetables, you can bury a bit deeper to encourage stronger roots.
Gently remove seedlings from their trays, handling them by the leaves instead of the delicate stems, and set them in each hole, respecting the recommended spacing on the seed packet—crowded plants can struggle with disease and stunted growth.
Once in place, backfill with soil and press down lightly to remove air pockets, then water deeply right away to settle the roots. A thorough initial watering helps reduce transplant shock and establishes contact between roots and their new environment.
Add a two-inch layer of organic mulch, like straw or shredded leaves, around each seedling, keeping mulch an inch away from the stem to prevent rot. Mulch retains moisture and suppresses weeds, making your job easier.
For the first week, check moisture daily and water when the top inch of soil feels dry; seedlings often need more water until they recover.
With these careful steps—proper planting depth, correct spacing, deep watering, and mulching—your transplants will have the best chance to settle in, grow strong, and reward you with a flourishing garden.
Troubleshooting and Post-Transplant Care
After transplanting seedlings into your garden, there are some common issues to watch for, including wilting, pest infestations, and delayed growth.
Wilting often occurs when roots can’t absorb enough water, usually due to transplant shock or dry soil. To prevent this, water seedlings immediately after transplanting and provide shade for a few days, especially during hot weather. If leaves look droopy, check the soil moisture and water more frequently—but avoid waterlogging.
Pests like aphids or cutworms may target tender transplants. Inspect your plants daily and manage infestations early using organic solutions such as insecticidal soap or hand-picking.
Delayed growth can also happen, particularly if the soil isn’t nutrient-rich or if seedlings are planted too deeply or shallowly. Apply a balanced fertilizer once a week after transplanting, and continue every few weeks as needed for healthy growth.
Ongoing care includes:
- Keeping soil consistently moist but not soggy
- Mulching to retain moisture and suppress weeds
- Watching for signs of stress like yellowing leaves or slowed growth
If problems persist—such as stunted or dying plants—reassess the light, water, and soil quality. Sometimes moving the plant to a better location or gently loosening compacted soil can help.
Act quickly by trimming off dead or diseased foliage to give seedlings a fighting chance. Reapply mulch if it’s been washed away, and adjust your care routine as the weather changes.
By monitoring your transplants closely and responding promptly to any issues, you’ll give your young plants the best chance to thrive in their new home.
Frequently Asked Questions and Pro Tips
Transplanting pumpkin seedlings can feel daunting, especially when facing unpredictable weather. If you’re worried about heat, aim to transplant in the cool morning or early evening hours to reduce stress on the plants. Hot afternoons can quickly dry out tender roots, so water thoroughly after planting and use mulch to keep the soil moist.
For late frosts, always have row covers or old bed sheets on hand—these can be draped over plants overnight and removed during the day once temperatures are warm. If heavy frosts threaten, consider starting seeds in biodegradable pots that you can plant directly into the soil, minimizing root disturbance and letting plants acclimate gradually.
After transplanting, expert growers recommend applying a diluted fish emulsion or compost tea to boost recovery and set the stage for strong growth. Keep the soil evenly moist, but avoid waterlogging, and check plants daily for signs of stress or pests.
Advanced Pumpkin-Growing Strategies
If you’re interested in more advanced pumpkin-growing strategies, online forums like the Great Pumpkin Commonwealth or university extension websites are treasure troves of expert advice. You’ll find step-by-step guides, troubleshooting tips, and even grower diaries that can help you master each phase of the pumpkin season.
Remember, patience and observation are just as important as following best practices—monitor your garden closely, and adapt based on what your plants are telling you.