Choosing the Best Pumpkin Variety
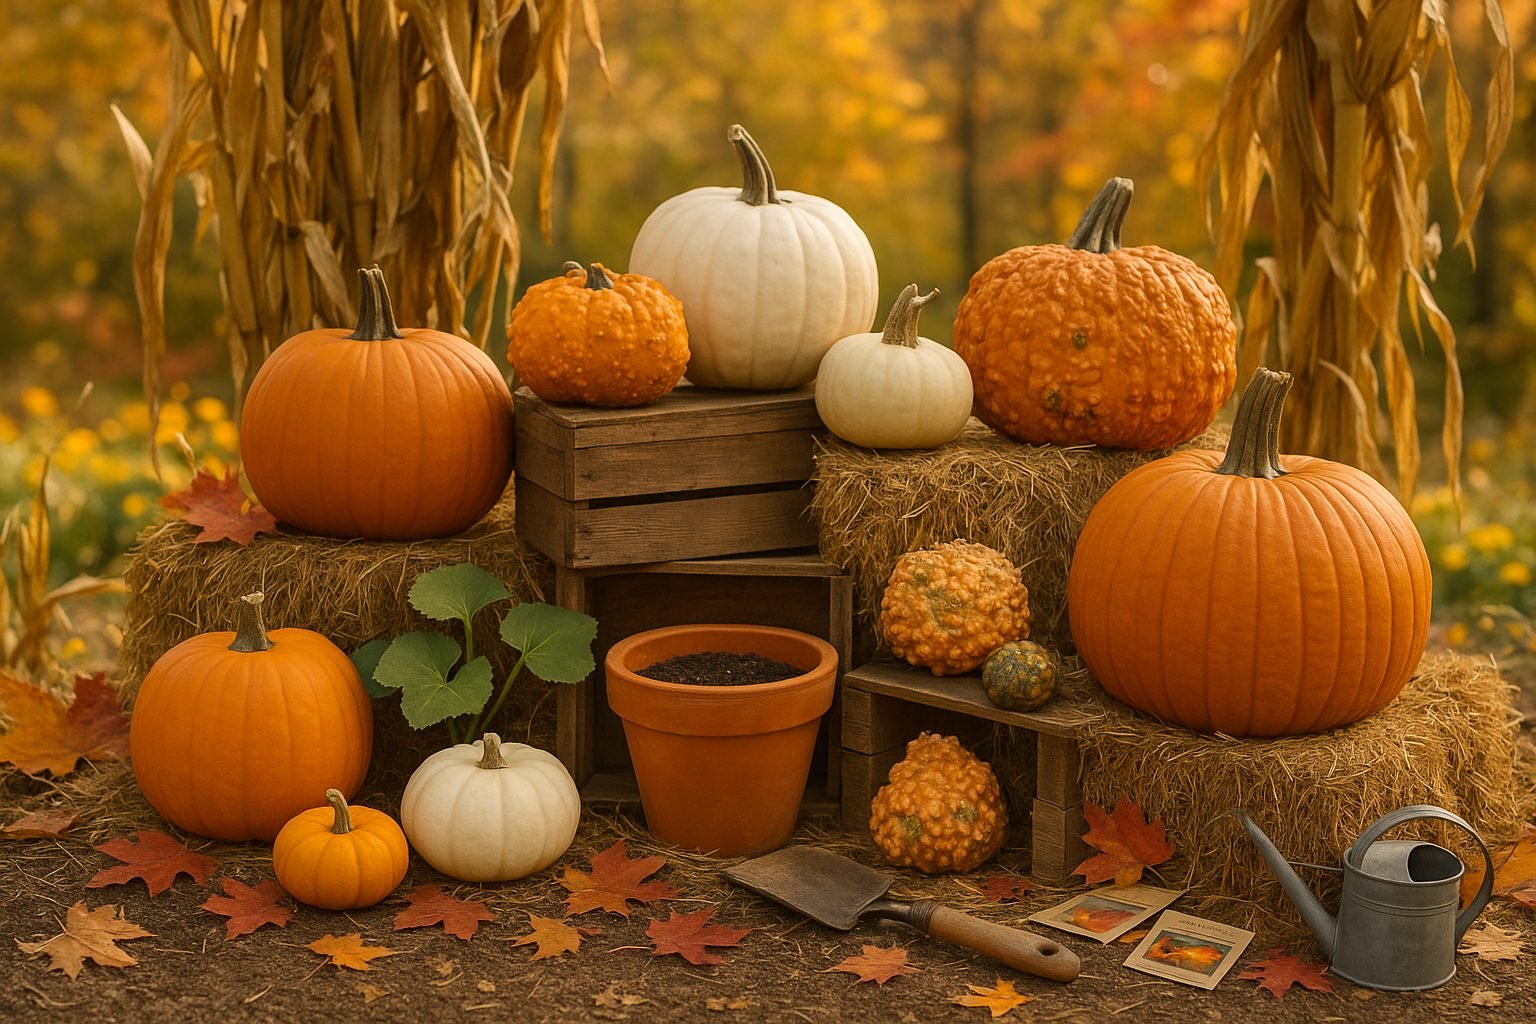
If you’re eager to grow pumpkins from seed, choosing the right variety is your first—and arguably most important—step. Pumpkins come in three main types: carving, cooking, and decorative.
Carving pumpkins, like the classic Howden or Jack O’ Lantern, have thick orange skins and hollow centers perfect for creating spooky jack-o’-lanterns every October. Cooking pumpkins, such as the sweet Sugar Pie or the dense Cinderella (Rouge Vif d’Etampes), are known for their rich flesh, ideal for pies, purees, and roasting. Decorative varieties, like the petite Baby Boo or the warty Knucklehead, come in unique shapes, sizes, and colors, making eye-catching autumn displays.
If you’re new to gardening, stick with beginner-friendly varieties like Jack Be Little mini pumpkins or Sugar Pie, both known for their high germination rates and compact growth. These varieties also mature faster, giving you a better chance of success if your growing season is short. Meanwhile, giant types like Atlantic Giant require more space, patience, and care, making them better suited for experienced growers.
Before you pick a pumpkin variety, consider factors such as your available garden space—some pumpkins trail more than 20 feet—your local climate, and what you plan to do with your harvest. For small gardens or containers, bush varieties like Bushkin or Spirit save space while still offering a good yield. If you’re in a cooler climate with a short summer, opt for quick-maturing types like Early Sweet Sugar Pie. And if your goal is autumn decor, try mixing unusual varieties like White Ghost or Peanut Pumpkin for a stunning effect.
By matching the variety to your needs and environment, you set yourself up for a successful pumpkin patch from seed to harvest.
When and Where to Plant Pumpkins
Timing is everything when it comes to planting pumpkins, and your region’s climate will help you decide when to get started. In areas with long, warm summers—like the southern United States—plant pumpkin seeds directly outdoors when soil temperatures reach at least 70°F, usually between late April and early June. In cooler northern climates where frost lingers longer, wait until all danger of frost has passed and the soil warms, typically in late May or early June.
If your growing season is short, start seeds indoors about two to four weeks ahead and transplant seedlings after the risk of frost has passed. Regardless of location, pumpkins crave sunlight; pick a spot that receives a full six to eight hours a day for robust vines and larger fruit.
Give each plant plenty of elbow room—space mounds or rows 4 to 6 feet apart, or follow variety-specific recommendations. Crowded plants are prone to mildew and tend to produce fewer pumpkins.
Pumpkins thrive in rich, well-draining soil with a neutral pH (ideally 6.0–6.8). Before planting, mix in a generous amount of compost or well-rotted manure to boost nutrients and retain moisture. If you’re using raised beds or containers, choose a large pot (at least 24 inches wide) and fill it with loamy potting mix blended with organic matter.
Mulch around seedlings to trap moisture and suppress weeds, and watch for signs of soggy soil, which can cause problems like root rot.
Early preparation and thoughtful site selection set the stage for a bountiful pumpkin harvest, whether you’re dreaming of classic jack-o’-lanterns or sweet sugar pumpkins for autumn pies.
Starting Pumpkins From Seed
When choosing how to start your pumpkin seeds, you’ll want to weigh the pros and cons of sowing indoors versus planting directly outdoors.
Direct sowing is the easiest—pumpkins thrive when undisturbed. Once the soil warms to at least 65°F (around late spring), simply push seeds 1 inch deep into loose, well-draining earth, spacing them 2–3 feet apart to allow room for sprawling vines. Keep the soil consistently moist but not soggy; pumpkin seeds germinate in about 7–10 days.
However, if you’re dealing with a short growing season or cooler climates, starting seeds indoors 2–4 weeks before your last expected frost gives pumpkins a helpful head start.
Indoor Sowing
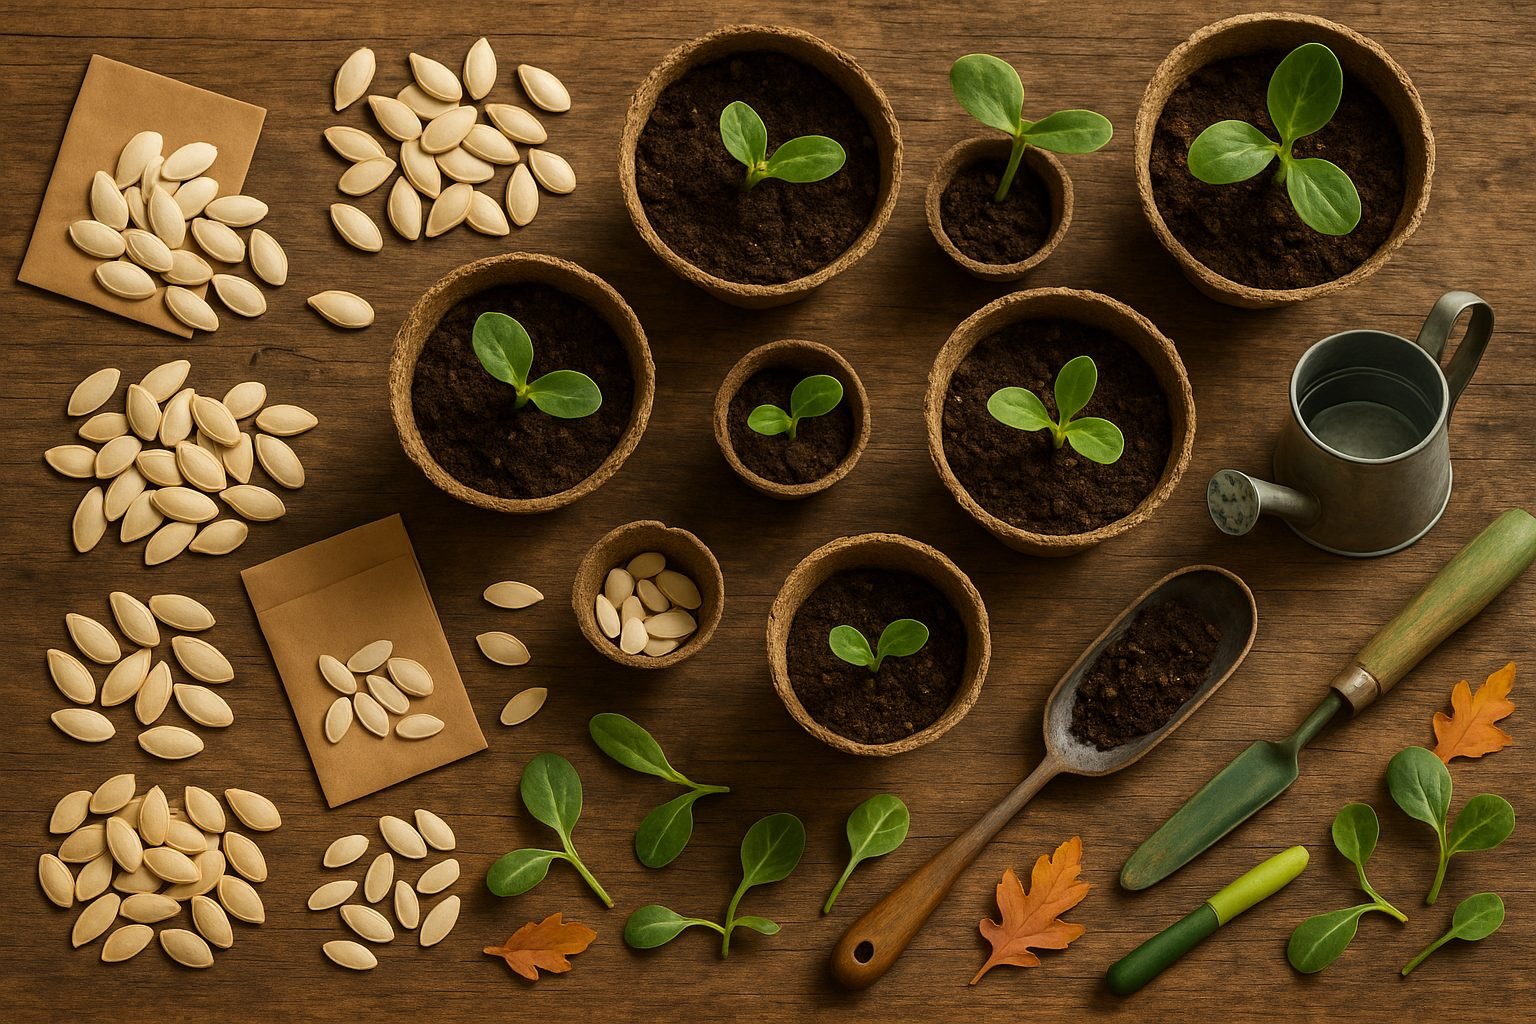
For indoor sowing, plant one seed per 3-inch biodegradable pot, 1 inch deep, in a warm spot (ideally 75–85°F) with plenty of sunlight or under a grow light. Mist the soil to keep it evenly damp, and expect sprouts in about a week.
Once seedlings develop two sets of true leaves and outdoor nights are reliably above 55°F, gently harden them off by moving pots outside for a few hours each day over a week.
Transplant the whole pot directly into your prepared garden bed to minimize root disturbance, taking care to space them just like direct-sown pumpkins.
Whether you start indoors or out, consistently moist soil, warm temperatures, and a little patience are your secret ingredients for healthy pumpkin starts.
Growing and Caring for Pumpkin Plants
Caring for pumpkin plants starts with understanding their changing needs as they grow. Early on, keep the soil evenly moist by watering seedlings every 2–3 days, aiming for about one inch of water per week. Once established, water deeply once a week to encourage roots to grow deeper. Avoid overhead watering to prevent leaf diseases—drip irrigation or soaker hoses work best.
When it comes to fertilizing, begin with a balanced fertilizer like 10-10-10 at planting. Once flowers set, switch to a formula higher in phosphorus and potassium (such as 5-10-10) to boost fruit production. Products like Espoma Garden-Tone or Miracle-Gro Performance Organics are great options.
Mulching plays a big role too—apply a 2-3 inch layer of straw or shredded leaves around your plants to keep soil moisture steady, block weeds, and prevent soil-borne diseases from splashing up. Regularly hand-pull weeds since pumpkin vines can be sensitive to chemical weed killers.
For pruning, snip off vine tips after two or three fruits form on each vine. This helps the plant focus its nutrients on growing big, healthy pumpkins. If space is limited, try training vines vertically on strong trellises, using soft ties or old pantyhose to support swelling fruit. This method works especially well for smaller varieties.
Gently guiding vines away from each other also helps sunlight reach all leaves and prevents overcrowding. This ultimately leads to more consistent yields, even in smaller gardens or raised beds. With a little attentiveness at each step, you’ll have thriving pumpkin plants ready for a bountiful harvest.
Pollination and Common Pumpkin Problems
Pumpkin pollination is vital for healthy fruit development, as pumpkins rely on bees and other insects to transfer pollen from male to female flowers. Male flowers appear first and have a thin stem, while female flowers have a small, immature pumpkin at the base.
If you notice flowers dropping off without producing fruit or see few bees in your garden, you can try hand-pollination. Use a small paintbrush or cotton swab to gently collect pollen from the center of a male flower and dab it onto the stigma of the female flower. This helps ensure fruit sets even when pollinators are scarce.
Common Pests and Diseases
Alongside pollination challenges, pumpkins are vulnerable to pests like squash bugs, cucumber beetles, and vine borers. Inspect your plants regularly and remove pests by hand, or use row covers early in the season.
For fungal diseases like powdery mildew, avoid overhead watering and ensure good air circulation by spacing plants adequately. Rotate crops each year to reduce soil-borne disease risks.
Growth Problems and Solutions
Common growth problems include fruit drop, often caused by poor pollination, drought, or nutrient deficiencies. To prevent this, water deeply and consistently, mulch to retain soil moisture, and use a balanced fertilizer.
If you have lots of flowers but few pumpkins, it might be too hot or too cold, or your plants could be stressed. Maintaining healthy soil, providing ample sunlight, and managing pests can all help improve fruiting.
With a little observation and timely action, even new gardeners can encourage better pumpkin harvests and troubleshoot issues before they get out of hand.
When and How to Harvest Pumpkins
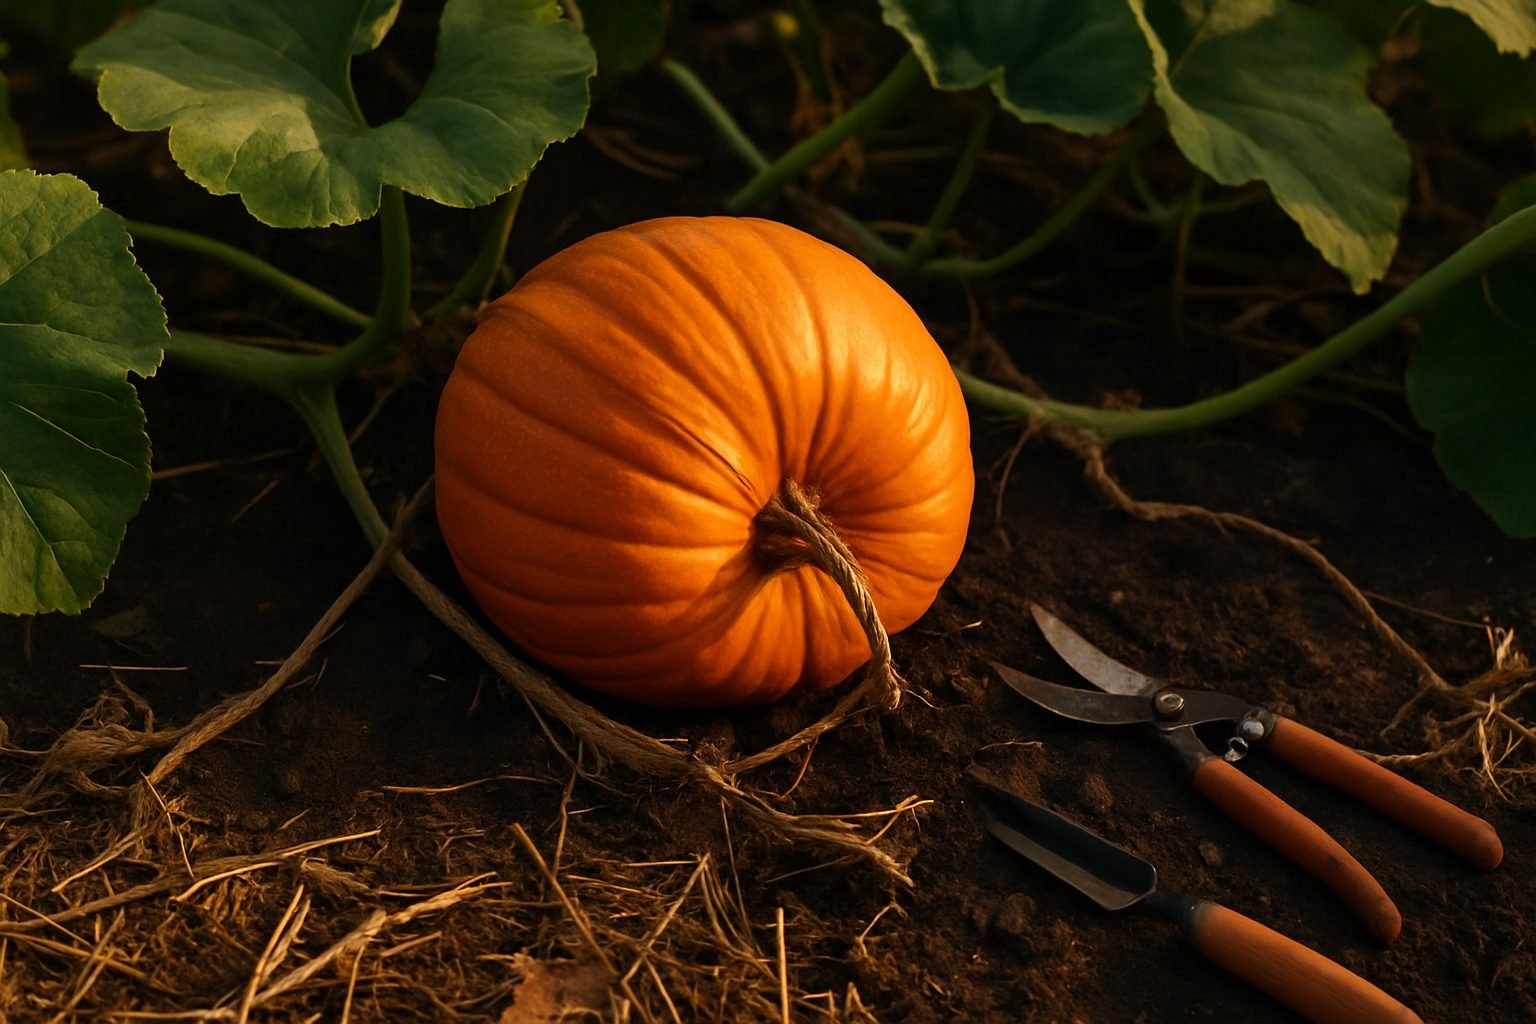
Knowing when to harvest pumpkins is key to getting the best flavor and longest storage life. Look for visual cues: most pumpkins are ready when their skin has turned a deep, solid orange (or the mature color for your chosen variety) and the rind feels hard to the touch. To test, press your fingernail lightly into the skin; if it resists puncture, the pumpkin is mature.
Another telltale sign is the season: pumpkins usually ripen in early to mid-fall, typically around 75-100 days after sowing, and before the first frost. Always check that the vine attached to the pumpkin has started to dry and turn brown, which signals the fruit is done growing.
When it’s time to harvest, use sharp garden shears or a sturdy knife to cut the pumpkin from the vine, leaving at least 3-4 inches of stem attached. This handle not only looks nice but also helps prevent rot from entering the fruit. Never pull or twist pumpkins off the vine, as this can damage both the fruit and the plant.
After harvesting, cure your pumpkins by placing them in a warm, dry area with good air circulation (about 80-85°F) for 10 days. This helps toughen the skin and heal any minor cuts.
Once cured, store your pumpkins in a cool, dry place—ideally around 50-55°F and away from direct sunlight. Lay them in a single layer on shelves or cardboard, with space between each fruit to encourage airflow and avoid rot.
Properly harvested and stored, your pumpkins can last several months, brightening your home and kitchen long after the harvest season ends.
Creative Ways to Use Pumpkins
Pumpkins aren’t just for Halloween—they’re one of the most versatile crops you can grow at home, and their possibilities go far beyond jack-o’-lanterns. If you have a bountiful pumpkin harvest, try whipping up kid-friendly recipes like roasted pumpkin seeds tossed with cinnamon and sugar, simple pumpkin muffins, or creamy pumpkin soup sprinkled with nutmeg.
For family fun, host a pumpkin carving night, or let little kids decorate pumpkins with paint, stickers, or colorful yarn instead of sharp tools. Mini pumpkins make adorable autumn centerpieces; just stack them in a glass bowl or line them across your mantel with a few leaves for instant cozy vibes.
After carving your creations, scoop out the seeds to dry and save for next year’s planting. Just rinse off the pulp, lay the seeds on a towel to dry completely, then store them in a paper envelope in a cool, dry spot.
Once all the festivities are over, don’t toss your pumpkins in the trash! If you didn’t decorate them with glitter or paint, chop them into chunks and add them to your compost bin, where they’ll break down into rich fertilizer for next year’s garden.
With so many options, you’ll find that every part of your pumpkin patch can be put to good use—offering learning opportunities, delicious treats, and eco-friendly fun for everyone.