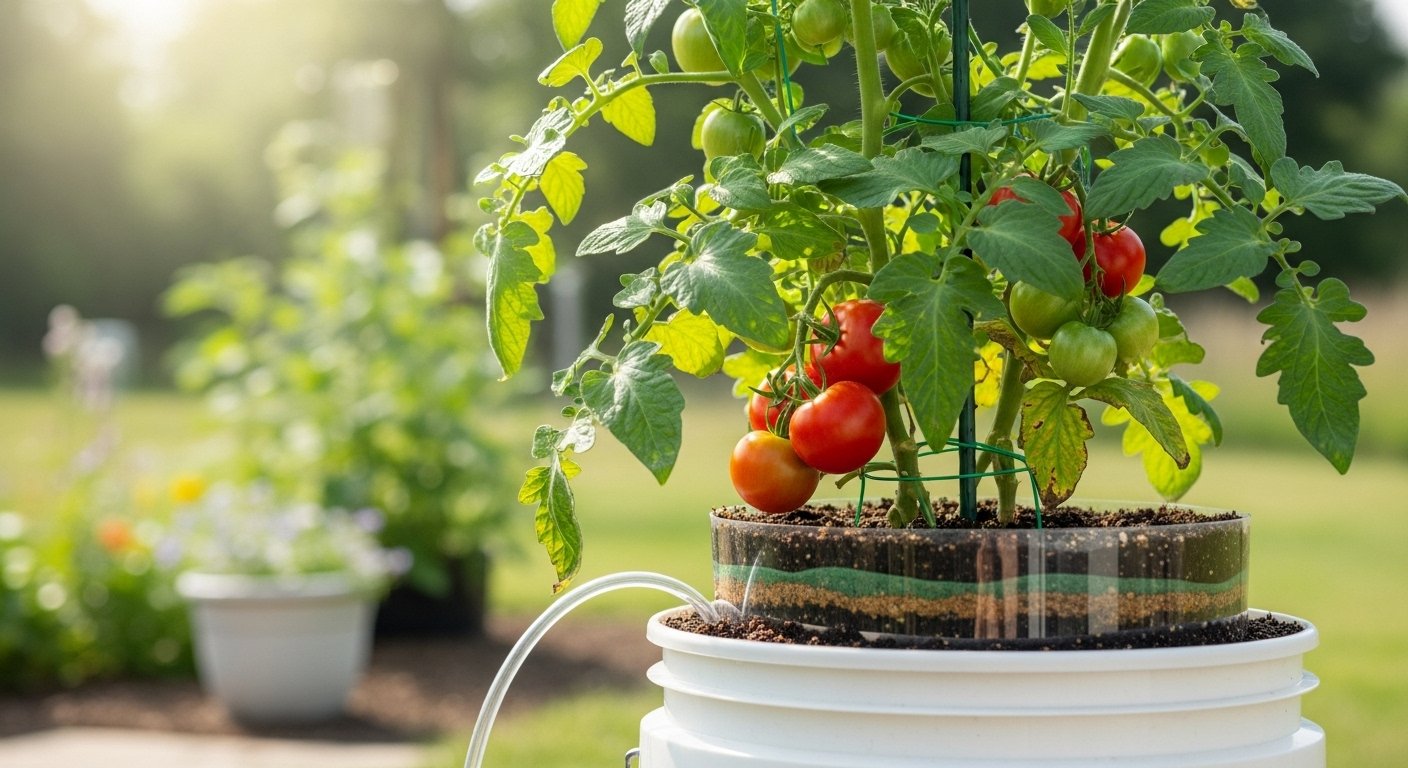
Introduction to Self-Wicking Tomato Watering Containers
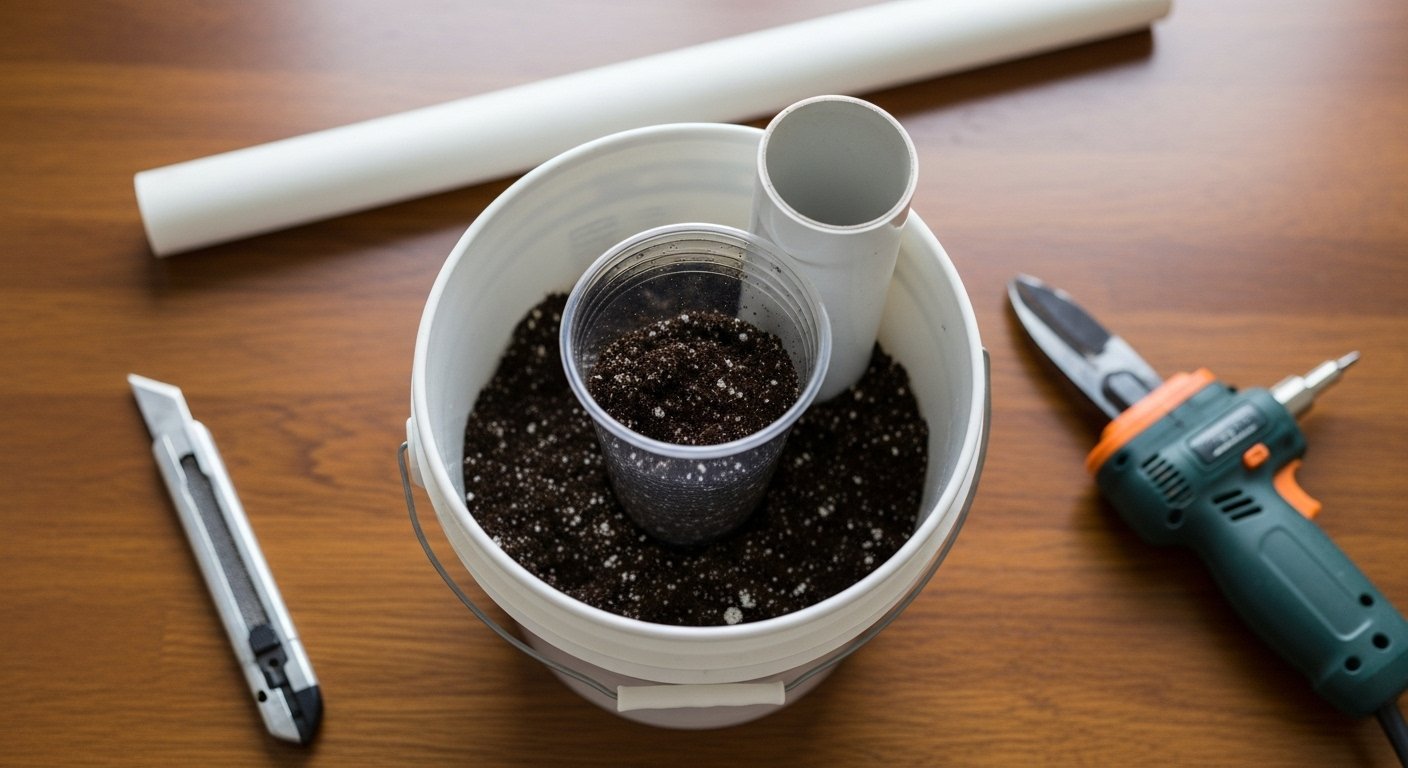
Have you ever wondered how self-watering tomatoes could make your gardening life easier, especially during hot, dry spells or busy weeks? Self-wicking containers, often called self-watering tomato systems, are game-changers for both novice and seasoned gardeners. These clever setups—think buckets, tubs, or even DIY versions from recycled materials—deliver steady, consistent moisture directly to your tomato plants’ roots.
That means less time spent lugging watering cans, fewer missed waterings, and no more guessing if your soil is too dry or too soggy; self-watering tomatoes practically care for themselves. This not only keeps your plants healthier and more productive but also conserves water, a big win for eco-conscious growers or anyone facing local restrictions.
For beginners, getting started is surprisingly simple. You’ll just need a few easily sourced materials and a basic understanding of how to create a reservoir and wicking system. In this post, we’ll walk through practical, step-by-step tips on setting up your own self-wicking containers, troubleshooting common mistakes, and making the most of your harvest.
With a little effort, you can enjoy lush, thriving tomatoes all season long, with less hassle and more reward.
Why Self-Watering Planters Work for Tomatoes
Self-watering planters are a game-changer for growing tomatoes, especially for gardeners with busy schedules or limited space. These containers deliver water gradually from a reservoir at the bottom, ensuring your tomato plants receive consistent moisture right at the roots—a method that mimics how tomatoes naturally grow in the ground.
This even distribution of water helps prevent common problems like blossom end rot, which is often caused by fluctuations in soil moisture, and cracking, which can happen when tomatoes absorb too much water after being dry. Healthy, steadily hydrated roots lead to more vigorous plants and better fruit.
Another big benefit is the reduction in daily maintenance; you only need to refill the reservoir every few days, saving time and reducing the risk of forgetting to water. Self-watering containers are especially useful for people with patios, balconies, or small yards, as they let you grow robust tomato plants in compact spaces without the mess or hassle of traditional watering.
For anyone wanting fresh homegrown tomatoes but juggling a busy life or a small home, self-watering planters offer a simple and effective solution that delivers great results.
Choosing the Right Location for Your Tomato Planter
When choosing the ideal spot for your tomato planter, prioritize sunlight—tomatoes need at least 6 to 8 hours of direct sun each day to thrive and produce flavorful fruit.
For outdoor placement, find a south-facing location that isn’t shaded by trees, fences, or buildings for most of the day. Protection from strong winds is also key; wind can damage stems or knock over planters, so position your planter near a wall or sturdy fence that acts as a windbreak while still allowing ample sunlight.
Ensure your chosen spot is accessible for easy watering and harvesting—you don’t want to be hauling a watering can or hose across your entire yard.
If you’re growing tomatoes indoors, place your planter near the sunniest window, ideally south- or west-facing, and rotate the plant every few days for even growth. You might also consider supplemental grow lights if natural sunlight is limited, especially in apartments or cloudy climates.
Wherever you set your planter, watch for puddles or soggy areas—good drainage helps prevent root rot. Keep your setup convenient so you can regularly check soil moisture and spot ripe tomatoes as soon as they’re ready to harvest.
Selecting the Best Soil and Tomato Varieties
For successful tomatoes in containers, start with soil that’s lightweight, rich in organic matter, holds moisture, but drains quickly—standard garden soil is too heavy, so opt for a premium potting mix instead. To give plants an extra boost, enrich store-bought potting mix by blending in a couple of handfuls of compost or worm castings; these natural amendments supply vital nutrients and improve the soil’s texture.
If you’re new to composting, bagged compost from the garden center works well, and worm castings are also available pre-packaged. When it comes to choosing tomato varieties, determinate types like Bush Early Girl or Roma are great choices, as they grow more compactly and don’t require heavy staking.
Dwarf cultivars such as Tiny Tim, Patio Princess, or Balcony are also perfect for containers—these small plants thrive in limited space but still produce a surprising number of fruits.
With the right soil mix and tomato selection, you’ll set yourself up for a bountiful container harvest, even if you’re short on garden space.
DIY Steps: Building a 5-Gallon Self-Wicking Tomato Container
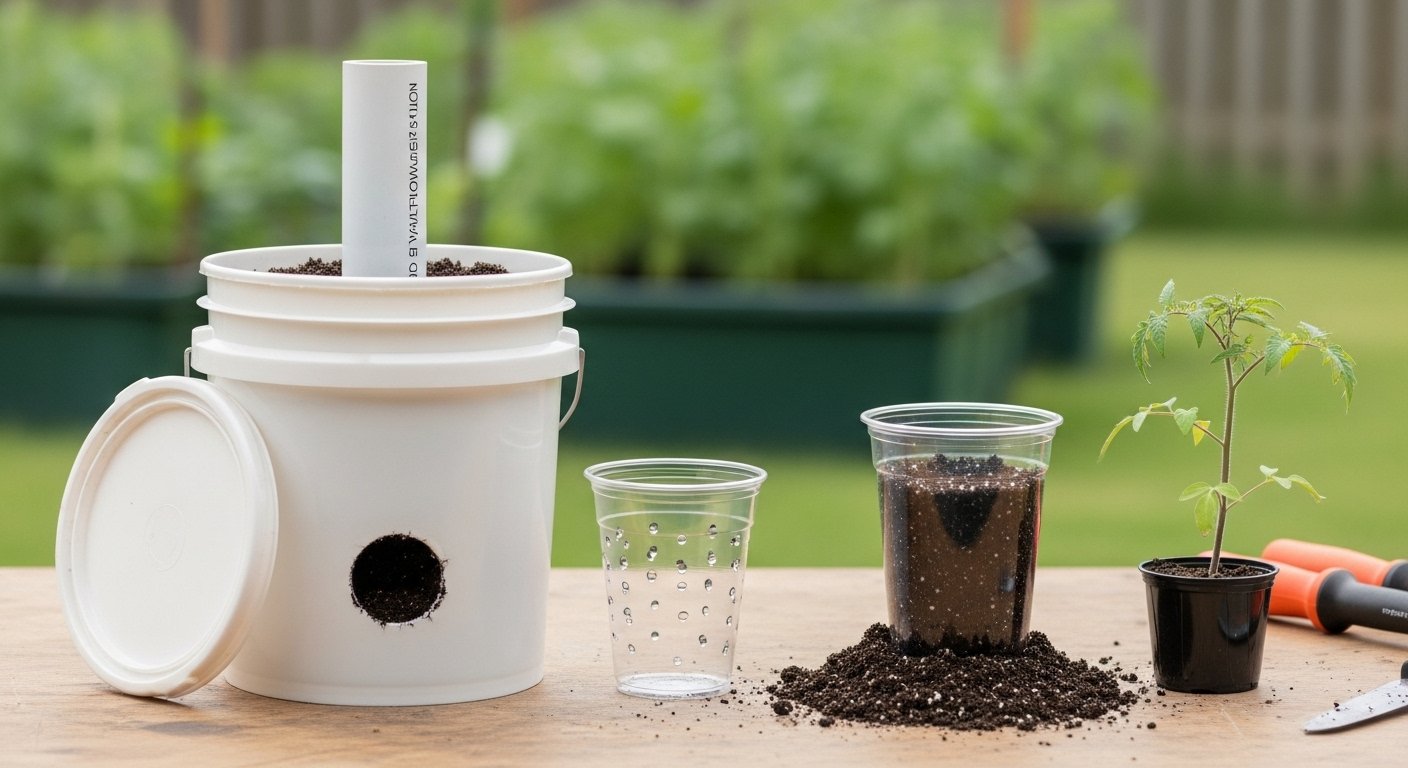
To build your own 5-gallon self-wicking tomato container, start by gathering these materials: a clean, food-grade 5-gallon bucket with a lid, a plastic cup (about 16 oz) for the wicking chamber, a piece of PVC pipe (about 1 inch in diameter and 18 inches long) for the watering tube, a sturdy craft knife or drill, potting mix, and tomato seedlings.
Begin by creating the wicking chamber: use the knife or drill to poke several holes in the cup’s sides and bottom, allowing water to move freely. Cut a matching hole in the bucket’s bottom center and insert the cup so it sits snugly—this chamber will hold moist soil and wick water up to your plant.
Next, mark and drill an overflow hole about 2 to 2.5 inches up from the base of the bucket; this ensures you won’t overfill the reservoir.
Create a small hole in the bucket lid and push the PVC pipe through—it should extend almost to the bottom, resting near the wicking cup so you can easily add water without disturbing the plant.
Fill the cup and bucket base with moist potting mix, making sure the mix packs firmly into and around the wicking cup, then add more mix until the bucket is nearly full. Place your tomato seedling in the center, water through the tube, and let it drain until you see water at the overflow hole.
For long-lasting containers, choose UV-resistant buckets and check for leaks before planting. Refill the reservoir as needed, and avoid packing the wicking chamber too tightly—looser soil improves water movement to the roots, keeping your tomatoes thriving all season.
Planting and Supporting Your Tomato Plant
When planting your tomato seedlings in a self-watering container, dig a hole deep enough to bury the stem up to the first set of leaves. Tomatoes can develop roots all along their buried stems, so planting them deeper encourages a stronger, more stable root system. This is especially beneficial in self-watering containers, where consistent moisture helps those roots take hold and spread.
As soon as you plant, install your support system—whether it’s a cage, stake, or trellis—right into the container before the plant starts to grow vigorously. Waiting until later can disturb the roots or risk damaging your plant.
For example, slipping a sturdy tomato cage over the seedling at planting time gives the plant something to lean on as it grows. Attaching soft ties as needed helps guide its branches upwards. This early support helps prevent breakage and makes it easier to manage your tomato harvest later on.
Essential Care for Tomatoes in Self-Wicking Planters
Keeping your tomatoes thriving in self-wicking planters is easy with a little routine care. Start by checking the water reservoir every few days, especially during hot weather. Refill the reservoir before it dries out, but avoid keeping it constantly overflowing, as this can suffocate the roots.
For optimal growth, fertilize every two to three weeks with a balanced, water-soluble fertilizer—diluted to half strength to prevent salt buildup in the soil. Regularly inspect your plants for suckers (those small shoots that appear where branches meet stems) and pinch them off to encourage more fruit production rather than leafy growth.
Stay vigilant for pests like aphids or whiteflies; a quick spray with water or insecticidal soap can usually keep problems in check. If you notice wilting or yellow leaves despite adequate water, check for clogged wicks—gently remove any blockages using a thin stick or flush with clean water.
Also, if water is pooling on top of the soil, you may be overwatering or have drainage issues. Adjust your watering habits and ensure drainage holes are clear. By monitoring these small details, your self-wicking system can support robust, healthy tomato plants that yield delicious fruit all season long.