Preparing to Plant Garlic
Curious about how to master sandy soil garlic cultivation? Sandy soil may seem tricky at first, but with the right approach, you can harvest plump, flavorful garlic bulbs every season. Timing is everything: the best time to plant garlic is typically in the fall, as cooler climates and shorter days trigger vigorous root development before winter sets in.
Fall planting—usually 4-6 weeks before the ground freezes—lets garlic establish strong roots and deliver larger bulbs come summer, especially in colder regions. However, if you live in a region with mild winters or are running behind, spring planting is possible. Just be aware that spring-planted garlic often produces smaller bulbs, as it has less time to develop roots before the growing season kicks into high gear.
Choosing the Right Site
Site selection is the next critical step. Garlic craves sunlight, so choose a spot that receives at least six to eight hours of direct light daily. Good air circulation is also a plus, as it helps prevent diseases.
With sandy soil garlic, drainage is generally less of a concern than in heavy clay since sandy soils naturally let excess water escape. Still, avoid any low spots where water might accumulate during heavy rain. As for sandy soil itself, don’t let its notorious reputation for low fertility deter you—garlic actually enjoys loose, well-draining soils because its bulbs can expand freely.
Preparing Your Sandy Soil
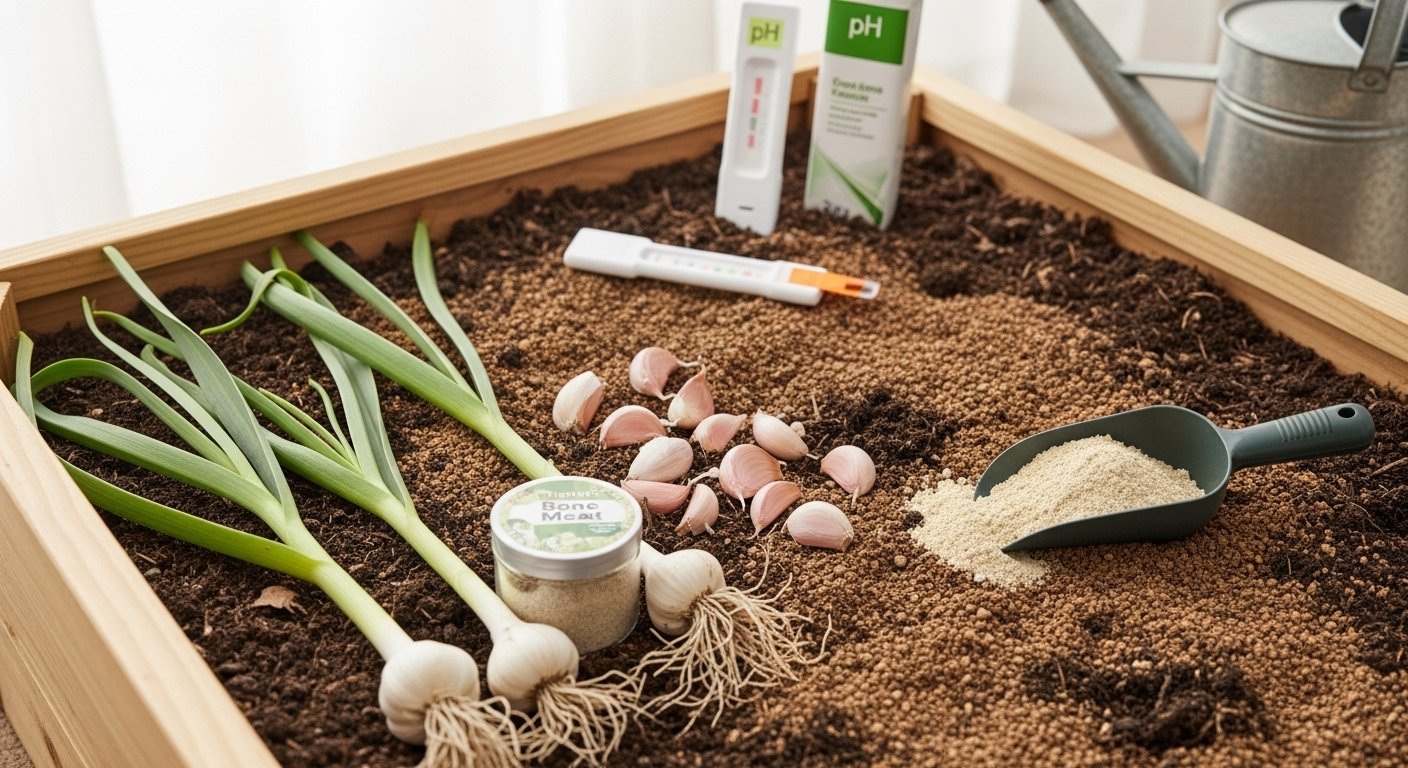
Now, let’s turn your sandy soil into garlic heaven. Start by clearing your selected plot of all weeds and debris. Incorporate a generous amount of well-rotted compost or aged manure—about two to three inches on top—then work it into the top 6-8 inches of soil.
This organic matter not only feeds your future garlic crop but also helps sandy soil hold moisture and nutrients longer. Test your soil’s pH, aiming for a slightly acidic to neutral range (6.0 to 7.0). If needed, add amendments like bone meal or a balanced fertilizer to dial in fertility, especially nitrogen, which garlic loves early on.
Alternative Growing Options
If your yard space or soil quality is less than ideal, consider raised beds or deep containers. These options put you in control, letting you blend sandy soil with compost, peat moss, or coconut coir for the perfect texture and nutrition. Raised beds also warm up sooner in spring, extending your garlic-growing season.
With these steps, your sandy soil garlic crop will get the best start possible—setting you up for a rewarding harvest, no matter your garden’s challenges.
How to Plant Garlic (In-Ground and Containers)
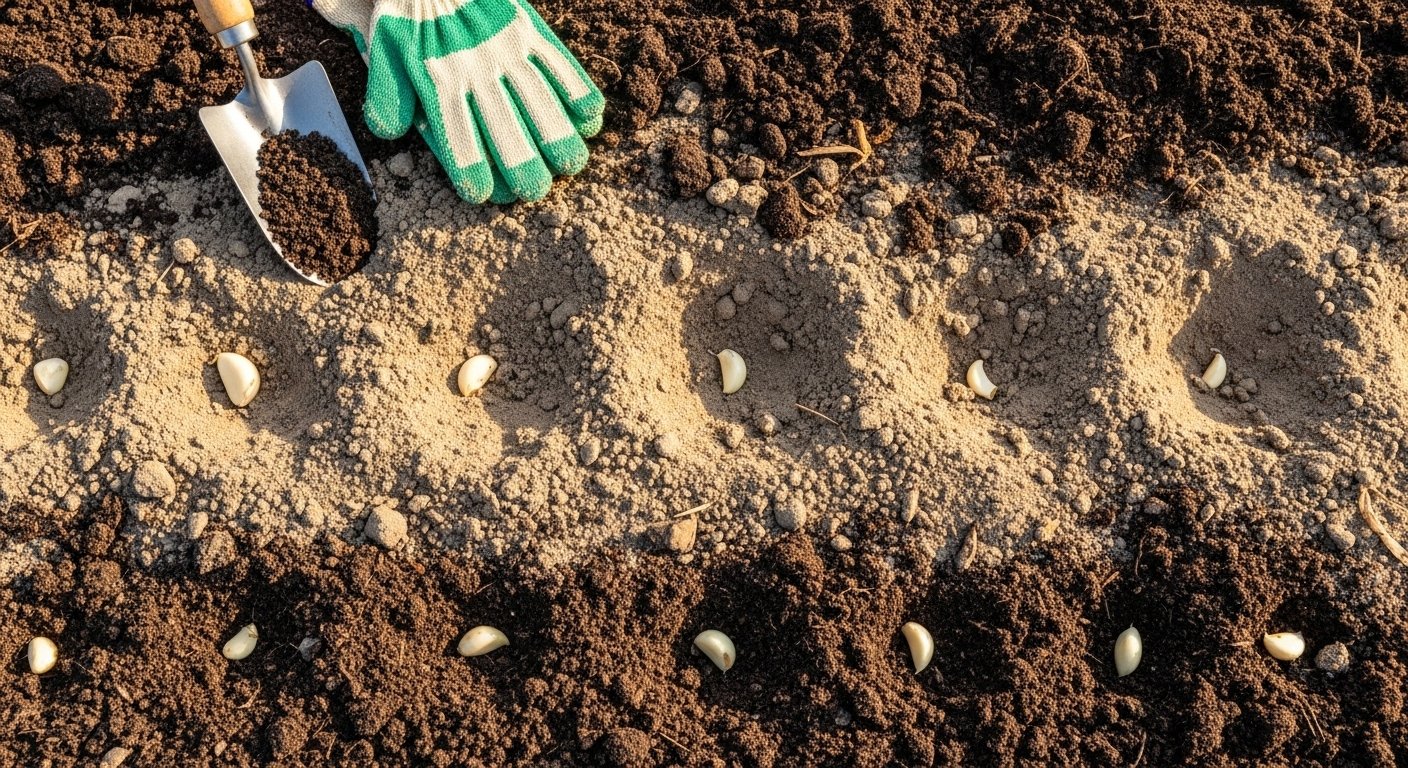
To plant garlic in your garden beds, start by choosing healthy, plump cloves—avoid any that feel soft or show signs of mold. Prepare the soil by loosening it to at least 8 inches deep and mixing in compost or aged manure for added nutrients. Plant each clove with the pointed end facing up, spacing them 4 to 6 inches apart in rows spaced 12 inches apart. The flat root end anchors the clove, while the pointed tip pushes through the soil.
Set cloves 2 inches deep from the top of the clove to the soil surface, then cover and water well.
For hardneck garlic, which thrives in cooler climates and produces flower stalks (scapes), plant in the fall for a summer harvest. Their larger cloves are easier to separate and typically need a little more space, so stick to the wider end of the spacing guidelines.
Softneck garlic, suited to milder regions and often used for braiding, can be planted in fall or very early spring. The cloves are usually smaller, allowing for slightly closer spacing.
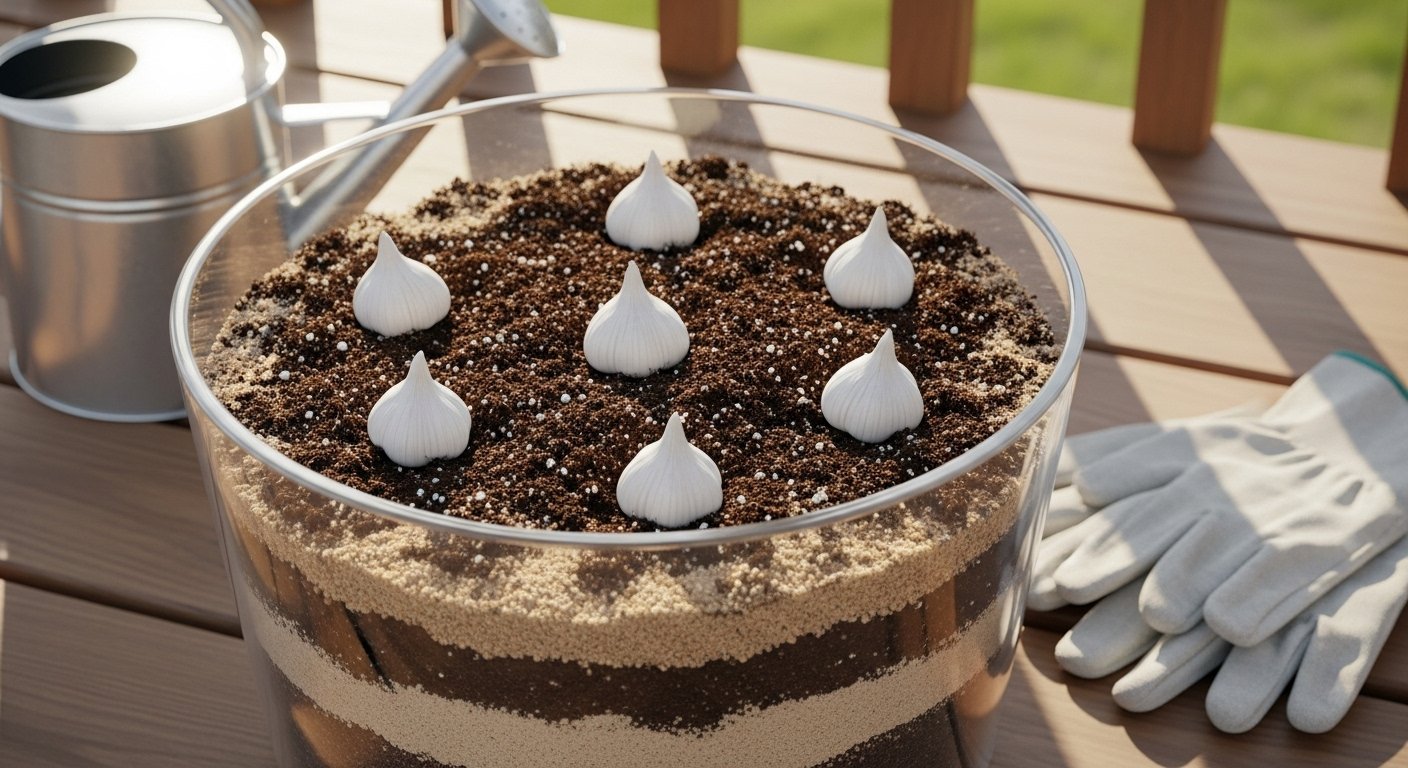
If space is limited or soil is poor, garlic also grows well in containers. Choose a pot at least 12 inches deep with drainage holes, and fill it with a loose, well-draining mix, such as equal parts compost, garden soil, and sand or perlite.
Plant cloves as described above, being mindful not to overcrowd; a 12-inch pot can hold 3–4 cloves comfortably. Keep containers in full sun and water whenever the top inch of soil dries out, taking care not to let the bulbs sit in soggy conditions.
With these techniques, you’ll enjoy homegrown garlic whether you garden in the ground or on your patio.
Garlic Companion Planting and Regenerative Techniques
Growing garlic alongside the right companion plants can make a dramatic difference in both its health and your garden’s ecosystem. A classic companion for garlic is the rose, since garlic’s strong scent deters common rose pests like aphids. Carrots also benefit from being near garlic, as it helps repel root maggots. Gardeners often tuck garlic among lettuce, spinach, and beets because it discourages mites and controls fungal diseases.
Alternatively, planting garlic near fruiting vegetables in the nightshade family — think tomatoes, eggplant, and peppers — can boost their defenses against spider mites and fungus. However, not all neighbors are welcome. Garlic should be kept away from beans and peas, as it can slow their growth by inhibiting nitrogen fixation, which is vital for legumes. Asparagus is another plant to avoid, as it tends to become stunted when garlic is nearby, likely due to compounding soil stress.
For a more resilient garlic patch, regenerative gardening practices are key. Each season, rotate where you plant garlic to reduce soil-borne diseases and pests that build up when crops stay in one spot. Adding a blanket of organic mulch — such as straw or shredded leaves — helps conserve moisture, suppress weeds, and gently add nutrients back to the soil as it decomposes.
Improve soil health further by working in compost or aged manure to boost microbial activity and soil structure, which garlic loves. Planting cover crops like clover or vetch during the off-season is a smart way to fix nitrogen, prevent erosion, and introduce organic matter for next year’s garlic.
By mixing strategic companion planting with these regenerative habits, you’ll support robust garlic harvests and cultivate a thriving, self-renewing garden.
Common Garlic Growing Challenges and How to Avoid Them
Growing garlic isn’t always smooth sailing—pests, diseases, and growth hiccups can catch even seasoned gardeners off guard. One persistent pest is the onion maggot, whose larvae burrow into garlic bulbs and cause soft, rotting patches. To avoid this, rotate your crops every year and use lightweight row covers to shield emerging shoots from egg-laying flies.
If you spot wilting plants with yellowing leaves, consider gently digging up one to check for maggot damage.
Another issue is white rot, a stubborn fungal disease that causes fluffy white mold at the base and can linger in soil for years. Prevent white rot by planting only healthy seed garlic, removing and destroying infected plants, and never composting affected soil. Maintain excellent drainage and avoid watering late in the day, as soggy conditions encourage fungal growth.
Weak or undersized bulbs may stem from poor soil or inconsistent moisture; garlic prefers loose, well-amended soil and steady, even watering—about an inch a week, reducing as bulbs mature. Mulching with straw helps keep moisture steady and suppresses weeds.
Bolting (when the plant sends up a flower stalk) is common in hardneck varieties and usually triggered by temperature swings. If you see a central stalk, snap it off at its base to encourage all the plant’s energy to go toward the bulb instead of seeds.
Garlic’s needs are straightforward but pay attention: unhealthy leaves, odd smells, or stunted growth are signs to investigate early. Beginners should walk their garlic plot every week, watch for pests on leaves or in the soil, and act quickly when something seems off. A little vigilance—plus healthy soil, the right watering, and a sharp eye for trouble—will help you enjoy big, beautiful bulbs at harvest.
Harvesting, Curing, and Storing Garlic
Knowing exactly when to harvest garlic is key to getting those perfect, flavorful bulbs. Keep an eye on the lower leaves: when about one-third to one-half have turned brown and dry but the upper leaves are still green, your garlic is ready for harvest. If you wait too long, the bulbs can split and won’t store well.
For the gentlest harvest, use a garden fork or shovel to loosen the soil about 4-6 inches from the base, then gently lift the bulbs—don’t just pull them by the stalk or you risk damaging the bulbs.
Once harvested, curing is essential for long-lasting garlic. Lay your bulbs in a single layer in a dry, airy, and shaded place—good options are a covered porch, a shed with open windows, or even an unused garage. Avoid direct sun, which can cause the bulbs to overheat or dry too quickly. Hang bunches or spread the bulbs out on mesh racks to ensure air circulates freely, helping prevent mold.
Allow them to cure for two to four weeks, until the wrappers are papery and roots feel dry. Gently brush off any remaining soil but avoid washing, as moisture can lead to rot.
Storing Garlic Long-Term
For storing garlic long-term, keep cured bulbs in a cool (around 60°F/16°C), well-ventilated, and dry environment with moderate humidity (about 60%). Avoid storing garlic in the fridge, which encourages sprouting. Mesh bags, onion sacks, or even old pantyhose work well to allow airflow and discourage mold.
Check stored bulbs every so often, removing any that show signs of softness, mold, or sprouting—this helps protect the rest.
Using these techniques, homegrown garlic can stay flavorful and firm for up to eight months, ensuring a fresh supply for your recipes and keeping waste to a minimum.
Saving Garlic Seed and Sustainability Tips
Saving your own garlic seed is a practical and rewarding way to increase self-sufficiency and build a more sustainable home garden. Start by selecting healthy, disease-free bulbs from your current harvest; look for large, well-formed cloves from varieties that grow well in your local climate, such as hardneck types for cold regions or softneck for milder areas.
After harvesting, cure the bulbs by hanging them in a dry, airy place for two to four weeks until the skins are papery and the necks are dry. Store cured bulbs in a cool, dark spot with good ventilation, such as a basement or pantry—avoid refrigeration, as cold can trigger early sprouting.
To prepare for next season, break apart the bulbs just before planting and use the largest outer cloves, as these tend to yield the most vigorous plants.
Garlic is an excellent example of a crop that supports sustainability: it’s perennial in some climates, requires minimal inputs, and can be grown organically without pesticides. Saving your own seed year after year reduces dependence on commercial suppliers, cuts costs, and allows you to gradually develop garlic strains uniquely suited to your soil and local conditions.
Integrate garlic into your garden’s rotation cycles and consider using spent garlic stalks or trimmings as mulch or compost material, closing the loop on waste.
By observing and adapting to how your garlic performs each season, you’re practicing regenerative gardening—working with nature to build healthier soil, preserve genetic diversity, and ensure a steady supply of food.
Over time, even a small home garlic patch can become a powerful symbol of resilience and resourcefulness, inspiring you to apply these closed-loop principles to other areas of your garden.