Introduction to Carrot Cultivation
Commercial carrot growing has become a cornerstone for many small farms and CSA operations, thanks to the carrot’s status as a staple food and highly marketable crop. Carrots are celebrated worldwide not just for their sweet, earthy flavor and crisp bite, but also for packing a powerful nutritional punch—they’re loaded with beta-carotene, dietary fiber, vitamin K1, antioxidants, and potassium.
Whether shredded into salads, roasted for meal prep, or juiced as a morning pick-me-up, carrots find their way into kitchens and diets everywhere, making them a reliable choice for market growers and local farm shares. But growing carrots for market or CSA isn’t just about tossing seeds into the ground and hoping for the best.
From selecting the right varieties to managing weeds, irrigation, and pests, every step presents an opportunity to boost yields and improve quality. In this article, we’ll break down each crucial phase, including how to choose carrot seeds suited for your soil and market needs, proven planting techniques for straight roots and good germination, best practices for growth and weed management, effective strategies to combat pests and diseases, and tips to harvest and store your crop for peak freshness and market appeal.
Whether you’re expanding your CSA offerings or considering carrots as your next commercial crop, these insights and hands-on strategies will help you maximize success every step of the way.
Choosing the Right Variety and Preparing Your Soil
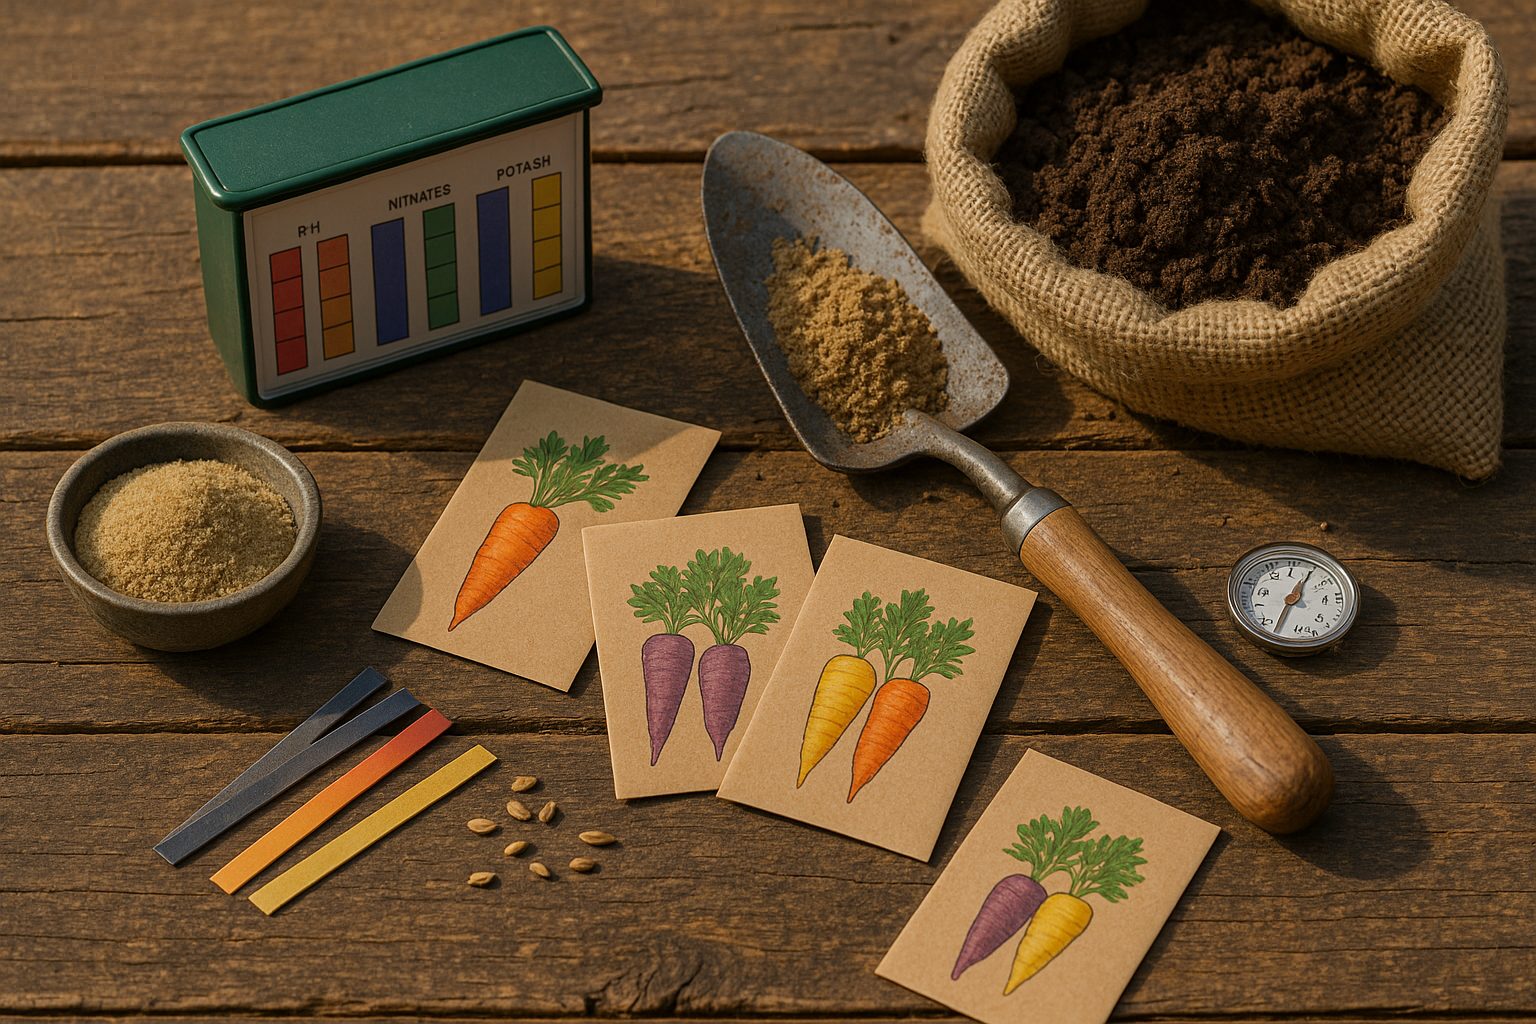
When it comes to growing delicious carrots, selecting the right variety is the first step toward success. Carrots come in a range of shapes, sizes, and colors—from the sweet, classic ‘Nantes’ to the crunchy, tapered ‘Imperator’ and petite, round ‘Parisian’ types.
Consider your climate when choosing:
- ‘Danvers’ carrots handle heavier soils and cooler conditions well.
- ‘Chantenay’ suits shallow or rocky terrain.
- For shorter growing seasons, look for early-maturing varieties.
Taste preferences also matter; yellow and purple carrots often have milder flavors, while orange ones are generally sweeter and more traditional.
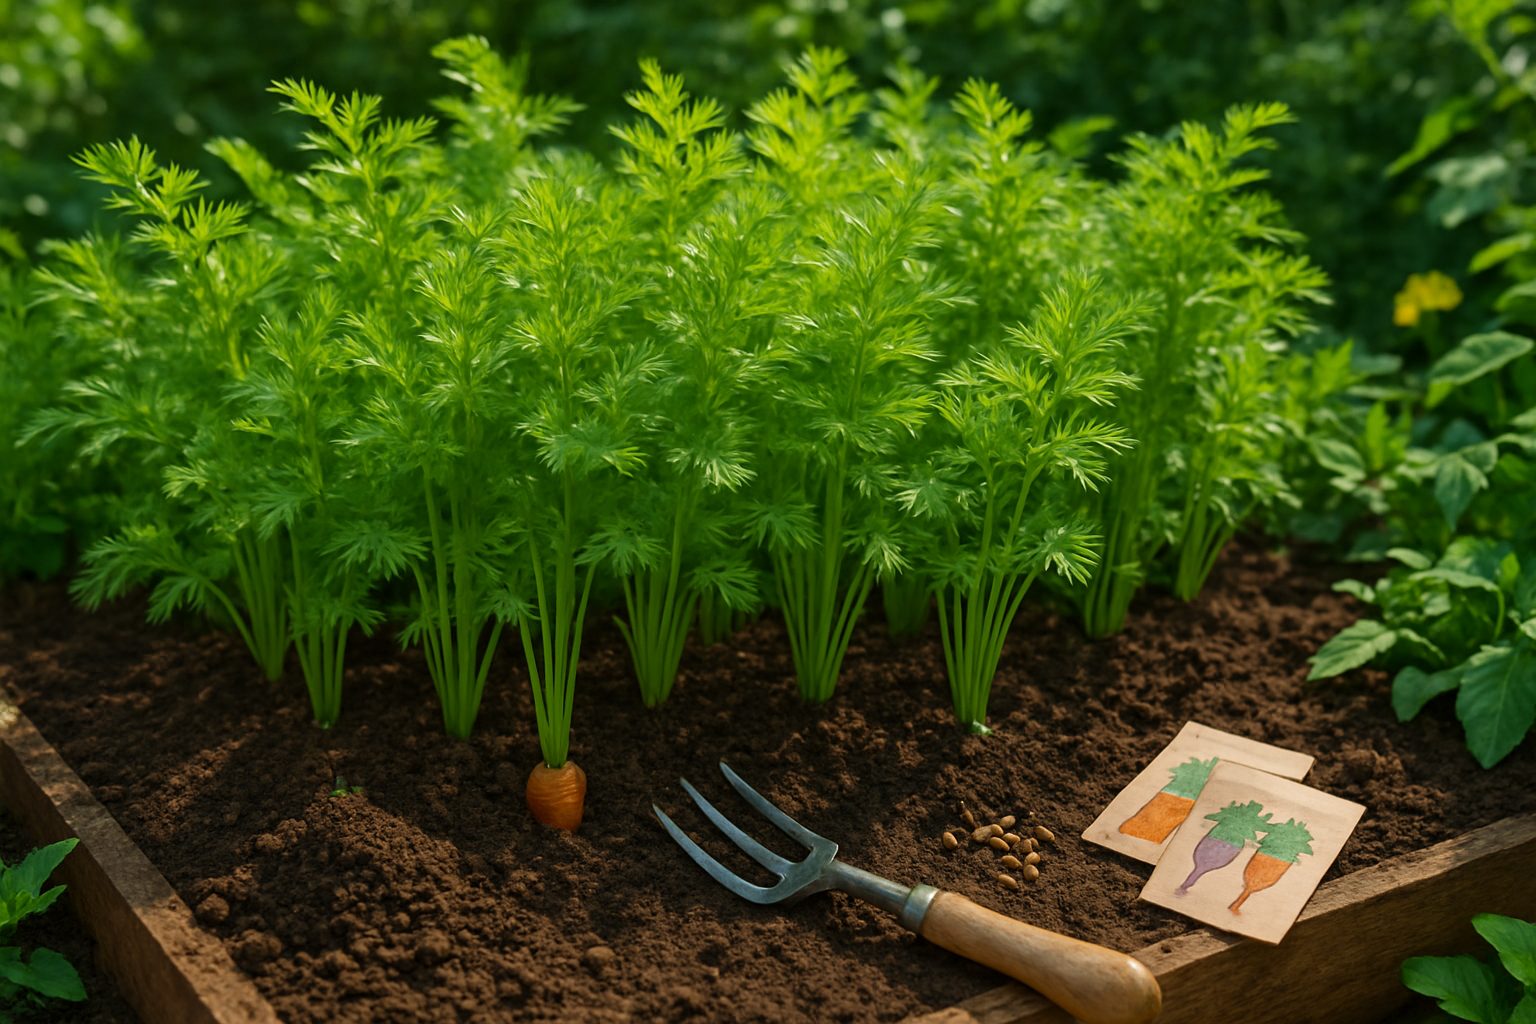
No matter the variety, carrots require loose, well-drained, and fertile soil for straight roots. Start by testing your soil—a basic home kit can gauge pH and nutrient levels, letting you know if amendments are needed.
Carrots prefer a sandy loam texture with a pH between 6.0 and 6.8. If your soil is heavy clay, work in plenty of sand or compost to improve drainage and structure. Remove rocks, sticks, and clumps, since obstructions cause carrots to fork or twist.
Dig the seedbed at least 12 inches deep, breaking up any compacted layers. If the soil test shows poor fertility, add well-rotted compost or a balanced organic fertilizer, but avoid fresh manure, as it can cause roots to split.
Rake the area smooth and level so seeds have consistent contact with the soil and water drains away efficiently. By choosing a suitable carrot variety and investing a bit of effort in soil preparation, you set the stage for a bountiful, tasty harvest.
Planting and Early Growth Management
Getting a good start with your carrot crop begins with careful attention to planting and early growth. First, timing is crucial: in cooler climates, sow seeds two to four weeks before the last expected spring frost, while in warmer regions, late summer or early fall plantings avoid harsh heat and produce sweeter carrots.
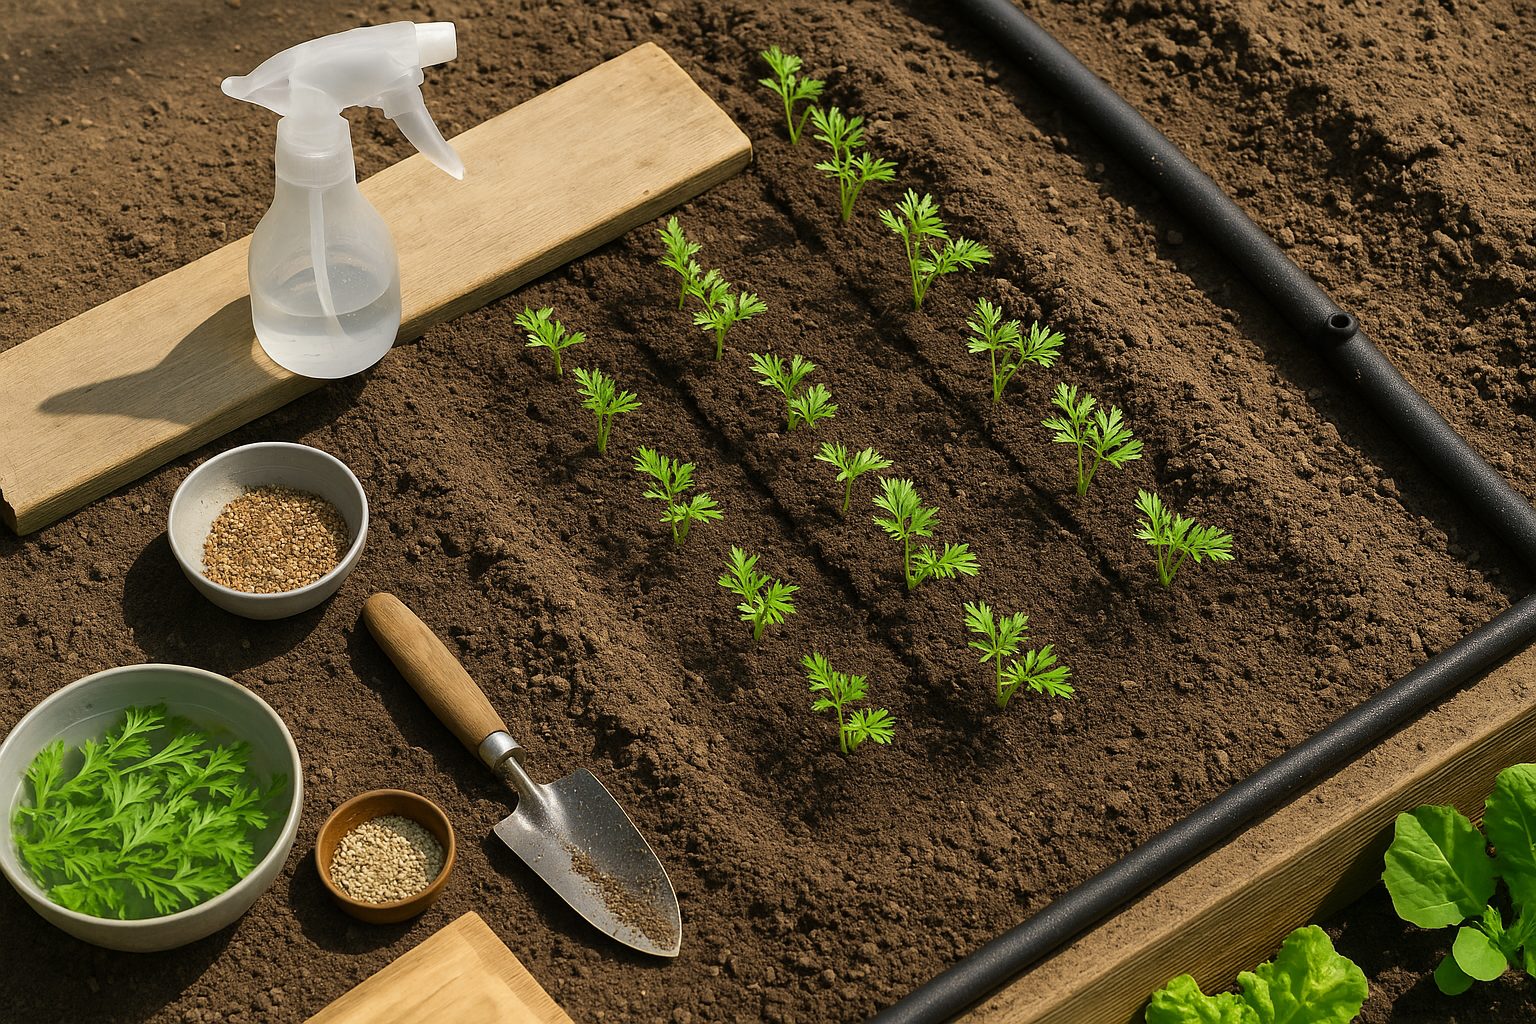
Always use fresh seeds since carrot seeds lose viability quickly; scatter them thinly and evenly in rows spaced about 12 inches apart. Plant seeds only 1/4 inch deep, as they need light to germinate well—cover lightly with fine soil and gently pat down to improve seed-to-soil contact.
To boost germination, keep the planting bed consistently moist but not soggy, using a fine spray to avoid washing seeds away. Some gardeners lay a board over the row for the first few days to retain moisture and heat—just remove it as soon as you see green shoots.
Once seedlings reach about two inches tall, begin thinning them so that plants are roughly two inches apart; this ensures every carrot has enough room to grow straight and robust.
Early weed control is essential because carrots grow slowly at first and can’t compete well—hand-weed carefully or use mulch to suppress weeds without disturbing tender roots. Regular, even watering is key throughout early growth, as inconsistent moisture can lead to split or misshapen carrots.
By paying close attention to these early steps, you’ll set your carrot crop up for strong, healthy development and a harvest you can be proud of.
Nutrient and Irrigation Requirements
Carrots thrive when given the right balance of nutrients—mainly nitrogen, phosphorus, and potassium. Nitrogen helps the greens grow, but too much can lead to big tops and small roots, so use it sparingly. Phosphorus encourages strong root development, making it crucial for growing plump, healthy carrots. Potassium boosts the plant’s overall health and improves its resistance to disease.
For most backyard gardeners, a balanced fertilizer such as 10-10-10 works well, but those following organic methods can opt for compost or well-rotted manure, mixing it into the soil before planting. Organic fertilizers release nutrients slowly and support soil health, but they may require a bit more patience and careful monitoring. Synthetic options, like granular or liquid fertilizers, produce faster results but can easily burn young seedlings if not applied properly.
Generally, apply fertilizer before sowing and once again after the seedlings are a few inches tall, avoiding excess nitrogen late in the growing season to prevent split roots.
Irrigation is just as critical; carrots need consistently moist soil, ideally receiving 1 inch of water per week. Water deeply enough to reach the roots and avoid frequent, shallow watering, which leads to poor root growth. Drip irrigation or soaker hoses work great for slow, even moisture.
Watch out for overwatering, which causes rot or misshapen roots, and never let the soil dry out completely, as this can cause carrots to crack. Setting a regular watering schedule and checking soil moisture with your finger can help you find that sweet spot. Proper nutrition and watering are key for crunchy, flavorful carrots straight from your garden.
Pest and Disease Management
Carrots are vulnerable to various pests and diseases that can damage yield and quality if not properly managed. Common pests include carrot root flies, which lay eggs near the soil so their larvae can tunnel into the roots; nematodes, which cause twisted, stunted carrots; and aphids, which stunt growth and transmit viruses.
Fungal infections like Alternaria leaf blight and powdery mildew also threaten carrot crops, causing leaf spots and powdery residues. Prevention is key:
- Practice crop rotation by avoiding planting carrots or related crops (like parsnips or celery) in the same spot for at least three years to disrupt pest cycles.
- Consider companion planting with onions or leeks, which can repel root flies.
- Use floating row covers early in the season to physically block egg-laying adults.
For organic control:
- Introduce beneficial insects like ladybugs to control aphids.
- Apply neem oil or insecticidal soaps if pests are spotted.
Mulching helps reduce soil splashing that spreads fungal spores, and watering early in the day allows foliage to dry, minimizing fungus risk.
When using chemical pesticides or fungicides, always read and follow label instructions carefully to ensure safety for both people and pollinators. Spot treat only affected areas and avoid spraying near harvest.
Early detection makes management easier; regularly inspect carrot tops and roots for discoloration, spots, or insect activity. Pull up any misshapen or damaged carrots promptly to reduce spread.
By combining these preventative techniques and diligently monitoring, you can protect your carrots from common threats and enjoy a healthy, productive crop.
Harvesting, Handling, and Storage
Knowing when to harvest carrots is crucial for both taste and quality. Most carrot varieties mature about 60–80 days after sowing or when their shoulders have grown to 1/2 to 1 inch in diameter and show a bright, vibrant color peeking through the soil.
Gently loosen the surrounding soil with a garden fork or trowel before pulling carrots to avoid snapping the roots. Never yank them by the tops, as this can cause unwanted breakage. After harvesting, brush off excess dirt but avoid washing the carrots if you plan to store them for a long time, since moisture can promote rot.
For post-harvest handling, promptly sort and grade the carrots by size and quality, removing any damaged or diseased roots. If immediate cleaning is necessary, rinse them briefly in cool water and air dry to prevent lingering moisture.
To extend freshness, initiate cooling as soon as possible—hydrocooling (immersing carrots in cold water) or storing them in a cool, shaded place with good airflow helps lower their field heat quickly.
For long-term storage, maintain an optimal temperature of 32–34°F (0–1°C) with high relative humidity around 95%, which helps keep carrots crisp and prevents wilting. Storing carrots in perforated plastic bags or crates allows proper air circulation while retaining necessary humidity.
For commercial or extended storage, using a controlled atmosphere with reduced oxygen and elevated carbon dioxide levels can slow respiration and delay spoilage. Always check stored carrots regularly and remove any that develop soft spots or mold to keep the rest in prime condition.
By following these careful steps, you can ensure your carrot harvest remains fresh, flavorful, and ready for the table for weeks or even months.
Troubleshooting Common Growing and Storage Issues
Gardeners often face a few frustrating challenges when growing and storing root vegetables like carrots, beets, or turnips. Misshapen roots are a common issue, usually caused by compacted or rocky soil. To fix this, try double-digging your beds, removing stones, and ensuring the soil is loose and deep before planting.
Cracking can occur when roots experience irregular watering—especially after a dry spell followed by heavy rain. To prevent cracking, keep the soil consistently moist and use mulch to help retain even moisture.
Storage rots typically happen when roots are damaged during harvest or stored with residual soil and excess moisture. Handle roots gently and cure them in a cool, dry place for several days before moving them to long-term cold storage, like a root cellar or a perforated bag in the fridge.
Periodically check stored vegetables and remove any showing signs of rot to stop it from spreading. If problems continue, don’t hesitate to reach out to your local cooperative extension service—they offer region-specific advice and can help troubleshoot tricky issues unique to your area.
By taking these proactive steps, you’ll improve your chances of a successful harvest that lasts well into the winter months.
Conclusion and Further Resources
Growing healthy carrots starts with choosing a sunny spot and loosening the soil to allow roots to thrive. Consistent watering, thinning seedlings to prevent crowding, and protecting plants from pests are all key. Once carrots reach the right size, gently harvest and cure them before storing in a cool, humid place to keep them fresh for months.
By following these steps, growers can enjoy crunchy, sweet carrots right from their garden. Don’t hesitate to experiment with different varieties or soil amendments to discover what works best in your area.
For more detailed guidance and troubleshooting tips, check out reputable sources like your local agricultural extension office, university gardening websites, and trusted books such as Carrots Love Tomatoes by Louise Riotte or the Old Farmer’s Almanac online.
With careful attention and reliable information, even beginner gardeners can achieve a bountiful carrot harvest season after season.