Introduction
If you’re looking to harvest crisp, sweet carrots in your backyard, finding the best soil for carrots is the first step toward success. Carrots are a favorite among home gardeners because they’re easy to grow, packed with nutrients like vitamin A, and deliciously versatile—great for salads, roasts, or snacking straight from the garden.
However, getting those perfect, straight roots requires more than just tossing seeds into the ground. The best soil for carrots is loose, deep, and well-drained, which helps them grow long and unblemished.
In this post, we’ll walk you through how to prepare your soil for planting, share tips on sowing carrot seeds, cover essential care practices, and offer quick solutions for common problems like stunted growth or pest damage. Whether you’re a gardening newbie or an experienced grower, you’ll find practical advice to help ensure your carrot crop thrives.
Choosing Carrot Varieties & When to Plant
When choosing carrot varieties for your garden, it helps to know the differences among the most popular types.
Nantes carrots are cylindrical, sweet, and crisp, making them great for beginners and ideal for growing in loose, sandy soils. Chantenay carrots have a shorter, broader shape that works well in heavier or clay soils and is perfect if your garden beds are shallow. Imperator carrots, often seen in grocery stores, grow long and slender but need deep, well-tilled soil to develop properly. Baby carrots, usually bred to be small and tender, mature quickly and are great for gardeners with limited space or for succession planting throughout the season.
For warmer regions, look for heat-tolerant varieties and aim to plant carrots in early spring or late summer to avoid the hottest months. In cooler climates, carrots can be sown as soon as the soil is workable and before the last expected frost. If you have very limited space, try growing baby or container-friendly carrot types on patios or balconies.
Always check seed packets for specific recommendations, and match the carrot variety to both your local climate and your garden’s soil conditions for the tastiest and most successful harvest.
Preparing the Soil for Perfect Carrots
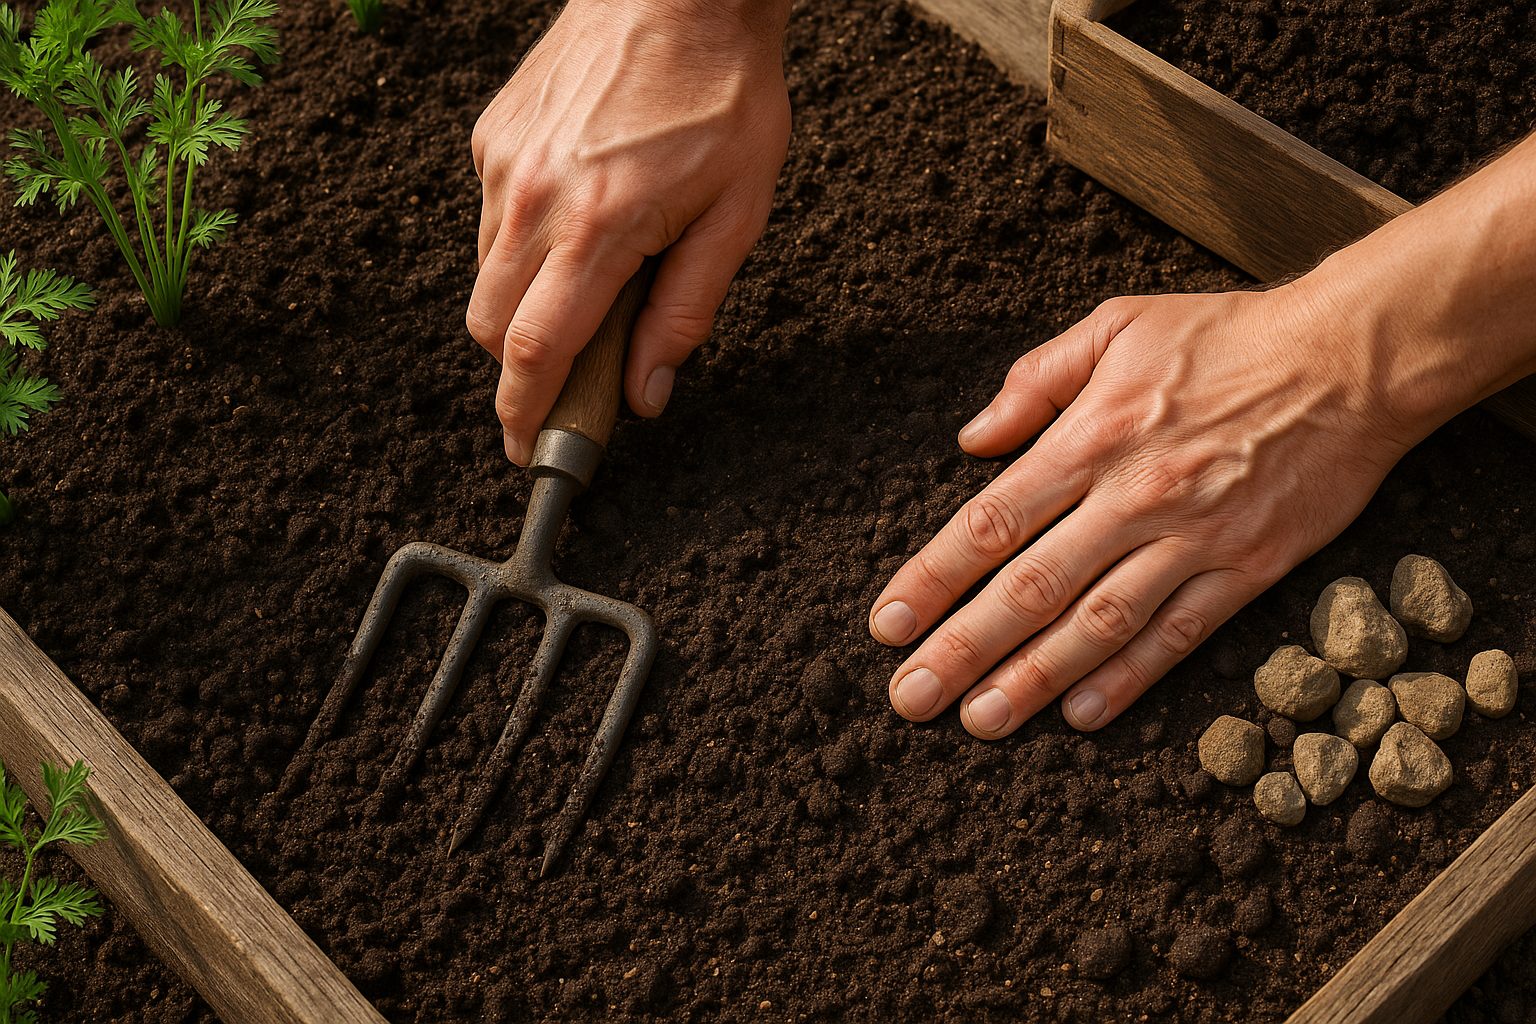
For straight, beautiful carrots, the secret starts with the soil. Carrots need a loose, well-draining, and stone-free bed—rocks and clumps will cause roots to fork and twist. Before planting, dig deeply and break up the ground to at least 12 inches, removing stones and clods.
If you have heavy clay soil, lighten it by mixing in sand and plenty of finished compost, which also boosts drainage. For raised beds or containers, use a high-quality, soilless mix blended with compost for fluffiness and moisture retention.
Aerating garden beds with a broadfork or garden fork lets roots travel freely downward. Avoid fresh manure or high-nitrogen fertilizers, as these can deform carrot roots; compost is safer, adding nutrients without encouraging lush, forked tops.
Aim for a neutral to slightly acidic soil, around pH 6.0–6.8. Simple soil test kits, available at garden centers, make it easy to check your soil’s pH. If it’s too acidic, add garden lime; if it’s too alkaline, mix in some elemental sulfur.
Investing a little time in perfecting your soil before planting pays off with smooth, sweet carrots every time.
Sowing Carrot Seeds: Step-by-Step

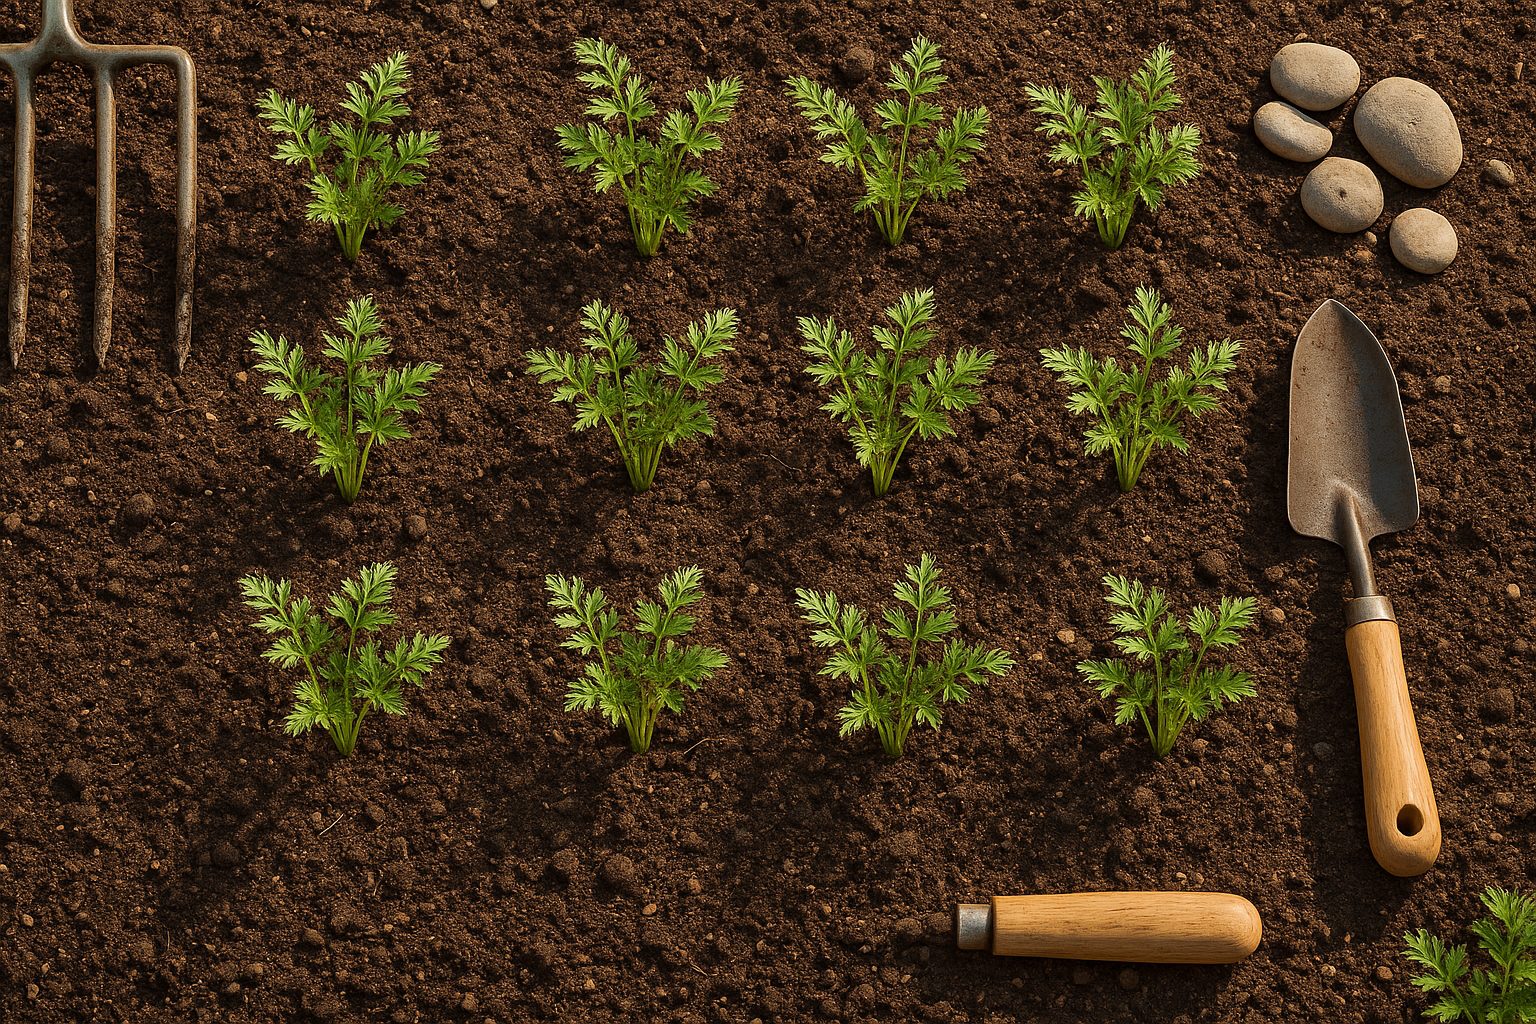
For the best results with carrots, always opt for direct sowing rather than starting seeds indoors—carrot roots do not transplant well and tend to become misshapen. Begin by loosening your soil to a depth of at least 12 inches, removing rocks and clumps, since carrots thrive in light, sandy soils.
Sow seeds about 1/4 inch deep, lightly covering them with fine soil or compost. Space the seeds in rows about 12 inches apart; within each row, aim for 1-2 inches between seeds, though it’s fine if they’re a bit closer at first. Because carrot seeds are small, mixing them with a bit of sand can help with even distribution.
Keep the soil consistently moist until you see tiny green shoots, which may take up to three weeks. Using a piece of burlap or a board to cover the rows until germination can help retain moisture and regulate temperature, especially in hot or windy conditions. Carrot seeds prefer soil temperatures between 55°F and 75°F for reliable sprouting.
Once seedlings are about 2 inches tall, thin them carefully so that the remaining carrots are 2-3 inches apart. This prevents crowding and ensures roots have enough room to grow straight and sweet. Remember, patience is key—consistent gentle watering and occasional weeding go a long way toward achieving a bountiful carrot harvest.
Caring for Carrot Seedlings & Plants
Once carrot seedlings have grown to about two inches tall, it’s important to thin them out by gently removing extra plants so there’s about two inches of space between each seedling. This prevents overcrowding and gives each carrot room to develop properly. When thinning, pinch or snip off the unwanted seedlings at the soil line rather than pulling them out, which minimizes disturbance to delicate roots.
Carrots need soil that stays consistently moist but never soggy, so water deeply whenever the top inch of soil feels dry. Using mulch can help conserve moisture and limit temperature swings.
For healthy, robust plants, choose a spot that gets at least six hours of direct sunlight each day—carrots grown in part shade may become leggy or stunted.
When it comes to weeding, use your fingers or a small hand tool to carefully remove weeds. Pull them slowly and work around the carrot tops to avoid breaking or disturbing their fragile roots.
Frequent, gentle attention will keep your carrot patch on track for a productive harvest.
Common Carrot Problems & How to Solve Them
Growing healthy carrots can be tricky due to pests, diseases, and a few picky growing requirements. The carrot fly is a notorious pest; its larvae tunnel through roots, ruining your harvest. To prevent infestation, try covering your crop with fine insect mesh and always remove carrot thinnings immediately, as their scent attracts flies.
If you notice swollen, deformed roots, root knot nematodes could be the culprit. Rotate crops each year and add plenty of compost to encourage healthier soil life, which makes the soil less hospitable for nematodes.
Misshapen or forked carrots often indicate rocky or compacted soil. Loosen the soil deeply before sowing and remove stones to help roots grow straight.
Stunted or poor growth may point to insufficient sunlight, shallow watering, or overcrowding. Space seeds efficiently and water deeply during dry spells.
Fungal diseases like Alternaria leaf blight appear as dark spots on leaves. Improve airflow by spacing plants well and remove any infected foliage promptly.
By staying vigilant and adopting these organic, practical steps, you’ll boost your chances of harvesting picture-perfect carrots.
Harvesting & Storing Carrots
Knowing when to harvest carrots is key to getting sweet, crisp roots. Most carrot varieties are ready about 70-80 days after planting, but you can check maturity by gently brushing soil away at the top of a root—mature carrots are usually at least ½ inch in diameter. For baby carrots, you can harvest sooner.
To avoid damaging the roots, water your garden a few hours before picking to loosen the soil. Grasp the leafy tops firmly at the base and wiggle the carrot gently while pulling straight up. If the soil is compact or you’re harvesting a large patch, use a garden fork to loosen the earth beside the row and lift the carrots gently from beneath.
After harvesting, snip off the carrot tops about an inch above the root to prevent moisture loss and bitterness. Lightly brush off soil, but avoid washing until you’re ready to use them, as excess moisture encourages rot.
Store carrots in a perforated plastic bag or a box of damp sand in the refrigerator or a cool cellar. Keeping them at 32-40°F with high humidity helps preserve crispness and flavor for weeks or even months. Check stored carrots periodically and remove any that show signs of spoilage.
Conclusion & Quick Recap
Growing carrots at home is simple if you remember the basics: choose a sunny spot, loosen the soil deeply, sow seeds thinly, water consistently, and be patient as your carrots develop. Try experimenting with different varieties—like sweet Nantes or colorful Purple Haze—to find what works best in your garden and kitchen.
Each season brings new lessons, so don’t hesitate to share your successes and challenges with fellow gardeners. There’s no better time to dig in and start your own carrot patch—grab some seeds, get your hands dirty, and discover just how rewarding homegrown carrots can be!