Choosing Your Garlic
If you’ve ever wondered whether you can grow garlic from store-bought bulbs, you’re not alone—many gardeners are curious if those supermarket cloves can sprout into a healthy crop. While it’s tempting to grab a clove from your kitchen and pop it into the soil, it helps to understand the differences between store-bought garlic, seed garlic, and locally grown or organic bulbs.
Supermarket garlic often comes from large-scale producers and may be treated with chemicals to prevent sprouting or consist of imported varieties less suited to your climate. This means germination rates can be unpredictable, and you might end up with small or even failed plants. In contrast, seed garlic sold at garden centers or by reputable suppliers is specifically cultivated for planting, offering a wider choice of varieties and higher chances of vigorous growth.
Locally grown or organic bulbs are other great options, especially if you can buy them at a farmers’ market. They’re typically untreated and adapted to your region, boosting their odds of thriving in your garden.
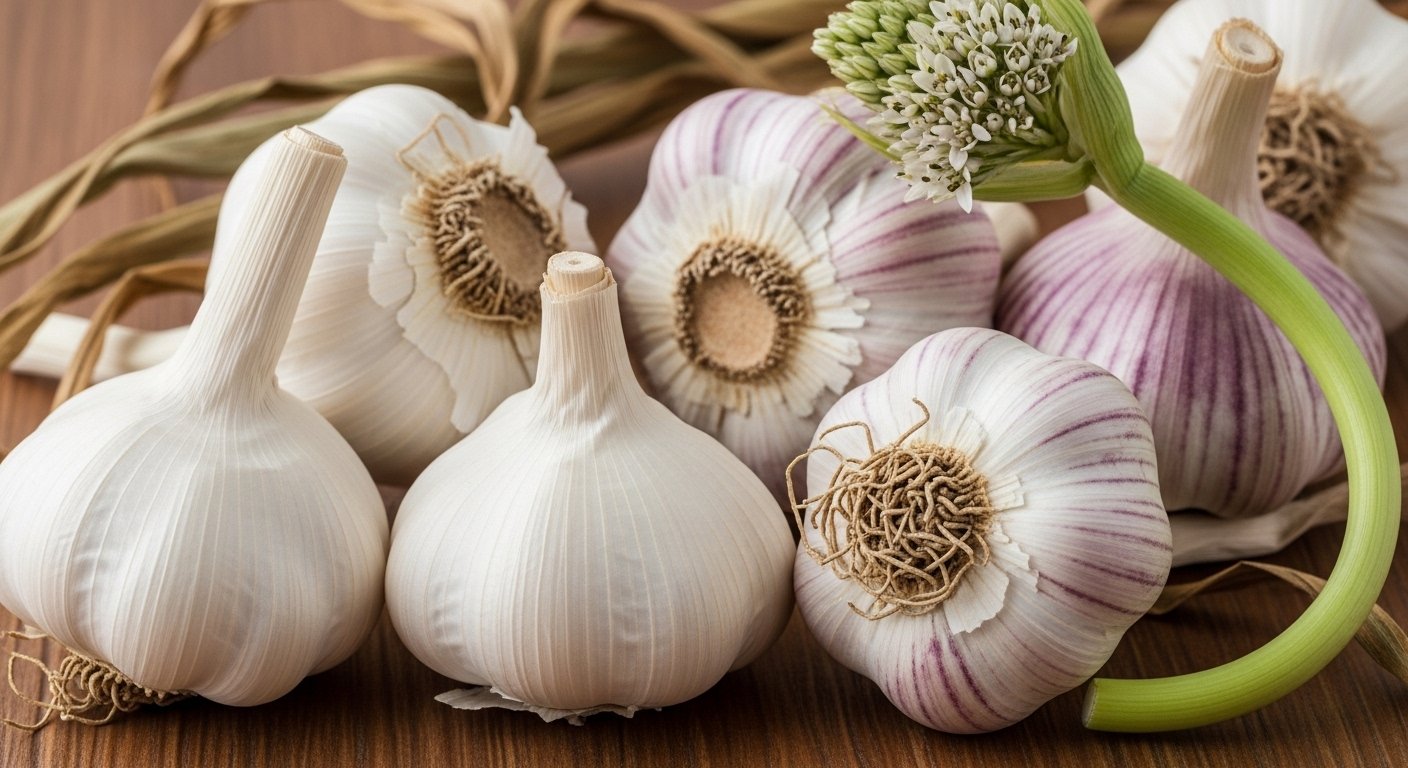
Hardneck vs. Softneck Garlic
When choosing garlic, consider whether to plant hardneck or softneck types:
- Hardneck varieties excel in colder climates and produce delicious scapes in spring.
- Softneck garlic is well-suited to mild winters and stores longer.
For most growers, seeking out quality seed garlic—matched to your local conditions—from trusted sources is the best way to guarantee a bountiful harvest, making your garlic-growing venture successful right from the start.
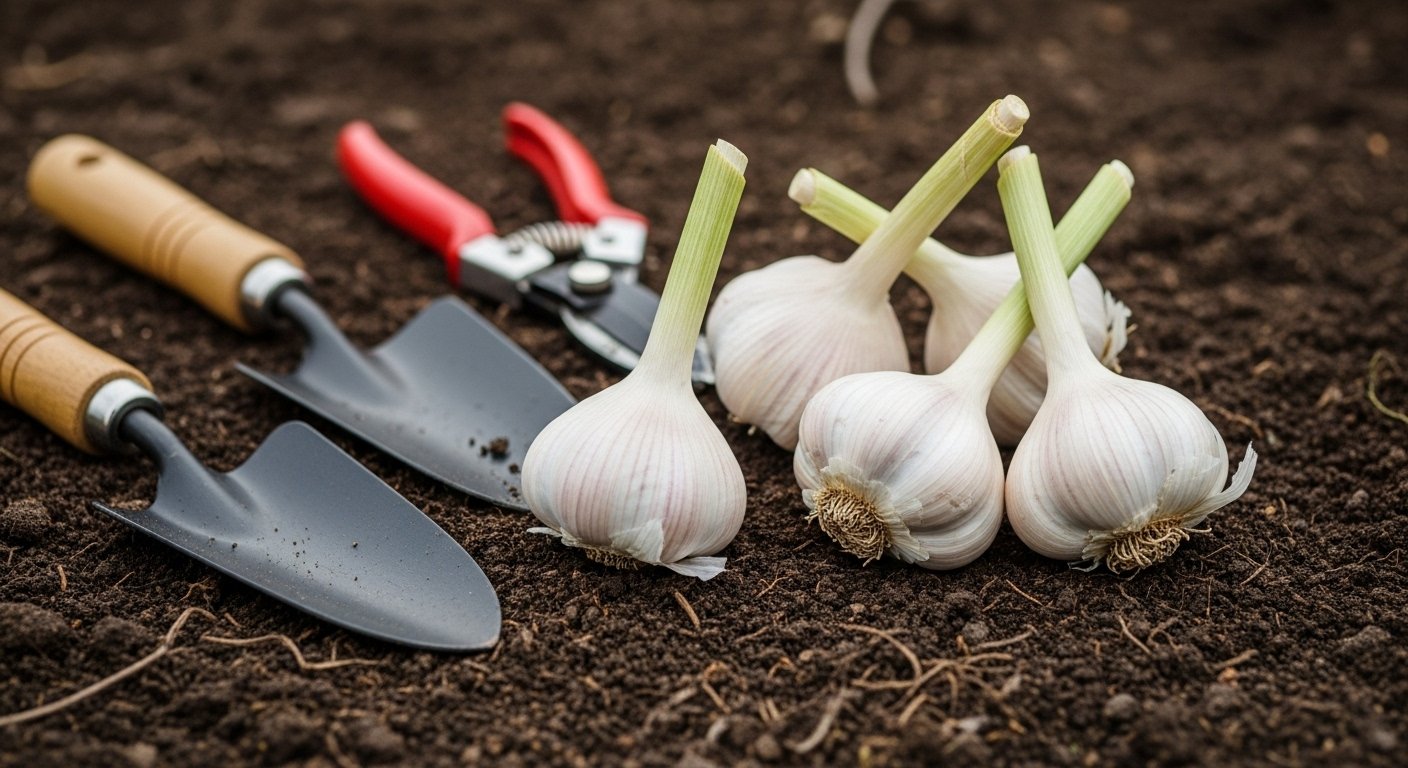
Planting Garlic: Step-by-Step Essentials
Planting garlic is all about timing and preparation for your specific climate. In most regions, the best time to plant garlic is in the fall—about 4-6 weeks before the ground freezes—so cloves have time to establish roots before winter. If you live in a mild or warm zone (zones 8-10), early spring planting is also possible, though the bulbs may end up smaller.
Start by prepping your soil: garlic loves loose, well-drained earth rich in organic matter. Mix in compost or aged manure and loosen the soil to about 8 inches deep.
Break garlic bulbs apart into individual cloves, keeping the papery skins intact, and select the largest, healthiest ones for planting. Plant each clove pointy side up, about 2 inches deep and 4-6 inches apart, with rows spaced 12 inches apart.
For pots or planters, make sure containers are at least 8 inches deep to allow roots to stretch, and plant cloves at similar depths and spacings as with garden beds. Place containers where they’ll get a minimum of 6-8 hours of sunlight per day, and keep the soil evenly moist but never soggy—overwatering can rot the cloves.
Mulching with straw or leaves helps retain moisture and control weeds, especially if you’re planting in autumn. Whether in the ground or in pots, consistent watering is key until shoots emerge, after which you can let the top inch of soil dry slightly between waterings—this routine sets your garlic up for strong, healthy growth come spring.
Caring for Garlic as It Grows
Once your garlic is in the ground, consistent care will help ensure a healthy crop. Start by mulching with straw or leaves to keep weeds at bay and help the soil retain moisture, especially in spring as the shoots emerge.
Garlic prefers evenly moist soil, so aim to water regularly, but avoid overwatering which can invite rot—stick your finger in the soil and only water if it feels dry an inch down.
Feeding garlic with a balanced fertilizer or compost every few weeks throughout the growing season can encourage strong bulb development.
Keep an eye out for pests like onion flies, whose larvae can eat roots; using fine mesh row covers early on helps keep adults from laying eggs.
Fungal diseases like rust or white rot might appear as yellow or white patches on leaves; remove affected foliage promptly and avoid overhead watering to minimize dampness.
If you notice stunted growth or soft, discolored bulbs, suspect root rot or excessive moisture.
As summer approaches and the lower leaves start to yellow, begin to reduce watering gradually—this helps bulbs cure and prevents splitting or mold.
Stop fertilizing once bulbs start to swell underground.
With these simple steps, your garlic will have a better chance to thrive all season long.
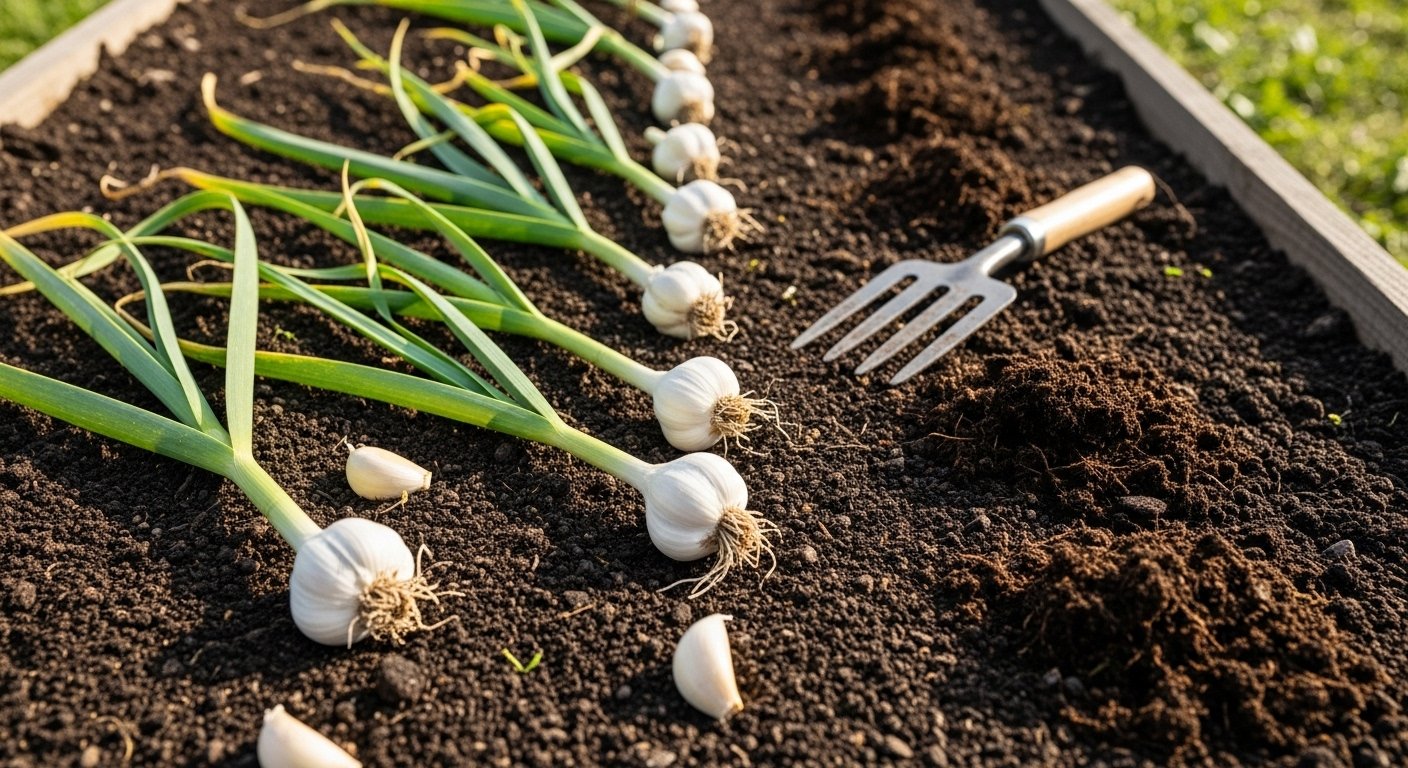
When (and How) to Harvest Your Garlic
Knowing when to harvest your garlic is key to getting the best flavor and shelf life. For hardneck varieties, watch for the bottom three or four leaves to dry out while the upper ones remain green—this usually happens in mid to late summer. Softneck types may be ready a bit later; look for about half of the leaves turning brown. Try not to wait too long, as overripe bulbs split and lose quality quickly.
To harvest, use a garden fork or shovel to gently loosen the soil about four to six inches from the bulbs, then lift them out by the base of the plant—never pull by the leaves, as this can damage the neck or bruise the bulbs. Once out of the ground, carefully brush off excess dirt (don’t wash, since moisture can cause rot) and trim off long roots.
Lay the bulbs in a single layer—ideally in a well-ventilated, shady spot—to dry or “cure” for two to three weeks. Handle bulbs gently throughout this process, as bruising can invite mold or spoilage. Avoid stacking garlic or exposing it to direct sun; airflow is your friend. Once the outer skins are papery and the roots feel dry, cut the stems to your preferred length and store garlic in a cool, dark place.
Proper harvesting and post-harvest care will keep your garlic plump, flavorful, and ready for months of delicious cooking.
Curing, Storing, and Saving Garlic
After harvesting garlic, shake off any excess soil but don’t wash the bulbs, as moisture can cause them to rot. Bundle the plants in groups of 6 to 10 and hang them in a dry, airy, shaded spot—like a garage or shed—with plenty of airflow. Using a fan near your curing area can help prevent mold.
Let the garlic cure for two to four weeks until the outer skins are papery and the roots feel brittle. Once cured, trim the roots and stalks, then store the bulbs in mesh bags, paper sacks, or baskets in a cool, dry place. An ideal storage temperature is between 60–65°F with around 60% humidity.
Avoid plastic bags or airtight containers, as these trap moisture and speed up spoilage.
To save bulbs for next season’s planting, choose your biggest, healthiest heads and store them separately so you don’t accidentally use them for cooking. Check stored garlic monthly for soft spots or sprouting, and remove any compromised bulbs immediately.
If you notice shriveling, it might mean the area is too dry, while mold indicates excess humidity—adjust ventilation or move the storage location accordingly.
When cooking, use firmer, fresher cloves for the best flavor. Try roasting whole heads, adding chopped cloves to sautés, or whipping raw garlic into dressings. Homegrown garlic tends to have a punchier flavor, so start with a bit less than you’d use from store-bought varieties and adjust to taste.
Growing Garlic Successfully: A Beginner’s Guide
Growing garlic at home is surprisingly easy and offers beginner gardeners a satisfying way to get started. Not only is garlic a hardy crop that requires little space or fuss, but it also rewards you with richer flavors and unbeatable freshness compared to store-bought bulbs. Plus, home-grown garlic stores well for months, so you can enjoy your harvest long after the growing season ends.
Whether you want bold cloves for your recipes or simply like the idea of watching your own food sprout and thrive, garlic is a smart choice. This beginner’s guide will walk you step-by-step through the essentials: selecting the best garlic bulbs, planting them at the right time, caring for your crop through the seasons, knowing when and how to harvest, and properly curing the bulbs for maximum shelf life.
With a few simple tips and a bit of patience, you’ll soon have a bounty of home-grown garlic ready to flavor your favorite dishes.