Introduction
Wondering about cabbage growing time before planting your garden? You’re not alone—many home gardeners choose cabbage for its relatively predictable growth period, along with its hardiness and rewarding yields. Cabbage is a fantastic addition to any home garden because it’s packed with vitamins C and K, fiber, and antioxidants, making it a powerhouse for your table and your health.
You can enjoy it raw in crunchy salads, fermented into tangy sauerkraut, or cooked in comforting stews and stir-fries, so it’s a true kitchen chameleon. Beyond its kitchen value, cabbage serves an important role in crop rotation. It’s part of the brassica family, helping to break cycles of soil-borne diseases and pests when rotated with crops like legumes or root vegetables. This means healthier soil and better harvests down the line!
If you’re new to gardening, cabbage is a forgiving crop that doesn’t require a green thumb to succeed. It thrives in cooler weather, is relatively resistant to common pests if you keep an eye out, and there’s a variety for almost every season and climate.
In this guide, we’ll explore exactly how long it takes cabbage to mature, from seedling to harvest, and share tips to get the best results. Whether you want to stagger plantings for a steady fresh supply or are planning your first spring harvest, learning about cabbage growing time is the first step toward crisp, homegrown heads on your plate.
Choosing the Right Cabbage Variety
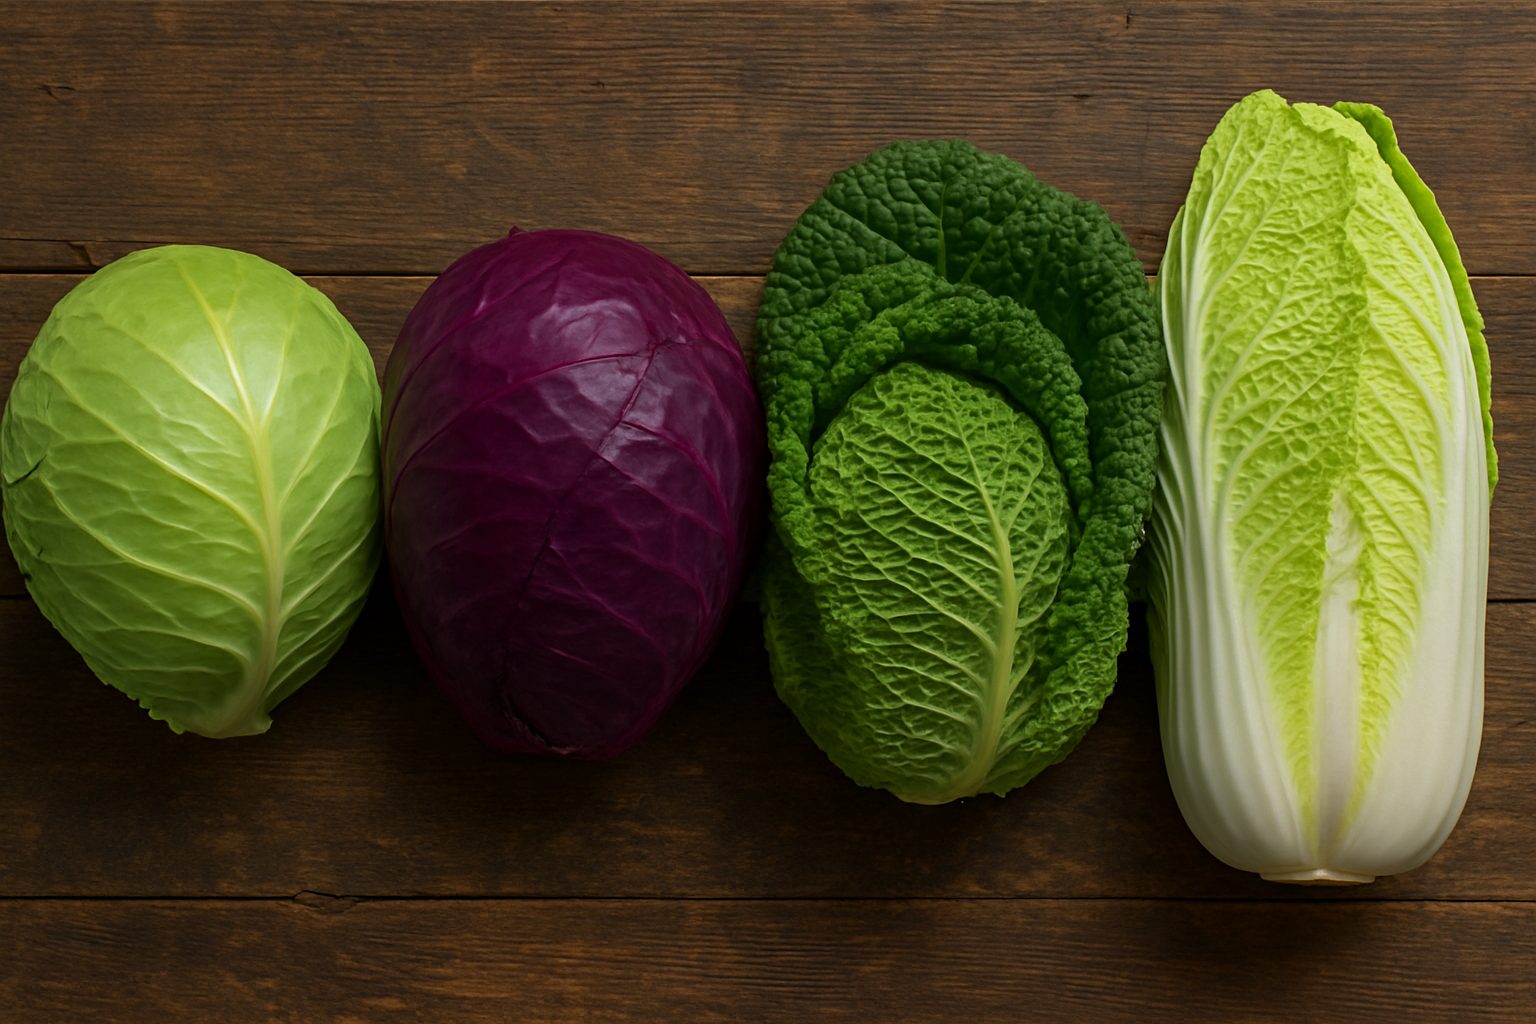
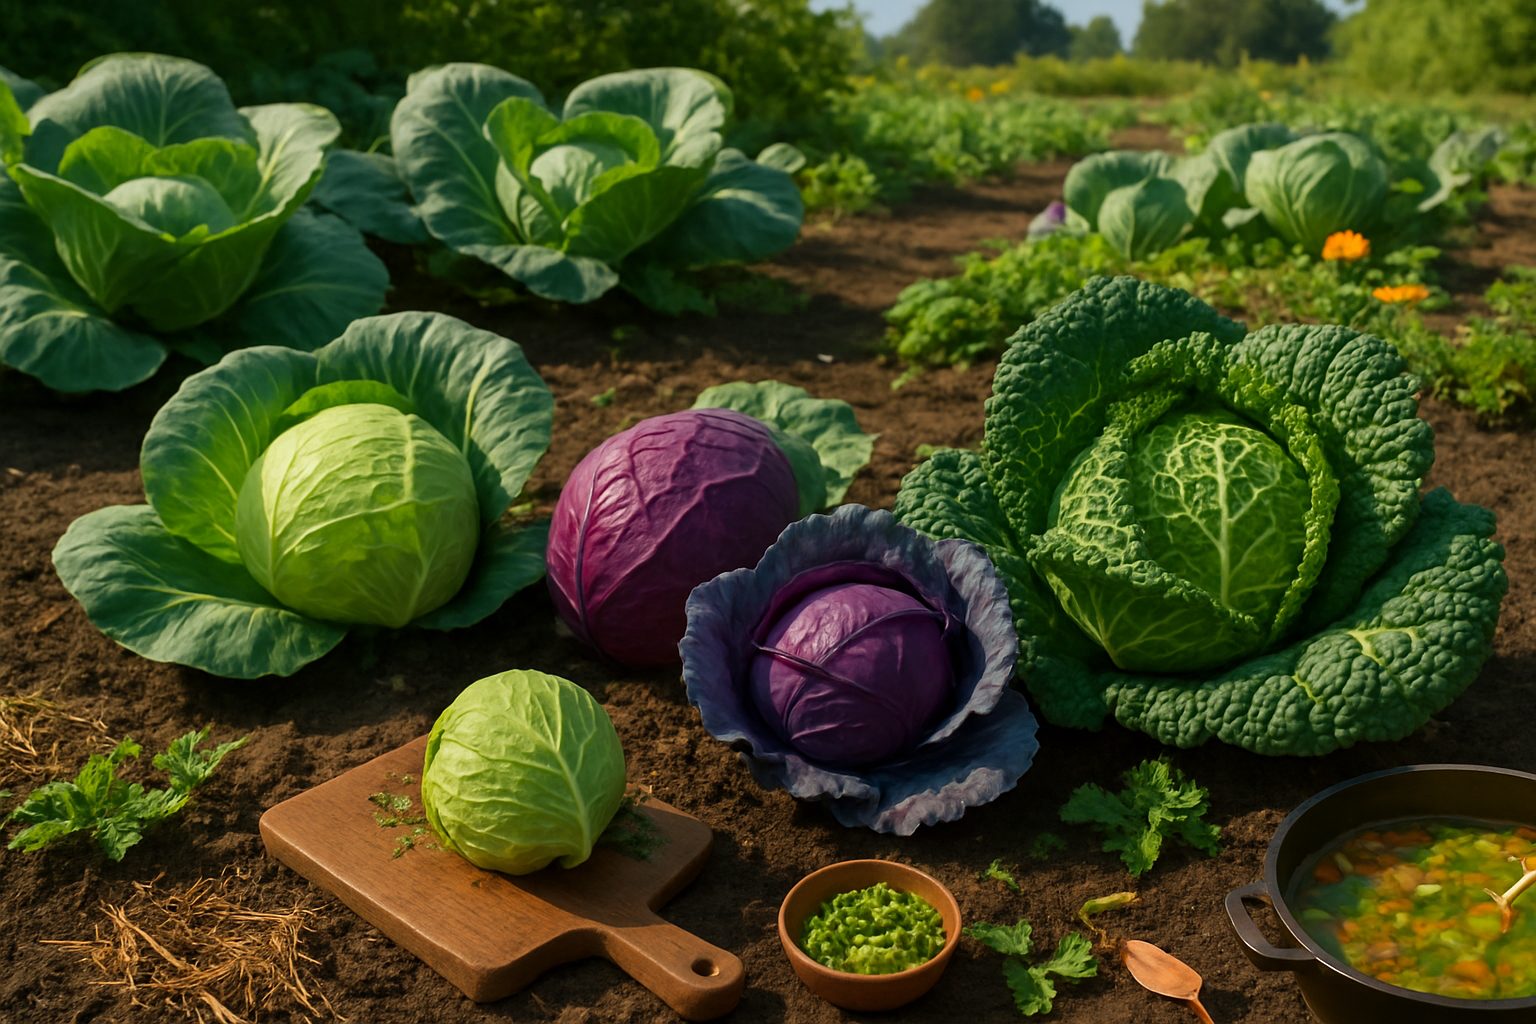
When selecting the best cabbage variety for your garden or kitchen, understanding the four main types—green, red, Savoy, and Napa—can make a big difference.
Green cabbage is the classic choice, known for its tight, round heads and crisp texture. It’s perfect for slaws, salads, and traditional dishes like stuffed cabbage rolls.
Red cabbage offers a similar crunch but brings vibrant color and extra nutrients; it’s great for raw salads, fermenting into sauerkraut, or adding a pop to stir-fries.
Savoy cabbage stands out with its ruffled, tender leaves and milder flavor, making it ideal for wraps, soups, and sautés—it’s also a bit more forgiving for beginner growers as it can tolerate colder weather.
Napa cabbage, often called Chinese cabbage, forms oblong, pale heads with softer leaves; it thrives in cooler spring or fall climates and is the go-to for kimchi, Asian slaws, or light stir-fries.
Climate is key: green and red cabbages do well in both spring and fall, while Savoy handles frost better, and Napa grows fastest in milder, shorter seasons.
New gardeners should start with healthy seedlings from a trusted nursery for faster results, or select disease-resistant seeds—especially hybrids—if starting from scratch.
Heirloom varieties, passed down for flavor and tradition, can offer richer taste and diversity but may be more vulnerable to pests; hybrids are bred for uniformity and resilience, making them a practical choice for first-timers.
As you shop, check seed labels for days to maturity and climate notes, and don’t hesitate to ask local growers what works best in your area’s conditions.
When and Where to Plant Cabbage
Timing is everything when it comes to cabbage—get it right, and you’ll enjoy crisp, sweet heads. For spring crops, start seeds indoors 6 to 8 weeks before your expected last frost date, then transplant sturdy seedlings outside 2 to 3 weeks before the frost ends. For a fall harvest, sow seeds directly outdoors in midsummer or start transplants 12 to 14 weeks before your first fall frost.
Cabbage loves cool temperatures, thriving best between 55°F and 75°F, so planning your planting around these windows helps avoid bolting and bitter leaves.
Choose a spot in your garden that receives full sun—at least six hours daily—as cabbages need plenty of light for head development. The soil should be rich, well-draining, and loamy, with a neutral to slightly acidic pH (6.0 to 6.8 is perfect). Mix in compost or well-rotted manure before planting to boost nutrient levels, since cabbage is a heavy feeder.
Rotate where you plant cabbage and other brassica family members each year to reduce the risk of soil-borne pests and diseases. Avoid growing cabbage where broccoli, kale, or cauliflower have recently been.
Container gardeners can still grow cabbage: use large pots (at least 12 inches deep and wide per plant), fill them with high-quality vegetable potting mix, and ensure containers get good sun and don’t dry out.
No matter where you plant, loosen the soil to at least a foot deep and mix in balanced organic fertilizer. After planting, work in mulch to conserve moisture and keep roots cool.
Whether you’re working with garden beds or a sunny patio, these simple steps will help your cabbage thrive from seedling to harvest.
How to Plant and Nurture Cabbage Seedlings
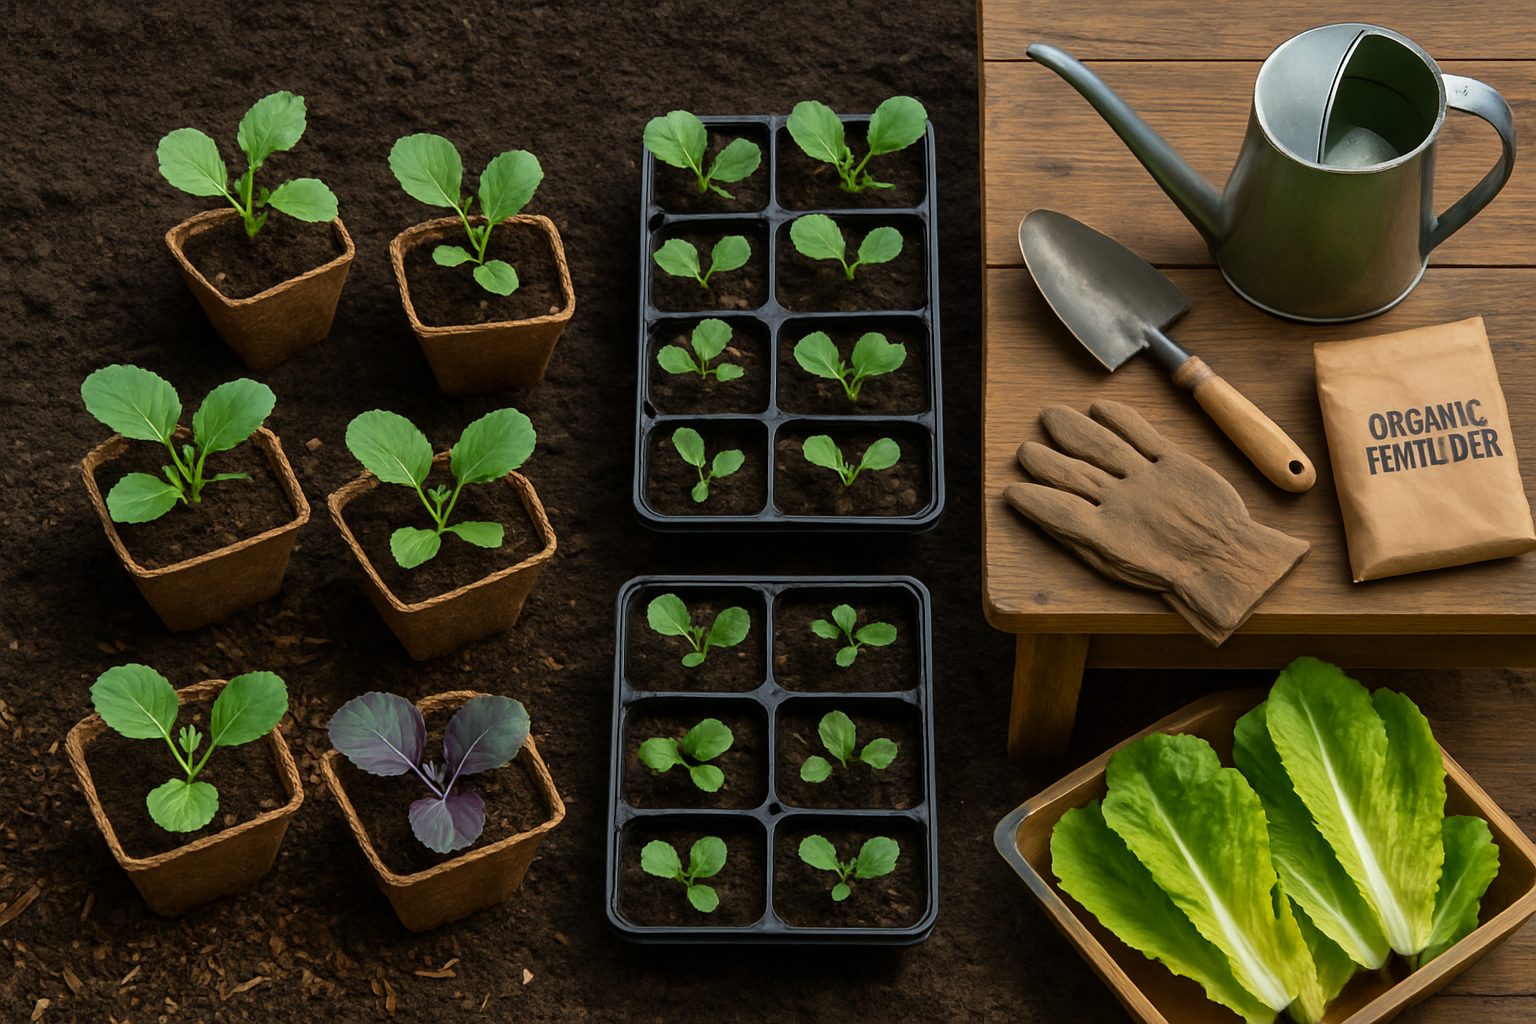
When it comes to growing cabbage, you have two main options: starting from seed or buying nursery transplants. Starting from seed offers more variety and control but requires patience, indoor space, and consistent attention. Nursery transplants are convenient, save time, and reduce early frustrations, though your choices may be limited to common varieties.
If sowing from seed, plant them indoors four to six weeks before your last expected frost. Use small pots or seed trays, sowing seeds about a quarter-inch deep in moist, fertile seed-starting mix. Keep them in a sunny window or under grow lights, and water gently to keep the soil damp but not soaked. Thin to one strong seedling per cell once they sprout.
For transplants, wait until outdoor temperatures are steadily above 45°F. Harden off seedlings by setting them outside for gradually increasing periods over a week to toughen them up. When it’s time to transplant, choose a spot with full sun and well-drained, fertile soil. Space each cabbage 12–18 inches apart in rows about 24–36 inches apart—crowding leads to smaller heads and more disease.
Water newly planted seedlings deeply and regularly, aiming to keep the soil consistently moist but never waterlogged; inconsistent moisture causes split heads. A layer of organic mulch, like chopped straw or shredded leaves, helps retain soil moisture, regulate temperature, and suppress weeds. Cabbages generally don’t need staking, but if you live in a windy area or expect heavy rains, a short stake can protect young plants from being battered.
For feeding, work a balanced fertilizer or rich compost into the soil before planting. Cabbage is a heavy feeder, so side-dress with compost or feed with a liquid organic fertilizer (like fish emulsion or seaweed extract) every three to four weeks. Avoid overdoing nitrogen, which encourages lush leaves but poor head formation.
Protect your young cabbage plants from cold snaps with row covers, old sheets, or even upturned buckets for sudden frosts—just remember to uncover them when the sun comes out. During heatwaves, shade cloth or lightweight garden fabric helps prevent heat stress and bolting. If thunderstorms threaten, make sure your mulch is secure and drainage is good; soggy soil can quickly lead to root rot.
Always check your plants after rough weather, resetting any that were uprooted and trimming damaged leaves to prevent disease. By following these steps—whether you start from seed or transplant—your cabbage will thrive, giving you crisp, sweet heads from your own garden.
Caring for Your Cabbage Crop
Keeping your cabbage crop healthy and productive starts with consistent, basic care. Begin by regularly weeding the beds, since weeds compete for nutrients and water and can harbor pests. Try shallow hoeing or hand-pulling to avoid disturbing cabbage roots.
Water cabbage deeply once or twice a week, aiming for about 1 to 1.5 inches depending on rainfall. To conserve moisture and reduce temperature swings, apply a 2-3 inch mulch layer using straw or shredded leaves.
For soil fertility, side-dress with compost or a balanced organic fertilizer once seedlings are established. Periodically check the soil pH—cabbage prefers slightly acidic to neutral soil (pH 6.0–7.0). If your soil is too acidic, add lime; if too alkaline, incorporate composted manure or peat moss.
Pest Management
Pests like cabbage loopers, aphids, and flea beetles are common. Handpick caterpillars, use row covers to exclude insects, set yellow sticky traps for aphids, and encourage beneficial insects like ladybugs.
Disease Prevention
For fungal issues such as black rot or downy mildew, space plants for airflow and water early in the day to keep leaves dry. Rotating crops each year helps break disease cycles.
Additional Tips
- If seedlings grow leggy, increase light or transplant to a sunnier spot.
- If heads threaten to split—often after heavy rain—reduce watering and harvest mature heads promptly.
- Extreme weather can stress cabbage, so protect plants during cold snaps with floating row covers.
- Provide extra mulch before hot spells to buffer soil temperature.
By staying attentive to these details and responding quickly to problems, you’ll grow robust cabbages that thrive from transplant to harvest.
Harvesting and Storing Cabbage
Knowing when your cabbage is ready to harvest is key to enjoying crisp, flavorful heads. Look for firm, tight heads that feel solid when gently squeezed—if the head feels soft or loose, give it a little more time. Most cabbage varieties reach maturity 70 to 100 days after planting, but keep an eye out for splitting, which means it’s definitely time to pick.
To harvest, use a sharp knife to cleanly cut the head away from the main stem, leaving a few outer leaves attached to protect it. Be careful not to bruise or drop the heads, as any damage can shorten their shelf life. Don’t toss the tougher outer leaves; compost them, use them to wrap and store the heads, or try blanching and chopping them for hearty soups.
For short-term storage, keep cabbage unwashed in the refrigerator’s crisper drawer; it’ll stay fresh for up to two weeks. For long-term storage, remove any loose leaves and store heads in a cool, humid root cellar, where they may keep for up to three months.
If you want to preserve cabbage even longer, try fermentation—a traditional method for making sauerkraut or kimchi. Simply shred the cabbage, massage it with salt until it releases liquid, pack it tightly into a clean jar so it’s submerged in its own brine, and let it ferment at room temperature for about 1–2 weeks, tasting until you achieve the flavor you like.
After harvesting, don’t forget about your soil: remove any leftover cabbage stumps to prevent disease and pests from lingering. Then, add a layer of compost or plant a quick cover crop to restore nutrients and keep your garden soil healthy for next season’s planting.
Frequently Asked Questions and Companion Planting Tips
Cabbage is a rewarding crop to grow, and understanding some common questions can boost your chances of success. Yes, cabbage grows well in large containers—choose pots at least 12–16 inches deep and wide, and make sure they drain well. Use rich, loose potting soil and add compost before planting.
For fertilizing, cabbage is a heavy feeder: top-dress with compost or use a balanced, slow-release fertilizer throughout the season to keep the heads forming firm and dense. Most cabbage varieties mature in about 70 to 100 days from transplanting, but baby cabbages can be harvested in as little as 60 days. Cabbage tolerates light frost, and a touch of cold can even make the leaves sweeter, but prolonged hard freezes will damage the crop, so protect plants with row covers if needed.
Companion Planting for Cabbage
Pairing cabbage with the right companions helps ward off pests and improve yield. Try planting aromatic herbs like dill, mint, or rosemary nearby—they confuse cabbage moths and other pests. Alliums such as onions and garlic are also top choices; they repel aphids and can prevent fungal diseases.
Leafy greens like spinach or lettuce make good neighbors as they help shade the soil and retain moisture. Nasturtiums and marigolds are classic trap crops, attracting aphids and flea beetles away from your cabbages.
Plants to Avoid Near Cabbage
On the flip side, avoid planting cabbage near pole beans and tomatoes. Beans can stunt cabbage growth due to competing root zones and may not thrive themselves. Tomatoes and cabbage compete heavily for nutrients, leading to poor results for both crops.
It’s also wise to keep cabbage away from other brassicas (like broccoli, cauliflower, or kale), as they attract the same pests and can quickly become infested. Finally, steer clear of strawberries and grapes, as they may spread fungal diseases to which cabbage is especially susceptible.
By mindfully selecting garden companions, you’ll encourage stronger, healthier cabbage with fewer problems.
Conclusion & Quick Reference Checklist
Growing your own cabbage is a rewarding experience—fresh, nutritious heads right from your garden, plus the satisfaction of cultivating a cool-weather staple. The key to success lies in a few straightforward steps: picking the right variety for your climate, starting seeds indoors or sowing directly outdoors in early spring or late summer, and keeping soil consistently moist and well-drained.
Cabbage needs full sun, regular fertilizing, and vigilant pest control; watch for common threats like caterpillars or aphids. Harvest when heads feel firm, and be sure to rotate crops yearly to keep soil healthy.
Here’s a quick reference checklist you can print and keep handy:
- Choose cabbage varieties suitable for your growing season.
- Start seeds indoors 6-8 weeks before the last frost or direct-sow outdoors.
- Transplant seedlings outdoors when large enough (4-6 leaves).
- Select a sunny site with rich, well-drained soil.
- Water regularly—aim for 1-1.5 inches per week.
- Mulch to keep soil cool and moist.
- Fertilize when planting and again as heads form.
- Watch for pests; use row covers or pick off insects by hand.
- Harvest when heads are firm and mature.
- Rotate planting spots each year for the healthiest crops.
Don’t be afraid to experiment with green, red, or savoy cabbage varieties. Starting your own cabbage patch can be easy and fun—give it a try and enjoy a harvest that’s as beautiful as it is delicious!