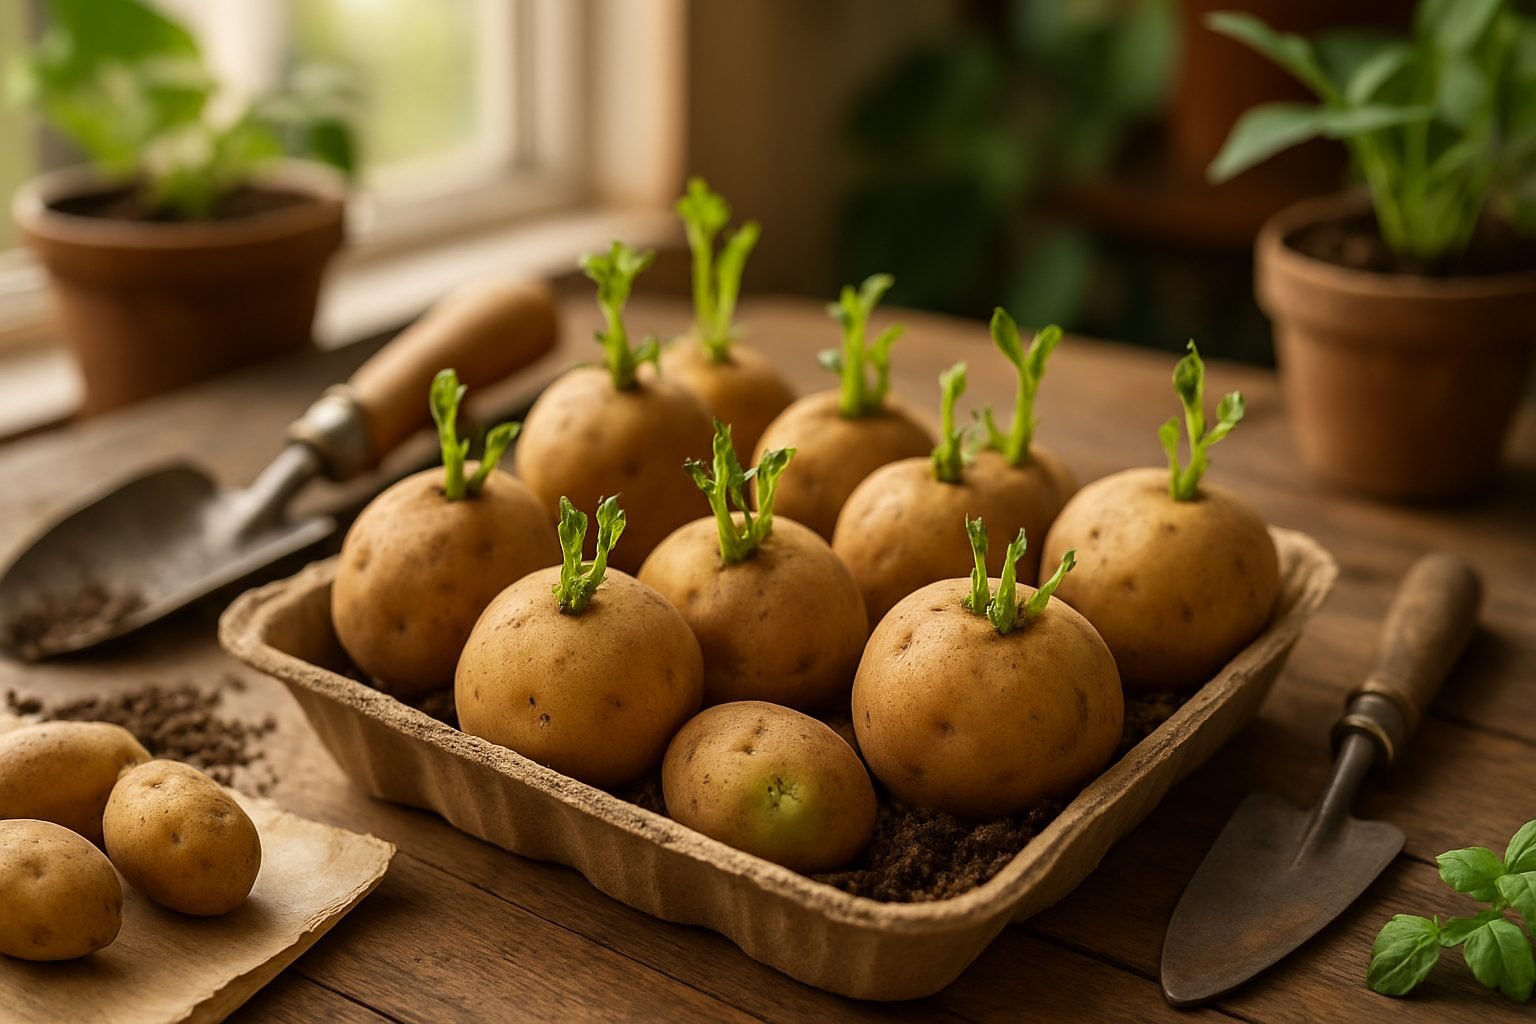
Chitting Potatoes
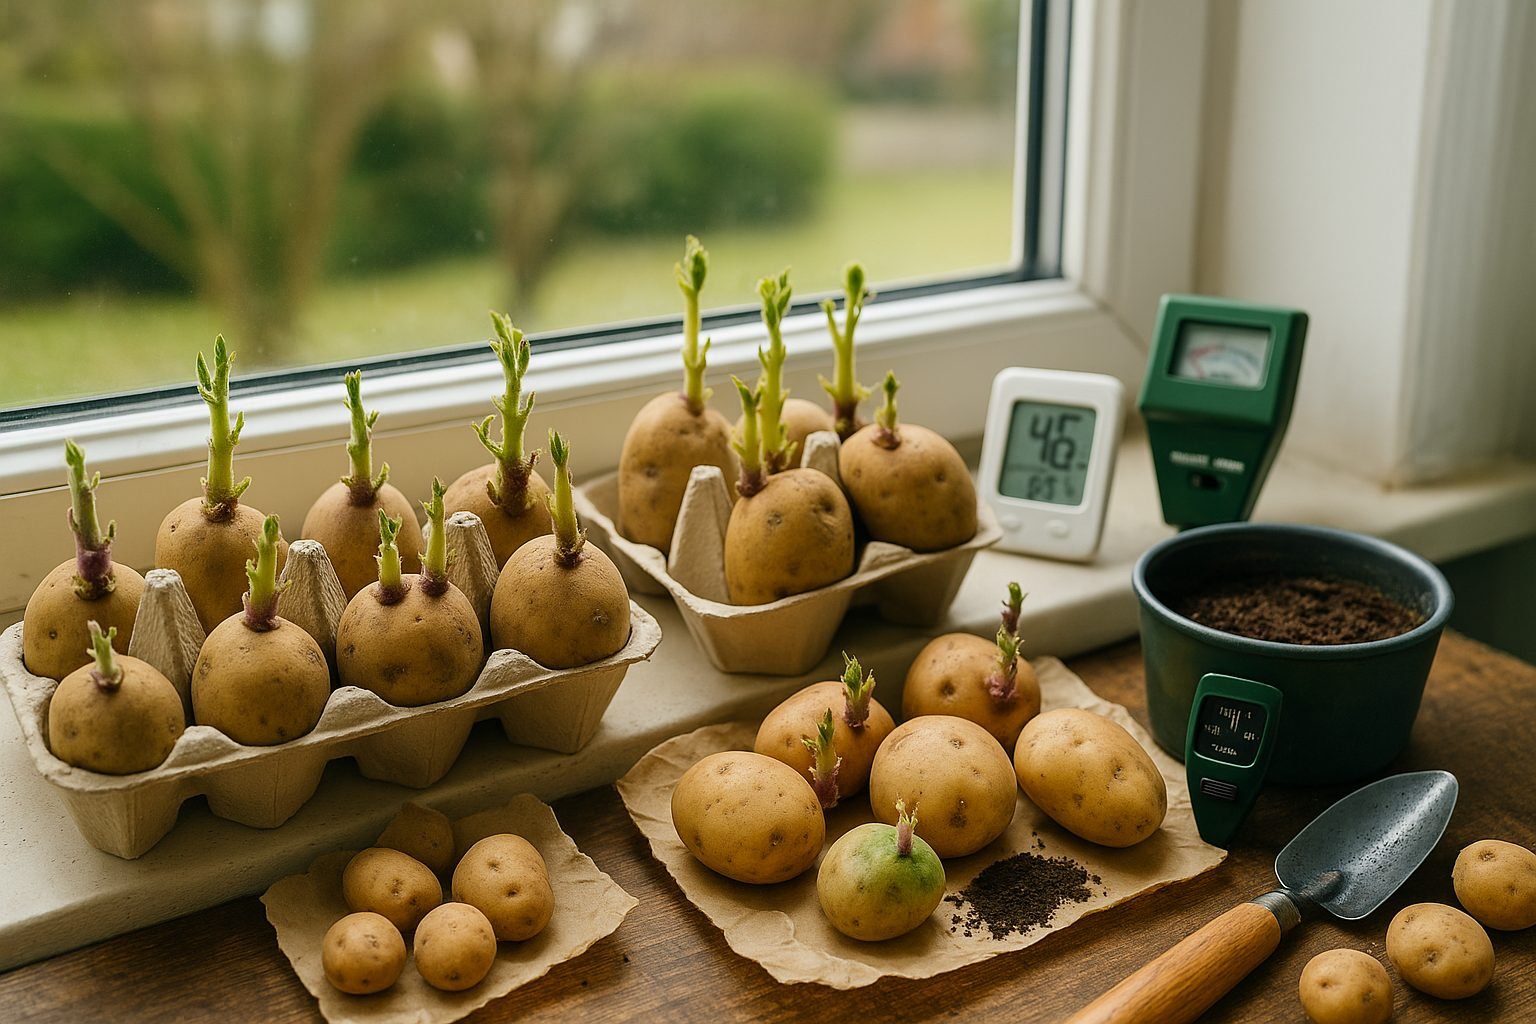
If you’re wondering about “clay soil potatoes,” you’re not alone—many gardeners are curious whether their heavy, dense soil is suitable for growing this beloved staple. While clay soil can present challenges for potato cultivation, chitting potatoes is a simple step you can take to encourage healthy sprouting and boost your chances of a good harvest, no matter your soil type.
Chitting is the process of pre-sprouting seed potatoes before planting. The main purpose is to give your potatoes a head start, especially in regions with shorter growing seasons or stubborn soil like clay. By encouraging sturdy, short sprouts, chitting helps potatoes break through tough soil faster, leading to quicker establishment and often larger yields.
How to Chit Potatoes
To chit potatoes, start with certified seed potatoes and place them—eyes facing up—in egg cartons or shallow trays. Set them in a cool, bright area (like a windowsill or porch) but keep them out of direct sunlight that could scorch the sprouts. Ideal temperatures range from 50–60°F (10–16°C). Allow your potatoes to sit for 4–6 weeks, checking regularly. Over time, you’ll see short, thick green or purplish shoots develop—a sign they are ready for planting.
Is Chitting Necessary?
Some gardeners wonder if chitting can be skipped. It’s possible, but skipping chitting means your potatoes could take longer to emerge, especially in cold or heavy clay soil. This delay can reduce overall yields and sometimes lead to patchy growth. A little patience spent chitting potatoes sets you and your clay soil potatoes up for a stronger, more reliable crop.
Choosing Potato Types: First Earlies, Second Earlies, and Maincrop
When choosing which potatoes to grow, it helps to understand the three main types: first earlies, second earlies, and maincrop.
First earlies are quick to mature, usually ready about 10 to 12 weeks after planting (around June or early July in temperate climates). These small, tender potatoes like ‘Rocket’ or ‘Swift’ are perfect for gardens with limited space or impatient growers, as they’re harvested just as summer begins and before pests like blight become a big risk—plus, they’re delicious boiled or in salads.
Second earlies take a bit longer, reaching harvest in roughly 13 to 15 weeks (mid to late summer). Varieties like ‘Charlotte’ and ‘Kestrel’ are versatile for boiling, roasting, or steaming, and provide a slightly bigger yield.
Maincrop potatoes, such as ‘Maris Piper’ or ‘Desiree,’ are the last to mature, taking around 16 to 22 weeks (usually ready from late summer to autumn). They need more space and a longer season but reward you with larger harvests that store well over winter—ideal for roasting, baking, or making fluffy mash.
If your garden is small or you’re growing in containers, stick to earlies for quick results and fewer pest problems. In cooler or short-season climates, earlies also offer a safer bet. For those who want to keep potatoes through winter or prefer classic baked or mashed potatoes, allocate space for maincrops.
Think about what you’ll eat most, your growing conditions, and your patience level when selecting which potato types to try this season.
Preparing Your Soil for Potatoes
For the best potato harvest, start by giving your soil the right foundation. Potatoes thrive in loose, well-draining soils with a sandy or loamy texture—heavy clays can cause tubers to rot. If your garden has dense soil, mix in coarse sand or fine bark to improve drainage.
Aim for a soil pH between 5.5 and 6.5; you can check this with a simple soil test kit from a garden center. If your soil is too acidic or alkaline, lime or sulfur amendments will help adjust it.
Before planting, dig in plenty of organic matter, such as compost or well-rotted manure, to add nutrients and boost soil structure. This gives potatoes the crumbly bedding they love and keeps the tubers clean and well-formed. Avoid using fresh manure, which can encourage disease and unwanted weeds.
Crop rotation is crucial: don’t plant potatoes in the same spot where you grew them—or tomatoes, peppers, or eggplants—in the last two years. This helps prevent soil-borne diseases like blight and nematodes from taking hold.
Growing Potatoes in Containers
For those with limited space or poor garden soil, potatoes can still thrive in large containers, grow bags, or even deep buckets. Fill your container with rich compost and ensure it has drainage holes.
Water regularly, especially as tubers develop, and add more compost as stems grow (“hilling up”) to increase your potato yield. This approach not only saves space but also makes it easier to protect against pests and harvest your spuds by simply tipping out the container.
With these soil tips, your potato plants will have the start they need for a healthy, bountiful crop.
Planting Potatoes: Step-by-Step Guide
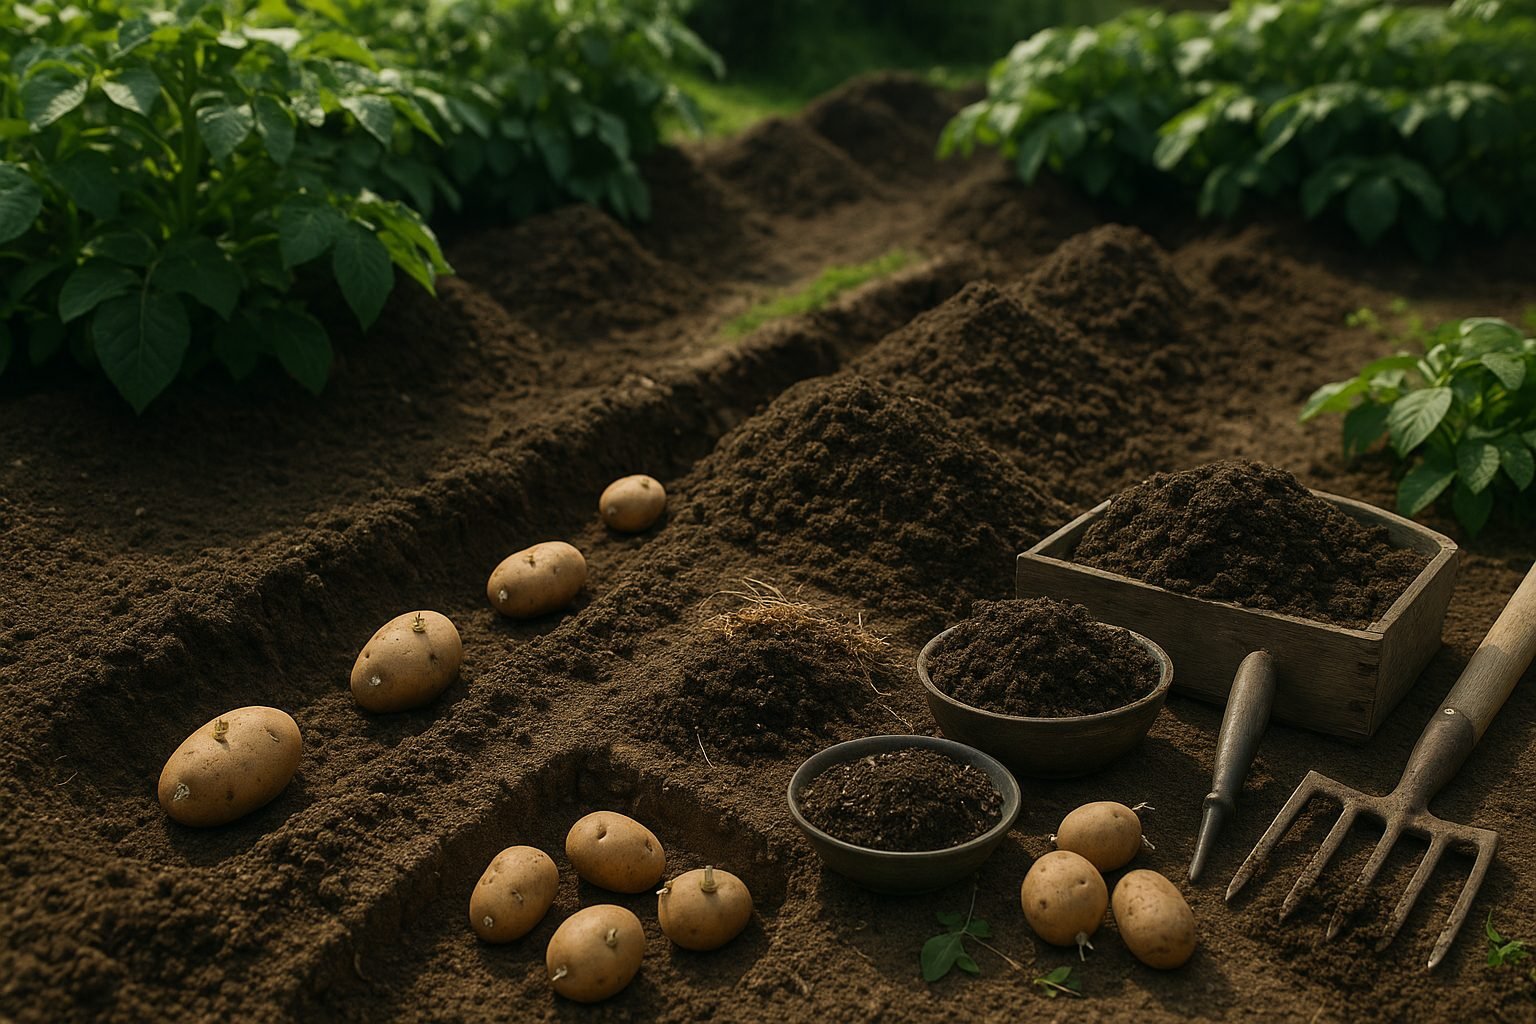
Planting potatoes in the ground starts with choosing a spot that gets at least six hours of sunlight daily and has loose, well-drained soil. Begin by digging shallow trenches about 6-8 inches deep, spacing them 2-3 feet apart.
Place seed potatoes (whole or cut pieces, each with at least one “eye”) 12 inches apart in the trench, with the eyes facing up. Cover them with 3-4 inches of soil—reserve some soil for later “hilling” the plants as they grow.
For smaller spaces, containers or grow bags are a great alternative. Pick a bag at least 10 gallons in size, fill the bottom with six inches of potting soil, and plant 3-5 seed potatoes spaced evenly. As shoots emerge, cover them with more soil to encourage tuber production, repeating until the container is full.
Aim to plant potatoes when soil temperatures are consistently above 45°F (7°C), which usually means a few weeks before your last expected frost. Planting too early risks rot, while planting too late can result in poor yields.
Chitting—allowing seed potatoes to sprout before planting—is not strictly necessary but can give you a head start, especially in cooler climates. If you’re planting chitted potatoes, handle them carefully to avoid snapping the sprouts and plant them as you would unchitted ones, with eyes or sprouts facing up.
This process works both in the ground and in containers. Just remember that chitted potatoes may emerge faster, so keep an eye out and be ready to add soil as needed to protect the growing shoots.
Caring for Potato Plants
Potato plants thrive with a little attention to their basic needs. Water them deeply once or twice a week, ensuring the soil is moist but not soggy—overwatering can rot the developing tubers. During hot or dry spells, check the soil frequently and water early in the day so the leaves can dry off, reducing the risk of fungal disease.
Mulching around potato plants with straw or grass clippings helps conserve moisture, suppress weeds, and keep the soil cooler. Feed your potatoes every few weeks with a balanced organic fertilizer or compost tea—this supports strong growth without overloading them with nitrogen, which can cause lush leaves but fewer tubers.
Earthing Up (Hilling)
One essential task is “earthing up” or hilling: when plants are about 6 inches tall, gently mound soil or compost up around the stems, covering the lower leaves. This protects developing potatoes from sunlight (which turns them green and toxic), encourages more tuber production, and helps control weeds.
Pest and Disease Management
Watch for common pests like Colorado potato beetles and aphids; you can handpick beetles or use an organic solution like neem oil. Fungal problems such as blight can appear, especially in damp weather—space plants for good airflow, remove affected leaves promptly, and try a bio-friendly copper spray if needed.
Weed Control and Maintaining Plant Health
Keep weeds in check with regular, careful hoeing or hand-pulling. Weeds compete for nutrients and water and can harbor pests. Finally, maintain healthy, green foliage since strong leaves are the plant’s engine for producing potatoes. Remove any yellow, diseased, or damaged leaves so energy is focused on healthy growth, leading to a better, more bountiful harvest.
Harvesting and Storing Potatoes
Knowing when to harvest potatoes starts with recognizing the specific signs for different varieties. For new potatoes, gently dig around the base of the plant about two to three weeks after it begins to flower—these tender tubers are perfect for immediate use. For maincrop or storage potatoes, wait until the plant’s foliage turns yellow and begins to die back; this signals maximum tuber development and stronger skins for storage.
When harvesting, use a garden fork or spade, loosening the earth around the plant carefully to avoid stabbing or bruising the tubers. Start about a foot away from the stems and work your way in, lifting clumps gently and brushing off soil by hand. Damaged or cut potatoes should be used first, as they won’t store well.
After harvesting, let the potatoes cure in a single layer in a cool, dark, and well-ventilated spot for 1–2 weeks; this allows minor cuts to heal and skins to firm up. Store cured potatoes in breathable containers (like paper bags or crates) at 40–50°F (4–10°C), away from light to prevent greening. Keep humidity moderate to prevent them from shriveling or sprouting. Regularly check your stash and remove any that show signs of spoilage to keep the rest fresh longer.
Troubleshooting & FAQs for Potato Growers
Potato growers often run into familiar challenges like diseases, stunted tuber growth, and pest infestations. One common disease is blight, which appears as dark spots on leaves. To manage it, remove affected foliage promptly and keep vines dry using drip irrigation.
Poor tuber size is often caused by compacted or nutrient-poor soil. Improving drainage and adding compost before planting helps, as does hilling soil around stems as the plants grow.
Pests such as Colorado potato beetles can devastate crops. Hand-picking beetles early in the season and rotating crops each year can reduce their impact.
Common Questions
- Can I reuse soil for growing potatoes? It’s best to wait at least two years before replanting potatoes in the same spot, as soil-borne diseases can linger.
- Why are my potatoes coming out small? Check if the plants had enough sunlight—they need at least 6 hours daily—and make sure to water consistently, especially around flowering time.
By spotting problems early and practicing basic crop rotation, sanitation, and soil care, potato growers can prevent many issues and enjoy a healthier harvest each season.