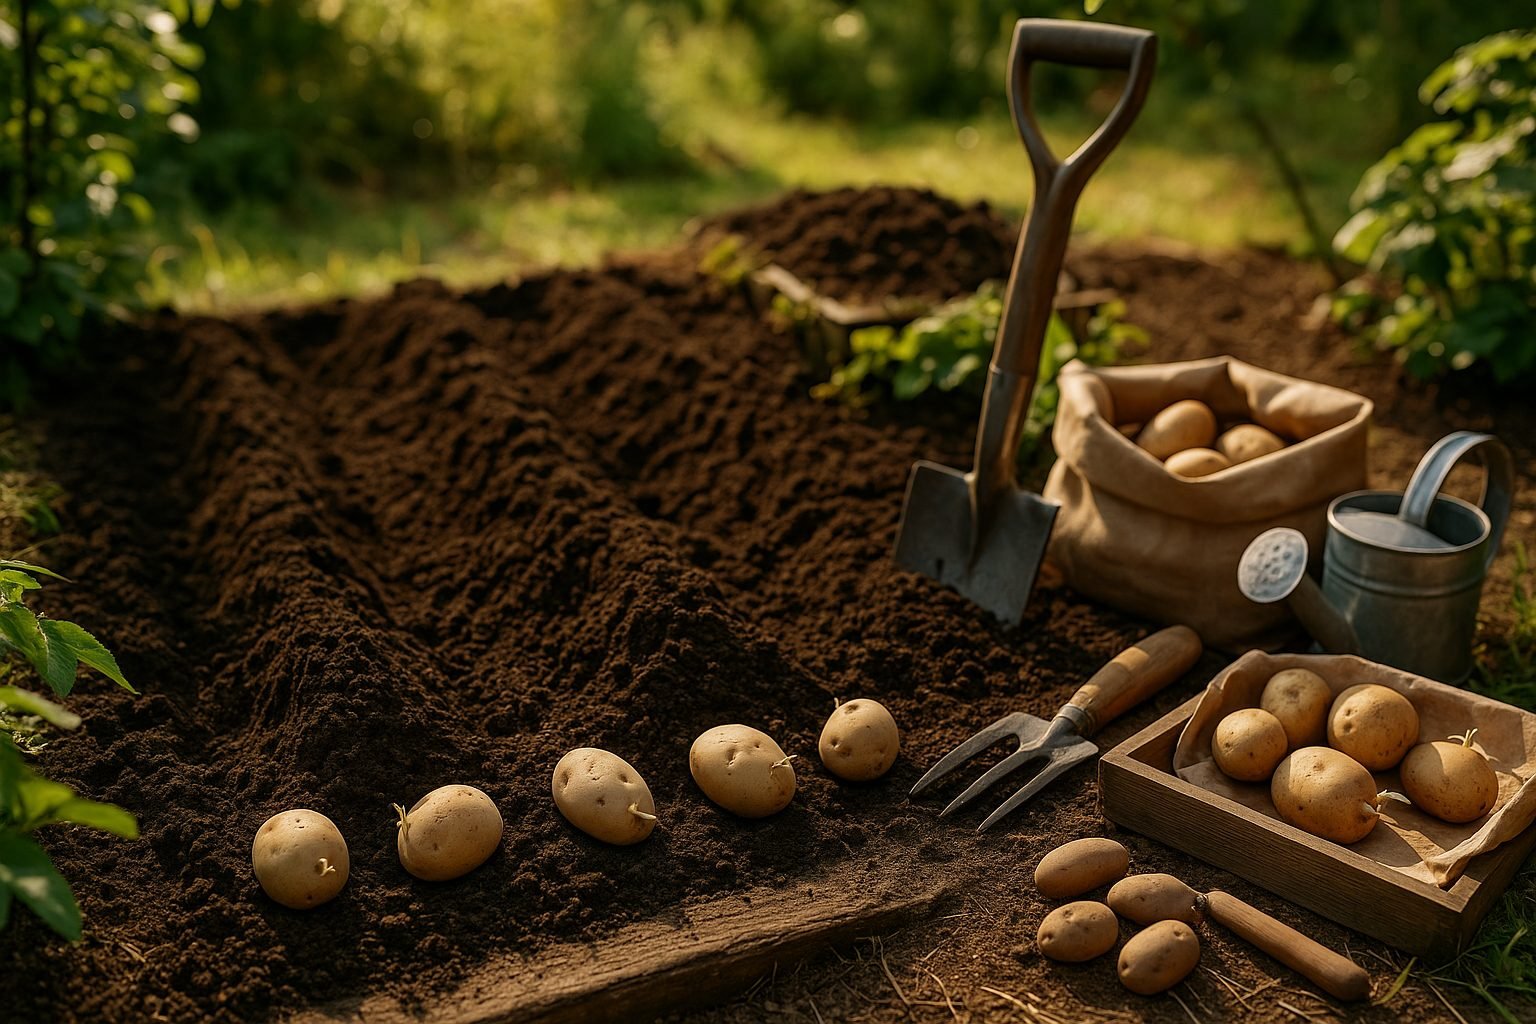
Planting Potatoes at the Wrong Time
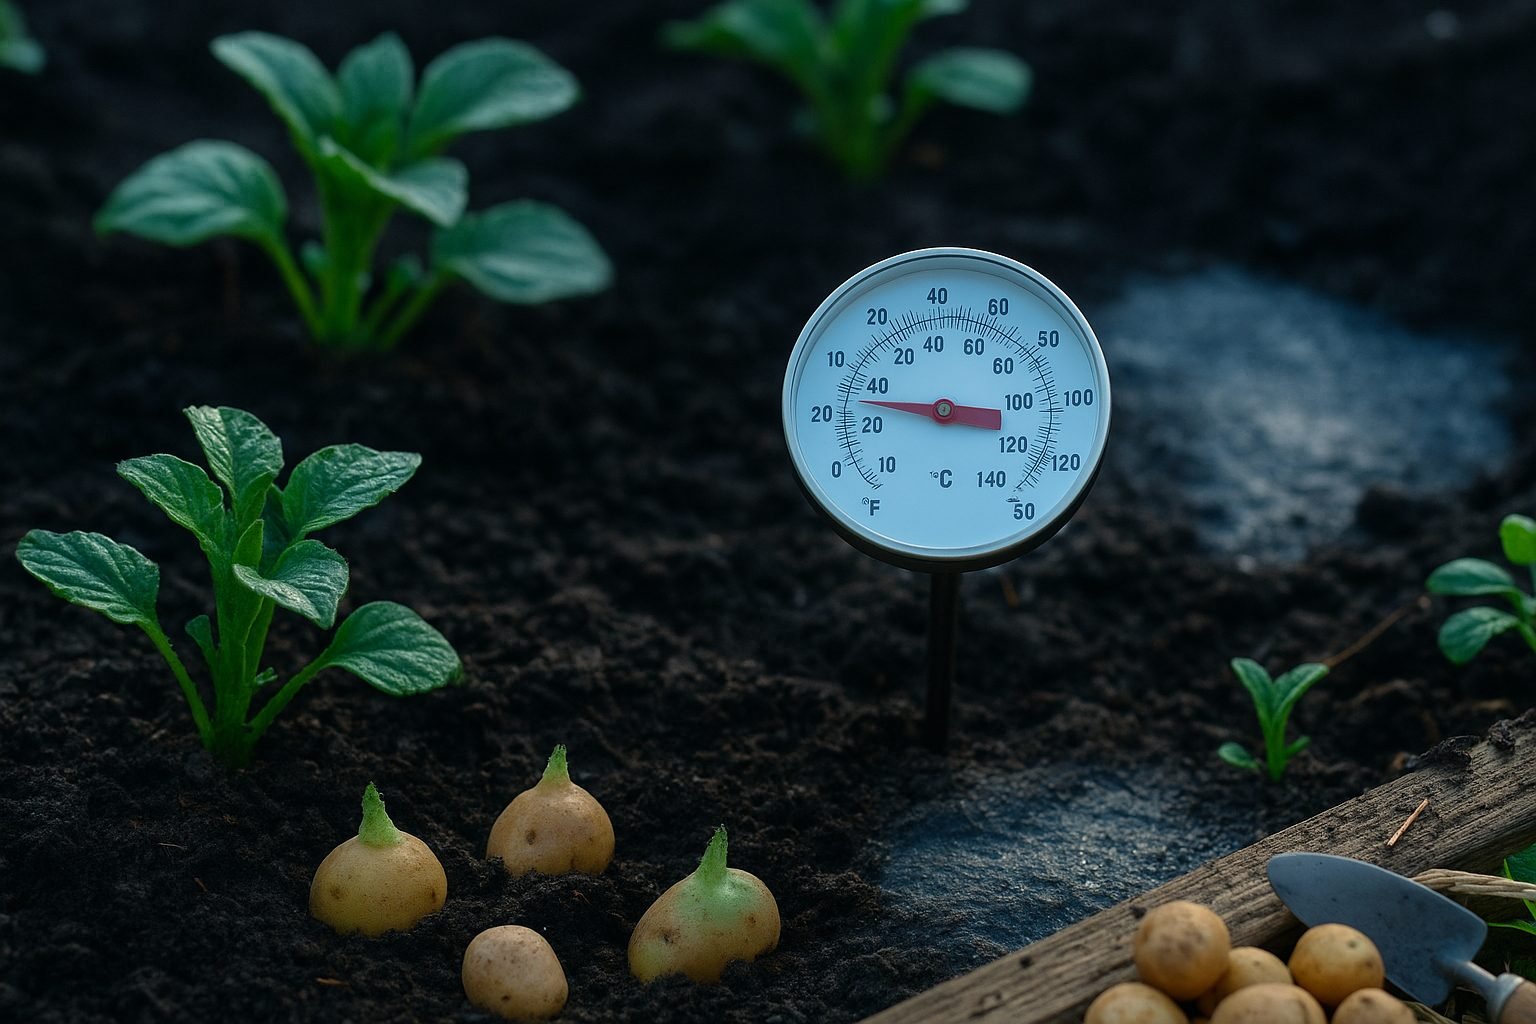
potato growing mistakes can quickly turn a promising harvest into a season of frustration, and one of the most common pitfalls is planting potatoes at the wrong time. Timing is crucial because potatoes are sensitive to soil temperature and weather conditions. If you plant too early, especially in colder regions, a late frost can damage or kill tender sprouts, leading to gaps in your potato rows and stunted plants. On the other hand, waiting too long to get your seed potatoes in the ground may mean missing out on the cool, moist conditions potatoes need to thrive, resulting in smaller tubers and lower yields as summer heat stresses the plants.
Finding the Optimal Planting Window
The best planting time depends on your growing zone:
- Colder zones (USDA Zones 2–5): Plant about 2–4 weeks before the last expected spring frost, when the soil has warmed to at least 45°F (7°C).
- Milder climates (Zones 6–8): You have a broader window—often early spring or even late winter works well.
- Warm southern areas (Zones 9–10): Plant in late fall or winter to avoid summer heat.
Keep an eye on both soil and air temperatures to hit that sweet spot for planting—it makes all the difference between a lackluster harvest and an overflowing potato bin.
Choosing and Preparing the Right Seed Potatoes
Selecting the right seed potatoes is the first and most important step for a healthy, productive potato crop. Always opt for certified seed potatoes sourced from reputable garden centers or seed suppliers, as these are guaranteed to be disease-free and specifically bred for planting.
Avoid using old potatoes from the grocery store or last year’s sprouted tubers—these can carry hidden diseases or may have been treated with chemicals to prevent sprouting, which can compromise your harvest and soil health.
Once you have your certified seed potatoes, inspect them for a firm texture, no mold, and several “eyes,” which are the small growth buds. Larger seed potatoes can be cut into smaller pieces, each with at least two eyes; use a clean, sharp knife to reduce the risk of introducing disease.
Let these cut pieces air-dry at room temperature for a couple of days, forming a protective callous over cut surfaces—this step, called curing, helps prevent rot once planted.
Skipping this process or using unsuitable tubers can result in poor growth, low yields, or crop failure due to disease. Investing a bit of time in proper selection and preparation will set the stage for a thriving potato harvest.
Optimizing Soil Conditions and Preparation
Growing healthy, productive potatoes starts with the right soil. Potatoes thrive best in loose, well-draining soil that’s rich in organic matter since heavy, compacted, or clay soils can suffocate young tubers and stunt growth.
Aim for a slightly acidic soil pH between 5.0 and 6.5—most garden centers sell simple soil test kits to help you check this and other nutrients. If your soil is alkaline or heavy, work in plenty of compost, well-rotted manure, or peat moss to improve structure, fertility, and acidity.
Mixing in a balanced, slow-release organic fertilizer will also give your plants a great start. Before planting, remove rocks and large debris, and till the soil to a depth of 10–12 inches to help the developing tubers expand easily.
Avoid planting potatoes in wet or soggy ground, as waterlogged conditions encourage rot and disease. Raised beds or mounded rows are great solutions if drainage is an issue in your garden.
Beginner gardeners often overcrowd potato plants, forgetting that each one needs space to spread. Plant seed potatoes about 12 inches apart in rows spaced at least 2–3 feet apart for healthy growth.
Taking time to optimize and prepare your soil pays off in bigger, healthier yields at harvest.
Mastering Watering and Fertilizing Practices
Proper watering and fertilizing are crucial for healthy potato plants and a bountiful harvest. Potatoes need consistent moisture, but overwatering can lead to rot, while underwatering stunts growth and shrivels tubers. Aim to keep the soil evenly moist, especially during tuber initiation and bulking—typically starting about five weeks after planting.
During the early sprouting stage, water lightly until shoots appear, then gradually increase as plants grow. When flowers bloom, potatoes need the most water, so give about 1-2 inches per week, depending on heat and rainfall. However, reduce watering as the foliage yellows near harvest; drier soil helps toughen the skins.
When it comes to fertilizer, start with a balanced fertilizer or perform a soil test to check for deficiencies. Incorporate compost or well-rotted manure before planting for slow-release nutrients. Avoid over-fertilizing, especially with nitrogen, which encourages leafy growth at the expense of tubers.
Mid-season, side-dress with a fertilizer lower in nitrogen but higher in potassium and phosphorus to support tuber development. A common mistake is applying unbalanced fertilizer or too much at once, which can burn roots or cause deformed potatoes. Sticking to steady, mindful practices helps your potato patch thrive and ensures delicious results.
Hilling and Plant Care Throughout the Season
Hilling is a simple but essential technique for healthy potato plants and robust harvests. As your potato shoots grow to about 6–8 inches tall, gently mound soil up around their stems, covering the lower leaves so just a few inches of greenery remain above the surface.
Repeat this process every couple of weeks, or anytime you see new growth peeking through, until your hills are about 8–12 inches high. This keeps developing tubers safely shielded from sunlight, which can turn them green and toxic, and it also encourages more potatoes to form along the buried stems.
Remember to weed vigilantly around your plants; a mulch layer like straw can make this easier and help retain soil moisture. Keep an eye out for signs of blight or pests—yellowed leaves, spots, or holes—and act quickly by removing affected foliage and using appropriate organic treatments if needed.
Water deeply during dry spells, aiming for even soil moisture rather than frequent shallow watering. Consistent care, timely hilling, and diligent weeding together give your potato crop the best chance for a high, healthy yield at harvest.
Pest & Disease Management
Potatoes are vulnerable to several pests and diseases, with common offenders including Colorado potato beetles, aphids, late blight, and early blight. Effective management begins with regular plant inspections—ideally every few days during the growing season—to catch problems early.
For pests like beetles and aphids, handpicking or spraying plants with insecticidal soap or neem oil can help. Using row covers provides a physical barrier to prevent infestations without relying on chemicals.
To combat diseases such as blight, practice crop rotation, avoid overhead watering, and ensure good air circulation by spacing plants properly. Remove and destroy any affected leaves or plants to stop the spread of pathogens.
Using certified, disease-free seed potatoes and mulching with straw can further reduce disease risk while suppressing weeds. Organic gardeners might also consider applying copper-based fungicides or using biological controls like Bacillus thuringiensis for larvae.
By staying vigilant with frequent checks and combining preventive techniques, you can protect your potato crop from most common threats and ensure a healthier, more productive harvest.
Harvesting and Storing Potatoes Properly
Knowing when to harvest your potatoes is key to getting the best yield and the longest storage life. Potatoes are usually ready when the plants’ foliage turns yellow and begins to die back, typically a couple of weeks after flowering. If harvested too early, the skins may be thin and easily damaged, making the tubers prone to rot; if harvested too late, they may crack or become targets for pests.
To harvest, choose a dry day and gently loosen the soil with a garden fork, keeping the tool at least a foot away from the plant to avoid piercing the tubers. Lift the potatoes carefully by hand and brush off excess dirt—avoid washing, as moisture can encourage spoilage.
Once harvested, cure the potatoes by spreading them in a single layer out of direct sunlight, in a cool (45–60°F), dry, and well-ventilated location for 1–2 weeks. This process helps toughen the skins and heal minor bruises or cuts.
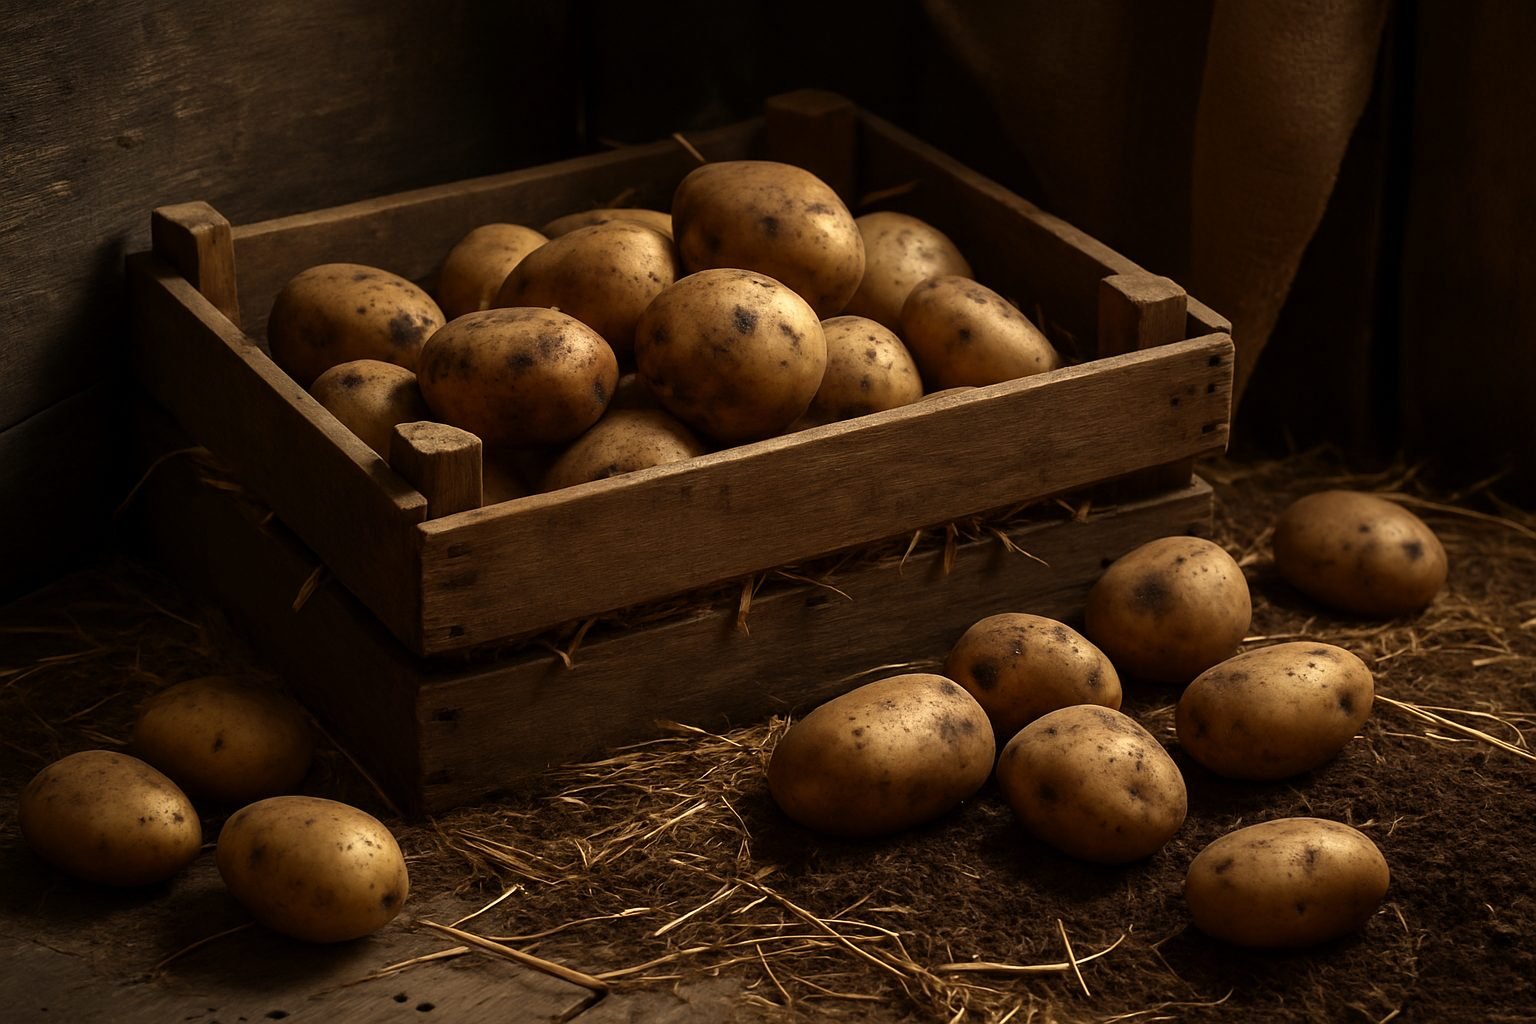
After curing, store potatoes in a dark, cool (below 45°F), and humid space—using paper bags, crates, or ventilated boxes to ensure good air circulation. Keep them away from onions and apples, as these release gases that accelerate spoilage. Regularly check your stored potatoes and promptly remove any that are soft or sprouting to keep the rest in top condition.