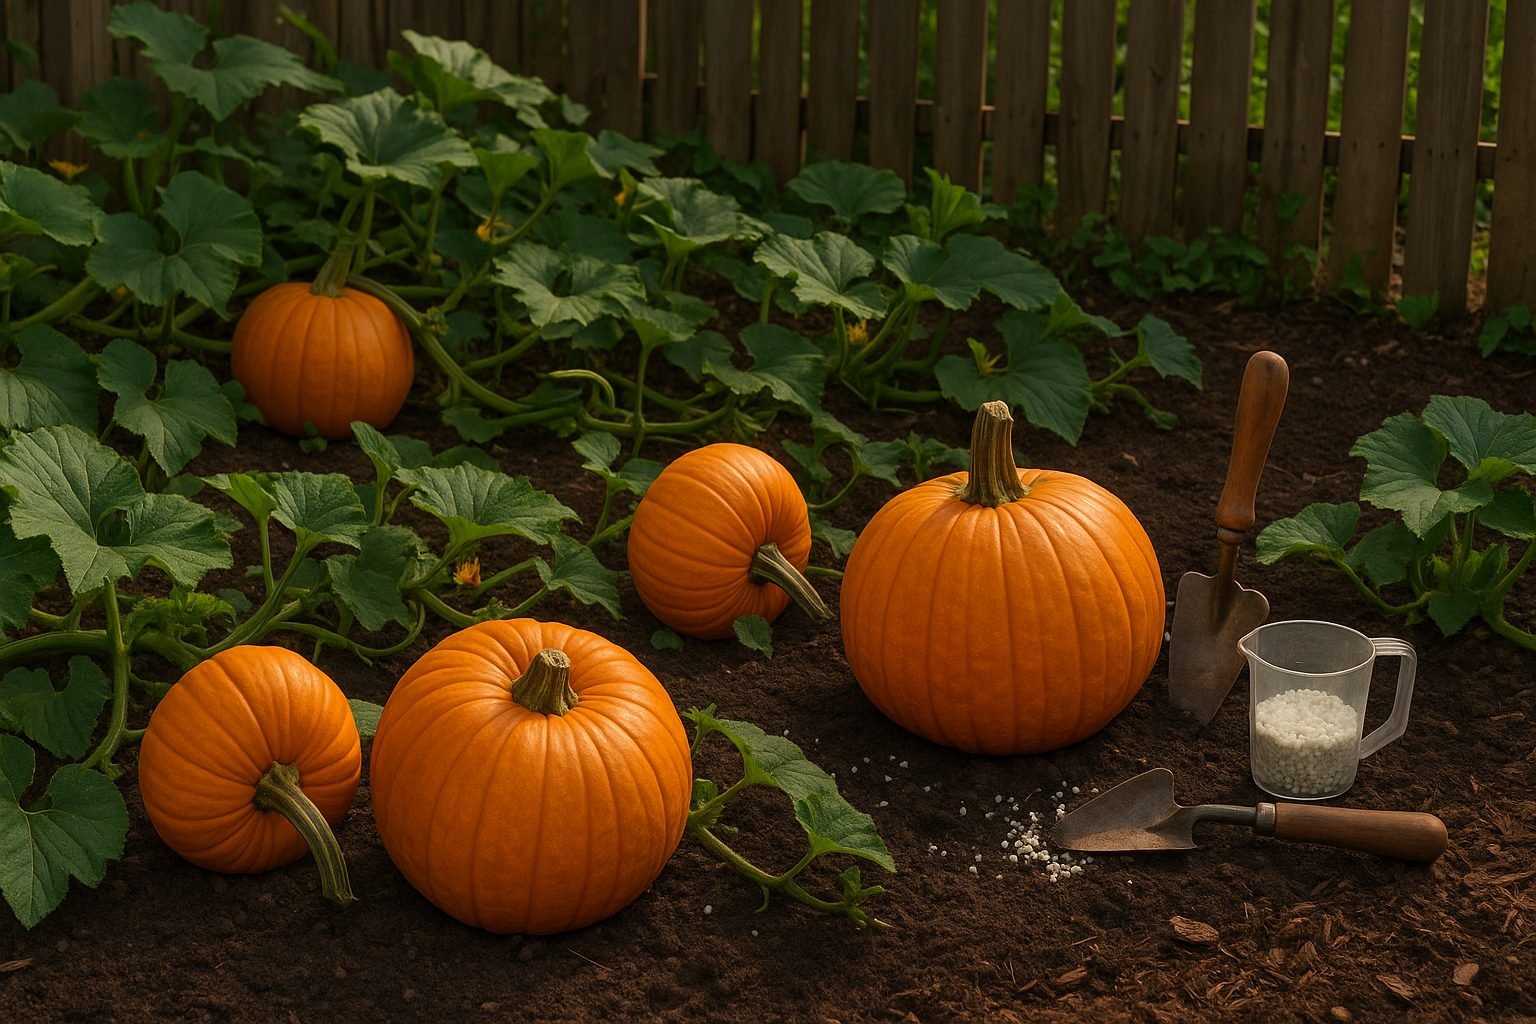
Understanding Pumpkin Fertilizer Basics
Fertilizing pumpkins is one of the most important steps you can take for healthy vines and bountiful harvests, whether you’re dreaming of prized jack-o’-lanterns or homegrown pies. Pumpkins are heavy feeders, meaning they require a steady supply of nutrients to thrive—from seedling to sprawling vines and, eventually, to giant, sun-ripened fruit. The secret to big, beautiful pumpkins starts with the basics: understanding what’s in your fertilizer and how it fuels your plants’ growth.
pumpkin plants need three primary nutrients, each with a unique role. Nitrogen (N) gives pumpkin vines their leafy, lush appearance and drives vigorous growth during the early stages. This is especially important as seedlings settle in and start to spread across your garden. Phosphorus (P) steps in as your pumpkins begin to flower, supporting strong root systems and boosting the plant’s ability to set fruit. Without enough phosphorus, your vines might look healthy, but flowers may fail to develop into pumpkins. Potassium (K) is key for overall plant health, aiding vital processes like water regulation, disease resistance, and the final maturing of those golden-orange gourds.
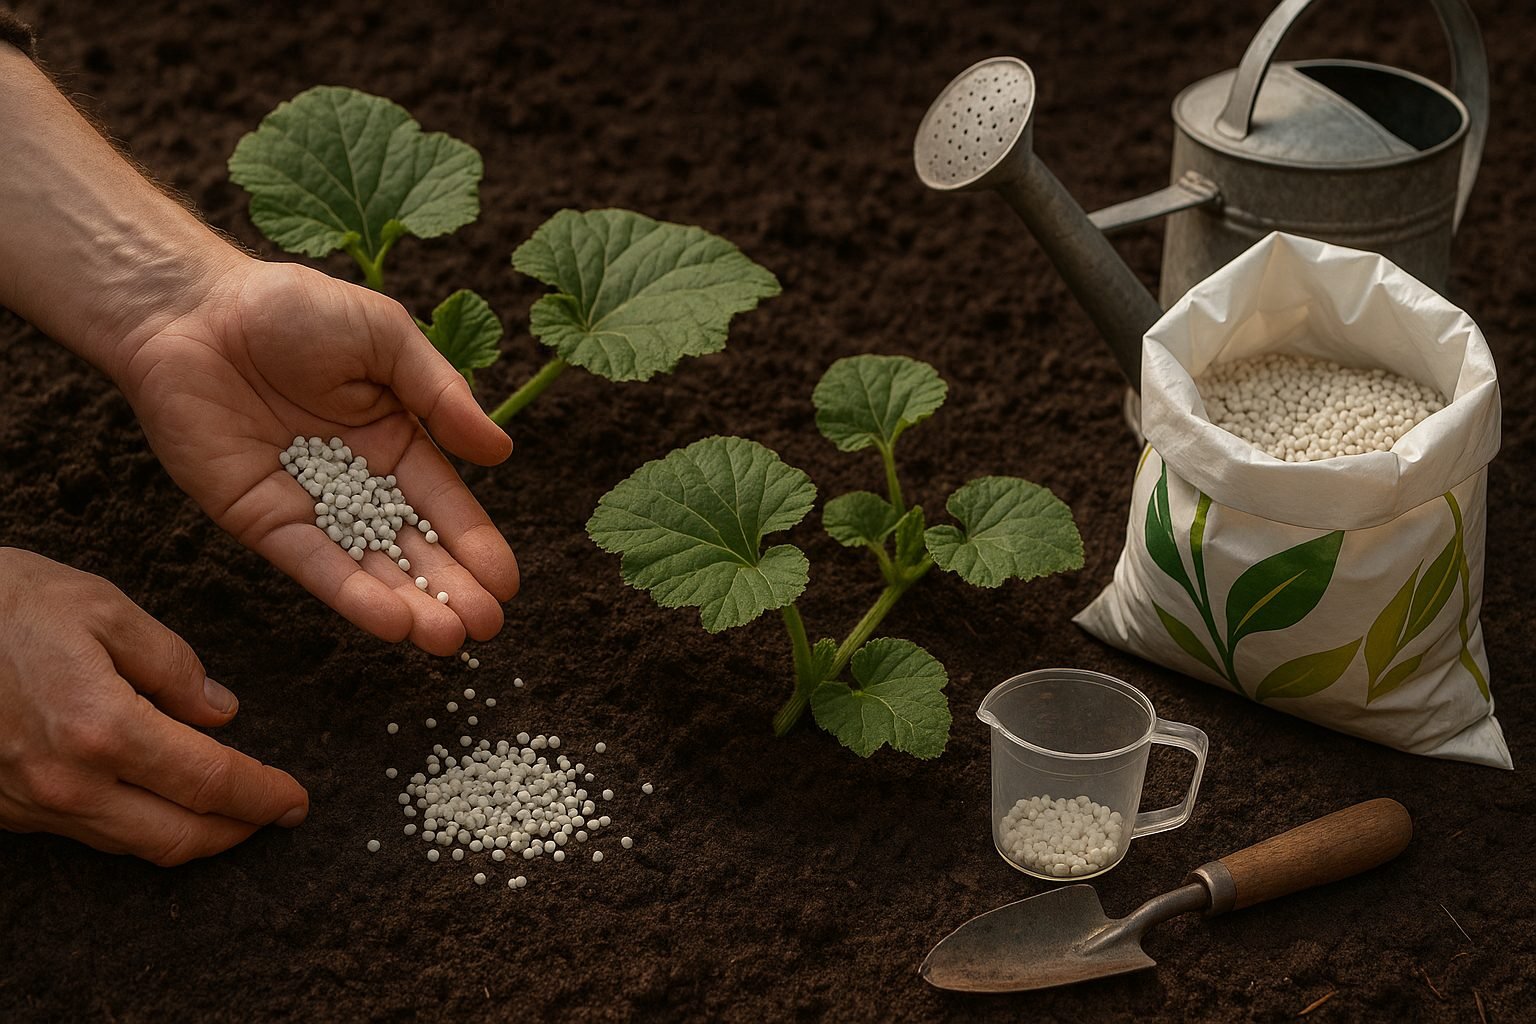
Applying the right fertilizer at each stage of pumpkin growth means more than just dumping plant food on the soil. Early in the season, choose a balanced fertilizer—or one with a bit more nitrogen—to encourage foliage. As the plants begin to flower and small pumpkins appear, switch to a formula higher in phosphorus and potassium to promote blooming, fruit set, and steady growth. Pay attention to both timing and placement: side-dress granules a few inches from the vine roots, or use diluted liquid fertilizers for a gentle boost. With a well-timed fertilizing routine, you can coax even an ordinary pumpkin patch into producing pumpkins worthy of the county fair.
Conducting a Soil Test Before Fertilizing
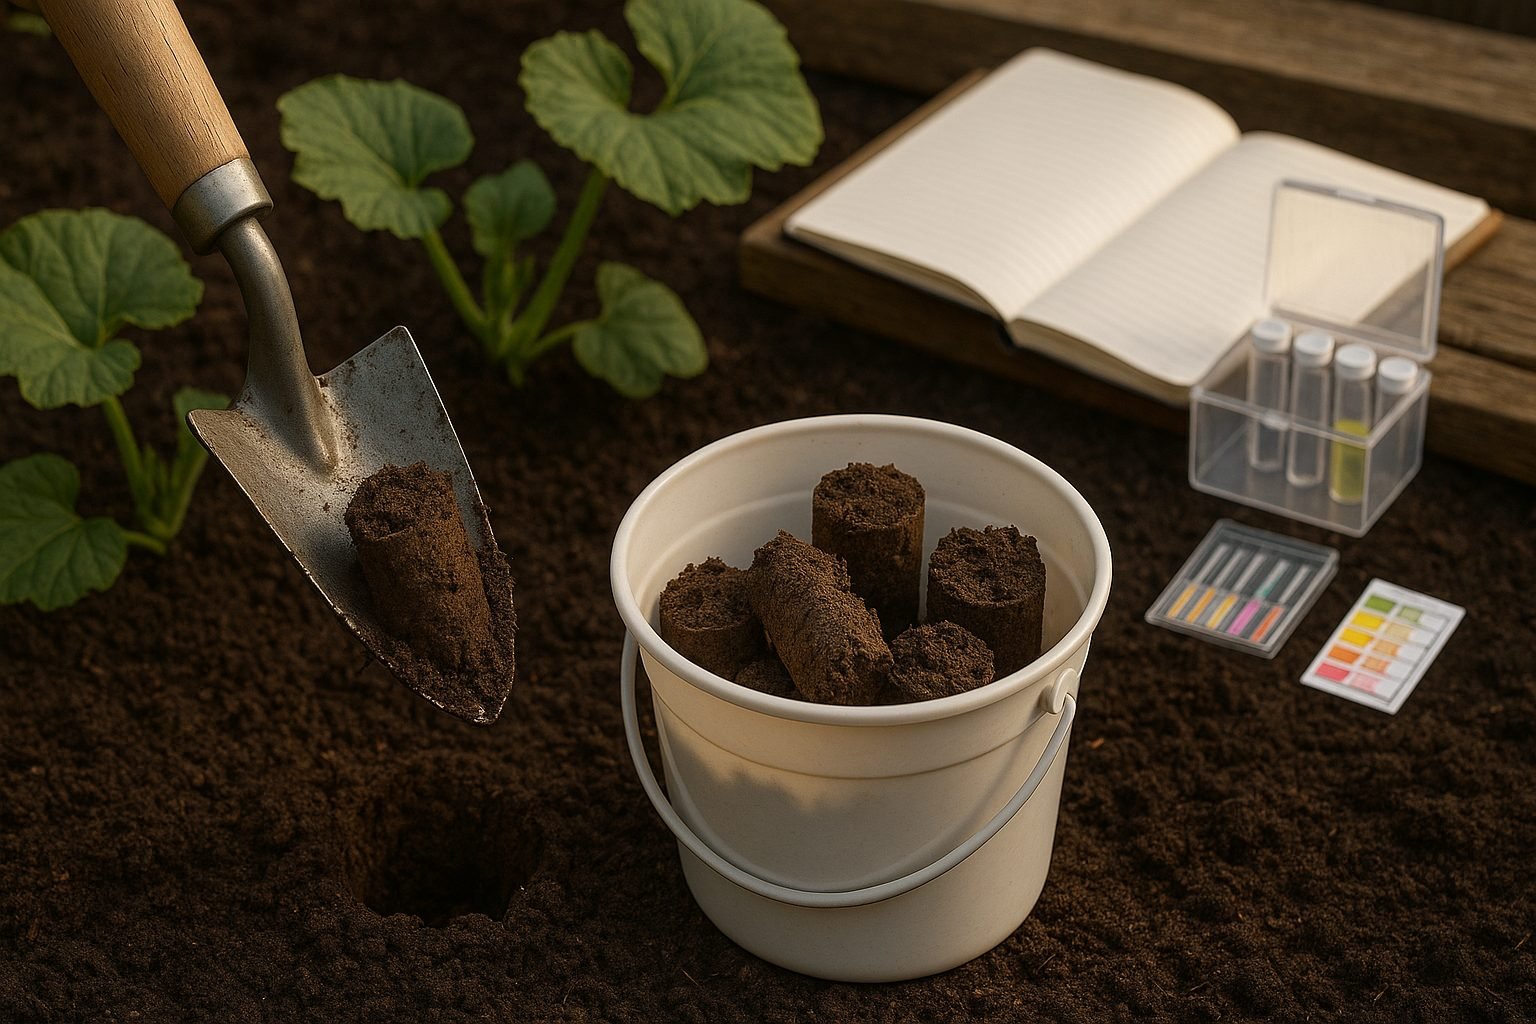
Before you reach for that bag of fertilizer, conducting a soil test is a smart move—and often the most critical first step for success. Soil is unique to every garden or lawn, and without understanding its current condition, you risk over-fertilizing or underfeeding your plants, which can waste money and even harm the environment.
Testing reveals your soil’s pH (how acidic or alkaline it is), nutrient levels like nitrogen, phosphorus, and potassium, and the percentage of organic matter. Collecting a sample is easy: using a clean trowel or probe, take thin slices of soil from 5 to 10 random spots in your landscape, digging down 4 to 6 inches for gardens or 2 to 3 inches for lawns. Mix these in a clean bucket, let them air-dry, and send about a cup to your local extension office or a reputable lab.
The results often arrive with clear recommendations. For example, if the soil test shows a low pH, you know to add lime instead of more fertilizer; if the levels of phosphorus are high but potassium is low, you can select a fertilizer that fills that gap instead of using a one-size-fits-all blend. Understanding organic matter also helps—if yours is low, adding compost is smarter than piling on synthetic nutrients.
Ultimately, a soil test helps you work smarter, not harder, ensuring every handful of fertilizer counts where it matters most.
Choosing the Right Fertilizer for Pumpkins
Selecting the right fertilizer for your pumpkin patch can make all the difference in growth and yield. Organic fertilizers—like composted manure or fish emulsion—offer a steady supply of nutrients and improve soil health over time, making them ideal for gardeners seeking long-term soil fertility. Synthetic fertilizers, on the other hand, provide precise and immediate nutrient boosts, which can be particularly useful if your soil test shows deficiencies or if you need quick results.
When it comes to the N-P-K (Nitrogen-Phosphorus-Potassium) ratio, adjust your approach based on the pumpkin’s growth stage.
- During the early vegetative phase, opt for a higher nitrogen fertilizer, such as a 10-5-5 mix, to fuel leafy growth and establish strong vines.
- As the plants transition to flowering and fruit setting, shift to a lower nitrogen, higher phosphorus and potassium ratio, like 5-15-15, which encourages robust blossoms and substantial fruit development.
Regarding application types:
- Granular fertilizers are convenient for broad applications and work well for mixing into the soil before planting.
- Liquid fertilizers act quickly and are great for foliar feeds when plants need an immediate boost, but require more frequent application.
- Slow-release fertilizers offer the advantage of steady nutrient delivery over weeks, reducing the risk of over-fertilizing and cutting down on labor, though they may not provide instant results if your plants look like they’re struggling.
A practical approach for most home gardeners is starting with a quality granular organic fertilizer worked into the soil at planting, supplemented with occasional liquid feeds during critical growth stages. Ultimately, your choice will depend on your gardening philosophy, soil conditions, and how hands-on you want to be throughout the growing season.
Timing and Applying Fertilizer for Maximum Growth
Optimizing your fertilization schedule can make a significant difference in plant growth and yields. Start by incorporating a balanced, slow-release fertilizer into the soil before planting—this gives roots a nutrient-rich environment right from the start.
As seedlings establish, side-dressing is a smart move: apply granular fertilizer a few inches away from plant stems, then water it in to feed roots without burning them. When plants hit their stride in early growth, follow up with another side-dress or carefully top-dress—sprinkling fertilizer around the base before lightly mixing it into the top inch of soil.
After flowering, use a nitrogen-lean, potassium-rich feed to support fruit and seed development. Again, apply it as a side- or top-dress as needed.
Remember, timing is everything: fertilizing too early may waste nutrients before plants need them, and late applications can encourage leafy growth at the expense of flowers or fruits. Avoid common pitfalls like over-fertilizing, which can scorch roots, stunt growth, or even prevent blooms.
Stick to the recommended rates on fertilizer labels, and watch your plants for signs of distress or nutrient deficiency. Yellowing leaves or sluggish growth can be a heads-up to adjust your plan.
By tailoring your timing and application methods, you’ll foster vigorous, productive plants without wasting resources or harming your garden’s health.
Advanced Fertilization Techniques
When traditional fertilization falls short, advanced methods can give your plants the targeted boost they need. Supplemental nutrition techniques like foliar feeding—spraying diluted liquid fertilizers directly onto plant leaves—allow for faster nutrient absorption, especially when roots are stressed or soil conditions restrict uptake.
Gardeners also swear by compost tea, a nutrient-rich solution made by steeping compost in water and applying it around plant roots or as a foliar spray. This supplies beneficial microbes and trace minerals, invigorating soil life and plant vigor.
Seaweed extracts offer another advantage—they’re loaded with micronutrients, amino acids, and growth hormones that help plants thrive even through periods of stress such as drought or temperature swings.
If you spot signs of nutrient deficiency mid-season—yellowing leaves or stunted growth—don’t hesitate to amend the soil with targeted fertilizers like blood meal for nitrogen, bone meal for phosphorus, or epsom salts for magnesium. Always test your soil first to avoid overcorrecting.
Mulching is a game changer for fertilizer efficiency: a two- to three-inch layer of organic mulch (like straw, bark, or grass clippings) keeps soil moist, regulates temperature, and gradually breaks down to enrich the soil with organic matter. This not only feeds soil microbes but also helps retain the nutrients you’ve added, reducing leaching and runoff.
By combining these advanced techniques, you’ll foster healthier root systems, more resilient plants, and a garden that rewards your efforts with robust growth and higher yields.
Integrating Fertilizer with Pumpkin Pest, Disease, and Watering Practices
Timing and method of watering are crucial when integrating fertilizer into your pumpkin care routine. Always water your pumpkin plants thoroughly a day before fertilizing—this helps protect roots from fertilizer burn and ensures nutrients are absorbed more efficiently. After applying fertilizer, follow up with another gentle watering to help nutrients soak deeper into the soil, reaching the root zone where pumpkins need them most.
Consistent soil moisture is also key to preventing stress that leaves pumpkins vulnerable to pests like squash bugs and diseases such as powdery mildew. Importantly, a balanced fertilization schedule—providing essential nutrients like nitrogen, phosphorus, and potassium—strengthens your plants’ immune defenses. Well-nourished pumpkins develop tougher leaves and stems, making it harder for pests to attack and for diseases to spread.
When you notice yellowing leaves or poor growth, pause to consider whether you’re seeing signs of a nutrient deficiency or something else. For example, yellow leaves with green veins can indicate a magnesium deficiency, while spots or holes might point to pest damage or fungal infection. Address deficiencies with targeted amendments such as Epsom salt for magnesium, and manage pests or diseases with organic sprays or physical removal.
Keeping records of your fertilizing, watering, and any issues that arise will help you spot patterns and adjust your approach over the season. By linking your watering, feeding, and pest management, you create a strong foundation for healthy, prolific pumpkins all season long.
Harvest, Storage, and Post-Harvest Fertility Tips
Recognizing when pumpkins are ready to harvest is vital for optimal flavor and storage. Look for deep, consistent color on the skin—bright orange for most varieties—and a hard, matte rind that resists scratching with a fingernail. The stem should be brown and corky, not green. These signs also indicate that your pumpkins have received adequate nutrition throughout the season, as well-fed plants produce larger, well-shaped fruits with uniform coloring.
After harvest, cure pumpkins in a warm, dry space (about 80–85°F) for 1–2 weeks to harden the skin, which helps prevent rot during storage. Store your cured pumpkins in a cool, dry, and well-ventilated space, ideally between 50–60°F, and check regularly for soft spots or mold.
To keep your soil fertile for next year, clear away old vines and debris, then plant a green manure crop like winter rye or clover to naturally boost organic matter and nitrogen. Crop rotation is key—avoid planting pumpkins or other squash-family vegetables in the same spot for at least three years to reduce pest and disease risks.
When prepping beds for the next season, incorporate well-rotted compost and test your soil’s pH, aiming for 6.0–6.8. Amending with composted manure or leaf mold also helps replenish nutrients lost during the growing season, setting your garden up for robust future harvests.