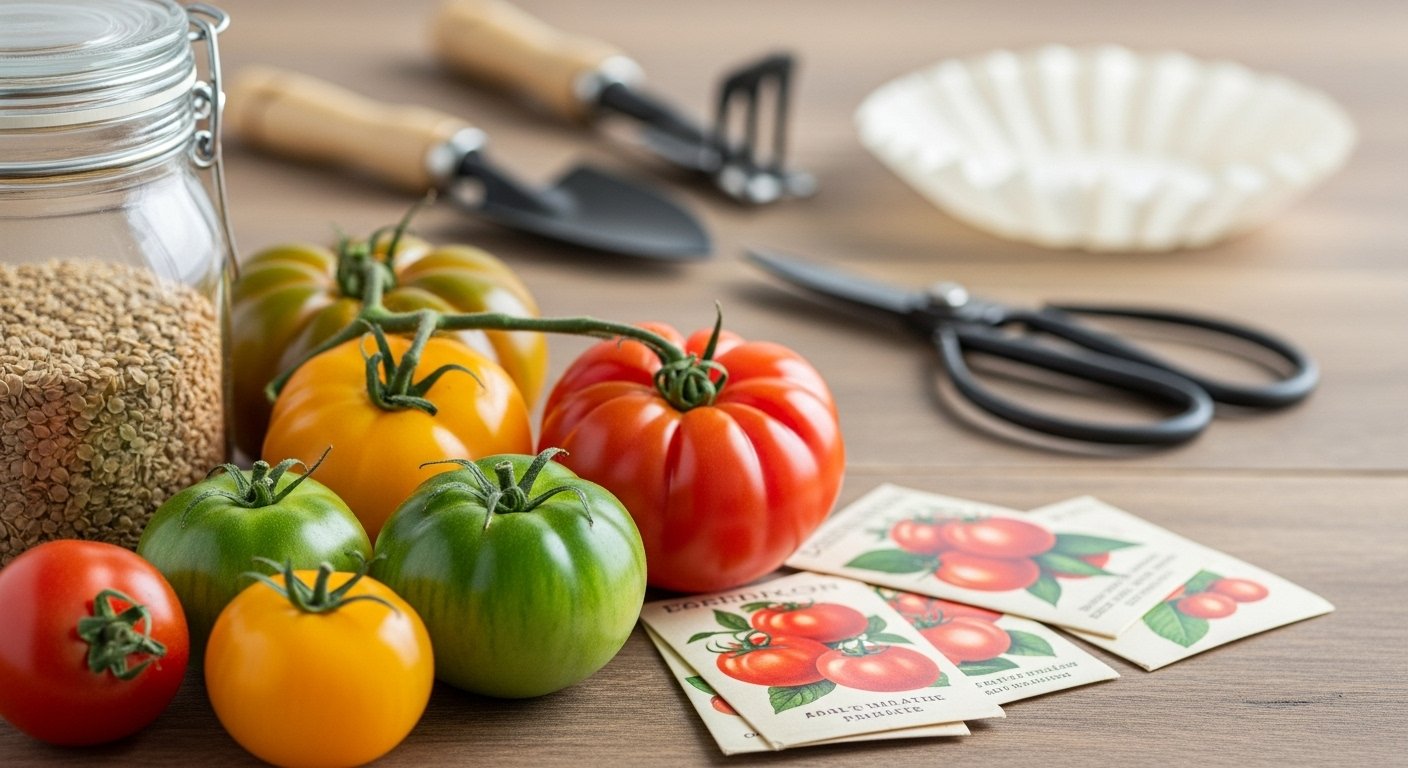
Why Save Tomato Seeds?
tomato seed saving is more than just a clever way to cut gardening costs—it’s a tradition that supports sustainability and helps gardeners preserve the standout flavors of their favorite tomato varieties year after year. By collecting and replanting seeds from tomatoes you love, you not only avoid buying new packets each season, but you also take control over your garden’s future harvests, ensuring your favorite heirloom tomatoes always have a place in your plot.
Heirloom tomatoes, passed down for generations, offer stable traits and rich flavors that make them ideal for seed saving; their seeds grow true to the parent plant. In contrast, hybrid tomatoes are bred for specific traits and often won’t reproduce consistently, making them less suitable for home seed collection.
Seed saving also plays an important role in promoting genetic diversity. Each time you save seeds from the healthiest, tastiest tomatoes, you’re adapting your plants to local conditions and potentially discovering unique strains. This simple habit helps sustain our food heritage and cultivates a resilient, ever-changing garden.
Choosing the Right Tomatoes for Seed Saving
When saving tomato seeds, it’s essential to start with open-pollinated or heirloom varieties rather than hybrids. Open-pollinated and heirloom tomatoes have stable genetics, meaning their seeds will consistently produce plants with the same traits as the parent. Hybrids, on the other hand, are bred from two different parent plants, so seeds collected from them can result in unpredictable fruit, sometimes with disappointing quality or yield.
For the best results, choose tomatoes that are fully ripe, healthy, and free from signs of disease or damage. Look for fruits with vibrant color, firm texture, and no spots or blemishes—these are indicators of strong, vigorous plants. Avoid using tomatoes that have been affected by pests, fungal issues, or environmental stress, as these problems can be passed along to the next generation.
By carefully selecting the right tomato types and the healthiest fruits, you’ll ensure a high-quality, reliable crop when you grow your saved seeds in future seasons.
The Fermentation Method Explained
Fermentation is one of the most effective ways to save tomato seeds because it mimics the natural process that occurs when tomatoes rot, helping remove the gelatinous sac that coats each seed. This sac can prevent seeds from sprouting, so removing it is essential. Fermentation also helps kill off seed-borne diseases, making your saved seeds healthier for next season.
To get started, gather your supplies:
- Ripe tomatoes
- A sharp knife
- A spoon
- A small jar or cup
- Some water
- Something to dry the seeds on—such as a coffee filter or paper towel
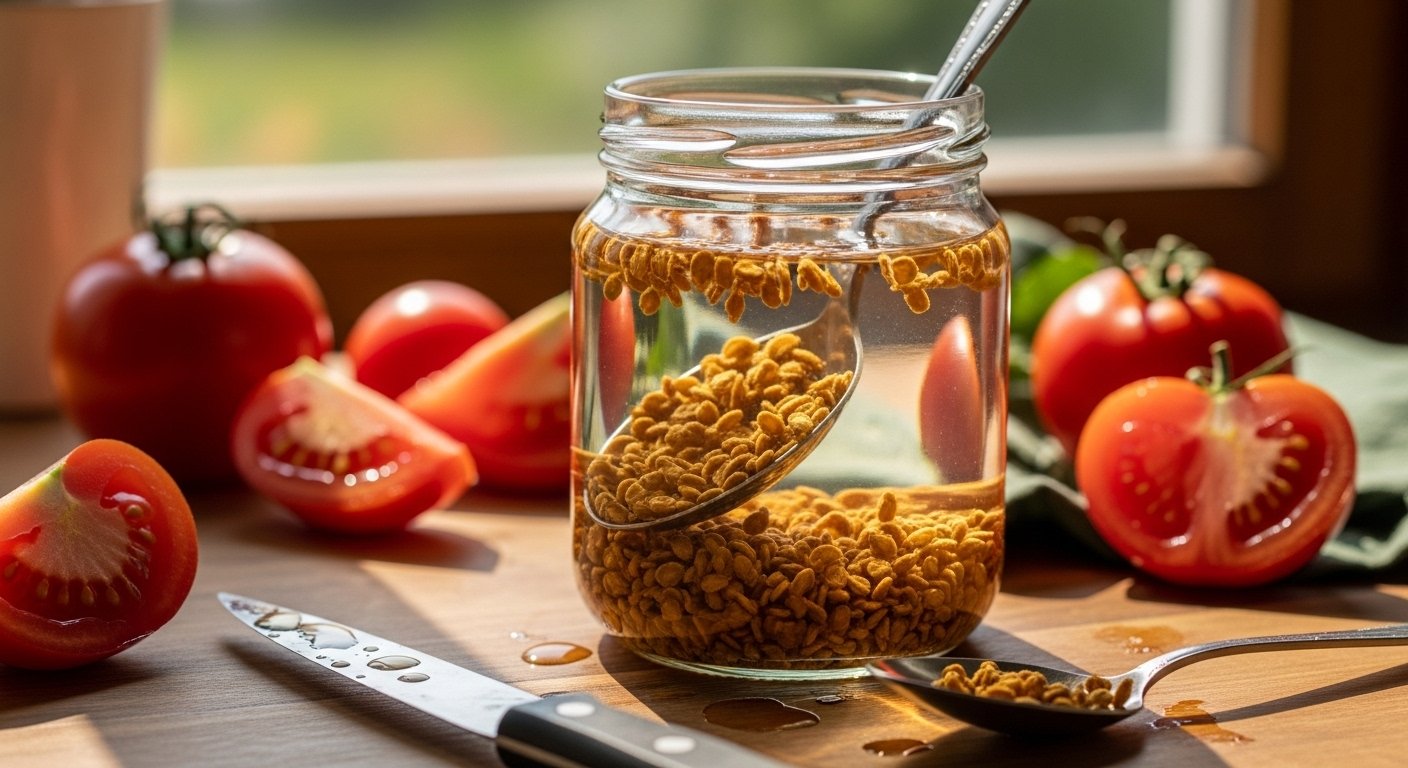
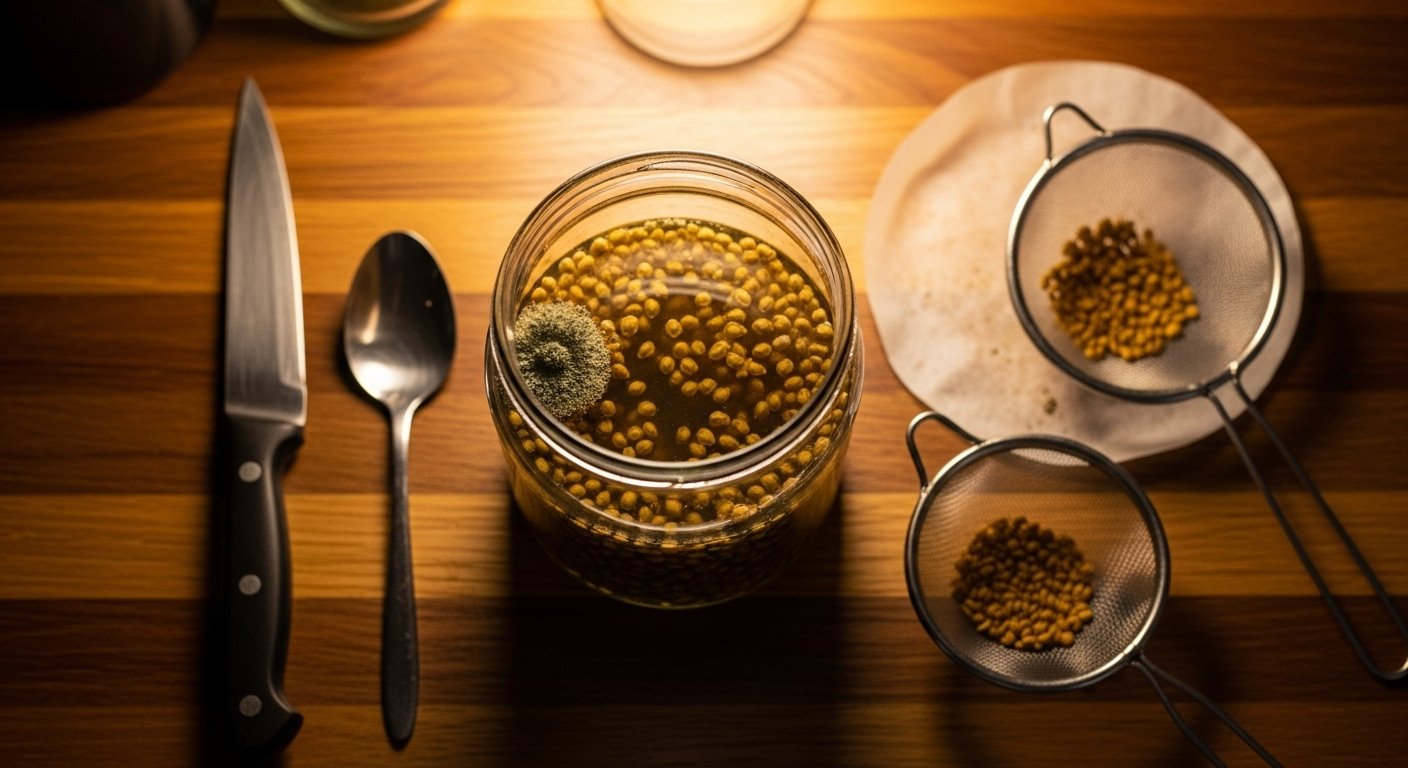
Cut your tomato and scoop the seeds and their gel straight into the jar. Add just enough water to cover the seeds, then loosely cover the jar with a lid or cloth. Let the jar sit at room temperature for 2 to 4 days, stirring daily. Watch for a layer of mold to form on the surface—this is a sign the fermentation is working.
Once bubbles appear and most of the seeds settle to the bottom, they’re ready to rinse. Simply pour off the mold and liquid, rinse the seeds well, and set them out on your coffee filter or paper towel to dry for about a week before storing.
Cleaning and Drying Tomato Seeds
After the fermentation process, it’s important to thoroughly rinse your tomato seeds to separate them from the remaining pulp and gel. Place the seeds in a fine sieve or mesh strainer under cool running water, gently swishing and rubbing them to wash away any leftover residue—this step ensures only clean seeds are left for drying.
Once cleaned, spread the seeds in a single layer on a non-stick surface, such as a ceramic plate, wax paper, or a silicone baking mat. Avoid using paper towels, as seeds can stick and become difficult to remove later. Set the seeds in a well-ventilated area away from direct sunlight, which can damage their viability.
To encourage even drying and prevent clumping, stir the seeds at least once a day with a toothpick or your fingertip. Proper air circulation is crucial—consider using a small fan if the room is humid or stuffy. Be patient: seeds typically need about a week to dry fully. Rushing the process or leaving seeds piled up can cause mold to develop, potentially ruining your harvest.
With a little care and regular attention, you’ll have thoroughly dried, viable tomato seeds ready for storage or next year’s garden.
Storing Your Tomato Seeds
When storing your tomato seeds, organization is key—always label each batch clearly with the tomato variety and the harvest date right on the envelope or container. This prevents confusion later, especially if you’re storing seeds from several types.
For best longevity, place your seeds in paper envelopes to prevent moisture build-up, then seal them inside glass jars or airtight containers to add extra protection from humidity. Store these in a cool, dry, and dark spot, like a basement cupboard or the back of a closet, to keep them viable.
Typically, tomato seeds remain viable for about 4 to 6 years if stored properly. However, as seeds age, their germination rates decline. To check if older seeds are still good, do a quick viability test:
- Place 10 seeds on a damp paper towel.
- Fold the towel over and store it in a zip-top bag at room temperature for 5 to 7 days.
- If most seeds sprout, they’re ready for planting.
- If only a few germinate, it may be time to refresh your seed stock.
Tips for Growing Tomatoes from Saved Seeds
Starting tomatoes from saved seeds is a great way to grow varieties you love and improve them over time. Begin by sowing seeds indoors about 6–8 weeks before your last frost date, using a sterile seed-starting mix to reduce the risk of disease.
Place your trays in a warm spot—ideally between 70–80°F—since tomato seeds germinate best in consistent heat. Once the seedlings emerge, provide them with plenty of bright, direct light; a sunny windowsill or a simple fluorescent grow light will keep them from getting leggy and weak.
When the seedlings have a few true leaves, transplant them into larger pots if needed to give the roots room to grow. As outdoor temperatures warm, give your plants a week or two to “harden off.” This means setting them outside for a few hours daily, gradually increasing the time to help them adjust to wind and sun.
Choose a sunny, sheltered garden spot with rich, well-drained soil for transplanting. Keep experimenting with the seeds you save each year. Each season, select the healthiest, most productive plants for seed collection to gradually develop tomatoes that thrive in your unique garden.
With a bit of patience and observation, your homegrown tomato crop will only get better year after year.