Introduction
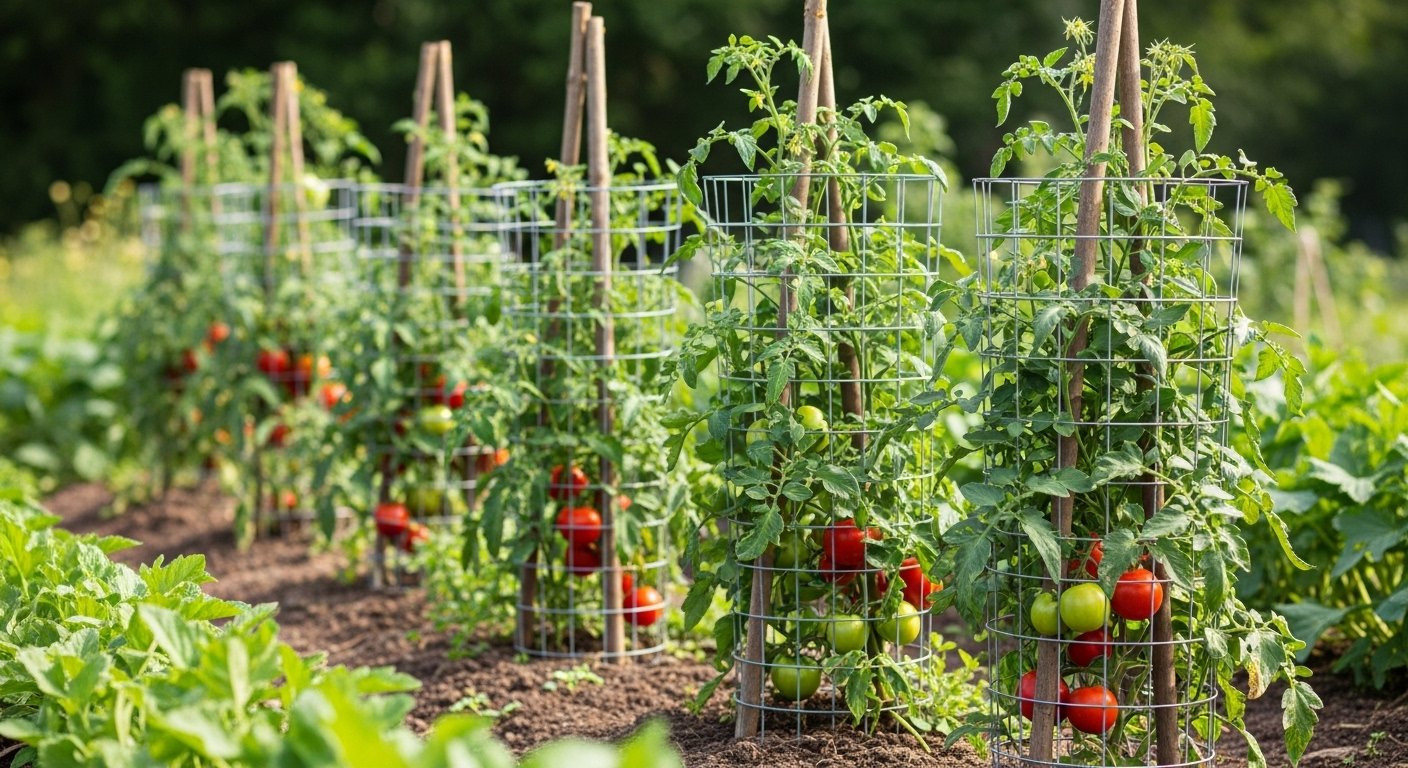
Supporting your tomato plants with sturdy structures is essential for healthy growth and a bountiful harvest, which is why exploring DIY tomato cage solutions can make all the difference in your garden. If you’ve ever watched tomato vines sprawl across the soil, you’ve likely noticed how easily heavy stems break or how fruit becomes more vulnerable to pests and rot when left unsupported.
A tomato cage—usually a cone-shaped frame placed around young plants—helps tomatoes grow upright, keeping air circulating, foliage dry, and fruit off the ground. While garden centers offer plenty of pre-made tomato cages, many gardeners discover the drawbacks: commercial cages are often flimsy, expensive, and oddly shaped for certain tomato varieties.
That’s where crafting your own enters the picture. DIY tomato cages can be tailored to your available space, built for specific plant sizes, and constructed from cost-effective, durable materials you may already have on hand—like old fencing, sturdy bamboo, or even recycled concrete mesh.
This article breaks down the steps to building your own reliable tomato cages in a simple, no-nonsense way. You’ll get real-world tips on selecting the best materials, measuring for the ideal height and width, and assembling a cage that can handle the weight of even the juiciest heirlooms.
We’ll also cover tried-and-true tricks to anchor your cages firmly so they withstand windy storms, plus creative ideas for adapting your cages if you’re working with containers or small gardens. Whether you’re a first-time gardener tired of droopy plants or a seasoned pro looking to up your harvest game while saving money, these DIY tomato cage instructions will help you grow stronger, healthier tomatoes season after season—without the hassle of flimsy store-bought supports.
Why Use Tomato Cages?
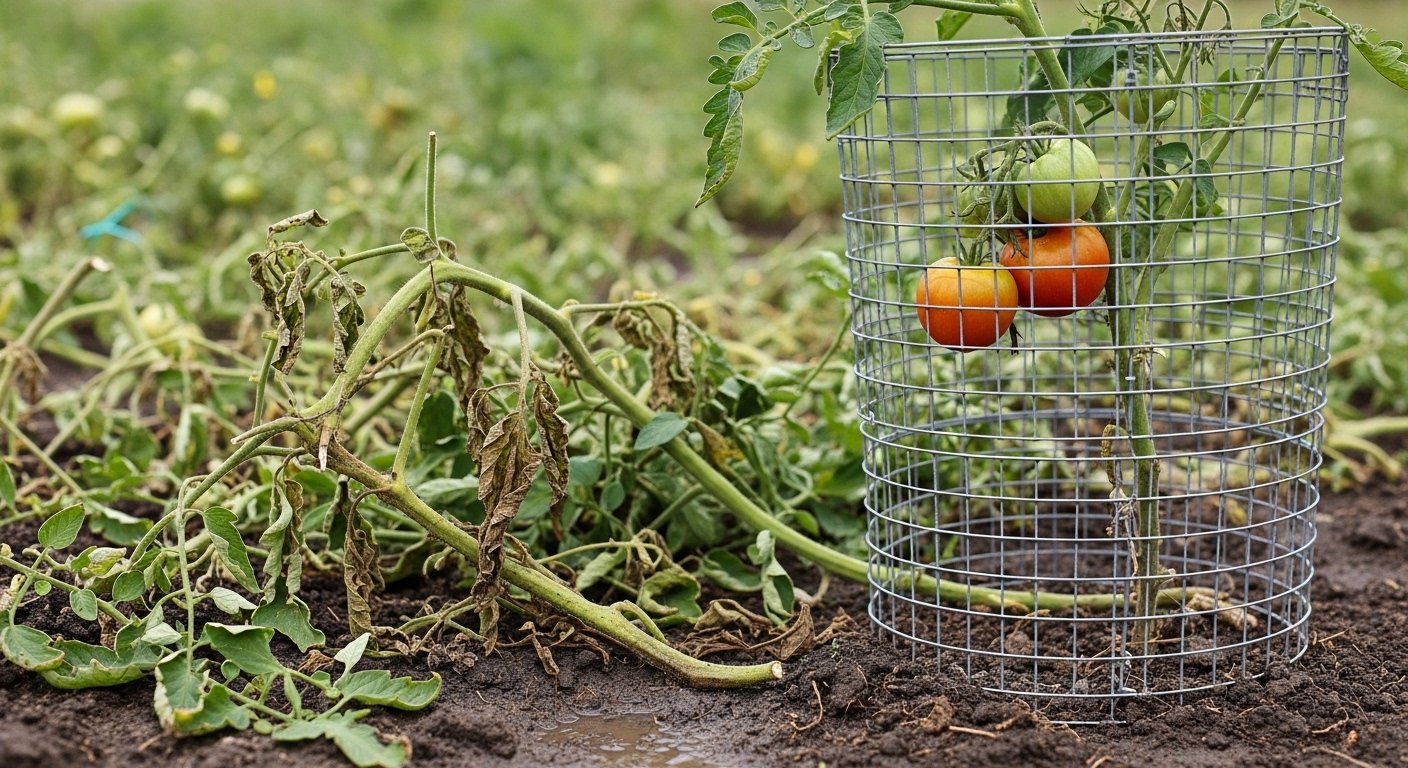
Growing tomatoes without any support might seem easier at first, but it usually leads to bigger problems down the line. When tomato plants are left to sprawl on the ground, their stems can easily droop and break under the weight of fruit, leaving you with damaged crops and lots of frustration. This growth habit also exposes the leaves and tomatoes to soil-borne diseases since they’re in constant contact with moist ground, making issues like blight and rot much more likely.
Additionally, uncontained plants create a tangled mess that can make it harder for sunlight and air to reach all parts of the plant, ultimately reducing your overall yield. Tomato cages solve these common headaches by propping the plant upright, offering more stability and support as the stems grow heavy with tomatoes.
Unlike staking—which typically requires you to tie up the plant regularly—cages let your tomato plants grow naturally while staying supported from all sides. This means less maintenance and less risk of accidentally damaging the vines during handling. They also make it easier to see and harvest ripe tomatoes since the fruit is held higher off the ground and away from hungry pests.
For gardeners looking to save money, DIY cages made from materials like wire mesh, reclaimed fencing, or even old concrete reinforcing wire are budget-friendly options that can be customized to fit raised beds, container gardens, or sprawling in-ground rows. Not only can you build them to suit the size and shape of your space, but sturdy homemade cages often last for years, making them a smart, long-term investment for anyone aiming to grow healthier, more productive tomato plants season after season.
When and How to Use Tomato Cages
The best time to install tomato cages is right at planting, before your tomato seedlings start to sprawl or develop thick stems. Early placement prevents root disturbance and makes it much easier to set the cage securely into the soil.
Choose a sturdy cage that is tall and wide enough to support your tomato variety, and push the legs well into the ground to keep it stable, especially if you live in a windy area. Center the cage directly over the plant, making sure there’s enough space for the branches to grow inside the support rings rather than squeezing through the gaps.
Throughout the growing season, check your plants every week or so—gently guide wandering stems and branches back into the cage structure to encourage upward growth and prevent breakage. Removing side shoots, also known as suckers, especially on indeterminate varieties, can help focus the plant’s energy on producing fruit. This also keeps the interior of the cage less crowded, reducing the risk of disease.
If you notice the cage starting to tilt as the plant grows heavier, add stakes for extra support or gently press the legs further into the ground. With a little attention and occasional adjustments, your tomato cage will help keep your plants strong, healthy, and productive all summer long.
DIY Tomato Cage: Materials and Tools
When making a DIY tomato cage, it’s important to choose materials that fit your budget and gardening style. One popular option is concrete reinforcing mesh, which is available in large sheets at most hardware stores. This material is affordable and extremely durable against weather, supporting even heavy tomato plants—just be careful of sharp edges and the possibility of rust over time.
Another budget-friendly choice is heavy-gauge galvanized wire. It’s lighter and easier to shape but may not support larger plants as well and can bend out of shape or rust if the coating wears off. Wooden stakes are simple to find and easy to use, especially if you have scrap wood on hand. They look natural in the garden but typically last only a couple of seasons since rot and pests can become an issue.
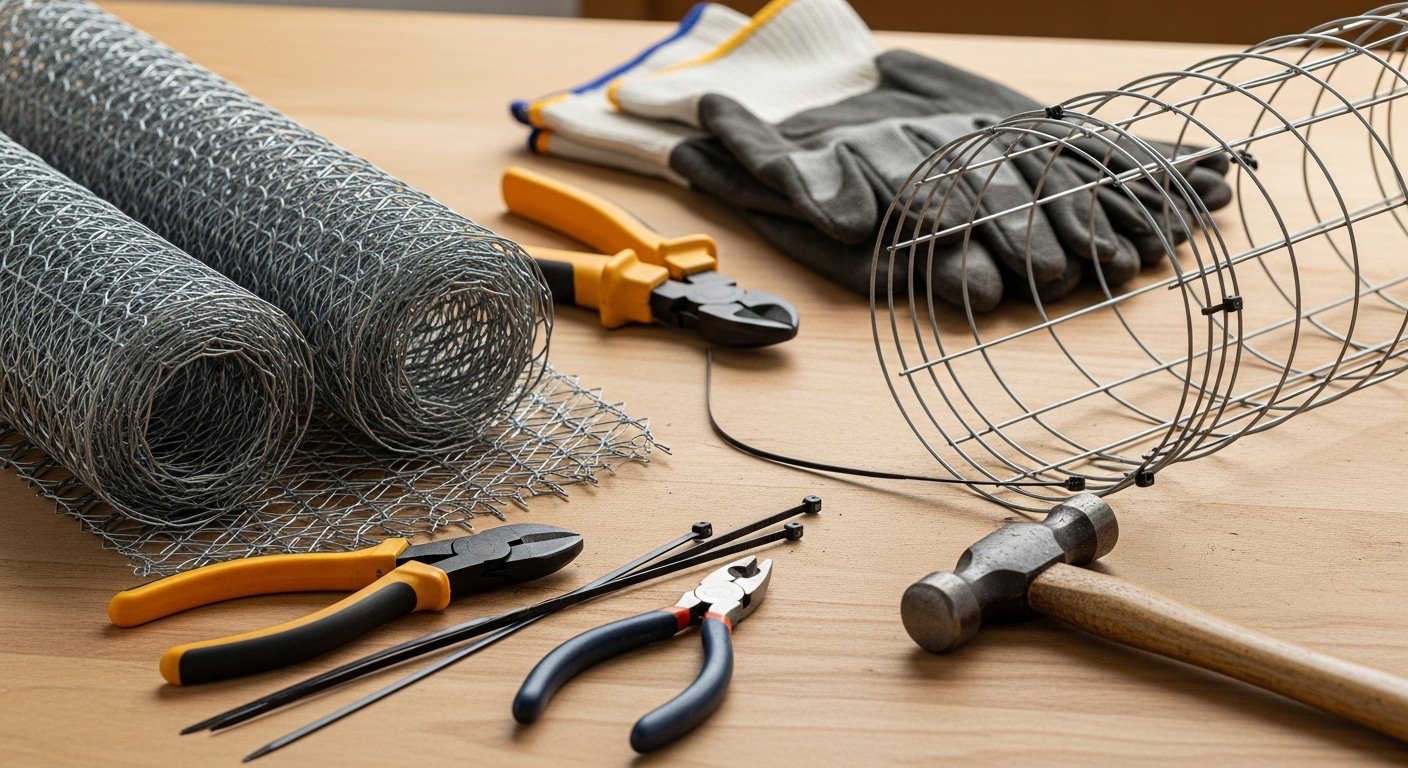
Whichever material you choose, you’ll need a few key tools:
- Wire cutters or tin snips to cut through mesh or wire
- Sturdy gloves to protect your hands from rough edges
- Pliers to help bend and secure the wire
- A hammer if you’re working with wooden stakes
Always wear gloves and inspect all cut ends to reduce the risk of cuts. By matching the right materials with reliable tools, you’ll ensure your tomato cages hold up throughout the growing season and keep your plants happy and safe.
Step-by-Step Guide: Building Your Tomato Cage
To build a sturdy tomato cage, start by selecting a roll of galvanized welded wire mesh with openings about 6 inches wide—this size offers ample support while allowing you to reach in for pruning and harvesting. Unroll a 5- to 6-foot length, depending on how tall you want your cage, and cut it to size using heavy-duty wire cutters.
For extra-large or indeterminate tomato varieties, consider cutting a longer section to form a wider, taller cage that gives sprawling plants plenty of room. Carefully shape the mesh piece into a cylinder, overlapping the ends by a few squares to create a stable seam. Secure the ends together every few inches using zip ties, wire, or sturdy metal clips to prevent the cage from springing apart over time.
Before handling your cage further, use a metal file to smooth any sharp or jagged wire edges left from cutting—this helps prevent injuries during planting and maintenance.
To set up your cage, press the base into the ground around your seedling and bury 6-12 inches of the cage’s base. This anchoring trick adds critical stability, especially in windy weather. For additional reinforcement, push a thick wooden or metal stake into the ground inside the cage, then secure the cage to the stake with wire ties or garden twine.
If you’re growing smaller bush-type tomatoes or want to support peppers as well, you can use shorter sections of mesh and create narrower cages to fit your space.
With a homemade cage built to your plants’ exact needs, you’ll prevent heavy stems from snapping and keep your harvest healthy and accessible all season long.
Using and Maintaining Your Tomato Cage All Season
As your tomato plants grow, it’s important to regularly guide their vines and branches through the cage’s openings to provide the best support and avoid crowded or sagging stems. Gently tuck wayward branches inward, starting when plants are still small—this prevents heavy limbs from bending or breaking under the weight of ripening tomatoes.
Throughout the season, check cages after storms or high winds, as they can shift or tilt out of place. If needed, press cages back into the soil or secure them with stakes for extra stability. Inspect the cage wires every couple of weeks for rust or weak joints, tightening connections or patching any sharp ends that could snag stems.
As your harvest wraps up, remove all plant debris from the cage to prevent the spread of diseases. Wash off dirt and sap using soapy water, and let the cages dry completely before storing.
During the off-season, keep cages in a dry, sheltered space like a garage or shed to prevent metal from rusting or degrading. Nesting multiple cages together saves space. At the start of each new gardening season, give them a quick inspection and minor repairs so they’re ready for another year of healthy, well-supported tomato growth.
With a little attention, your tomato cages can last for many seasons, making them a smart, sustainable investment for home gardeners.
Conclusion and Quick Tips
Building your own tomato cages is a rewarding, budget-friendly way to support healthy, abundant plants throughout the growing season. The process is simple: gather sturdy materials like wire fencing or wooden stakes, shape them into tall, supportive cages, and place them securely in your garden before planting or while seedlings are still small.
Doing this early makes it easier for roots to settle and helps plants grow upright, improving airflow and reducing disease issues. Homemade cages are often stronger and taller than store-bought options, providing better support for heavy fruit and fewer broken stems.
For best results, check your cages regularly—adjust or reinforce them as plants get bigger, and tie in branches if needed. Don’t be afraid to get creative: try different designs, reuse materials you have on hand, and see what works best for your space and tomato varieties.
Above all, share your successes and discoveries with fellow gardeners, whether in person or online; you might inspire others or gain useful advice for next season. With a little effort and experimentation, you can enjoy thriving tomato plants and a bigger, better harvest.