Introduction
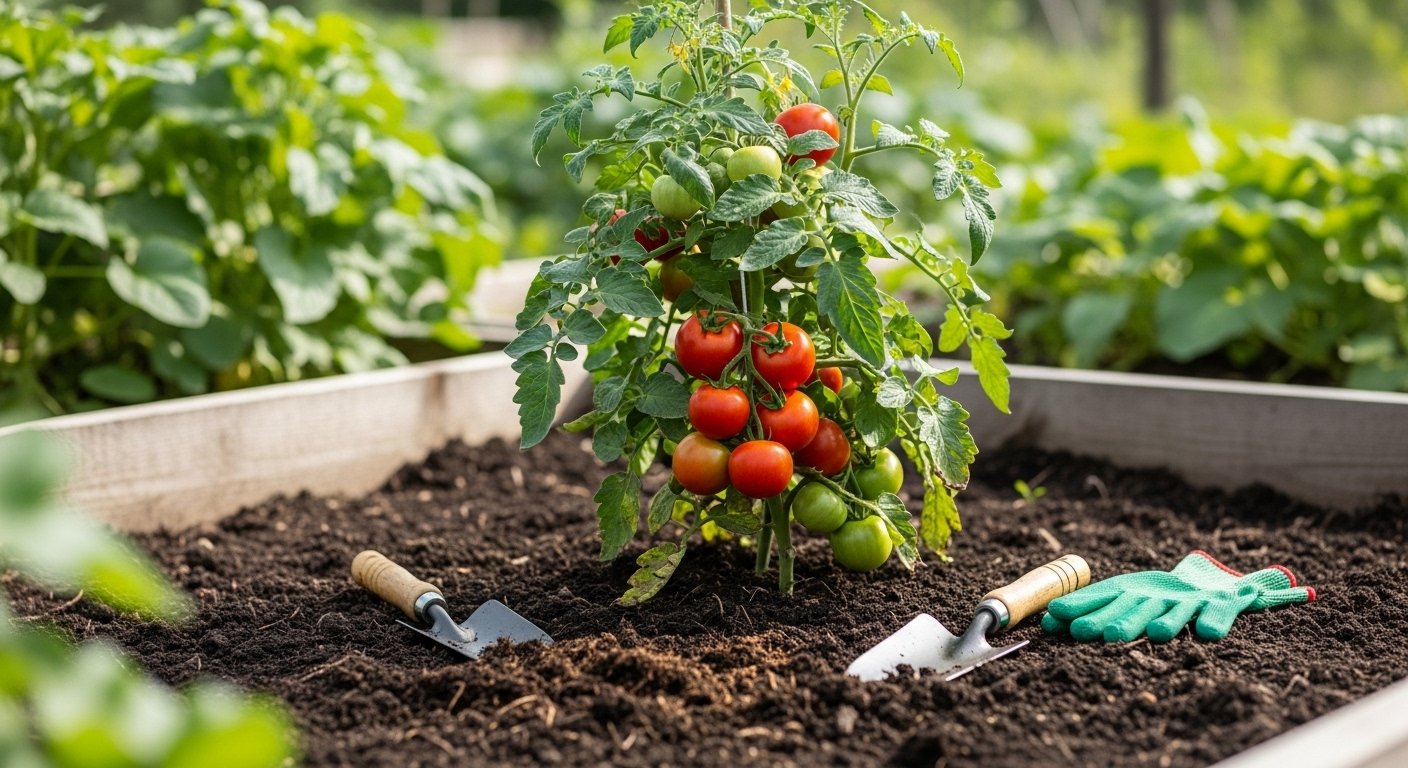
There’s something undeniably appealing about nurturing your own tomato plants, watching them flourish, and harvesting plump, sun-ripened fruit right from the vine. For many gardeners, using compost tea for tomatoes promises not only bigger yields but also healthier, more flavorful fruit—all while embracing a sustainable, earth-friendly approach.
Home gardening is rich with rewards for everyone, whether you’re just planting your first seedling or tending a flourishing vegetable patch with years of experience under your belt. It offers the joy of hands-on discovery, the satisfaction of eating what you’ve grown, and the therapeutic calm that comes from working with soil and plants.
To cultivate a thriving garden, you’ll need to pick the right spot, prepare rich soil, choose resilient plant varieties, and maintain a routine of watering, feeding, and pest management. Amending your garden with compost—like brewing and applying compost tea—can give your tomatoes an extra boost of nutrients and beneficial microbes.
In this post, we’ll explore whether compost tea really works for tomatoes, the science behind it, and practical tips to get the most from your homegrown harvest, no matter your level of gardening experience.
Choosing the Right Plants
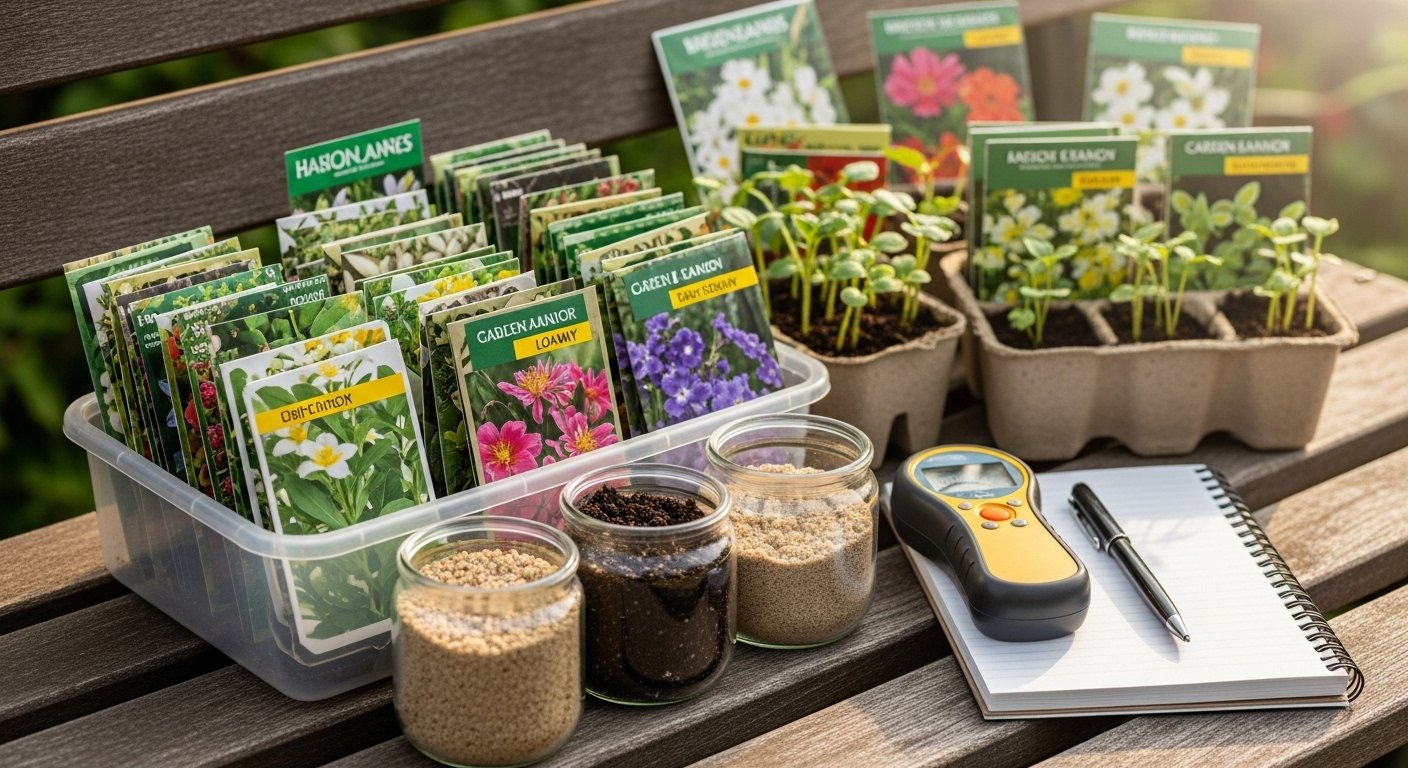
Picking the right plants is key to a thriving garden, especially for beginners. Start by taking a close look at your local climate—do you get long, hot summers or short, cool growing seasons? Your USDA hardiness zone (easily found online) provides guidance on what will survive in your area.
Next, assess your garden spot’s soil: scoop some up and squeeze it. If it crumbles, you likely have loamy soil, which most plants love; if it’s sticky, it’s clay, which can hold too much water; sandy soil drains fast and may need extra compost.
Also, watch the area throughout the day to see how much sun it receives—full sun means at least six hours, partial shade is less. For beginners, choose foolproof varieties like zinnias, marigolds, lettuce, or cherry tomatoes, which don’t need much fussing. If you have limited space, try bush beans or herbs in pots on a balcony.
Consider how much time you can commit; low-maintenance perennials like hostas and sedum return every year with minimal effort. Use resources like your county’s cooperative extension office or apps such as Garden Answers and SmartPlant to match plants to your conditions. Even walking around a local nursery and asking staff for recommendations helps connect you with plants proven to thrive in your area.
Start small, get to know your space, and add new plants gradually—your garden will thank you for it!
Sowing Seeds and Starting Plants
When starting a garden, you can choose between sowing seeds directly outdoors or beginning them indoors. Direct sowing works well for hardy plants like carrots, radishes, and beans that tolerate cooler temperatures and dislike transplanting. Simply plant seeds at the recommended depth in well-loosened, weed-free soil once the danger of frost has passed.
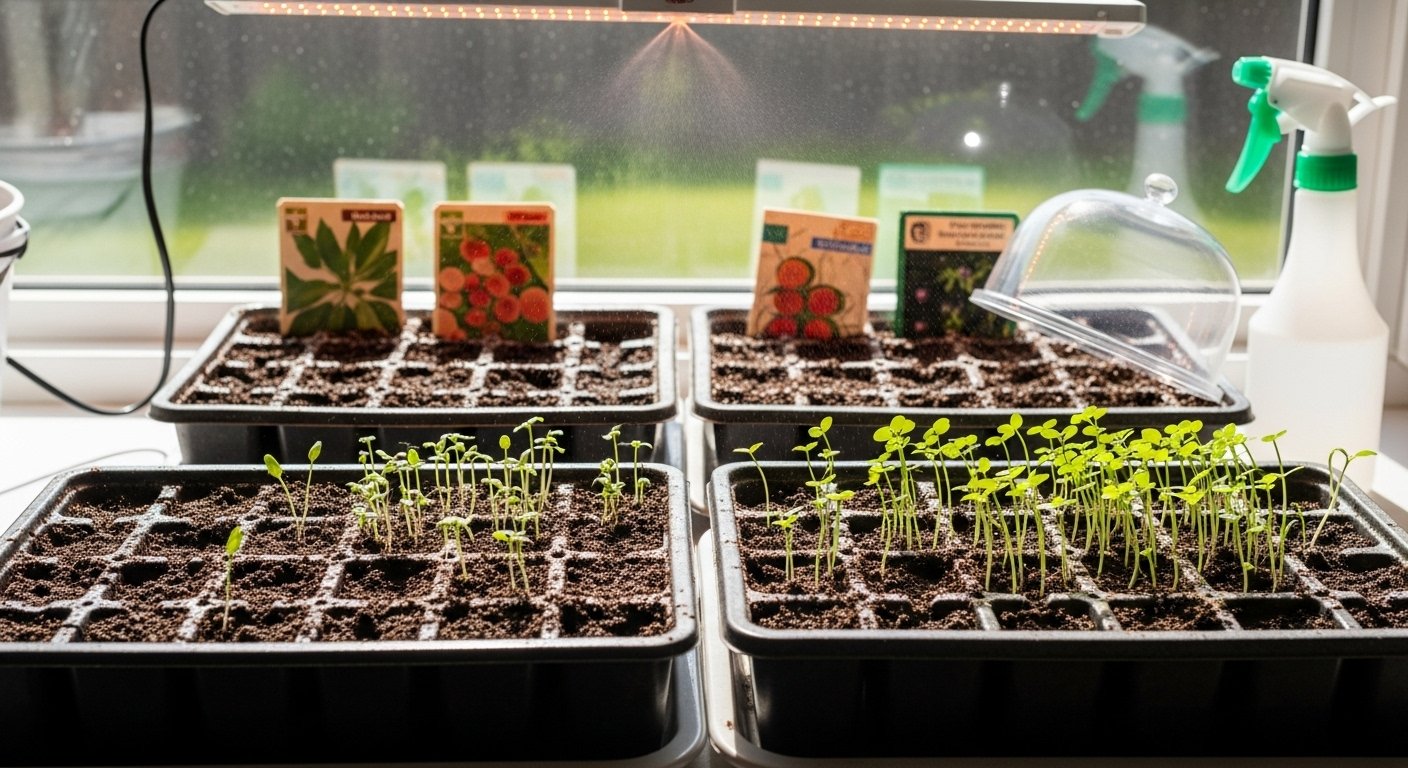
In contrast, starting seeds indoors is ideal for crops such as tomatoes, peppers, and herbs that need a longer growing season or warmer soil to thrive. Begin by selecting seeds from reputable suppliers and checking the packet for information on days to maturity and germination requirements. For indoor sowing, use trays filled with sterile seed-starting mix to reduce the risk of disease, and provide consistent moisture with a spray bottle—avoid soggy conditions, as this can cause seeds to rot.
Maintain warmth and bright light, either from a sunny windowsill or a grow light set a few inches above the seedlings. For both methods, pay attention to proper timing: consult your local frost dates and count backward from the outdoor planting date to know when to start indoor seeds. Carefully label trays to keep track of varieties.
Whether inside or out, good soil preparation is crucial. Remove rocks and debris, mix in compost for fertility, and ensure well-drained soil to encourage strong root growth. After sowing, cover seeds lightly and keep the soil evenly moist. As seedlings emerge, thin crowded areas to allow for healthy development, and gradually acclimate indoor plants to outdoor conditions before transplanting.
With patience and attention, you’ll set the stage for a successful garden season.
Transplanting and Planting Out
Transplanting seedlings into your garden starts with timing: wait until after the last expected frost and until seedlings have grown a few true leaves. It’s essential to harden off your young plants before moving them outdoors—this means gradually exposing them to outdoor conditions over a week, starting with a couple of hours in the shade and working up to full days in sunlight.
When you’re ready to plant, prepare the soil by loosening it and mixing in compost to boost nutrients and drainage. Proper spacing is key for healthy growth and airflow; check seed packets or plant tags for guidance. For example, tomatoes need about two feet between plants, while carrots can be spaced just a couple of inches apart.
Dig a hole slightly larger than the seedlings’ root ball, gently remove each plant from its pot, place it in the hole at the same depth it grew in the container, and firm the soil around it. Water thoroughly to help the roots settle.
If you’re short on garden space, raised beds and containers are great alternatives. Use high-quality potting mix in containers, and make sure both containers and raised beds have good drainage. In smaller setups, look for compact or dwarf plant varieties, and remember that frequent watering may be needed, especially in warm weather.
By following these steps, you give your plants the best chance to thrive in their new home.
Everyday Plant Care
Taking care of your plants every day doesn’t have to be complicated, but a few essential habits can make all the difference for healthy growth. Start by watering your plants when the top inch of soil feels dry—stick your finger in the dirt to check! Be careful not to overwater, as soggy roots can cause rot; on the flip side, watch for wilted leaves or dry soil, which are signs your plant needs more hydration.
Mulching with organic materials like shredded leaves or bark helps retain moisture and keeps root zones cool, while also suppressing weeds and slowly adding nutrients as it breaks down. Fertilize during the growing season with a balanced product according to the instructions—yellowing leaves might mean your plant needs more nitrogen, while purple-tinged leaves can point to a phosphorus deficiency, and stunted growth often suggests a lack of potassium. If you spot these issues, adjust your feeding routine or switch to a fertilizer designed to address specific shortages.
To encourage strong root systems, avoid frequent shallow watering; instead, give plants a deep soak so roots grow downward searching for moisture, making the plant more drought-resistant. If you’re unsure about your plant’s needs, observe how quickly the soil dries after watering and adjust accordingly—different species have unique requirements.
With these simple strategies—mindful watering, smart mulching, proper fertilizing, and paying attention to your plant’s signals—you’ll create conditions for robust, resilient, and vibrant houseplants or garden beds.
Pruning and Training Plants
Pruning and training are essential practices for keeping many plants healthy and productive, especially fruit trees and tomatoes. Regular pruning removes dead, diseased, or overcrowded branches, allowing better airflow and light penetration—both of which help prevent disease and encourage strong growth.
For example, fruit trees like apples and peaches benefit from late winter or early spring pruning, focusing on removing crossing branches and shaping the tree for an open-center or central-leader structure. Tomatoes, on the other hand, thrive when you pinch off extra shoots (called suckers) that grow between the main stem and branches. This directs energy toward fruit production instead of excessive foliage.
Training plants by staking, trellising, or gently tying stems keeps them upright, minimizes pest problems, and can make harvesting easier. A simple tip: always use sharp, clean tools to make smooth cuts and avoid tearing plant tissue.
Whether snipping back a blueberry bush or supporting cucumber vines, thoughtful pruning and training help plants direct resources efficiently, improve air circulation, and ultimately boost the quality and quantity of your harvest.
Harvesting Your Crops
Knowing when to harvest your crops is key to getting the best flavor and nutrition from your garden. Look for clear signs like color changes (for example, tomatoes turning fully red), firm texture, or a sweet aroma—these usually indicate ripeness.
Some vegetables, such as beans or zucchini, are best picked when they’re young and tender, while root crops like carrots or potatoes should be gently dug up when they’ve reached a desirable size.
Harvest produce using clean, sharp shears or scissors to avoid tearing stems, which can damage the plant and reduce further yields.
For leafy greens and herbs, use a “cut and come again” method: snip just the outer leaves, leaving the rest to regrow for future harvests.
After picking, gently wipe off any soil and let the produce dry before storing. Many crops—like onions or garlic—benefit from being “cured” in a warm, airy space for a week to improve shelf life.
Store fruits and vegetables in cool, dark areas or use simple preservation methods, such as freezing, pickling, or drying, to extend their freshness. Even zip-top bags in the fridge can keep greens crisp for several days, while glass jars of homemade pickles make your garden’s bounty last all year.
Preventing & Solving Common Problems
Gardening often comes with its own set of challenges, from pests munching on leafy greens to unexpected outbreaks of mildew or root rot. Common culprits include aphids, slugs, powdery mildew, and fungal diseases, especially in damp or poorly ventilated spaces. Environmental stressors like excessive heat, drought, or sudden cold snaps can also stunt growth or cause plants to bolt.
Thankfully, there are simple, eco-friendly ways to prevent and solve these problems. Physical barriers like row covers protect tender crops from insects and hungry critters, while mulch helps maintain soil moisture and temperature, deterring weeds and reducing disease risk. Hand-picking pests at dawn, encouraging natural predators like ladybugs, or spraying plants with a mild solution of soapy water are all safe, organic tactics.
Practicing good garden hygiene—such as regularly removing fallen leaves, cleaning tools, and rotating crops—removes places for pests and diseases to hide and prevents recurring issues. When outbreaks occur, look for certified organic sprays or try homemade remedies like neem oil, always testing on a small area first.
If a problem persists, don’t hesitate to ask for help: local extension offices often offer free expert advice, while online gardening communities—like those on Reddit or regional Facebook groups—can provide quick tips and moral support from experienced gardeners who’ve faced similar issues.
Remember, keeping a gardening journal of what works (and what doesn’t) can help you build knowledge, prevent future headaches, and make your green space thrive.
Conclusion
Starting your own garden is a rewarding journey, filled with opportunities to learn, grow, and connect with nature—no matter how small your space is. Even a few pots on a balcony or a small patch in your backyard can bring you joy, fresh flavors, and a sense of accomplishment.
Don’t worry about perfection; every gardener started somewhere, and mistakes are just part of the process. For ongoing encouragement, explore gardening blogs, join social media groups, or visit local plant nurseries—these communities are full of helpful tips, inspiration, and fellow gardeners ready to cheer you on.
Your garden adventure awaits!