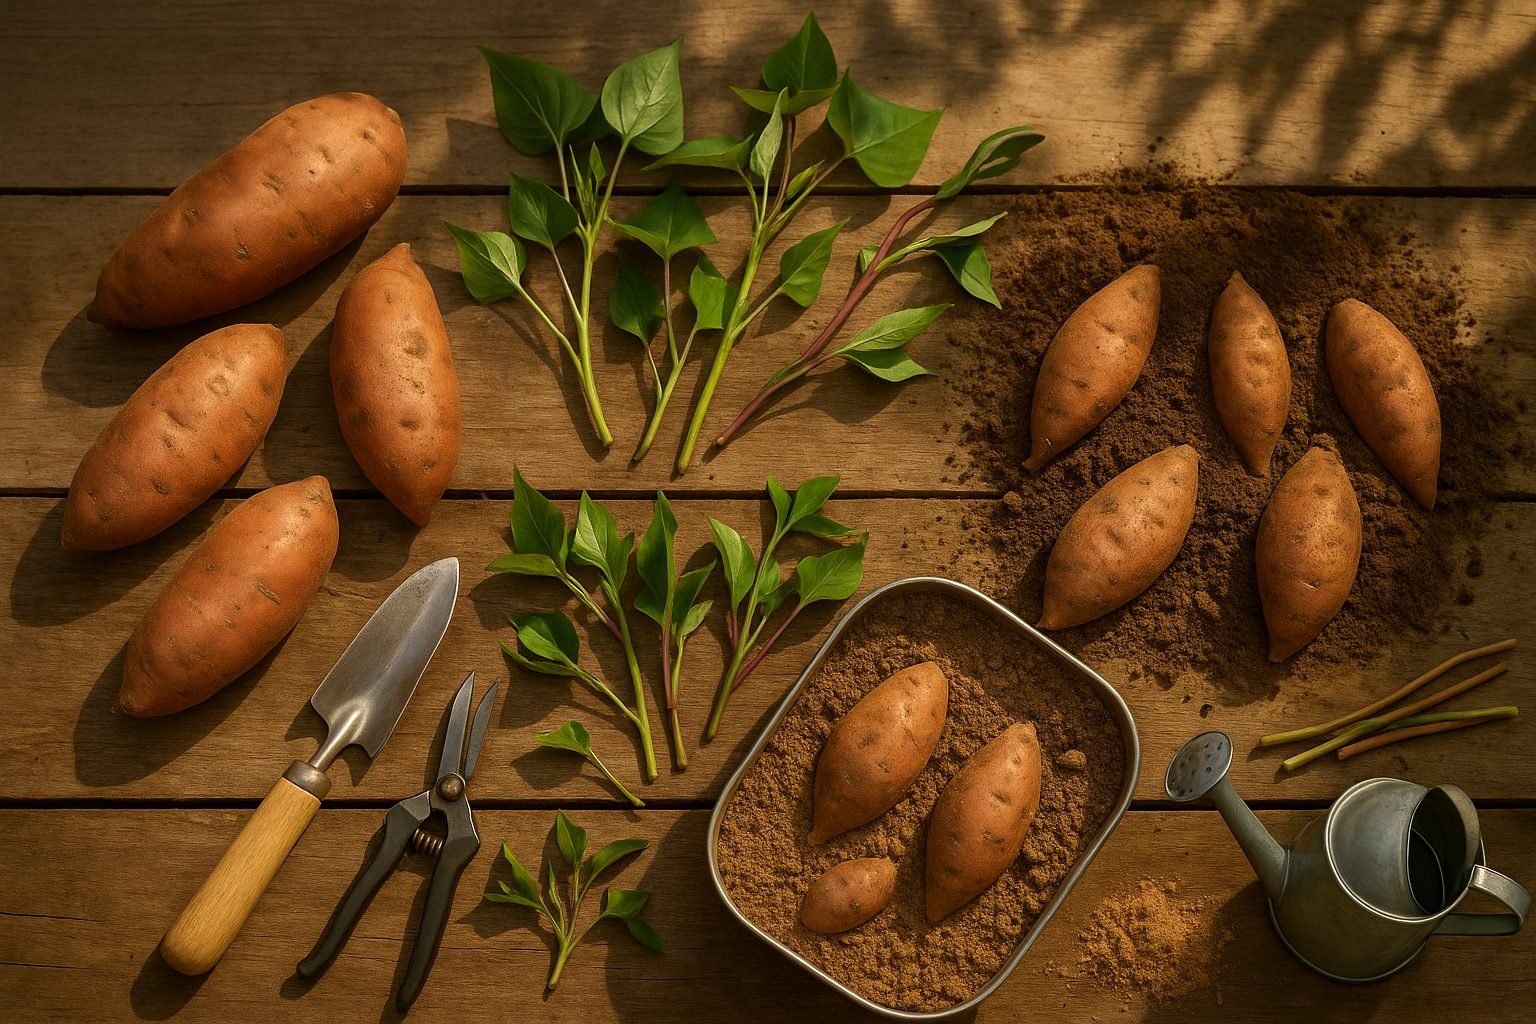
Understanding Sweet Potato Growth
Sweet potato growth stages are essential to understand if you want to get the most out of cultivating this versatile and nutritious root vegetable. Beloved around the world, sweet potatoes are celebrated not only for their naturally sweet taste but also for their impressive nutritional profile, packing a punch of vitamins A and C, fiber, and complex carbohydrates. From savory roasted dishes to decadent pies, sweet potatoes find their way onto dinner tables in countless delicious forms.
But before you enjoy a homegrown harvest, it’s crucial to recognize how sweet potatoes grow and develop. Knowing the sweet potato growth stages helps gardeners time planting, irrigation, fertilization, and harvest for optimal yields and quality. For example, missing the ideal transplanting period or failing to spot early root formation can jeopardize your entire crop. Farmers and backyard gardeners alike benefit from keeping a close eye on each phase, as it can be the key to bigger, tastier tubers and fewer unwanted surprises like disease or pest damage.
In this article, you’ll gain a straightforward understanding of the key sweet potato growth stages—from sprouting slips and vine development to tuber formation and final harvest. We’ll break down signs to watch for at each step, offer real-world tips to keep your plants healthy, and share practical guidance for maximizing your yield. Whether you’re planting a single row in your backyard or managing a larger field, you’ll walk away knowing exactly what to expect and how to nurture your sweet potato plants throughout their life cycle. Ready to learn the secrets behind a bumper sweet potato crop? Let’s dive in.
Sweet Potato Life Cycle: Key Stages Explained
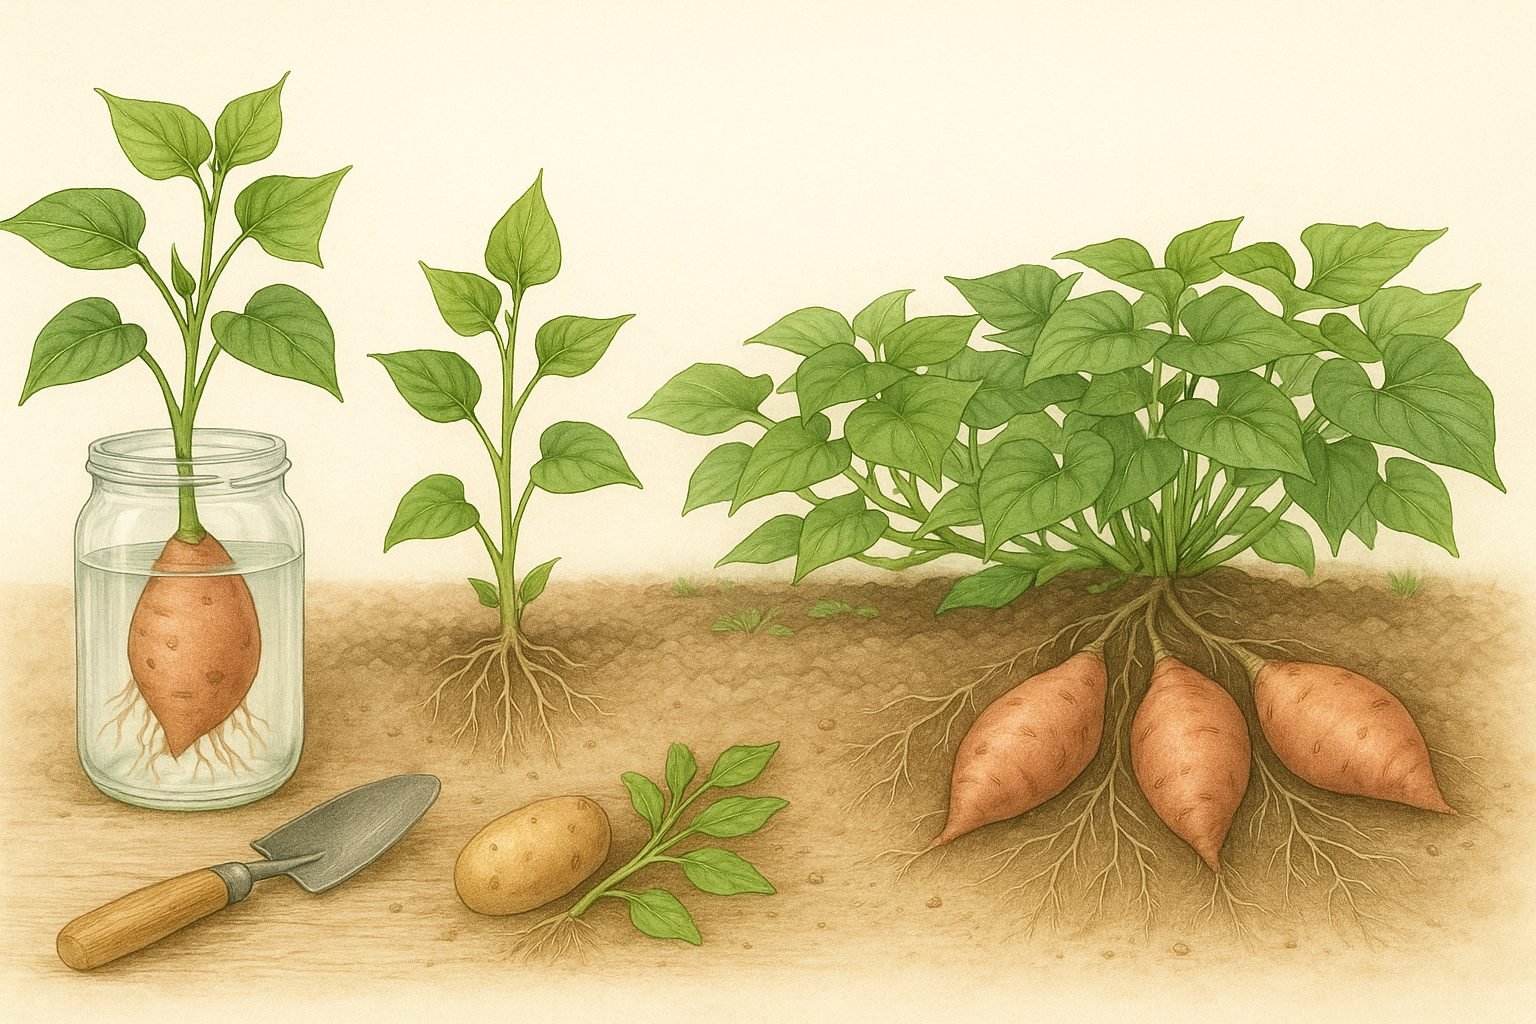
The life cycle of a sweet potato begins with germination, which occurs when “slips” (young shoots from mature sweet potato roots) sprout in warm, moist conditions. This stage typically takes about 2 to 4 weeks, during which the slips develop roots and a few leaves, preparing them for planting.
Once transplanted into the soil, the seedling stage starts and lasts another 2 to 3 weeks. During this time, the slips establish themselves and small roots, known as feeder roots, spread into the surrounding soil to help the plant absorb water and nutrients.
Next comes the vegetative or vine growth stage, lasting 6 to 8 weeks. During this period, the plant focuses on producing long green vines and expanding its leafy canopy. This rapid growth allows the sweet potato to maximize photosynthesis, fueling the energy needed for root development.
As the vines cover more ground, the plant enters the tuber formation stage—usually 4 to 6 weeks after planting—where storage roots begin to swell and develop into the sweet potatoes we eat. This is a crucial period; adequate moisture and nutrients will greatly impact the final yield.
In some varieties, a flowering stage follows, though not all sweet potatoes bloom. If flowers appear (usually around 3 to 4 months after planting), they are small and trumpet-shaped, similar to morning glories. Flowering indicates that the plant is mature but not necessarily ready for harvest.
Finally, maturation and harvest occur about 90 to 120 days after planting, once the leaves begin to yellow and die back. At this point, tubers reach full size and optimal sweetness, ready to be gently dug up.
Understanding these key development stages helps gardeners and farmers monitor their crops, adjust care as needed, and recognize when their sweet potatoes are ready for harvesting.
Getting Started: Choosing, Planting, and Propagating Sweet Potatoes
Sweet potatoes are most commonly propagated using “slips,” which are shoots that sprout from mature sweet potato tubers. To prepare slips at home, start by setting a healthy, untreated sweet potato in a shallow dish of water, with half submerged (use toothpicks to balance it). Place the dish in a warm, sunny spot, and within a few weeks, leafy shoots will appear.
Once these slips reach 6–8 inches, gently twist them off and place them in water to encourage root growth before planting. While sweet potatoes technically produce seeds, home gardeners rarely use them because seeds are tricky and less reliable; slips provide more uniform and quicker results.
Planting Sweet Potatoes
For planting, choose a sunny, well-drained site. Sweet potatoes love warmth and loose, sandy soil—heavy or clay soils should be amended with compost or organic matter to improve drainage. Remove rocks and break up clumps so that the tender tubers can grow freely.
When you’re ready, plant slips about 12–18 inches apart in rows spaced 3–4 feet apart. Make a small hole with your finger or a dibber, insert the rooted end of the slip, then press the soil gently around it. Water thoroughly after planting but avoid water-logging.
Care and Maintenance
For best results, choose a patch that gets at least 6 hours of sunlight daily and remains warm throughout the growing season, as sweet potatoes are sensitive to cool temperatures. Mulch around the plants to conserve moisture and suppress weeds, and water consistently, especially during dry spells.
Keep an eye on new transplants—a little afternoon shade in the hottest climates helps them get established without stress.
With these simple steps and careful site selection, you’ll give your sweet potatoes the best start for a bountiful harvest.
Growing On: Key Care During Vegetative and Tuber Development
During the vegetative and early tuber development stages, your care routine directly impacts your harvest. Keep the soil evenly moist but not waterlogged—deep watering once or twice a week is usually better than frequent light sprinklings, as it encourages strong, deep roots. Check the soil about three inches down; if it feels dry, it’s time to water.
Fertilize with a balanced formula high in potassium and phosphorus, following package rates, but go easy on nitrogen to avoid lush leaves with few tubers. Mulch around the plants to conserve moisture and keep weeds at bay, or manually remove weeds to prevent competition for nutrients.
Watch for vigorous, green vines and steady, bushy growth as signs of a thriving crop. Yellowing lower leaves, stunted growth, or pale foliage might indicate overwatering, nutrient deficiencies, or even pest issues.
If leaves yellow at the edges, try a dose of potassium-rich fertilizer; if they turn pale all over, a general-purpose plant food can help. Stunted vines may be due to compacted soil—try gently loosening it with a fork, taking care not to disturb the roots.
Catching problems early is key, so inspect plants every few days for leaf spots, curling, or holes from insects. Remove affected leaves and use organic pest solutions if needed. Remember, a little attention now will pay off with healthier plants and bigger tubers later on.
Protecting Your Crop: Preventing Disease and Managing Pests
Keeping your sweet potato crop healthy starts with recognizing threats early and taking proactive steps. Major sweet potato diseases like Fusarium wilt, black rot, and scurf can damage roots and reduce yields, while pests such as sweet potato weevils, wireworms, and aphids can quickly infest plants.
Regularly inspect leaves, stems, and roots for early signs: look for wilting, yellowing, dark spots, or holes in leaves, as well as unusual or soft spots on tubers. Sweet potato weevils often leave small holes in both roots and stems, while aphids cluster on new growth and may cause curling or yellowing of leaves.
To prevent these problems, start with certified disease-free slips and rotate crops each season to break pest and disease cycles. Keep fields clean by removing weeds and disposing of infected plants promptly. Mulching with clean straw or organic material can suppress weeds and improve soil health.
Encourage beneficial insects like ladybugs and lacewings—these natural predators help control pests without chemicals. Use row covers early in the season to block flying insects and check traps to monitor pest activity.
For extra protection, practice proper spacing for good airflow and avoid overhead watering to minimize fungal disease risks. If you notice a problem, act fast: remove and destroy affected plants, and try organic treatments like neem oil or insecticidal soap for mild infestations.
By staying vigilant, combining organic practices, and responding quickly to symptoms, you’ll safeguard your sweet potato crop while minimizing harm to the environment and encouraging a robust harvest.
Harvesting, Curing, and Storage Essentials

Knowing the right time to harvest sweet potatoes is crucial for both flavor and storage success. Aim to dig up your sweet potatoes just after the leaves begin yellowing but before the first frost hits, as cold temperatures can damage the tubers and shorten their storage life.
Use a garden fork to gently lift the sweet potatoes from the soil, being careful not to bruise or cut them, since damaged tubers spoil faster. Brush off excess soil, but skip washing—moisture invites rot during storage.
Once harvested, curing is your next must-do step; this process helps toughen the skins, heal minor wounds, and convert some starches into sugars for better taste. Lay the sweet potatoes out in a warm, humid spot (ideally around 80–85°F with 85–90% humidity) for about 7 to 10 days. A spare room with a space heater and a humidifier works well, or try a garage with covered bins to retain humidity. During this time, monitor closely for any signs of soft spots or mold and remove affected tubers right away.
After curing, move your sweet potatoes to a cooler, dark place—around 55–60°F with good ventilation is ideal for long-term storage. Basements, root cellars, or even an insulated closet can do the trick if you don’t have a dedicated storage space.
Arrange sweet potatoes in a single layer in boxes or crates lined with newspaper, making sure they’re not piled or crowded, and check them every couple of weeks for spoilage. Don’t store sweet potatoes in the fridge, as overly cold temperatures can cause the centers to harden and flavors to go off.
With these steps, your carefully harvested and cured sweet potatoes can last for several months, ready to be roasted, mashed, or baked into pies whenever you need a taste of summer sunshine.
If you grow more than you can eat, consider freezing cooked sweet potatoes or canning them—both methods lock in nutrients and let you enjoy homegrown flavor year-round.
Troubleshooting and Quick FAQs for Sweet Potato Growers
Sweet potato growers often face a few common hiccups that are easy to overcome with the right know-how. If your plants are showing poor growth, check that they’re getting enough sunlight (at least six hours a day) and that the soil drains well—soggy roots lead to stunted vines.
Deformed or small tubers usually point to compacted or rocky soil, so loosen it to about 12 inches deep before planting; you’ll get better-shaped, bigger harvests.
Pests like wireworms, sweet potato weevils, and deer can also be an issue. For wireworms and weevils, rotate crops every year and remove any affected plants immediately. Floating row covers offer affordable protection from deer and insects alike.
If leaves turn yellow or purple, it could signal a nutrient imbalance; add compost or a balanced fertilizer, but avoid too much nitrogen or you’ll get lots of leaves and few tubers.
Don’t be discouraged if your first crop isn’t perfect—sweet potatoes are forgiving, and most growers see better results every season. Trust your instincts, check out local extension office websites for region-specific advice, and connect with online gardening communities or forums like GardenWeb for quick troubleshooting.
With patience and a bit of trial and error, sweet potato growing becomes easier and a lot more fun. Remember, even experienced gardeners run into occasional setbacks; it’s all part of learning what works best in your garden. Happy growing!