Introduction
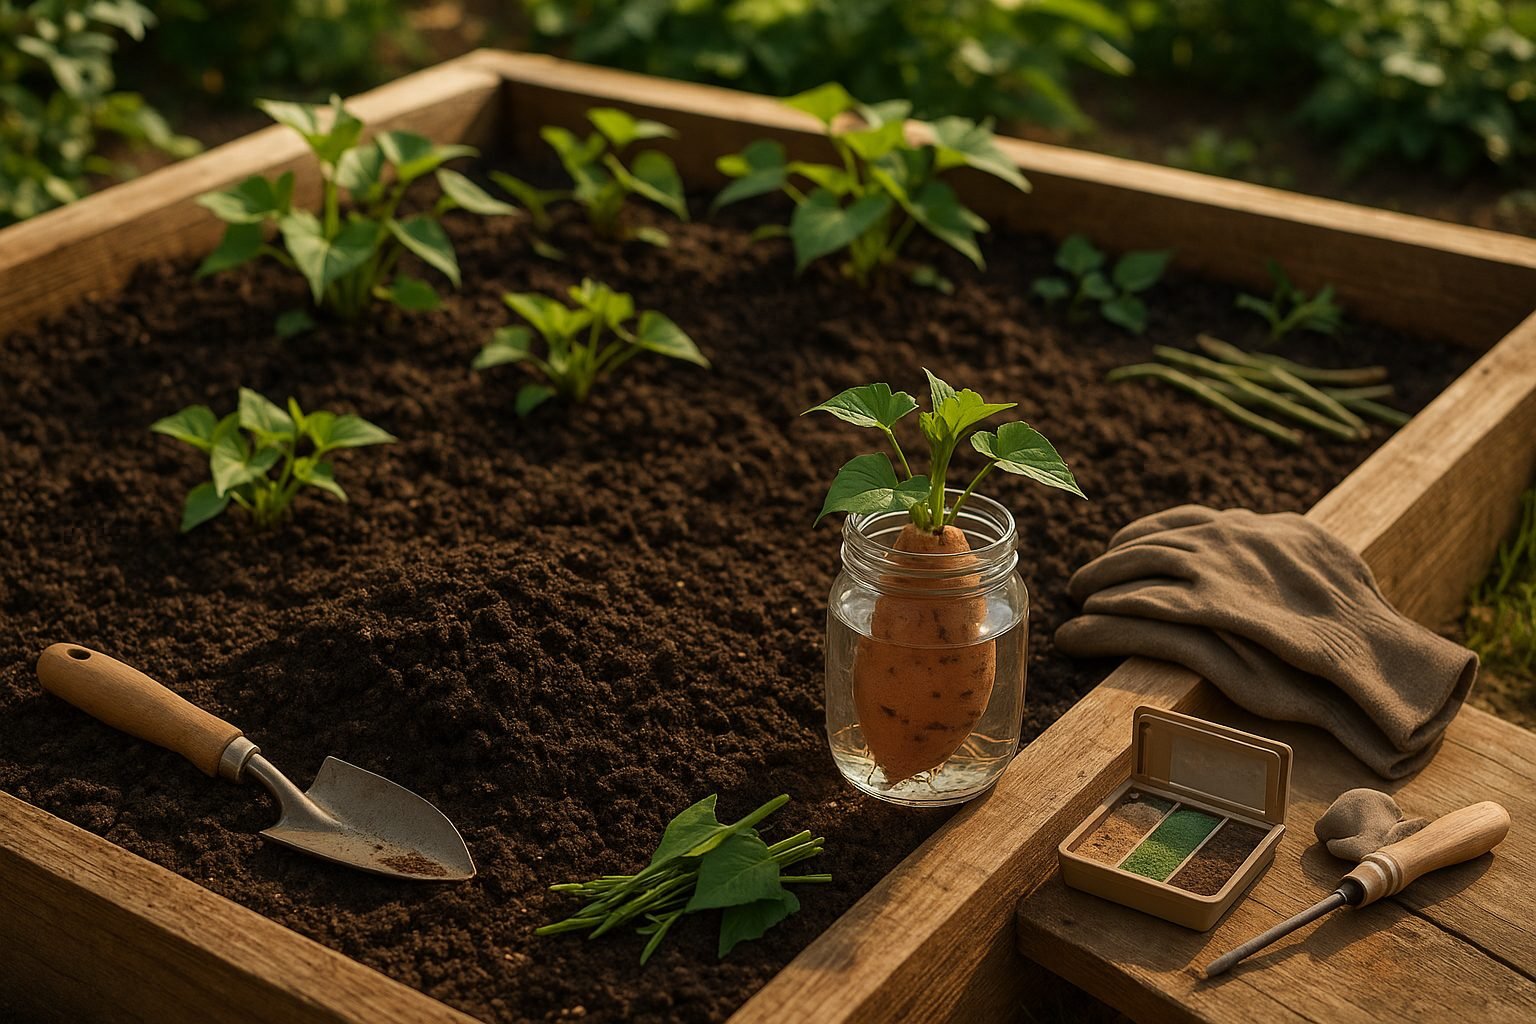
Choosing the right soil amendments for sweet potatoes can make all the difference between a mediocre harvest and a bumper crop. Sweet potato vines thrive in loose, fertile, and well-draining soil, and the steps you take to prepare your garden bed will directly impact plant health and the size of your yields. Whether your native soil is heavy clay, sandy, or lacking nutrients, learning how to tailor it with compost, organic matter, and minerals is essential for success.
In this guide, we’ll explore which soil amendments work best for sweet potatoes, how to balance nutrients like potassium and phosphorus, and what practical steps you can take to boost soil texture and structure. Plus, you’ll get real-world tips on testing your soil, correcting common problems, and maintaining rich beds throughout the season. If you want healthier vines and more flavorful sweet potatoes, choosing the right amendments is the place to start.
Understanding Ideal Soil Conditions for Sweet Potato Vines
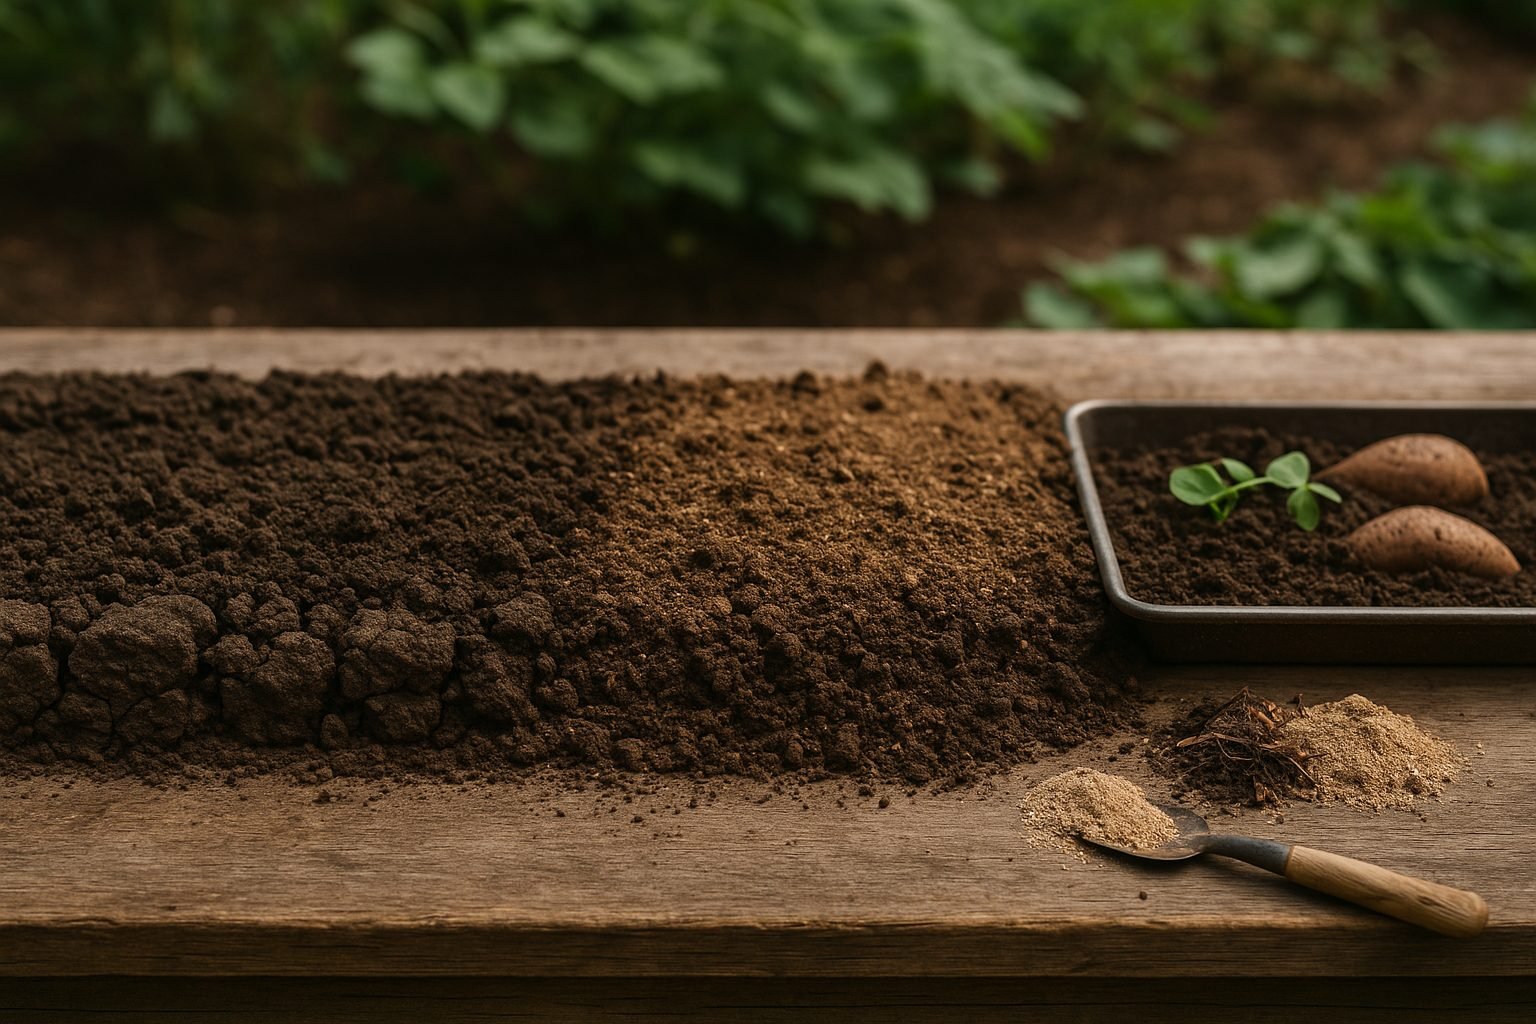
Sweet potato vines thrive best in sandy-loam soils with a loose, well-draining texture, making it easy for their tuberous roots to expand and absorb nutrients. When the soil is too compacted—often the case with heavy clay soils—it restricts the growth of sweet potato roots and can lead to misshapen or stunted tubers.
Poor drainage is another major concern; soggy or waterlogged soil creates an environment where roots are more susceptible to rot and fungal diseases. Ideally, aim for a soil pH between 5.5 and 6.5, as overly acidic or alkaline conditions can hinder nutrient uptake and affect plant health.
If you notice standing water after rainfall or if the soil feels dense when squeezed, it’s a sign to amend your planting beds with compost or coarse sand to improve both drainage and texture. Gardeners in compacted or poorly draining sites might consider using raised beds or planting on ridges to keep roots healthy.
A well-prepared soil not only prevents diseases but also promotes even, vigorous root growth, directly impacting your overall crop yield by producing larger and more numerous sweet potatoes. Test your soil in advance, add organic matter regularly, and avoid walking on wet beds to maintain the ideal growing environment for sweet potato vines.
Adjusting Soil pH and Nutrient Balance
Maintaining the right soil pH is crucial for healthy sweet potato growth, with an optimal range between 5.5 and 6.5. In this range, essential nutrients become more available to your plants, allowing sweet potatoes to efficiently absorb what they need to develop robust roots and vibrant vines.
To test your soil’s pH, try a simple home method: mix a small sample with distilled water and use pH strips, which are available at most garden centers. For a more accurate reading, consider investing in an affordable soil test kit.
If you find your soil is too acidic (pH below 5.5), work in garden lime according to the package instructions to gradually raise the pH. Conversely, if your soil is too alkaline (pH above 6.5), incorporate elemental sulfur to gently lower it.
Besides pH, pay attention to nutrient balance—sweet potatoes require ample phosphorus for strong root development and potassium for healthy tubers and disease resistance. When preparing your soil, blend in a balanced, slow-release fertilizer high in phosphorus and potassium, or amend with composted manure and bone meal.
Remember to retest your soil every season to fine-tune your amendments and ensure your sweet potatoes thrive year after year.
Amending and Enhancing Your Soil
Improving your soil is one of the best investments you can make for a bountiful sweet potato harvest. Start by mixing in generous amounts of organic matter, such as finished compost or well-aged manure, to enrich fertility and help loosen heavy clay soils or bind sandy ones. Both compost and manure boost microbial life, improve drainage, and ensure your sweet potatoes get a slow, steady supply of nutrients.
For balanced growth, consider supplementing with specific organic or mineral amendments. Bone meal is excellent for phosphorus—crucial for healthy root development—while greensand or potassium sulfate can boost potassium, which supports overall plant vigor and disease resistance. It’s key to avoid overloading the soil with nitrogen-heavy fertilizers, since excess nitrogen encourages leafy vines at the expense of tuber growth.
To make your own ideal sweet potato soil mix from scratch, blend one part topsoil, one part coarse sand, and two parts compost or aged manure, mixing well for a fluffy, moisture-retentive texture sweet potatoes thrive in. If your native soil is very poor, fill a raised bed or large container with this DIY mix.
Don’t forget to perform a soil test before planting—adjust pH to a slightly acidic 5.5–6.5, and use your test results to fine-tune amendments for potassium and phosphorus if necessary. By focusing on rich, organic ingredients and mindful supplementation, you’ll create a nurturing environment where sweet potatoes can really flourish.
Preparing and Planting in Your Garden or Containers
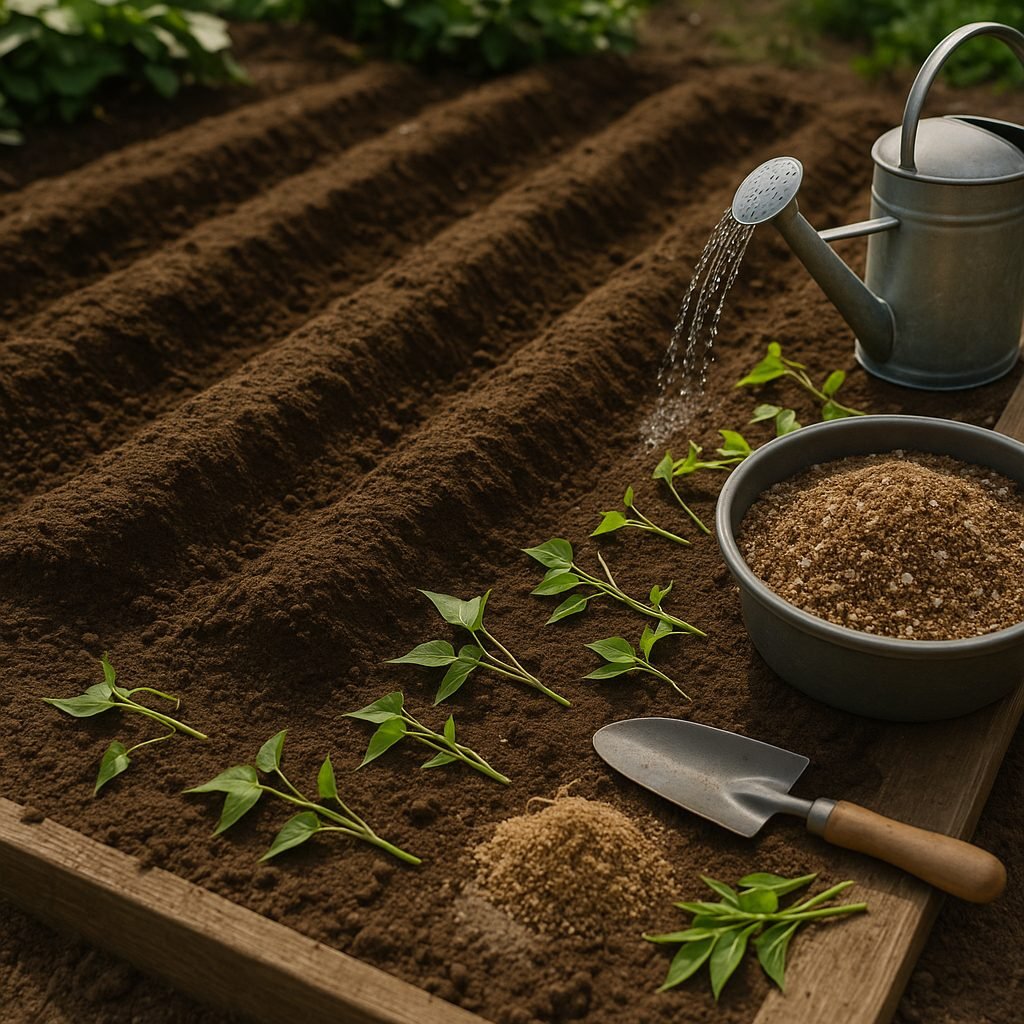
Getting your garden or containers ready is key for a healthy, bountiful harvest. For garden beds, start by tilling the soil to a depth of 8–12 inches, breaking up clumps and removing rocks or weeds. Once loosened, mound the soil into low ridges or raised rows about 8 inches high to encourage drainage—especially important if your area gets heavy rains.
Space your ridges 3 feet apart to give plants room to spread, and within the row, plan for about 12–18 inches between each slip or seedling, depending on what you’re growing.
For containers, use a quality potting mix made of equal parts peat moss or coconut coir, perlite, and compost to ensure good nutrients and aeration. Choose pots that are at least 12 inches deep and have drainage holes—roots hate soggy feet, so always let excess water escape.
If transplanting slips or seedlings, make sure to plant them at the same depth they were in their starter pots, gently firming the soil around their roots for support. Space your transplants so their future leaves have room: in containers, this could mean one plant per large pot or several in a longer window box, keeping at least 10–12 inches apart.
Always water well right after planting, soaking the soil to settle roots and eliminate any air pockets, but avoid overwatering—damp, not soggy, is best. Checking daily for soil moisture helps new plants establish strong, resilient roots right from the start.
Seasonal and Environmental Considerations
When planning your planting schedule, start by checking your local frost dates—these tell you when it’s safe to sow seeds or transplant outdoors without the risk of freezing. Most vegetables, for example, thrive if planted after the last spring frost, when soil temperature consistently reaches at least 50–60°F (10–16°C). You can use a simple soil thermometer to check this before planting.
Sunlight is another critical factor; most plants need at least six hours of direct sun daily, so choose a spot that isn’t shaded by buildings or trees. Consistent soil moisture is essential, but avoid waterlogging—aim for soil that’s damp but not soggy, watering in the morning to let leaves dry and prevent disease.
If you live in a cooler region, consider raised beds or using dark mulch to warm the soil earlier in spring. For hot, arid climates, amend soil with organic matter to retain moisture and provide afternoon shade to tender plants.
Always adjust your soil preparation and watering routines with the season; adding mulch helps retain moisture in summer, while fall may require raking away leaves to prevent soil compaction. By staying attentive to these seasonal and environmental details, you’ll set your garden up for healthy, vigorous growth.
Common Soil Problems and Troubleshooting
Many gardeners encounter common soil problems like poor drainage, pest infestations, and nutrient deficiencies, but these issues are all fixable with a few simple strategies.
Poor drainage often leads to soggy roots and stunted plant growth. If you notice water pooling after rain, try mixing coarse sand or organic matter like compost into the soil to improve its structure and allow excess water to drain away.
For pest issues—which often show up as chewed leaves or weak plants—using lightweight row covers can act as a barrier against bugs, while occasionally rotating crops prevents pests from settling in one spot.
Nutrient deficiencies might be spotted when plant leaves turn yellow or growth appears stunted. In this case, a balanced organic fertilizer can replenish missing nutrients, or you can tailor amendments specifically to the deficiency (for example, adding bone meal for low phosphorus).
Keeping an eye on your soil doesn’t have to be complicated: check the texture by squeezing a handful—it should crumble and not stick together like clay—and monitor plant health regularly for signs of stress.
Simple soil test kits from your local garden center can help track pH and nutrient levels, giving you the know-how to address problems before they harm your garden. By staying observant and responding quickly to changes, you can keep your soil healthy and your plants thriving.
Conclusion
Preparing ideal soil for sweet potato vines starts with choosing a sunny location and loose, well-draining soil rich in organic matter. Mix in compost or aged manure to boost fertility. Test your soil pH to ensure it’s slightly acidic, around 5.5 to 6.5, and avoid waterlogged spots to prevent root rot.
Remember, every garden is unique, so don’t be afraid to experiment with amendments and observe how your plants respond. For tailored advice, reach out to your local cooperative extension or garden center—they often provide free soil testing and region-specific tips to help your sweet potatoes thrive.