Introduction
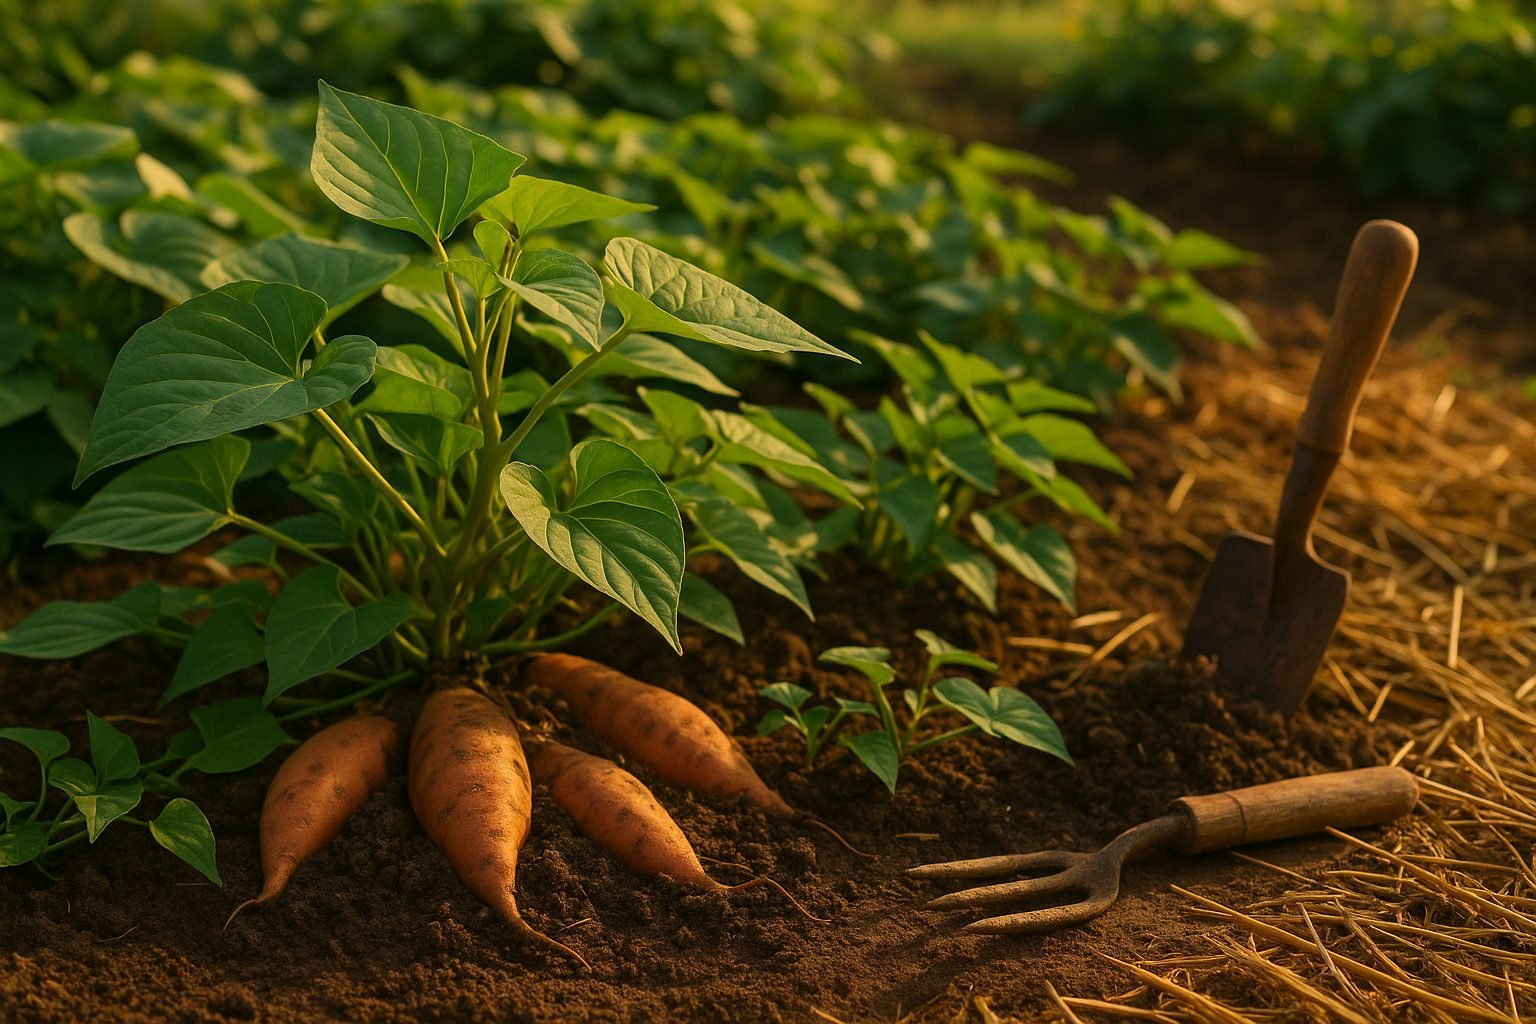
Learning how to grow sweet potatoes at home isn’t just a fun backyard project—it’s a smart way to add highly nutritious, delicious, and versatile staples to your kitchen. Sweet potatoes are packed with vitamins, minerals, and fiber, making them a go-to crop for health-conscious gardeners.
Their unique growth habits and resilience mean you don’t need a green thumb or a massive plot of land to get a bountiful harvest. In fact, these vibrant tubers are gaining popularity among home gardeners everywhere, from rural plots to urban balconies.
Whether you’re attracted by their stunning vines, rich orange flesh, or their adaptability to a variety of growing conditions, sweet potatoes make an excellent starting point if you’re new to gardening.
In this beginner’s guide, you’ll discover how to start your own sweet potato patch from slips, tips to give your plants the best possible care, and what to watch for as they grow. We’ll also cover essential harvesting tips and how to overcome common challenges like pests and confusing weather patterns.
By the end, you’ll have everything you need to enjoy fresh, homegrown sweet potatoes—straight from your yard to your dinner table.
Choosing the Right Sweet Potato Varieties
Selecting the right sweet potato variety for your home garden starts with understanding your local climate, personal taste preferences, and how much patience you have before harvest. Unlike regular potatoes, which belong to the nightshade family and thrive in cooler weather, sweet potatoes are tropical plants that crave warmth and plenty of sunshine.
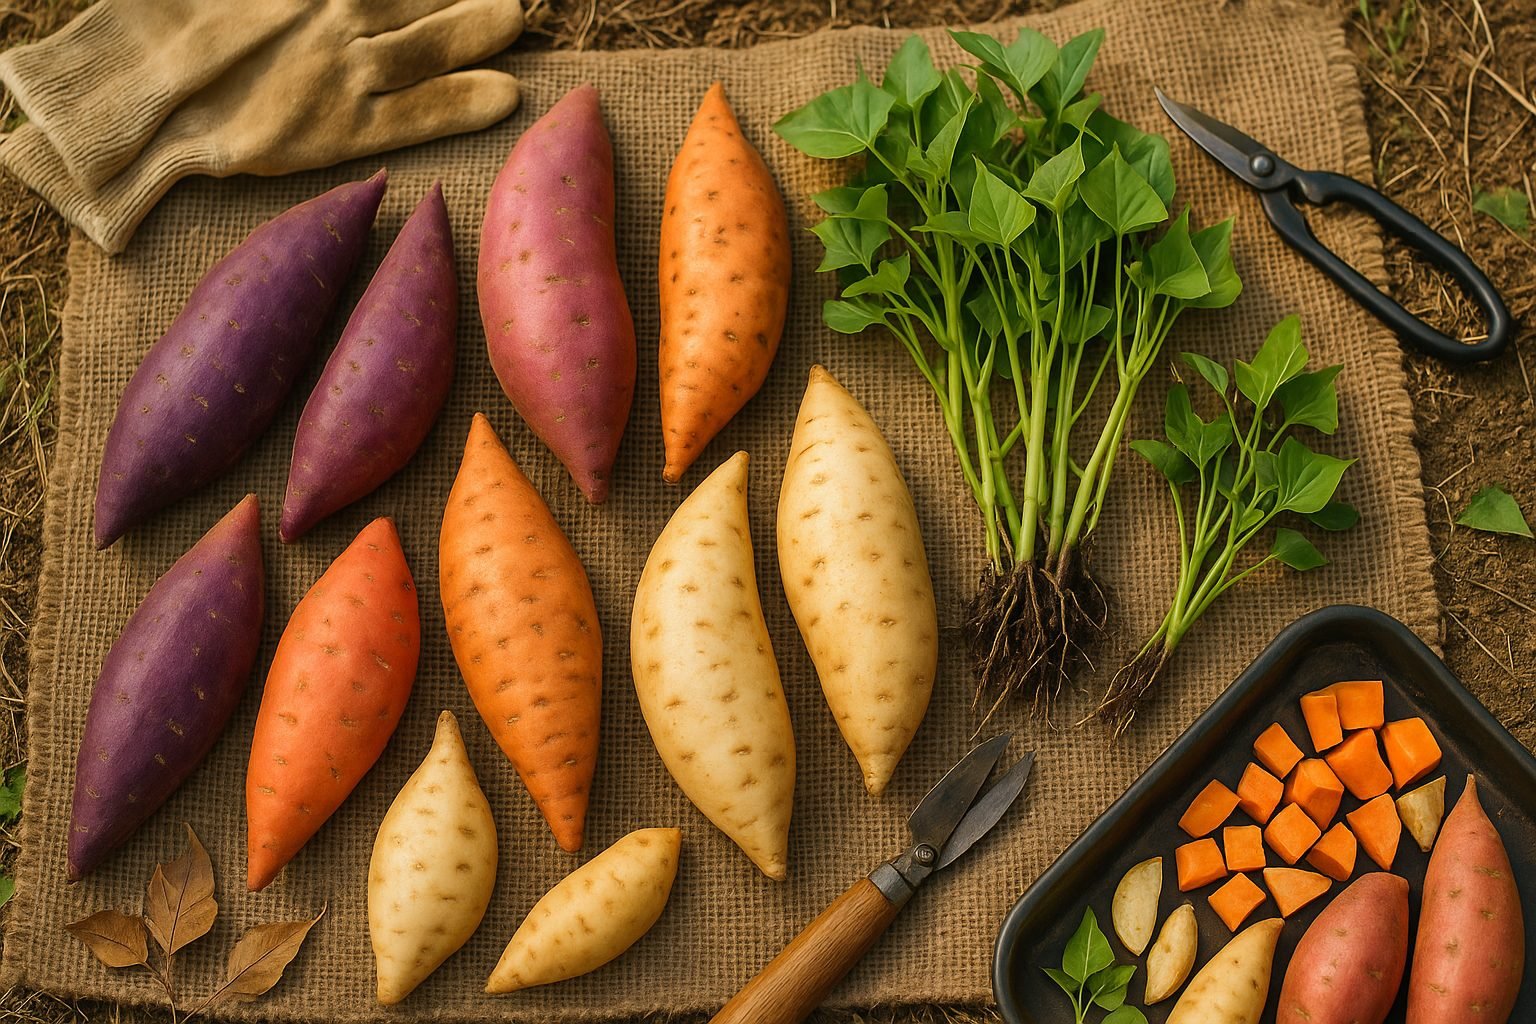
When choosing a variety, check the days to maturity—some sweet potatoes, like ‘Beauregard,’ can be ready in about 90 days, making them great for shorter growing seasons, while others such as ‘Jewel’ or ‘Covington’ might take up to 120 days but reward you with high yields and excellent storage qualities.
Taste is another important factor; for a classic, sweet flavor and moist orange flesh, try ‘Georgia Jet’ or ‘Bellevue,’ both celebrated for their creamy texture and reliable growth in many climates. If you’re interested in something different, ‘O’Henry’ offers pale, almost white flesh and a drier texture, perfect for roasting, while ‘Murasaki’ has striking purple skin and blends sweetness with a nutty undertone.
Compact varieties like ‘Vardaman’ work well in raised beds or containers, and those looking for ornamental touches might enjoy ‘Japanese’ sweet potatoes with their vivid purple skin and vibrant leaves.
When planning, also note that sweet potatoes grow from slips—young shoots, not tubers—and need loose, well-draining soil to yield plump, uniform roots.
Ultimately, consider how much space and sun you can offer, your local frost dates, and the flavors your family loves most. If you’re new to growing sweet potatoes, start with a reliable variety like ‘Beauregard’ to get a sense of their needs, then experiment with other types to add color, flavor, and diversity to your harvest.
Preparing and Planting Sweet Potatoes
Setting up your garden for sweet potatoes starts with well-draining, loose soil—preferably sandy or loamy—that allows their roots to expand easily. Choose a sunny spot that gets at least six hours of direct sunlight each day, since sweet potatoes love the heat and light.
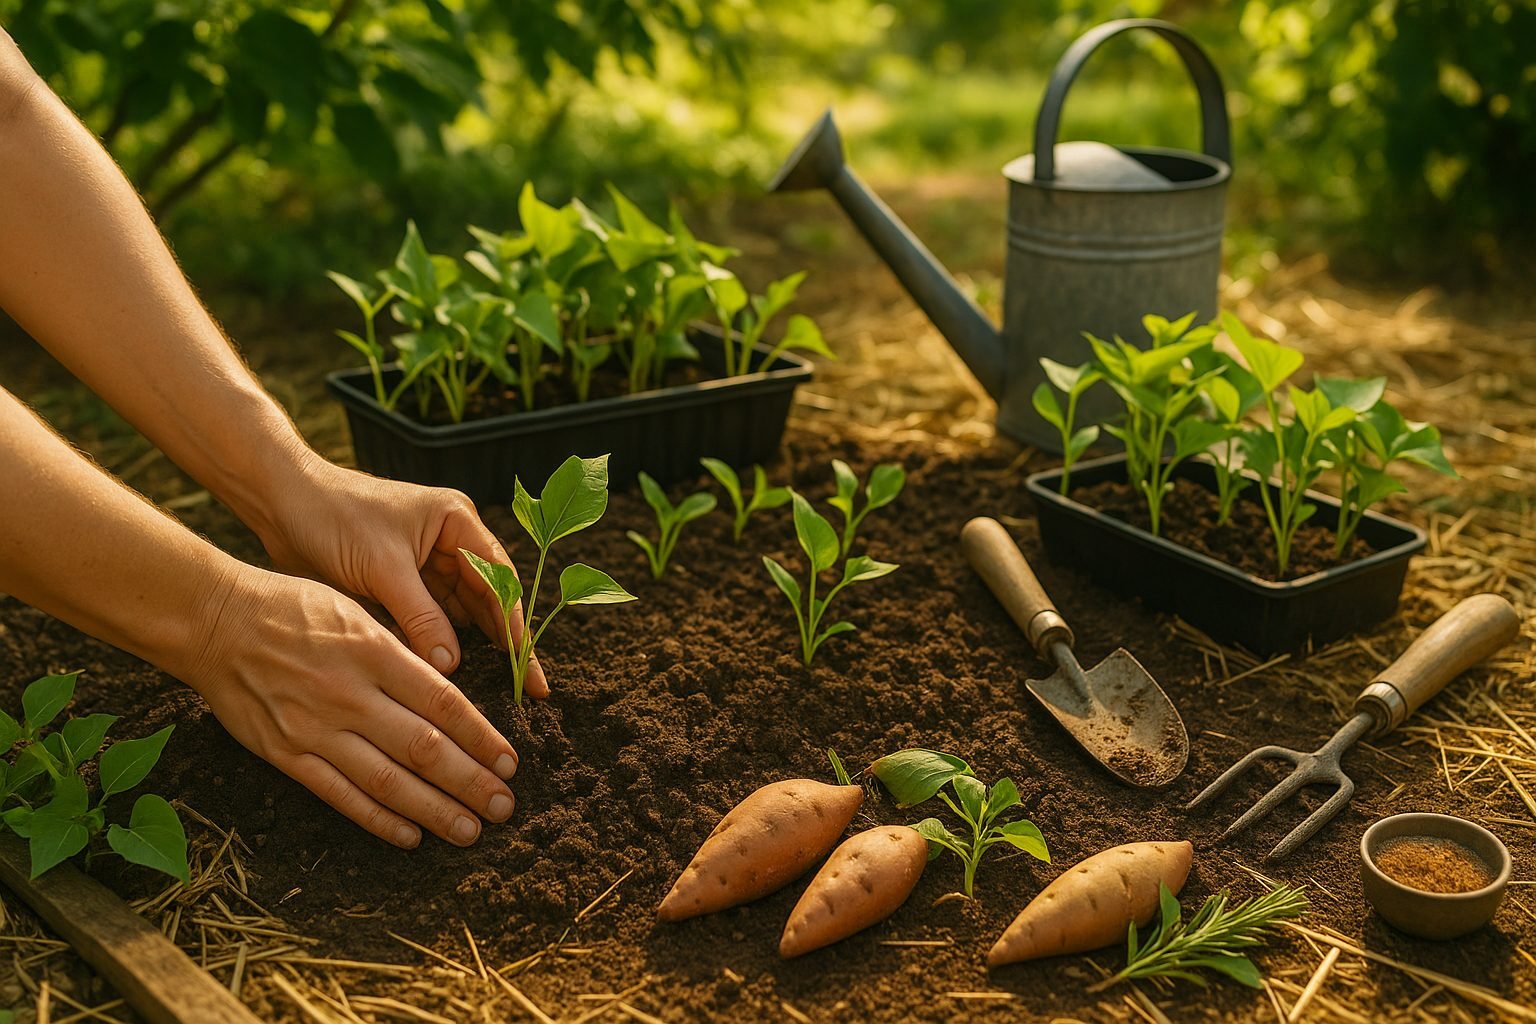
Before planting, work organic compost or well-rotted manure into the soil about 8-10 inches deep to boost nutrients and drainage. Sweet potatoes aren’t grown from seeds; instead, they’re planted using “slips”—sprouted shoots that grow from mature sweet potato tubers. You can buy slips at a nursery or start your own by placing a sweet potato half-submerged in water or damp soil indoors, keeping it warm and bright until shoots form and grow several inches.
To plant outdoors, wait until the soil temperature is consistently above 60°F—usually a few weeks after the last frost. Plant slips about 12-18 inches apart in rows spaced 3 feet apart, burying each slip’s lower half (with roots and a couple of leaf nodes) below the soil, and water well after planting.
If you live in a cooler climate with a shorter growing season, start slips indoors 6-8 weeks before your last expected frost date, and only move them outside when nighttime temperatures are reliably warm. In warmer climates, you can plant slips directly in the garden once conditions are right.
Consistent moisture is key, especially in the first weeks, but avoid waterlogged soil. Mulching with straw or grass clippings can help retain warmth and moisture around your new plants.
For smaller spaces or poor native soils, sweet potatoes also thrive in large containers or raised beds, as long as they get plenty of sun and room to spread. With a bit of planning and patience, you’ll set your sweet potatoes up for a healthy, bountiful harvest.
Caring for Sweet Potato Plants
Caring for sweet potato plants isn’t complicated, but consistency is key for robust growth and tasty tubers. Water your plants deeply once a week, aiming to keep the soil evenly moist—overwatering can cause rot, while too little water leads to stunted tubers.
Mulching with straw or leaf litter helps lock in moisture, keeps weeds at bay, and regulates soil temperature, all of which help sweet potatoes thrive.
Fertilize sparingly with a balanced, low-nitrogen fertilizer after planting and as the vines start to spread. Too much nitrogen encourages leafy growth but fewer sweet potatoes underground.
As the vines grow, consider gently training them to stay within beds by lifting and repositioning them. This prevents them from rooting along the stems, which can sap energy from the main crop.
If space is tight, set up trellises or stakes to guide the vines upward, though sweet potatoes are naturally sprawling and usually don’t require heavy support.
Pruning isn’t always necessary, but trimming back overly long vines can redirect energy into root development rather than foliage.
Signs of Healthy Growth
Healthy sweet potato plants have lush, green leaves and strong, spreading vines. Keep an eye out for yellowing leaves, wilting, or poor growth, which could signal watering issues or disease.
Common Mistakes to Avoid
- Overwatering
- Over-fertilizing
- Letting vines become tangled or root excessively away from the main body
With a little attention and these practical steps, you’ll enjoy a bountiful sweet potato harvest at the end of the season.
Managing Pests and Common Problems
Dealing with pests and plant diseases is a reality for every gardener, but knowing what to watch for and how to respond can make all the difference. Common insect pests like aphids, caterpillars, and whiteflies suck sap from leaves or chew on plants, leading to weak growth or unsightly damage. Fungal diseases such as powdery mildew, blight, and root rot can cause wilting, yellowed leaves, or stunted development.
For organic pest control, try introducing beneficial insects like ladybugs to combat aphids, or use neem oil spray as an all-purpose defense against many bugs and mildew. Hand-picking larger pests and removing affected leaves also helps lessen outbreaks without chemicals.
On the conventional side, targeted insecticides or fungicides can be effective, but always follow label instructions and consider the impact on pollinators.
Preventing problems is just as important:
- Crop rotation helps break pest and disease cycles.
- Maintaining healthy, well-draining soil improves plant resilience.
- Compost and organic mulch boost soil health and microbial life, making plants stronger and less susceptible to stress-induced illness.
- Water early in the day to avoid soggy conditions that invite disease.
- Space plants properly so air circulates freely, reducing humid microclimates where fungus thrives.
Keep an eye out for early warning signs like chewed leaves, moldy spots, or yellowing, and act fast—removing infected material or applying treatments at the first hint of trouble reduces the chance of a bigger outbreak. With vigilance and a mix of sensible techniques, you can manage most garden problems before they get out of hand and keep your plants healthy all season long.
Harvesting, Curing, and Storing Sweet Potatoes
Knowing the right time to harvest sweet potatoes is crucial for both flavor and storage. Generally, sweet potatoes are ready when their leaves start to yellow and die back, which usually happens about 90 to 120 days after planting. For best results, harvest before the first frost, as cold soil can damage the tubers.
To begin, use a garden fork or shovel to gently loosen the soil around each plant, starting about a foot away from the main stem to avoid stabbing or slicing the delicate sweet potatoes. Carefully work your way under the tubers, then lift them out by hand to prevent bruising or scraping the skins, which can lead to rot during storage. Resist the urge to wash them right away—just brush off any excess dirt.
Curing Sweet Potatoes
After harvesting, curing your sweet potatoes is the secret to their sweetness and long shelf life. Lay the unwashed sweet potatoes in a single layer in a warm (80-85°F), humid (85-90% relative humidity) place for 7-10 days. A well-ventilated garage, heated room, or even a covered porch with a small space heater and humidifier can work if you don’t have a specialized curing shed.
This curing process helps the sweet potatoes heal minor cuts and toughen their skins, while also converting starches to sugars for better taste.
Storing Sweet Potatoes
Once cured, move the sweet potatoes to a cool, dry, and dark location for long-term storage—ideally somewhere between 55-60°F, such as a basement, cellar, or pantry. Store them in boxes, baskets, or crates with good air circulation, making sure they don’t touch each other or stack too deeply; excess moisture and crowding can encourage mold.
Periodically check your stored sweet potatoes and remove any that show signs of softness or decay. Properly cured and stored, they can last six months or more, making them a staple ingredient you can enjoy long after harvest season is over.
Nutritional Benefits and Uses for Homegrown Sweet Potatoes
Homegrown sweet potatoes pack a powerful nutritional punch, offering a healthy mix of vitamins, fiber, and antioxidants. They’re especially rich in vitamin A, thanks to beta-carotene, which promotes good vision and a strong immune system. A medium tuber also provides vitamin C and B6, plus about four grams of fiber, making them excellent for digestion and overall wellness.
What really stands out with homegrown varieties is their fresher taste and higher nutritional value—store-bought sweet potatoes are often harvested before reaching peak ripeness or may lose nutrients during storage and transport.
In the kitchen, sweet potato tubers are versatile:
- Try them roasted for a caramelized side dish
- Cubed in hearty stews
- Mashed for a creamy puree
- Spiralized into noodles for a gluten-free pasta
Don’t overlook the nutrient-rich leaves, which many people don’t realize are delicious and edible. Sauté the greens like spinach with garlic and olive oil, toss them into stir-fries, or blend them into green smoothies for a mild boost of iron and antioxidants.
Growing your own also lets you experiment with specialty varieties, which can add new colors and flavors to your meals. Whether baked, fried, or even grilled, homegrown sweet potatoes deliver deeper flavor and fresher texture, making them a star both nutritionally and culinarily on your table.
Conclusion and Encouragement
Growing your own herbs and vegetables is simpler than it may seem—from choosing quality seeds and finding the right spot to maintaining regular watering and sunlight. The rewards go far beyond the effort: homegrown produce bursts with fresh flavor and offers unbeatable nutrition compared to store-bought options.
Whether you have a spacious garden or just a sunny windowsill, starting small can lead to big, tasty results. Ready to give it a try? Share your gardening experiences or ask any questions in the comments below—we’d love to hear how your green thumb is growing, and we’re here to help every step of the way!