
Introduction
Fertilizing sweet potatoes is a key step to harvesting plump, delicious tubers from your home garden. Sweet potatoes are loved by gardeners for their rich flavor, nutritional value, and versatility in the kitchen, but they have specific nutrient needs if you want a bountiful crop. While these hardy plants can grow in a range of conditions, the right balance of nutrients is essential for healthy vines and strong underground growth. Proper fertilization not only promotes leafy growth but also supports the development of large, flavorful sweet potato tubers that store well through winter.
In this article, you’ll learn when and how to fertilize your sweet potato patch for the best results. We’ll cover tips on choosing the right fertilizer, avoiding common mistakes like over-fertilizing, and troubleshooting issues such as poor growth or small tubers. Whether you’re a first-time gardener or aiming to boost your harvest, discover the essential steps to support your sweet potatoes at every stage for a truly satisfying yield.
Understanding Sweet Potato Nutrient Needs
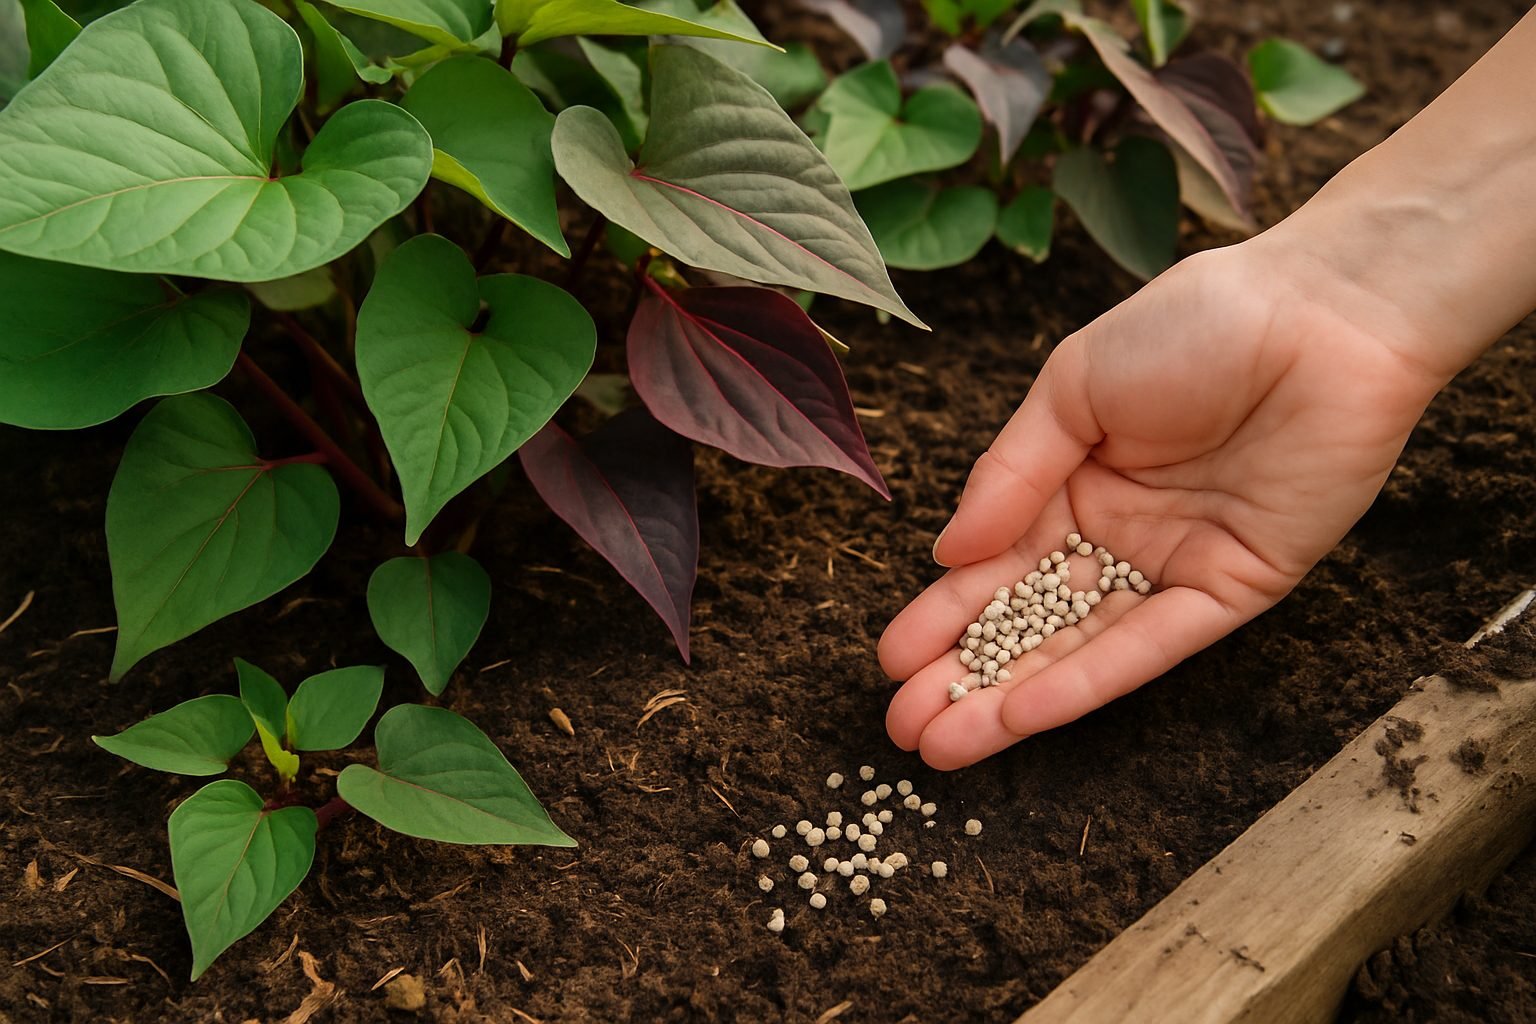
Fertilizing sweet potatoes starts with understanding their nutrient requirements throughout the growing cycle. Sweet potatoes are root crops that thrive on balanced nutrition, relying primarily on three macronutrients: nitrogen (N), phosphorus (P), and potassium (K). During the early growth stage, a modest supply of nitrogen is essential to establish strong, leafy vines, but too much nitrogen can hinder root (tuber) development and cause excessive foliage. As the plant shifts from vine growth to root expansion—usually a few weeks after planting—phosphorus becomes vital for healthy root formation and energy transfer, while potassium supports overall plant health, stress resistance, and the development of robust, flavorful tubers.
Sweet potatoes also depend on key micronutrients like magnesium, calcium, iron, boron, and manganese for optimal growth. For instance, magnesium plays a crucial role in photosynthesis, while boron aids cell division and root development.
Throughout the season, their nutrient needs shift: starting with higher nitrogen early on and moving to more phosphorus and potassium as the tubers develop. Watch for common deficiency signs—yellowing leaves (chlorosis) or stunted growth may indicate nitrogen shortage; purplish leaves can point to phosphorus deficiency; and browning or curling leaf edges could signal potassium lack. Poor root formation or misshapen tubers might suggest boron or calcium deficiencies.
If you notice these symptoms, supplement with the proper fertilizer or enrich your soil with compost or balanced organic matter. Regular monitoring of your plants, crop rotation, and soil testing will help ensure your sweet potatoes get the nutrients they need for a healthy, high-yield harvest.
Soil Preparation and Testing
Before you start fertilizing sweet potatoes, proper soil preparation is essential for a healthy, high-yielding crop. The first step is to conduct a soil test, as sweet potatoes thrive in slightly acidic soil with a pH between 5.8 and 6.2, along with specific nutrient balances. Skipping this step means guessing what your soil needs, which can waste time, money, or even harm your crop.
To collect a soil sample, use a clean trowel to take thin slices of soil from 6 to 8 spots in your planting area, digging down about 6 inches. Mix these subsamples together in a clean bucket to create a composite sample, then send about a cupful to a local extension office or lab for analysis.
When you get your soil test results, focus on key indicators like phosphorus (P), potassium (K), and pH levels. Sweet potatoes prefer soils with moderate phosphorus, high potassium, and low nitrogen. If potassium is low, amend the soil with potassium-rich fertilizers such as muriate of potash. For low phosphorus, bone meal or rock phosphate are good options. You can add lime to raise the pH but avoid over-applying because sweet potatoes don’t like alkaline soils.
If the test shows excessive nitrogen, hold off on high-nitrogen fertilizers, as they promote leafy growth over tuber development. Finally, always check your soil’s texture and organic matter—incorporating compost will not only boost nutrients but also improve drainage and soil structure, giving your sweet potatoes the strong start they need.
Choosing the Right Fertilizer for Fertilizing Sweet Potatoes
When fertilizing sweet potatoes, gardeners often debate between organic and synthetic fertilizers. Organic options like compost, aged manure, or cottonseed meal offer slow-release nutrients and improve soil structure over time. This is especially beneficial for sweet potatoes, which thrive in loose, well-aerated soils. Organic fertilizers also promote beneficial microbial activity, making nutrients more accessible to the plants. However, their nutrient composition can vary, requiring extra effort to achieve the right balance.
Synthetic fertilizers provide nutrients quickly and in precise amounts, which can boost early plant growth. The downside is that overuse may cause salt buildup or harm soil life, and synthetic fertilizers don’t contribute to the long-term health of the soil.
Whichever type you choose, pay close attention to the N-P-K (nitrogen-phosphorus-potassium) ratio. Sweet potatoes do best with lower nitrogen and higher potassium and phosphorus levels, such as a 5-10-10 or 8-24-24 formula. Excess nitrogen encourages excessive vine growth at the expense of tuber development, which you want to avoid for a good harvest.
For commercial fertilizers, options like Espoma Garden-Tone (3-4-4) or Southern Ag All Purpose Granular Fertilizer (10-10-10, used sparingly) work well, provided you monitor application rates and add extra potassium if needed. For a simple homemade blend, mix bone meal and wood ash into your planting bed to supply phosphorus and potassium, while keeping compost applications light to prevent excess nitrogen.
Whatever fertilizer you choose, be sure to test your soil each season. This helps you adjust amendments and keeps your sweet potatoes healthy and productive.
When and How to Apply Fertilizer for Sweet Potatoes
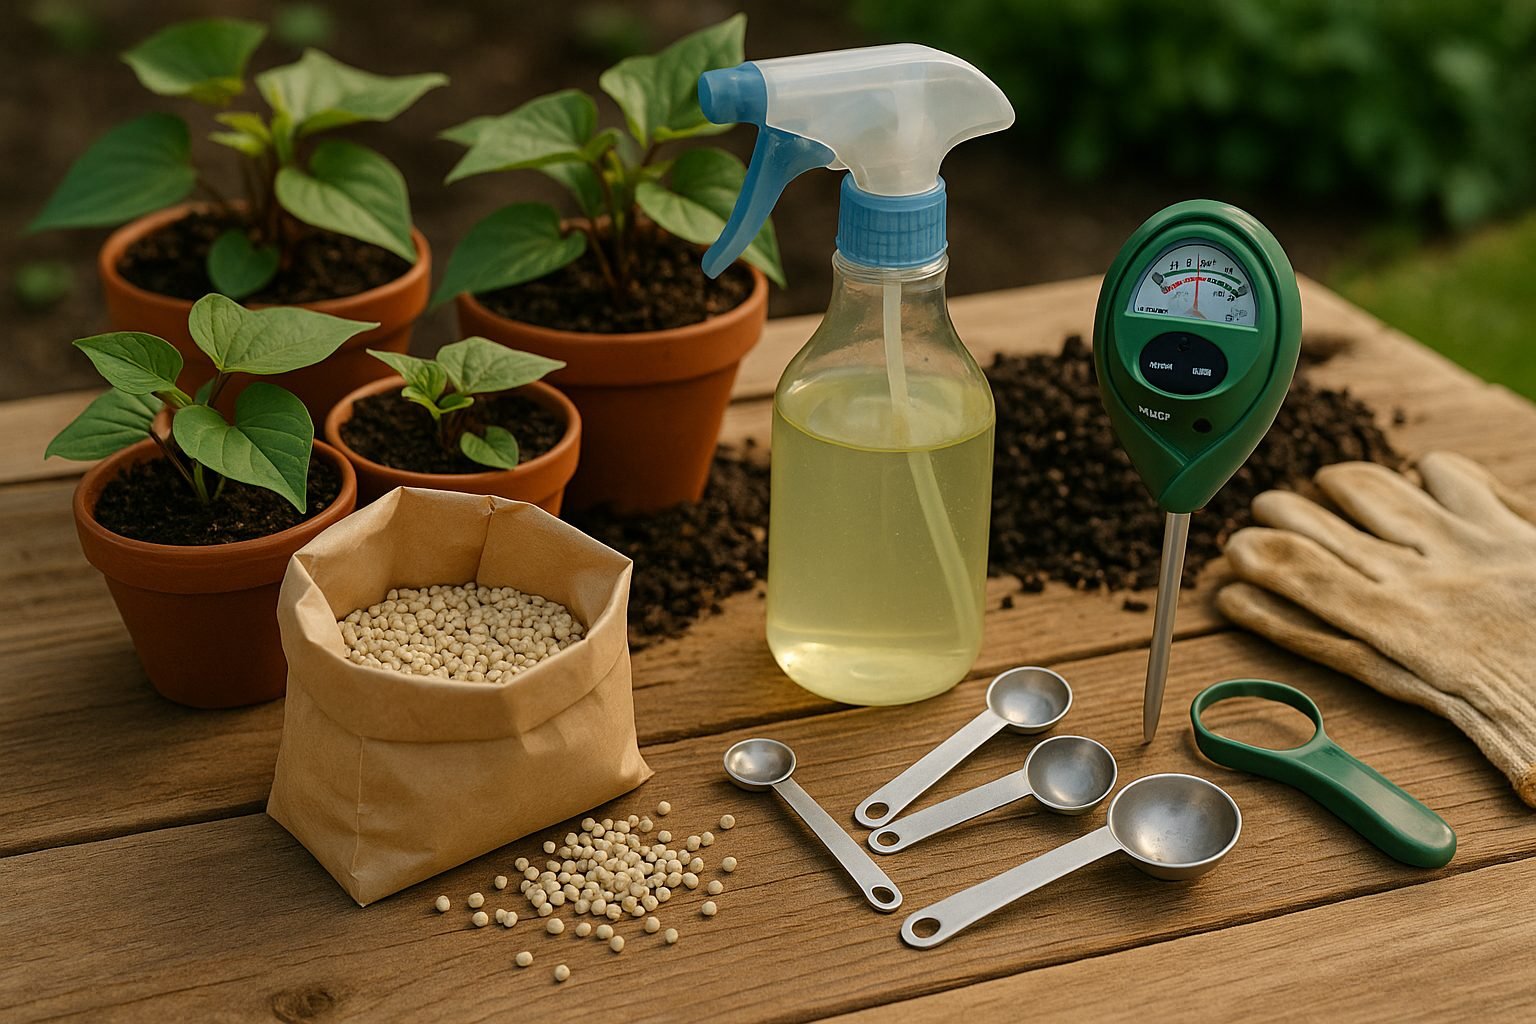
The key to successfully fertilizing sweet potatoes is paying attention to timing and using the right application techniques. Start by preparing your planting area a couple of weeks before planting. Work a balanced, slow-release granular fertilizer or well-rotted compost into the top 6 inches of soil to ensure nutrients are ready as the young slips begin to root. This step is called pre-planting application.
When planting the slips, boost early growth by spreading a small amount of fertilizer in a narrow band about 2 inches to the side and below each slip—this technique, known as banding, keeps nutrients close to the roots while preventing direct contact that can cause root burn.
Once the sweet potato vines start growing vigorously, typically 3 to 4 weeks after planting, side-dress with a nitrogen-light fertilizer. To do this, create a shallow trench or furrow 4 to 6 inches from the plants, sprinkle the fertilizer into it, then lightly cover with soil. This delivers nutrients to the active roots without saturating the plant base. Avoid applying fertilizer directly on the crowns or stems, as this can burn sensitive tissues and stunt growth.
During midseason, when vines spread and tubers develop underground, apply a light top-dressing of potassium-rich fertilizer to support tuber bulking. Gently rake the fertilizer into the top inch of soil around the drip line, taking care not to disturb the tubers. Always water well after fertilizing to help nutrients reach the root zone and reduce surface burn risk.
To prevent over-fertilization—which often leads to excessive leaf growth but poor tuber development—follow recommended fertilizer rates on product labels and test your soil each season if possible. Avoid high-nitrogen fertilizers after midseason since they promote vine growth at the expense of tubers. When handling fertilizers, wear gloves, store products safely away from children and pets, and clean up spills promptly. By following these timing and application tips, you’ll provide your sweet potatoes with the ideal nutrition for a healthy, high-yielding crop.
Common Fertilizer Mistakes to Avoid
One of the biggest mistakes gardeners make when fertilizing sweet potatoes is using too much nitrogen. While nitrogen promotes lush vine growth, it can actually reduce tuber size and yield by diverting the plant’s energy from root development to foliage instead. To avoid this, choose or mix fertilizers with a balanced nutrient ratio or one that’s slightly higher in potassium and phosphorus and lower in nitrogen. For example, a 5-10-10 or 8-24-24 fertilizer works well.
Fertilizing too late in the growing season is another common error. Adding nutrients after the plants have begun to set tubers often results in deformed or underdeveloped sweet potatoes. The best time to fertilize is at planting and, if needed, a second light application about four weeks later—well before the tubers mature.
Uneven fertilizer distribution can also cause patchy crop growth, with some areas receiving too much fertilizer and others too little. To prevent this, take time to evenly spread fertilizer along the rows and lightly mix it into the top few inches of soil. Always water immediately after applying fertilizer to help the nutrients reach the root zone and minimize the risk of fertilizer burn.
With careful timing and even application, you can ensure healthy, flavorful sweet potatoes at harvest.
Monitoring and Adjusting Your Fertilizer Plan
Throughout the growing season, consistent monitoring is essential for successfully fertilizing sweet potatoes. Start by observing your plants’ appearance—vigorous, dark green foliage usually indicates they’re receiving the right nutrients, while pale leaves, purpling, or stunted growth can signal deficiencies in key elements like nitrogen, phosphorus, or potassium.
Regularly check the soil moisture with a simple sensor to ensure it’s neither drying out nor too soggy, as both extremes can affect nutrient uptake. Soil pH is equally important; sweet potatoes prefer slightly acidic soil with a pH between 5.5 and 6.5. Using a handheld pH meter every few weeks helps you catch any shifts early.
If you notice signs of nutrient deficiency, consider top-dressing with a balanced fertilizer or, for a more targeted approach, apply a liquid fertilizer that addresses the specific lacking nutrient. Conducting a mid-season soil test is also a smart move—it provides a snapshot of available nutrients and lets you fine-tune your fertilizing sweet potatoes routine accordingly. For example, if the test shows low potassium, apply a supplement to support tuber development.
Keep detailed records of your observations and any adjustments made; this not only helps with the current crop but will improve your approach in future seasons. By combining regular visual inspections, simple tools, and occasional soil testing, you can spot problems early and adjust your fertilizer plan to keep your sweet potatoes healthy and productive until harvest.
Conclusion & Key Takeaways
Successful fertilizing sweet potatoes is all about timing, balance, and proper soil care. Begin by testing your soil and applying a fertilizer that’s low in nitrogen but rich in phosphorus at planting time. Feed your plants lightly during early growth stages, and avoid over-fertilizing, as this can promote leafy vines rather than delicious tubers. Always water your sweet potatoes after fertilizing, and use mulch to help retain moisture and nutrients. By following these fertilizing practices, you’ll improve both the quality and quantity of your sweet potato harvest. Have questions or tips from your own garden? Share them in the comments—we love learning from your experiences!