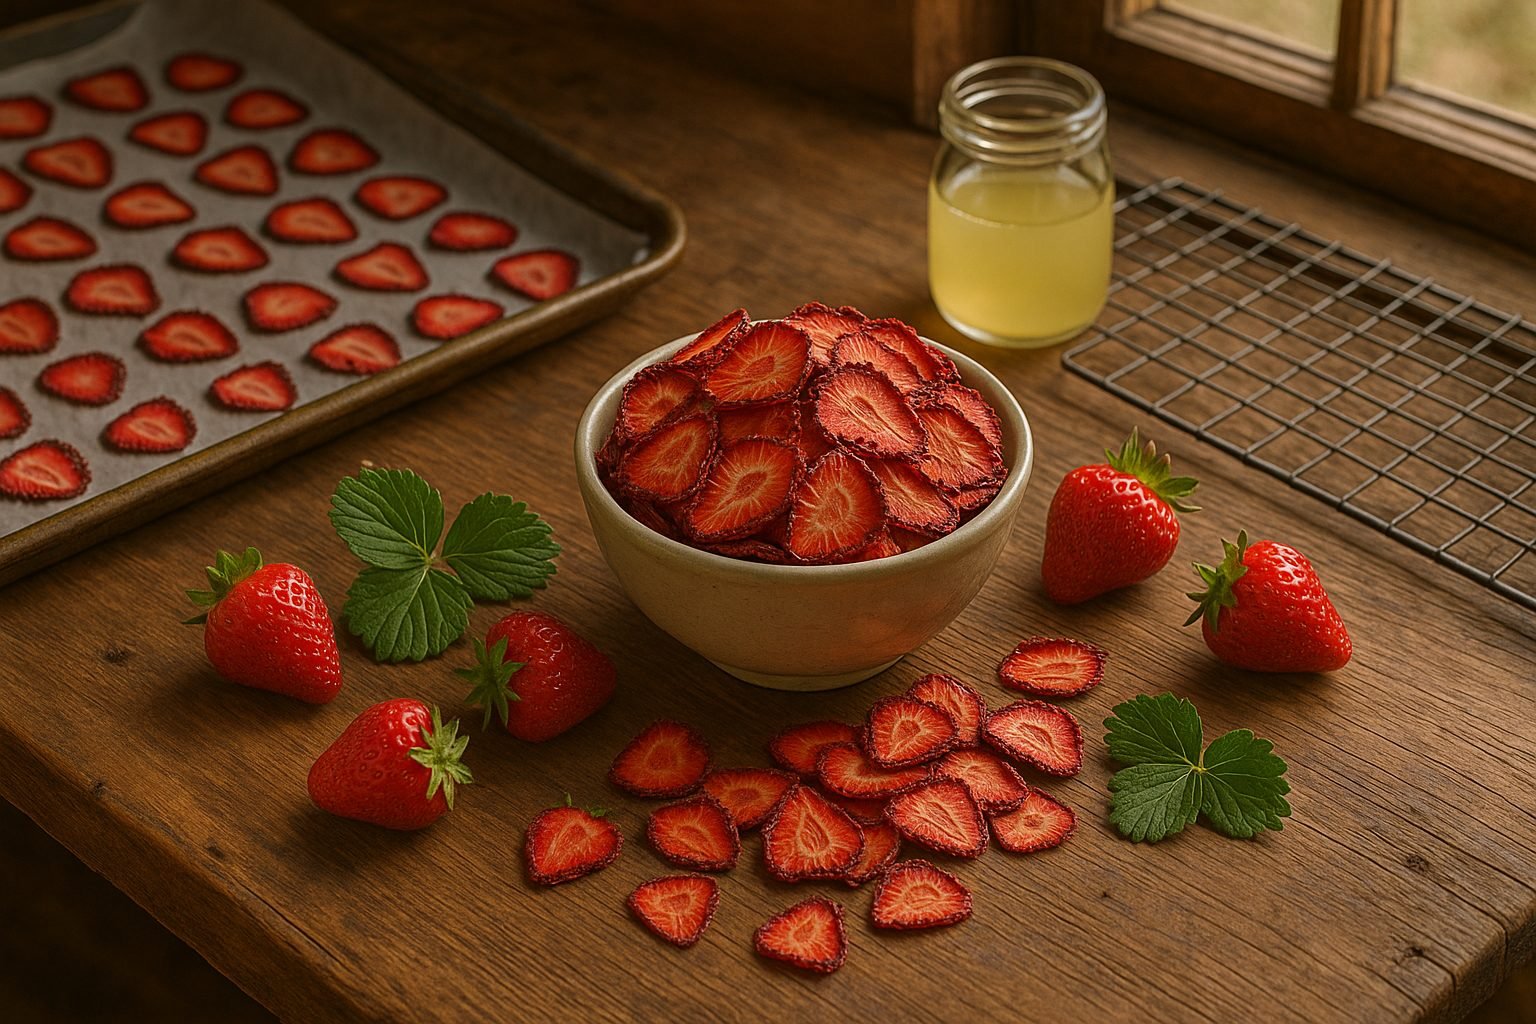
Why Make Dried Strawberries at Home?
Drying strawberries at home is an easy way to turn fresh fruit into a naturally sweet, long-lasting snack. When you dry strawberries yourself, you get to enjoy berries at their peak flavor without the added sugars, artificial colors, or preservatives found in many store-bought options.
Homemade drying not only helps you avoid unwanted additives but also saves money—especially if you use strawberries from your own garden or buy them in bulk during peak season. It’s the perfect solution for managing an overflowing berry harvest, preventing food waste, and making sure no berry goes to waste before it turns soft or mushy.
Dried strawberries are surprisingly versatile. You can:
- Add them to breakfast cereals
- Bake them into muffins
- Toss them into salads
- Enjoy them straight from the jar as a crunchy, chewy snack
Plus, drying strawberries yourself offers a unique sense of satisfaction, knowing exactly what’s in your food and allowing you to customize the flavor and texture to your liking. With just a bit of patience and basic kitchen equipment—whether an oven, dehydrator, or even the power of the sun—you can create a healthy, antioxidant-rich snack that’s perfect for both kids and adults, right from your own kitchen.
What You Need to Get Started
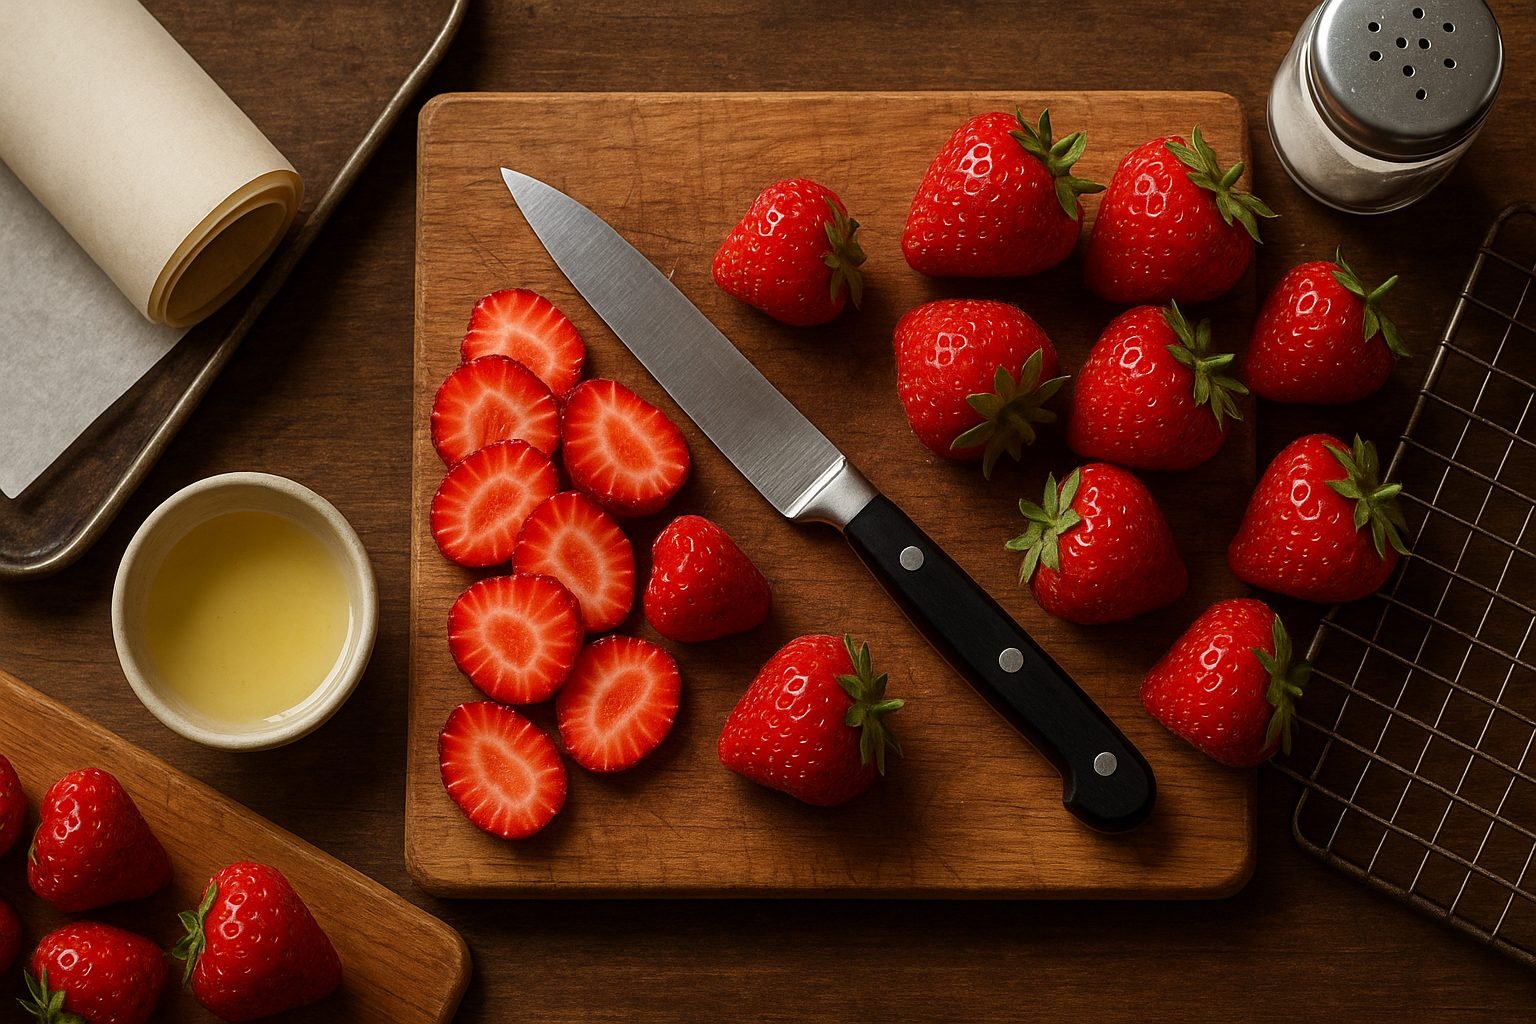
To begin drying strawberries at home, you’ll need just a few simple ingredients and tools. The key ingredient is fresh, ripe strawberries—choose ones that are firm, evenly colored, and free from bruises or mushy spots for the best results. Selecting the right strawberries matters because underripe berries lack flavor, and overripe fruit can turn mushy during drying.
For tools, gather a baking sheet and a roll of parchment paper to prevent sticking, along with an oven for gentle drying. If you have a wire cooling rack that fits your baking sheet, use it to help air circulate around the strawberries for a more even, efficient process, though this step is optional.
Before drying, wash the strawberries thoroughly, pat them dry, and slice them evenly—about 1/8 to 1/4 inch thick is ideal for consistent drying times and a great texture in the finished product. To preserve the fruit’s vibrant color, toss the slices with a little lemon juice before drying. For extra sweetness, you can lightly sprinkle them with sugar.
The prep process—including washing, slicing, and arranging on trays—usually takes about 15-20 minutes, making this a simple yet rewarding kitchen project.
Step-by-Step Guide: Drying Strawberries in Your Oven

Start by washing your strawberries thoroughly under cool water to remove any dirt or residue, then gently pat them dry with a paper towel. Next, hull the strawberries by removing the green tops, and slice them into uniform thin pieces—about 1/8 to 1/4 inch thick works best for even drying.
Arrange the slices in a single layer on a baking sheet lined with parchment paper, making sure they don’t overlap. This helps ensure good airflow and prevents sticking.
Preheat your oven to around 200°F (90°C); this low heat setting is ideal for slowly drawing out moisture without cooking the fruit.
Place the baking sheet in the oven and let the strawberries dry for 2 to 3 hours, keeping an eye on them and flipping the slices or rotating the tray halfway through for more even results. Thicker slices might require additional time, while thinner ones might be ready sooner—so check for a leathery texture.
If your strawberries come out sticky or too chewy, try extending the drying time or slightly lowering the temperature on your next batch. If they become too dry and brittle, reduce the drying time instead. Uneven drying can often be fixed by rotating the trays or flipping slices as needed.
Once fully dried, let the strawberries cool completely before storing them in an airtight container. This will help preserve their delicious sweetness and chewy texture for weeks to come.
Storing and Enjoying Your Dried Strawberries
After you’ve finished drying your strawberries, let them cool completely at room temperature before storing. This step is essential because even a little leftover heat can cause moisture to collect in your containers, which may make the fruit spoil faster.
Once the strawberries are cool, transfer them to airtight containers or resealable bags for storage. Choose a spot that’s cool, dry, and away from direct sunlight—such as a kitchen cabinet or pantry shelf—to help preserve their crispness and flavor.
Under these conditions, dried strawberries can last for several months, but it’s a good idea to check them regularly for any signs of spoilage, such as mold, unusual textures, or off smells. The moment you notice any, it’s best to discard the affected batch.
Dried strawberries are incredibly versatile. Try:
- Snacking on them straight out of the bag
- Mixing them into morning cereals or yogurt bowls
- Tossing them into trail mixes for a sweet twist
- Baking them into muffins and cookies for an extra punch of fruity flavor
You’ll find that with proper storage, your dried strawberries remain a delicious and convenient addition to your kitchen for months to come.
Tips for Success & Common Questions
To get the best results when drying strawberries, start by slicing them evenly—about 1/8 to 1/4 inch thick works well—so all pieces dry at the same rate. Be prepared to wait; drying strawberries takes several hours, whether you use an oven or a dehydrator, so patience is key for that perfectly chewy texture.
For even drying, flip the slices about halfway through the process. You might wonder if you can dry whole strawberries, but it’s generally not recommended because they take much longer and tend to end up mushy or unevenly dried.
If you want a flavor twist, try sprinkling your slices with a little cinnamon or sugar before drying—they add a fun touch without overpowering the strawberry taste.
Flipping slices isn’t just optional; it’s crucial to avoid soggy or leathery spots. If you end up with strawberries that are too tough, they likely over-dried at a high temperature—try lowering the heat next time. If they’re sticky, dry them a little longer. Should the flavor seem bland, using fresher, peak-season berries or a light dusting of sugar before drying can help.
With these tips, you’re well on your way to sweet, homemade dried strawberry snacks.
Variations and More Fruity Ideas
Once you’ve mastered oven-drying strawberries, why not branch out? Apples, bananas, mangoes, and peaches also transform beautifully in the oven. For extra flavor, try sprinkling cinnamon on apple slices or mixing dried fruits together for a colorful trail mix.
You can even puree your favorite fruits to create homemade fruit leathers—just spread the mixture on parchment and dry until chewy. Experiment with combinations like mango-peach or strawberry-banana for custom flavors.
The possibilities for fruity snacks are endless, so have fun trying new ideas and discovering your favorites as you go!