Getting Started with Garlic
Raised bed garlic planting has quickly become a favorite technique among home gardeners, and it’s easy to see why. Garlic is not just a staple in countless recipes—it’s also remarkably simple to grow, rewarding you with plump, flavorful bulbs that often taste fresher and more robust than store-bought options. By planting garlic in raised beds, you gain the advantage of controlling soil quality and drainage, which can lead to healthier, more productive plants. Growing garlic at home lets you try unique varieties rarely found at supermarkets and can significantly cut down on your grocery bills over time.
When getting started, timing is key: garlic thrives when planted in the fall, usually a few weeks before the ground freezes, though gardeners in milder climates may plant in early spring. It prefers well-drained, loose soil, slightly on the sandy side, and a spot that gets plenty of sun—about six to eight hours daily. Raised beds make it easier to meet these conditions by allowing you to amend the soil and improve drainage, which is essential for preventing garlic rot. Whether you’re an experienced gardener or a first-timer, raised bed garlic planting is a straightforward way to bring homegrown, gourmet flavors straight to your kitchen.
Choosing the Right Garlic for Your Garden
When starting your garlic garden, the first big choice is between hardneck and softneck types—each with distinct traits and ideal growing conditions.
Hardneck garlic thrives in regions with cold winters, developing a stiff central stalk and producing larger, more flavorful cloves. Varieties like ‘Music’ or ‘German Extra Hardy’ are great options for northern gardeners.
In contrast, softneck garlic, such as ‘California Early’ or ‘Inchelium Red’, is better suited to milder climates and stores longer, with more but smaller cloves per bulb.
No matter your climate, always select high-quality, disease-free seed bulbs from reputable garden suppliers instead of supermarket garlic, which may not be suited for your region and is sometimes treated to prevent sprouting. Look for bulbs that are plump, firm, and show no signs of mold or damage.
If you’re gardening in cooler zones, give ‘Rocambole’ or ‘Chesnok Red’ a try; for warmer gardens, ‘Silverskin’ and ‘Artichoke’ types perform well.
Spend some time researching which varieties local growers recommend for your area—your county extension office or community garden networks are often excellent resources. By choosing wisely, you’ll set yourself up for a hearty and flavorful garlic harvest.
Preparing the Soil and Planting Garlic

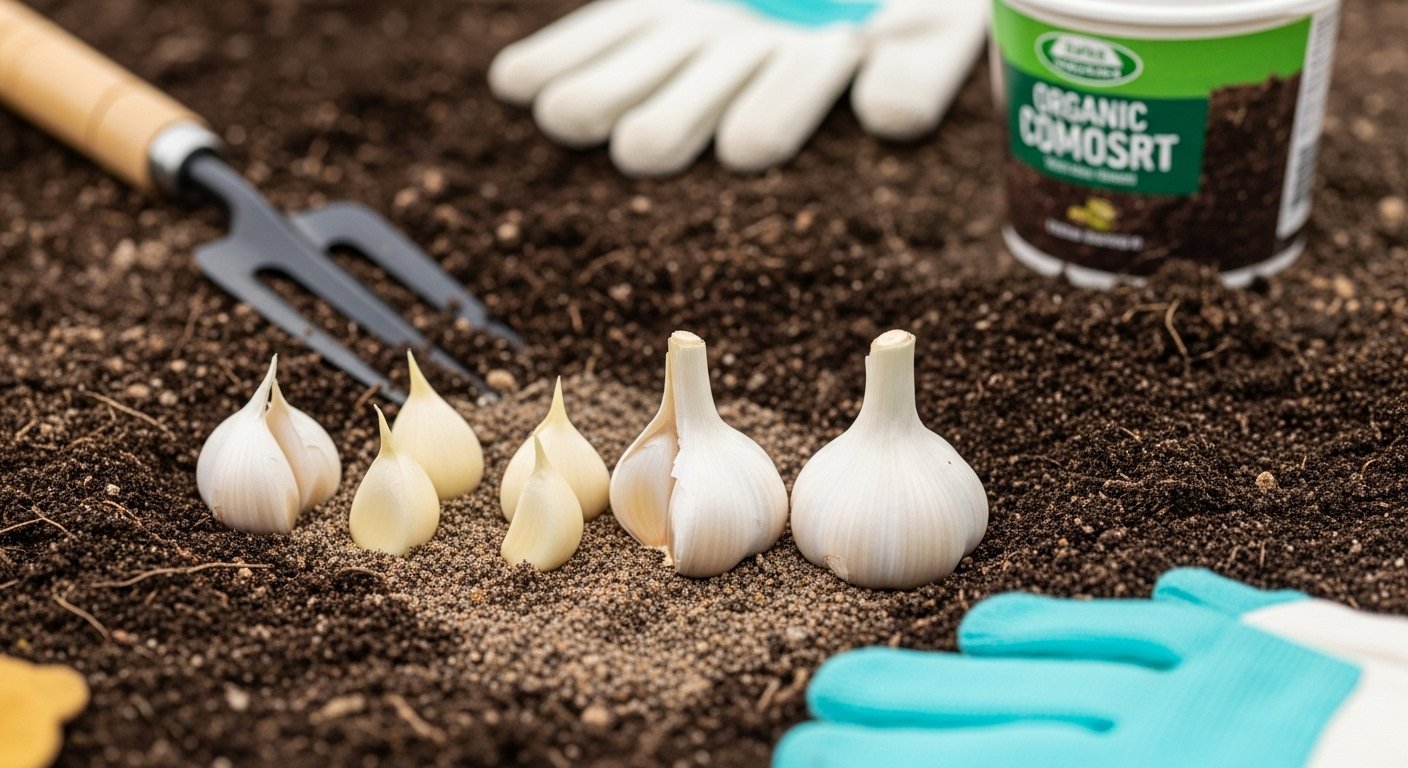
Growing great garlic starts with preparing the right home for your cloves. Choose a sunny spot—garlic loves at least six hours of sunlight daily—and loosen the soil to at least 8 inches deep. Garlic thrives in well-draining, fertile soil, so you’ll get the best results by mixing in compost or well-rotted manure.
If your soil is heavy clay, add sand or perlite to improve drainage since soggy ground can cause bulbs to rot. Raised beds and large containers work very well, especially if you’re limited on space. For containers, use a quality potting mix amended with a few handfuls of compost and ensure there are drainage holes.
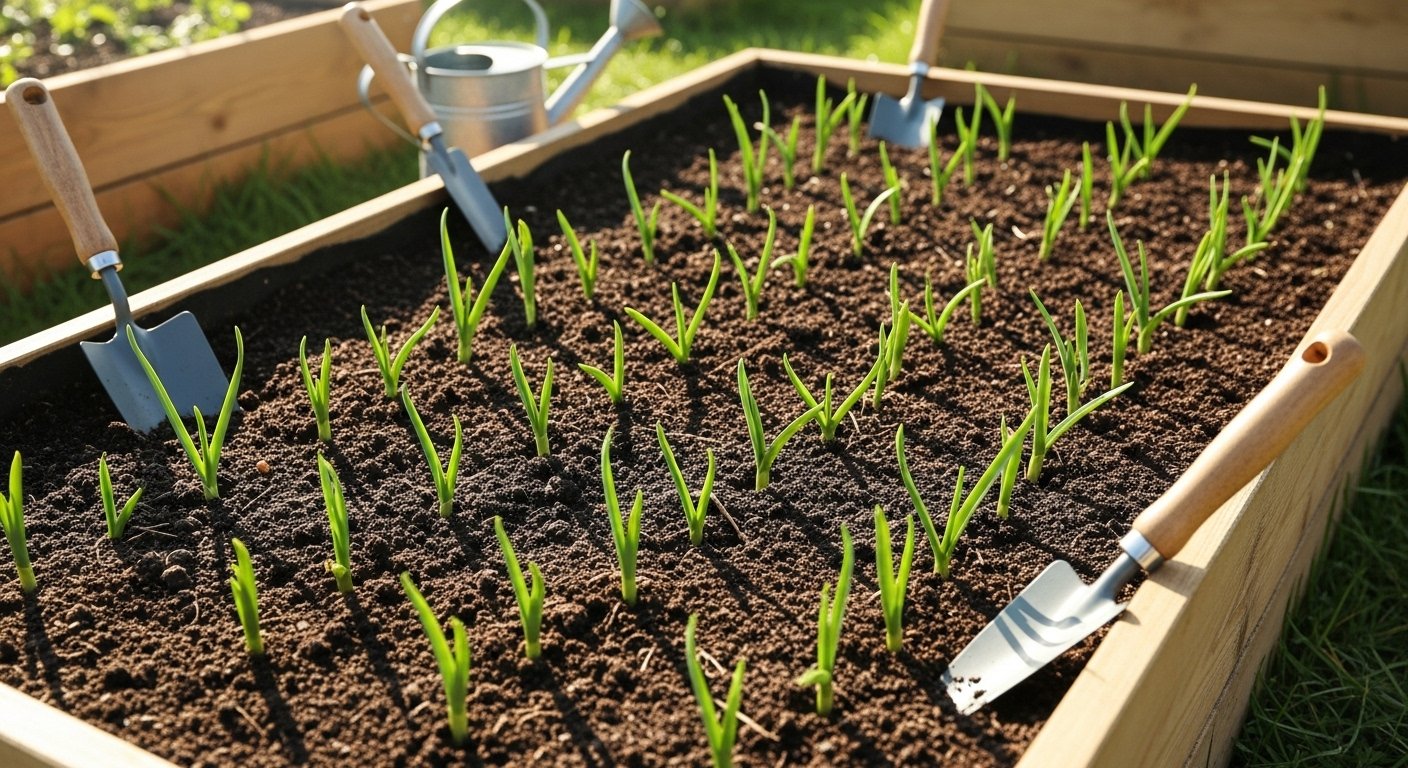
Space each garlic clove root-side down (pointy tip up), 2 inches deep and about 4 to 6 inches apart—think about the mature size of a garlic bulb so they don’t crowd each other. In small spaces or pots, stagger the planting in a zigzag pattern to fit more cloves without cramping their growth.
Garlic is typically planted in fall—about 2 to 4 weeks before the first hard frost—so roots can establish before winter chills. In mild climates, you can plant as late as early winter; in very cold regions, mulch with straw or leaves for insulation. If you miss the fall window, early spring planting is possible, but your bulbs will be smaller.
For the best yield, use certified disease-free seed garlic rather than supermarket bulbs, and break the heads into individual cloves just before planting. Remember, don’t overwater—keep soil just barely moist after planting, especially in containers, to avoid rot.
With a little planning and care, even urban gardeners can harvest impressive garlic crops right from the balcony or backyard.
Caring for Garlic Plants
Garlic plants thrive with a little thoughtful care, especially when it comes to watering. Aim to keep the soil consistently moist but never soggy—watering about once a week is usually sufficient. Always check the soil with your finger; if the top inch feels dry, it’s time to water. Avoid overwatering, as soggy soil can cause bulbs to rot.
As garlic grows, it needs a nutrient boost: apply a balanced fertilizer or compost tea when the shoots reach 3-4 inches tall, then once again as the bulbs begin to swell. Be diligent with weeding—garlic doesn’t compete well with weeds for nutrients or water.
Mulch with a layer of straw or shredded leaves; this helps retain moisture, suppress weeds, and keep soil temperatures steady.
Pest and Disease Management
Watch out for pests like onion maggots and thrips, and diseases such as white rot or downy mildew. Natural prevention includes:
- Rotating crops each year
- Using disease-free seed garlic
- Encouraging beneficial insects with flowering companion plants
Remove any visibly unhealthy plants promptly to prevent spread, and avoid overhead watering to minimize fungal issues.
Taking these steps will set your garlic up for a strong, healthy harvest.
Harvesting and Storing Garlic
Knowing when to harvest garlic is key to getting the best flavor and shelf life. Look for the bottom leaves turning brown while the top leaves remain green—usually in late spring or early summer, about 7-8 months after planting.
To avoid damaging the bulbs, use a garden fork or trowel to gently loosen the soil and lift the bulbs, rather than pulling them by the stems. Once harvested, keep the bulbs intact with their stems and roots attached for curing.
Lay your garlic out in a single layer in a dry, shaded, and well-ventilated area—this could be a shed, garage, or even under a covered porch. Proper curing takes about two to three weeks and helps the papery skins harden, sealing in flavor and preventing mold.
Once the outer layers are dry, trim off the roots and cut stems to about one inch. For long-term storage, keep garlic bulbs in mesh bags, paper bags, or baskets at room temperature in a cool, dry, and dark spot. Avoid plastic bags, which trap moisture and cause decay.
Check your garlic regularly and remove any bulbs showing signs of sprouting or rot to keep the rest of your harvest in top shape for months.
Good and Bad Companion Plants for Garlic
Garlic is a superstar companion plant, offering natural pest deterrence and helping you make the most of your garden space. Planting garlic near carrots, tomatoes, peppers, and cabbage can repel destructive insects like aphids and cabbage loopers, thanks to garlic’s strong scent and sulfur compounds. Roses also benefit from having garlic nearby, as it can help keep black spot disease and common pests away.
However, avoid planting garlic close to beans, peas, or asparagus; garlic may stunt their growth through allelopathy—a natural chemical suppression—or excessive resource competition, since these crops have different nutrient and moisture needs.
To optimize your mixed beds, space garlic thoughtfully by tucking individual cloves between pest-prone vegetables, but allow enough room for airflow and root expansion (typically 4-6 inches apart). Rotate your crops each year to prevent disease buildup and avoid soil depletion from repeated heavy feeders like garlic.
By mixing garlic with compatible neighbors and keeping incompatible ones at a distance, you’ll create a healthier, more resilient garden.