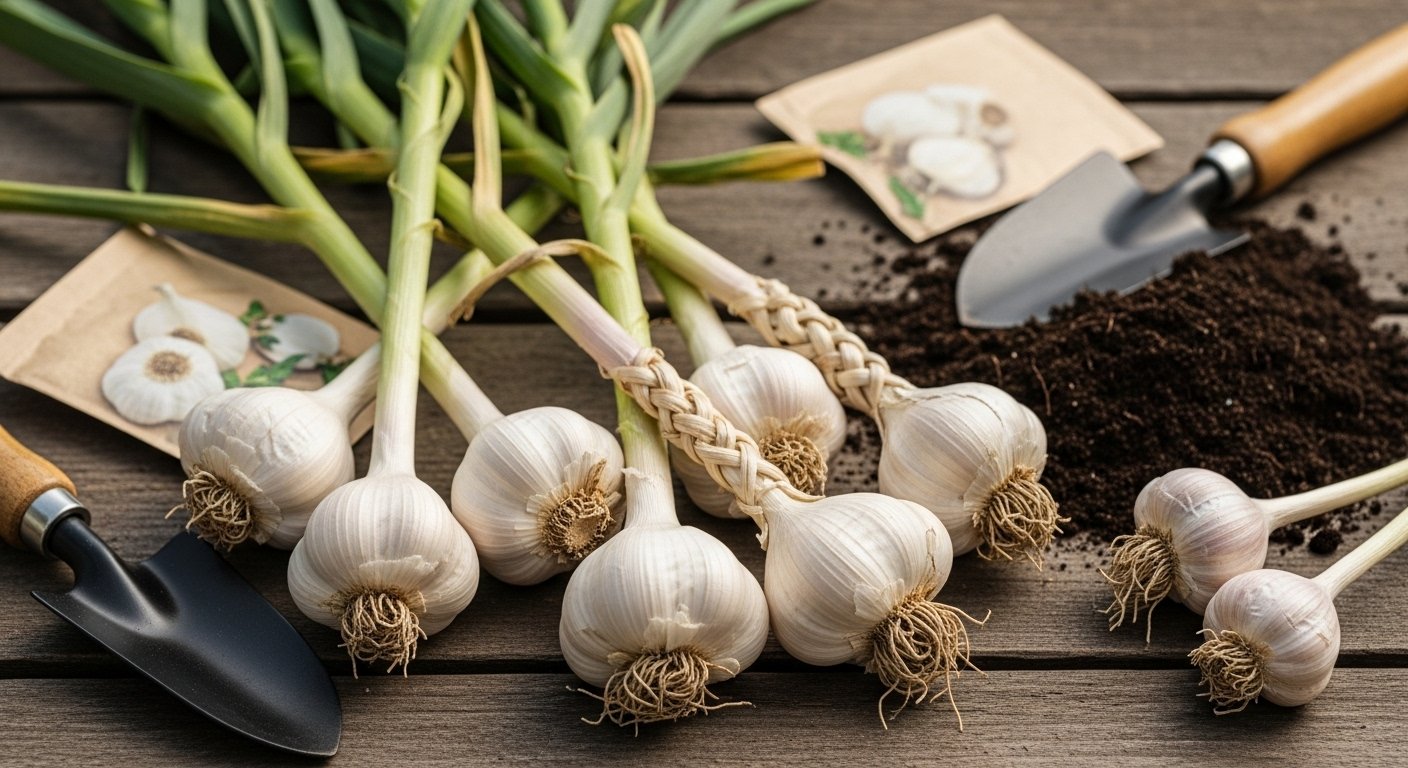
Types of Garlic and Their Differences
Wondering if spring garlic planting is possible or if you’ve missed your window? You’re not alone—many gardeners want to enjoy homegrown garlic but aren’t sure which types thrive when planted in spring or how to tell hardneck and softneck garlic apart.
Here’s the good news: both hardneck and softneck garlic offer unique qualities and, with the right variety, can succeed in spring.
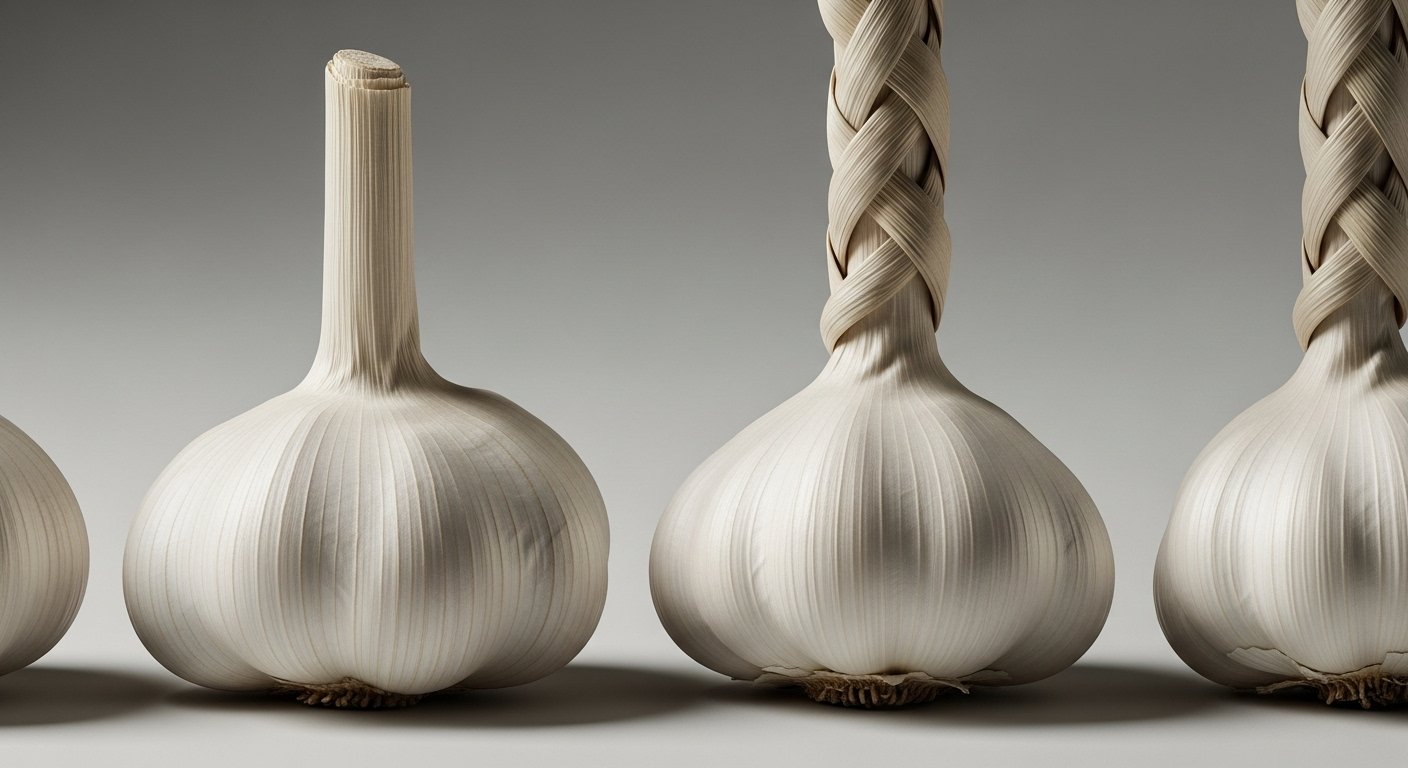
Hardneck Garlic
Hardneck garlic, known for its stiff central stalk, produces larger, easy-to-peel cloves and adds bold flavor to dishes—a favorite among foodies and northern gardeners due to its cold tolerance.
Softneck Garlic
Meanwhile, softneck garlic (think the familiar braided kind) is prized for its milder taste, excellent storage life, and ability to adapt to warmer regions.
Popular Varieties
- Hardneck: ‘Music’ is known for its robust taste and reliability in cooler climates.
- Softneck: ‘California Early’ and ‘Inchelium Red’ are loved for their plentiful, long-lasting bulbs and versatility in milder zones.
Choosing the best type depends on your planting window and local conditions, but with a little know-how, spring garlic planting can yield just as delicious a harvest as fall.
Can You Plant Garlic in Spring? Essential Rules
While fall is the traditional and preferred time to plant garlic—giving bulbs a cold period to develop larger cloves—spring planting is definitely possible, though it comes with a few important considerations.
In fall, garlic planted in cool soil overwinters and puts out robust roots, often resulting in bigger, fuller heads by summer harvest. By contrast, spring-planted garlic has less time to grow before the heat of summer signals the plant to stop producing new cloves and begin maturing, which usually means you’ll end up with smaller bulbs.
The main challenges with spring planting are these time constraints and the lack of winter’s cold vernalization, which some garlic varieties need to properly divide into cloves. To increase your chances of success:
- Choose softneck or early-maturing varieties.
- Consider pre-chilling the seed garlic in your refrigerator for a few weeks before planting to mimic winter temperatures.
Spring planting makes sense if you missed planting in fall, discovered old seed garlic late, or if you live in particularly cold zones where fall planting can risk winterkill. It can also suit gardeners wanting a quicker green garlic harvest—similar to scallions—which is a tasty and versatile kitchen ingredient.
Make sure to plant early in the spring, as soon as the ground can be worked, and keep soil moist and well-fed to give your garlic the best possible start. With a little care and the right expectations, spring garlic can still bring flavor and satisfaction to your summer garden haul.
How to Prepare Garlic for Planting (Vernalization and Bulb Prep)
Vernalization is a crucial step in preparing garlic for planting, especially if you’re aiming for a good spring harvest. Simply put, vernalization is the process of exposing seed garlic (the plantable cloves) to cold temperatures for several weeks. This cold period mimics winter and is essential for triggering robust bulb development once the weather warms up.
For gardeners in warmer climates or those planting softneck varieties in the spring, this chilling process helps ensure your garlic grows into large, healthy heads.
Steps to Vernalize Your Garlic
- Start by purchasing high-quality seed garlic from a reputable online supplier or local garden center—avoid grocery store garlic, as it’s often treated with chemicals to prevent sprouting and may carry diseases.
- Place whole bulbs (still unpeeled) in a paper bag or breathable container, then store them in your refrigerator’s vegetable drawer for about 4 to 8 weeks before your intended planting date.
- Make sure the fridge temperature stays around 32–40°F (0–4°C), and keep your garlic away from apples or other fruit, which release ethylene gas and can compromise garlic quality.
Preparing the Bulbs for Planting
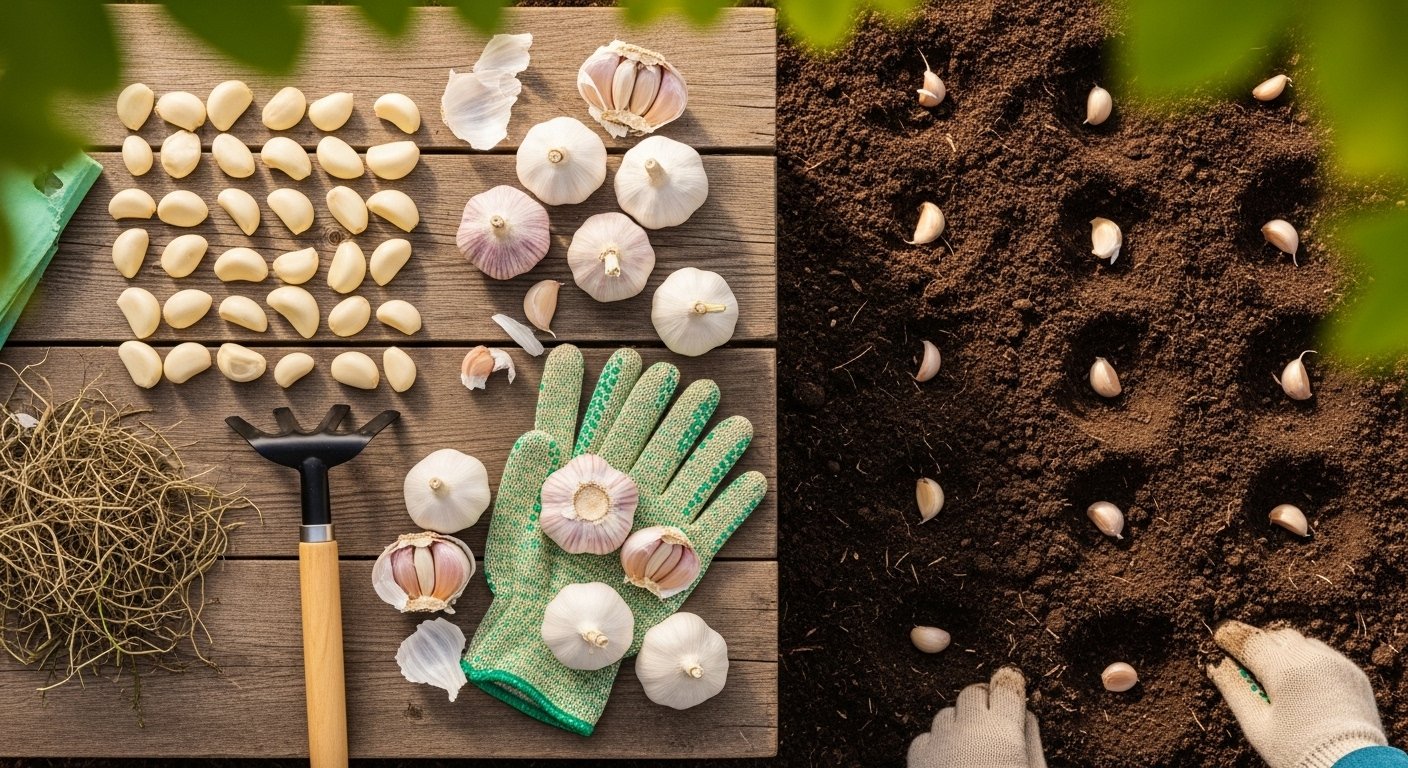
After chilling, separate each bulb into individual cloves, keeping the papery skins intact. Select only the biggest, healthiest cloves for planting—they’re more likely to produce robust plants with large bulbs.
Discard any small, shriveled, or blemished cloves; while it’s tempting to use everything, these weak cloves don’t yield strong plants. Gently break apart the bulbs just before planting to minimize the cloves’ exposure to air and potential disease.
Why Quality Seed Garlic Matters
Remember, sourcing true seed garlic, especially certified disease-free stock, is well worth the investment compared to grocery store garlic, which may carry pests or be a poor match for your local climate. Taking the time to vernalize and prep your bulbs sets your garlic crop up for success right from the start.
Step-by-Step Guide: Planting Garlic in Spring
Planting garlic in the spring is both rewarding and surprisingly easy when you know a few essential steps. Start by choosing a sunny spot since garlic thrives on at least six hours of sunlight daily. Prepare the soil by loosening it to a depth of 8-10 inches and mixing in compost or well-rotted manure to create rich, well-drained ground; garlic doesn’t like soggy roots. Aim for a soil pH between 6 and 7 for the best results.
Break apart your garlic bulb into individual cloves, leaving the paper skins on, and select only the largest, healthiest cloves for planting. Sow each clove with the pointed end up, spacing them about 4-6 inches apart and burying them 2 inches deep. Rows should be 12 inches apart so the plants have room to grow and airflow to prevent disease.
If you’re using containers, make sure your pot is at least 8 inches deep—fill it with fertile, loose potting mix and follow the same spacing and depth recommendations as you would outdoors.
Timing and Soil Conditions
When planting in the spring, timing is key: wait until the soil is workable and at least 50°F. Use an inexpensive soil thermometer to check—cloves won’t root well in colder soil. If a cold snap is still possible, protect new plantings with a layer of straw or shredded leaves, which also helps maintain consistent soil moisture and discourages weeds.
Keep the soil damp but not soggy as garlic roots develop; containers may dry out quicker than garden beds, so monitor them more closely. Spring-planted garlic usually matures a bit later than fall-planted, so be patient and watch for yellowing leaves as a harvest cue.
Companion Planting Tips
Garlic is a powerful ally in the garden. It deters pests like aphids, Japanese beetles, and spider mites, making it a great neighbor for tomatoes, peppers, carrots, and brassicas such as cabbage and broccoli. You can tuck garlic between these rows for natural pest control.
Avoid planting garlic near legumes like beans and peas, as it can inhibit their growth. If you have limited space, try mixing garlic with herbs—the pungent aroma keeps pests at bay, and the shallow roots won’t compete with deeper-rooted plants.
By following these simple steps and tips, spring-planted garlic can deliver a satisfying harvest with minimal fuss and plenty of garden benefits.
Garlic Plant Care Through the Growing Season
Watering is crucial for spring-planted garlic, especially as days warm up and bulbs develop—aim to keep the soil evenly moist but never soggy. You can check moisture by sticking your finger about an inch into the ground; if it feels dry, it’s time to water.
Early in the growing season, a high-nitrogen fertilizer like blood meal or fish emulsion can boost leaf growth, but avoid overdoing it once you spot bulb formation, as too much nitrogen can affect bulb size.
Keep weeds at bay by hand-pulling them regularly. A thick layer of straw mulch not only smothers weeds but also holds in moisture and protects the developing bulbs from sudden temperature swings.
Mulching further shields garlic from sharp cold snaps or hot spells that might stress the plants—just make sure the mulch remains fluffy and doesn’t mat down against stems, which could trap moisture and encourage rot.
For pest control, encourage natural predators like ladybugs to handle aphids, or spray a homemade garlic or neem oil solution if you spot pests.
Check for signs of fungal diseases, such as yellowing leaves or white, fuzzy spots. Rotating your garlic beds each year and avoiding overwatering will prevent most common issues.
If leaves yellow prematurely or growth seems stunted, inspect for compacted soil or waterlogging—gently loosen the soil or adjust your irrigation routine.
Whenever you notice slow growth or misshapen bulbs, dig up a single plant to check root health or look for pests like onion maggots.
Staying vigilant with regular maintenance and quick troubleshooting will help your garlic thrive and reward you with a robust harvest at season’s end.
Harvesting and Next Steps for Spring-Planted Garlic
Knowing when to harvest your spring-planted garlic is key to getting the biggest, best-tasting bulbs. Watch for the lower leaves turning dry and brown while the top few sets stay green—usually, this signals that your garlic is ready.
Test by gently digging up a sample bulb; if the cloves are plump and the wrappers are still tight and papery, it’s time. Harvest in the morning when the soil is dry, using a garden fork or shovel to lift bulbs without damaging them. Never pull them by the leaves, as this can break the stem and bruise the bulb.
Once your garlic is out of the ground, gently brush off the loose soil but don’t wash them—moisture encourages rot. Bundle about eight to ten plants together and hang them in a well-ventilated, shaded area for two to four weeks to cure. Good airflow and darkness protect flavor and prevent mold.
When the wrappers are crisp and the necks completely dry, trim the roots and cut the stem an inch above the bulb. For storage, keep your cured garlic in mesh bags, paper sacks, or baskets—anything that allows air circulation—and store in a cool, dry, dark space; kitchen cupboards or basements work well if they stay above freezing.
Properly stored bulbs can last six months or more, letting you enjoy homegrown garlic in everything from stir-fries to salad dressings or roasting whole for sweet, mellow flavor.
For next year’s planting, pick your best, biggest bulbs with tight cloves; set aside a few heads rather than eating them all. Store these for seed in the same way, and break bulbs into individual cloves just before planting—larger, healthier cloves will grow into robust new plants.
By paying attention through each step, you’ll close the loop from harvest to the next crop, cycling homegrown garlic year after year.