
Understanding Carrots and Their Varieties
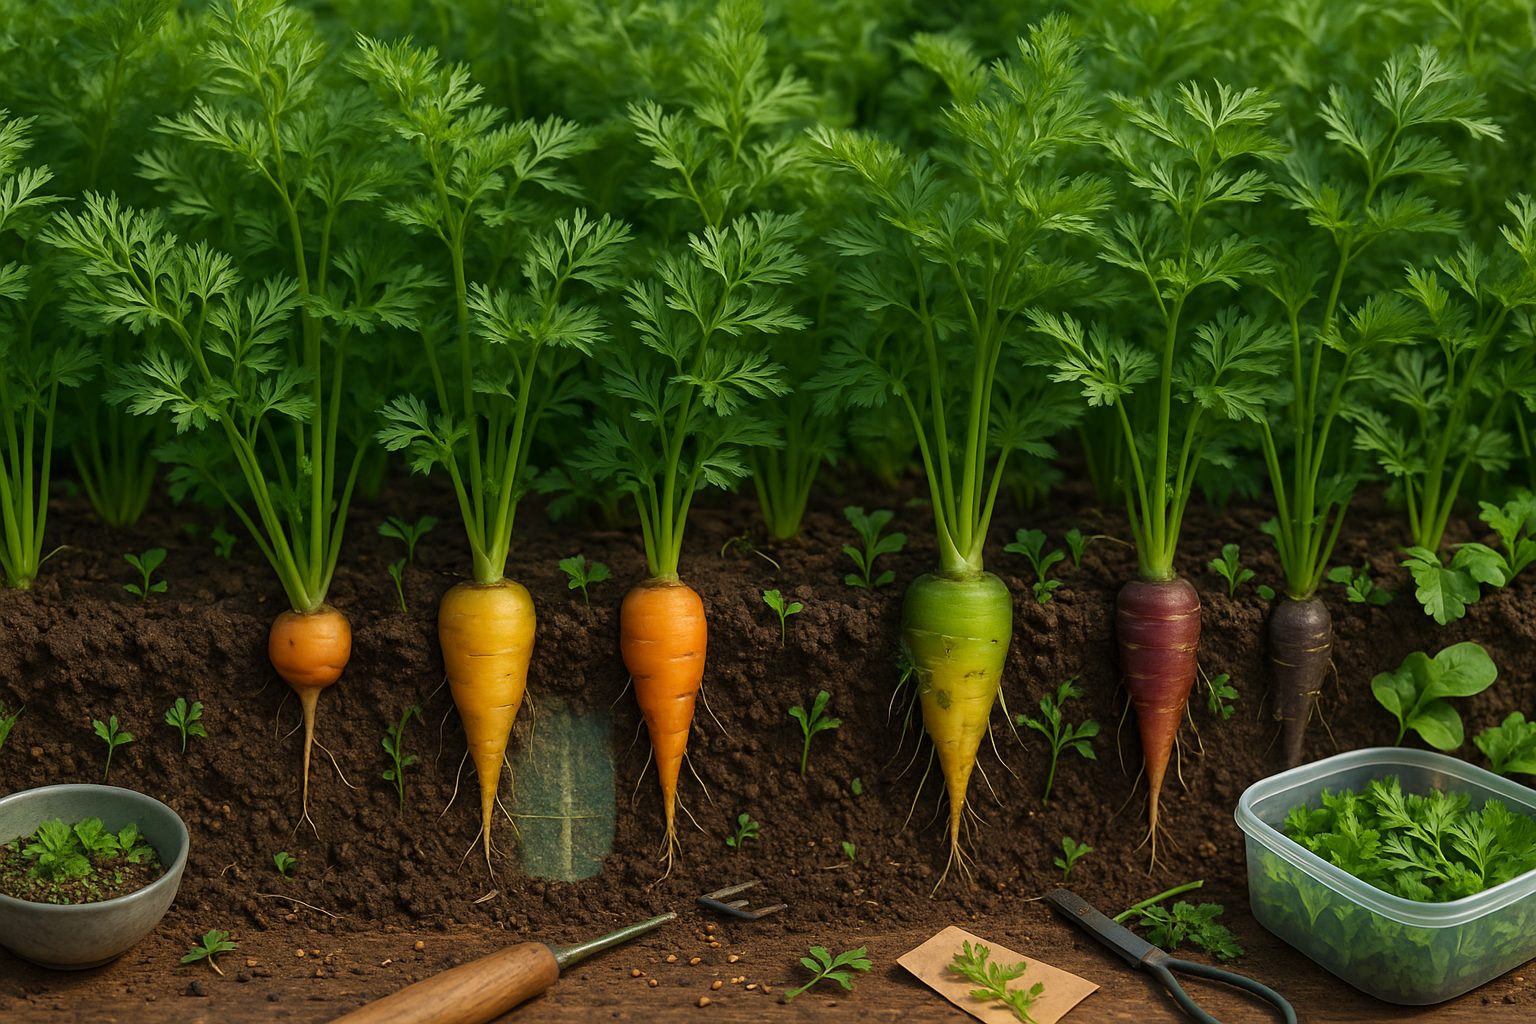
If you want to grow carrots from seed, you’re joining countless home gardeners who appreciate this crisp, nutritious root vegetable. Carrots are a kitchen staple worldwide, but many people don’t realize the diversity among carrot varieties. Beyond the familiar orange, carrots come in a rainbow of colors, including deep purple, golden yellow, and even white. They also vary in shape—from the classic tapered roots perfect for grocery displays to short, round “Parisian” types that thrive in container gardens or heavy soils.
Some varieties, like ‘Nantes’, mature in as little as 60 days and offer a sweet, crunchy bite ideal for raw snacks. Others, such as ‘Danvers’ or ‘Imperator’, may require up to 80 days for harvesting but reward you with robust flavor and longer storage life.
Choosing the Right Carrot Variety
Choosing the right carrot variety is crucial for success, and your selection should be guided by your climate, soil type, and intended use.
- If you have heavy, clay-rich soil, look for short or round varieties like Thumbelina or Chantenay, which don’t mind compacted earth.
- Those with loose, sandy soils can experiment with longer types like Imperator or Scarlet Nantes.
- Climate also matters—if you garden in a cooler region with a shorter growing season, opt for quick-maturing carrots such as Early Nantes or Amsterdam Forcing.
- Meanwhile, warmer regions or those with longer seasons will benefit from varieties that take their time and develop richer flavors.
Finally, consider your kitchen plans: petite carrots are perfect for roasting whole or adding to salads, while chunkier, sturdier types work well in stews or for long-term storage. Taking time to match your seeds to your garden’s conditions and your table’s needs is the first step in a rewarding journey to grow carrots from seed.
Choosing the Right Time and Place to Plant
When planting carrots, getting the timing and location right can make all the difference in your harvest. Carrots grow best in cool weather, so in most USDA zones (specifically zones 3-10), sow seeds directly in the garden 2-4 weeks before your last expected spring frost, or in late summer for a fall crop.
In hotter southern zones, late fall or winter sowing is ideal to avoid the intense summer heat that can cause tough, bitter roots. Pay attention to soil temperature—carrot seeds germinate best between 55°F and 75°F, so use a soil thermometer if you’re unsure. Planting too early in icy soil slows germination, while overly warm soil can dry seeds out quickly.
Next, pick a sunny location—carrots need at least six hours of direct sun daily for robust growth and sweet flavor. Good drainage is crucial; heavy clay or compacted soils can lead to stunted, misshapen roots, so opt for loose, deep, sandy loam if possible.
Before sowing, clear the bed of rocks and debris, and space rows about 12-18 inches apart to ensure airflow and room for thinning. Rotate your crops each season—avoid planting carrots where other root crops or members of the Apiaceae family (like parsley and parsnips) grew last year, as this reduces risks of pests and diseases.
Proper timing also affects seed germination and healthy root development. If seeds are planted too late, roots may mature in summer heat, leading to poor texture or bolting, while planting too early can cause slow emergence and weak seedlings.
By syncing your planting schedule and location with these practical guidelines, you set the stage for straight, sweet, and flavorful carrots every season.
Preparing the Soil for Carrot Seeds
Getting your soil ready is the most important first step to growing beautiful, straight carrots. Carrots need loose, well-drained, and stone-free soil because their tender roots grow fast and deep. Heavy or rocky soil causes carrots to fork, twist, or grow short and stubby.
Before planting, take time to clear out all rocks, large clods, and debris by raking or sifting your soil about 10-12 inches deep. If your soil is heavy clay, mix in coarse sand and plenty of finished compost—this will improve drainage and make it easier for roots to push through.
Always avoid using fresh manure, as it can burn young seedlings and encourage forked or hairy carrots due to excess nitrogen. Instead, stick with well-rotted compost for a nutrient boost.
Check your soil’s acidity using an at-home pH kit; carrots prefer slightly acidic to neutral soil, ideally between 6.0 and 6.8. If your soil is too acidic, add garden lime; if it’s too alkaline, a little elemental sulfur can help.
Watch out for waterlogging—if your garden tends to stay wet, consider building up a raised bed to keep your carrot patch well-drained. Taking these extra steps early means you’re setting the stage for a bumper crop of long, sweet carrots with perfect shapes.
How to Plant Carrot Seeds
Planting carrot seeds requires a gentle touch, but with a few simple steps, anyone can succeed. Start by choosing a sunny spot with loose, rock-free soil, and prepare the bed by raking it smooth.
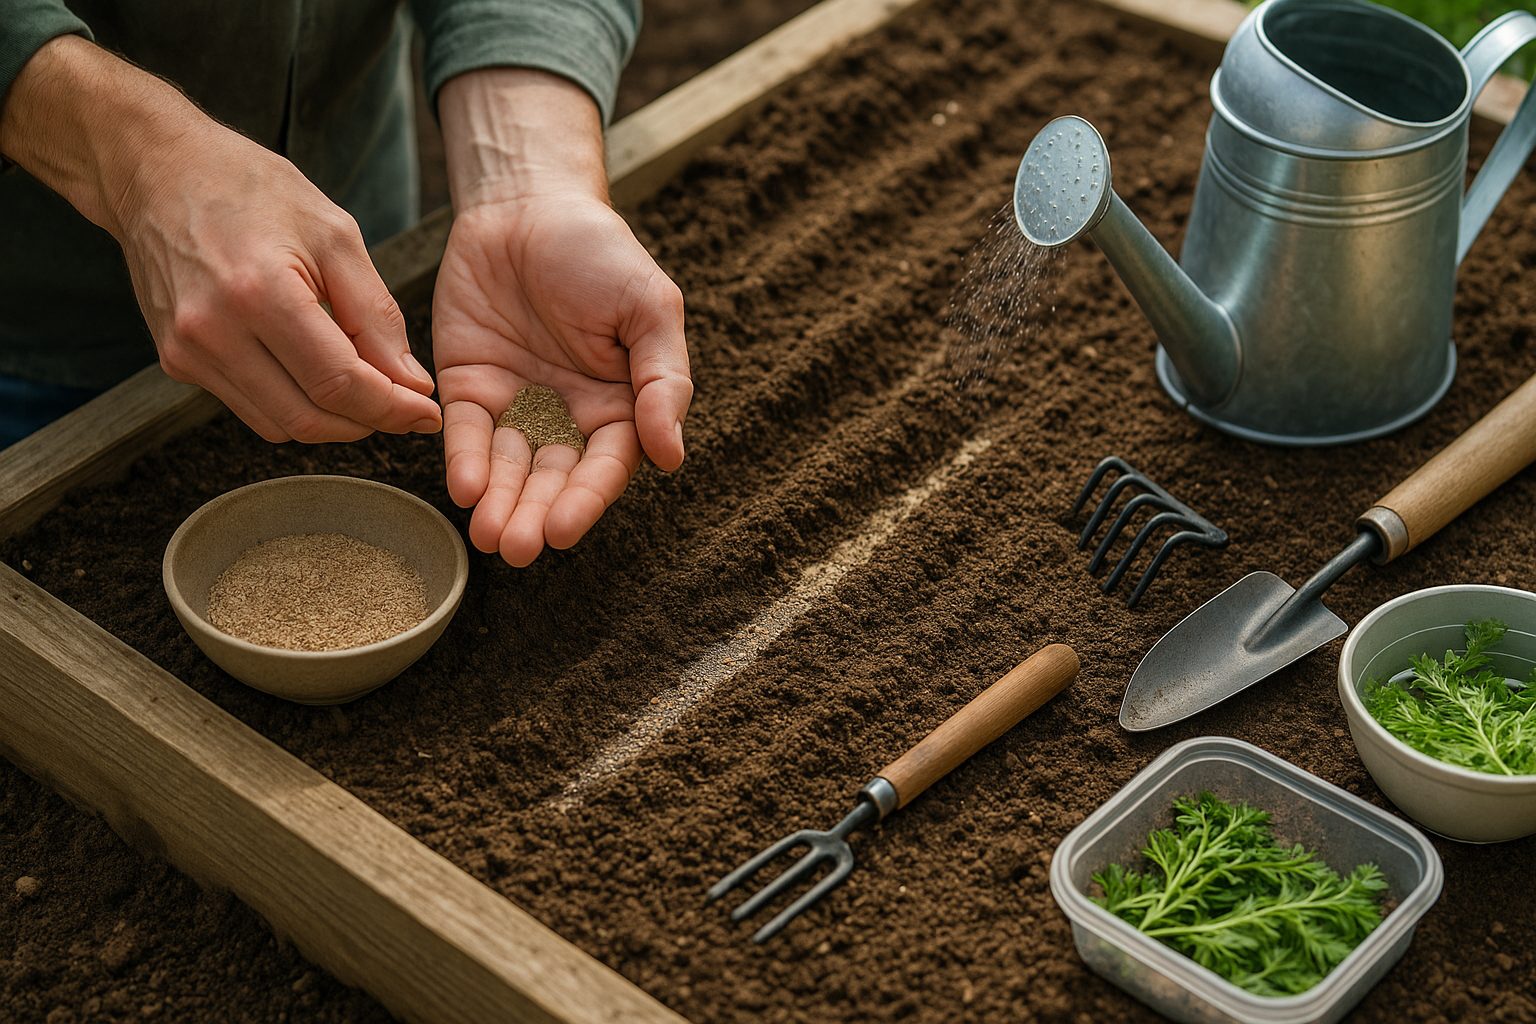
Carrot seeds should be sown thinly at a depth of about 1/4 inch (6 mm); planting them deeper can make it harder for them to sprout. For row planting, draw shallow grooves about 12 inches apart and lightly sprinkle seeds along each row. Aim for a final spacing of 2–3 inches between carrots to prevent overcrowding and stubby roots.
If you prefer scattering, gently broadcast the seeds over the bed, then sprinkle a thin layer of soil or fine compost to cover them. Because carrot seeds are tiny and tend to clump, try mixing them with sand or dry coffee grounds for a more even spread. Alternatively, pinch small amounts of seeds between your fingers and space them out as best you can.
Good moisture is essential for germination, which can take up to three weeks. Keep the soil consistently damp but not soggy. To prevent the surface from drying out, lay a piece of burlap, a lightweight board, or even a sheet of newspaper over the rows — just remove it as soon as you see sprouts.
Water gently, using a sprayer or the mist setting on your hose, so you don’t wash away the seeds. With careful sowing and attentive watering, you’ll soon see delicate green shoots starting to emerge, setting the stage for a rewarding harvest.
Essential Carrot Care: Water, Thinning, and Fertilizer
Carrots thrive when their basic needs are met right from the start. Consistent moisture is key—keep the soil lightly damp but never soggy, especially during the delicate germination stage and as roots begin to form. Dry spells or irregular watering can cause carrots to split or grow unevenly, so consider using a soaker hose or gentle watering can to maintain even soil moisture.
Once seedlings are about two inches tall, thin them carefully to allow at least two inches of space between each plant; crowded carrots compete for nutrients and space, leading to stunted or misshapen roots. It helps to thin after a light watering, gently pulling out extra seedlings or snipping them at soil level.
Light fertilization every three to four weeks, using a balanced, low-nitrogen fertilizer, provides steady nutrition—too much nitrogen can result in lush tops but skinny roots. Mulching around your carrot rows with straw or shredded leaves helps retain moisture, suppress weeds, and keeps the soil temperature steady, which carrots love.
Keep an eye out for issues like forked or twisted roots, which often result from rocky or compacted soil; to fix this, loosen your beds deeply before sowing. Poor color in carrots may signal overwatering, lack of sunlight, or an imbalanced soil pH—aim for full sun and soil around a neutral pH.
With a steady approach to watering, timely thinning, and a watchful eye for problems, you’ll set the stage for crisp, sweet carrots at harvest time.
Common Problems: Pests, Diseases, and Troubleshooting
Growing healthy carrots can be a challenge if you don’t stay ahead of common pests and diseases. Carrot fly, a notorious pest, lays eggs near the base of young plants, and its larvae tunnel into the roots, creating orange tunnels and making carrots inedible. Floating row covers deployed immediately after sowing can create a physical barrier, and interplanting carrots with onions or leeks can help confuse carrot flies, minimizing risk.
Aphids, another pest, cluster on leaves and stems, sucking out plant sap and potentially spreading diseases. A strong spray of water, releasing beneficial ladybugs, or using a diluted soap spray are all effective, non-toxic ways to manage them.
Carrots are also prone to diseases like root rot—often caused by overly wet soil—and powdery mildew, which appears as a white coating on leaves. To limit these issues, practice crop rotation, water at the base of the plant rather than from above, and space plants for good air circulation. For root rot, improve drainage or plant on raised beds, while neem oil can help control mildew outbreaks organically.
Poor germination is common—carrot seeds need consistently moist soil for the two weeks it may take to sprout. Lay a lightweight board over the row until seedlings emerge or water daily with a gentle spray.
Malformed roots, such as forking or stubbing, often result from heavy or stony soil, too much fresh manure, or crowding. Loosen soil to a fine texture before planting and avoid high-nitrogen fertilizers.
By addressing these problems early and sticking with organic solutions, you’ll enjoy a much bigger harvest of crisp, sweet carrots.
Harvesting and Storing Your Carrots
Knowing when to harvest your carrots is key to enjoying the sweetest, crunchiest roots. Carrots are usually ready for harvest about 60-80 days after sowing, but a telltale sign is when the “shoulders” (tops of the roots) poke out of the soil and reach a desirable diameter—typically around 1/2 to 1 inch wide. Some gardeners gently brush away the dirt to check the size before pulling.
When you’re ready, water the area a day prior to harvest to soften the ground, and use a garden fork or small trowel to carefully loosen the soil around each carrot—pulling them straight out by the tops helps prevent snapping the roots. Avoid yanking dry or compacted soil, as this often leads to broken carrots.
After harvesting, trim off the leafy greens about an inch above the root, which helps prevent moisture loss and bitterness. For best results, cure the carrots by leaving them in a cool, shaded area for a day to firm up the skin and heal small nicks.
For short-term storage:
- Rinse and dry the carrots.
- Keep them in a perforated plastic bag or container in the refrigerator crisper.
- They’ll last up to a month.
If you have a big crop, store unwashed carrots in a bucket or box of damp sand in a cool cellar or basement, where they can keep for several months—just check occasionally for rot.
For long-term preservation, consider blanching and freezing carrots, pickling, or canning. These steps help you enjoy homegrown carrots well through the winter, whether as crisp snacks or additions to hearty soups and stews.