Introduction
radish succession planting is a smart gardening strategy that helps you maximize your garden space and enjoy fresh radishes for weeks on end. Instead of planting all your radish seeds at once—resulting in a glut of produce followed by a dry spell—succession planting involves sowing small batches of seeds every week or two. This simple method solves common problems with traditional single harvests: supply gaps and overwhelming yields.
If you’ve ever eagerly pulled up a full row of radishes only to watch half spoil because you couldn’t use them in time, you’re not alone. By staggering your plantings, you can avoid this hassle entirely. In this post, we’ll show you how to set up a radish succession planting schedule and share practical tips to keep your garden producing crisp, delicious radishes from early spring all the way through fall. With a little planning, you can enjoy just the right amount of fresh radishes whenever you want—without waste or disappointment.
Understanding Radish Succession Planting
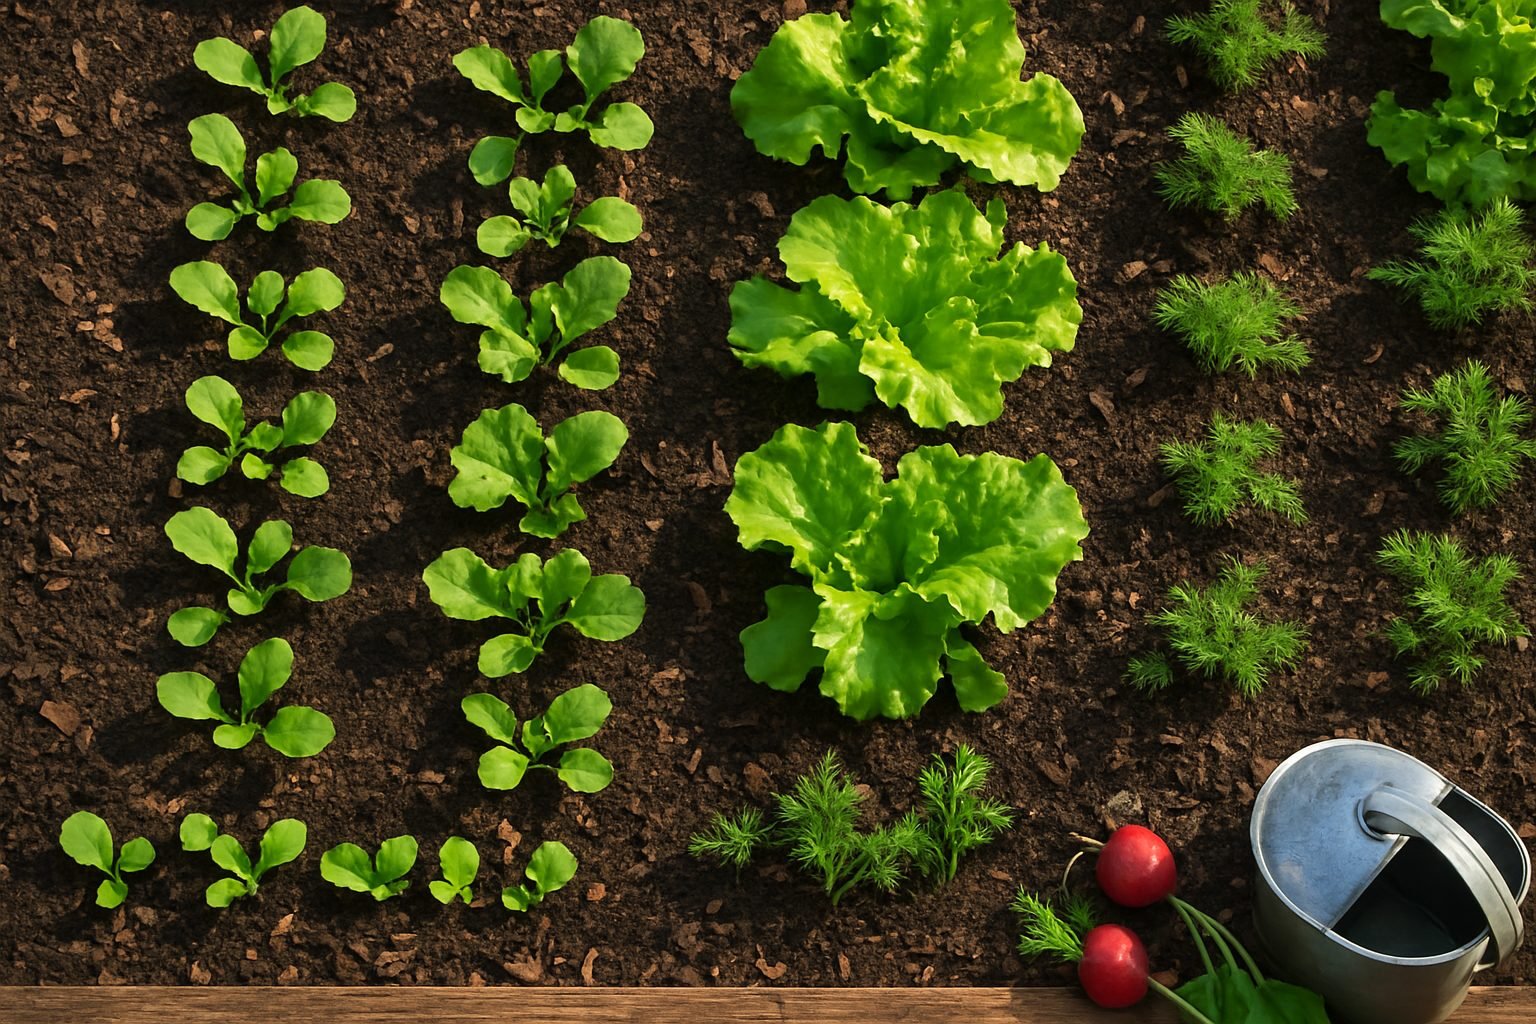
Radish succession planting, also known as successive planting, is a gardening technique where you stagger the sowing of seeds over several weeks instead of planting everything at once. Traditional planting methods involve sowing all your seeds at the same time, which often results in a single, overwhelming harvest. With radish succession planting, especially for quick-growing vegetables like radishes, you can enjoy a steady, fresh harvest throughout the season.
Radishes are perfect for this method because they mature fast—usually in just three to four weeks from seed to harvest. This speedy growth means you can plant new rows of radish seeds every week or two, ensuring a continuous supply of crisp, flavorful roots rather than dealing with a flood of radishes all at once.
A common misconception is that radish succession planting only works for gardeners with large backyard spaces or raised beds. In truth, this technique works wonderfully in smaller areas, including container gardens and balcony planters. By planting a few seeds at a time, home gardeners with limited space can maximize their yield and enjoy regular, manageable harvests.
Instead of having all your radishes mature simultaneously, you’ll always have just enough ready to pick. This makes your garden more productive and helps reduce waste. Whether you have a large vegetable patch or a compact window box, radish succession planting can help you make the most of your space and enjoy fresh produce week after week.
Planning Your Radish Succession
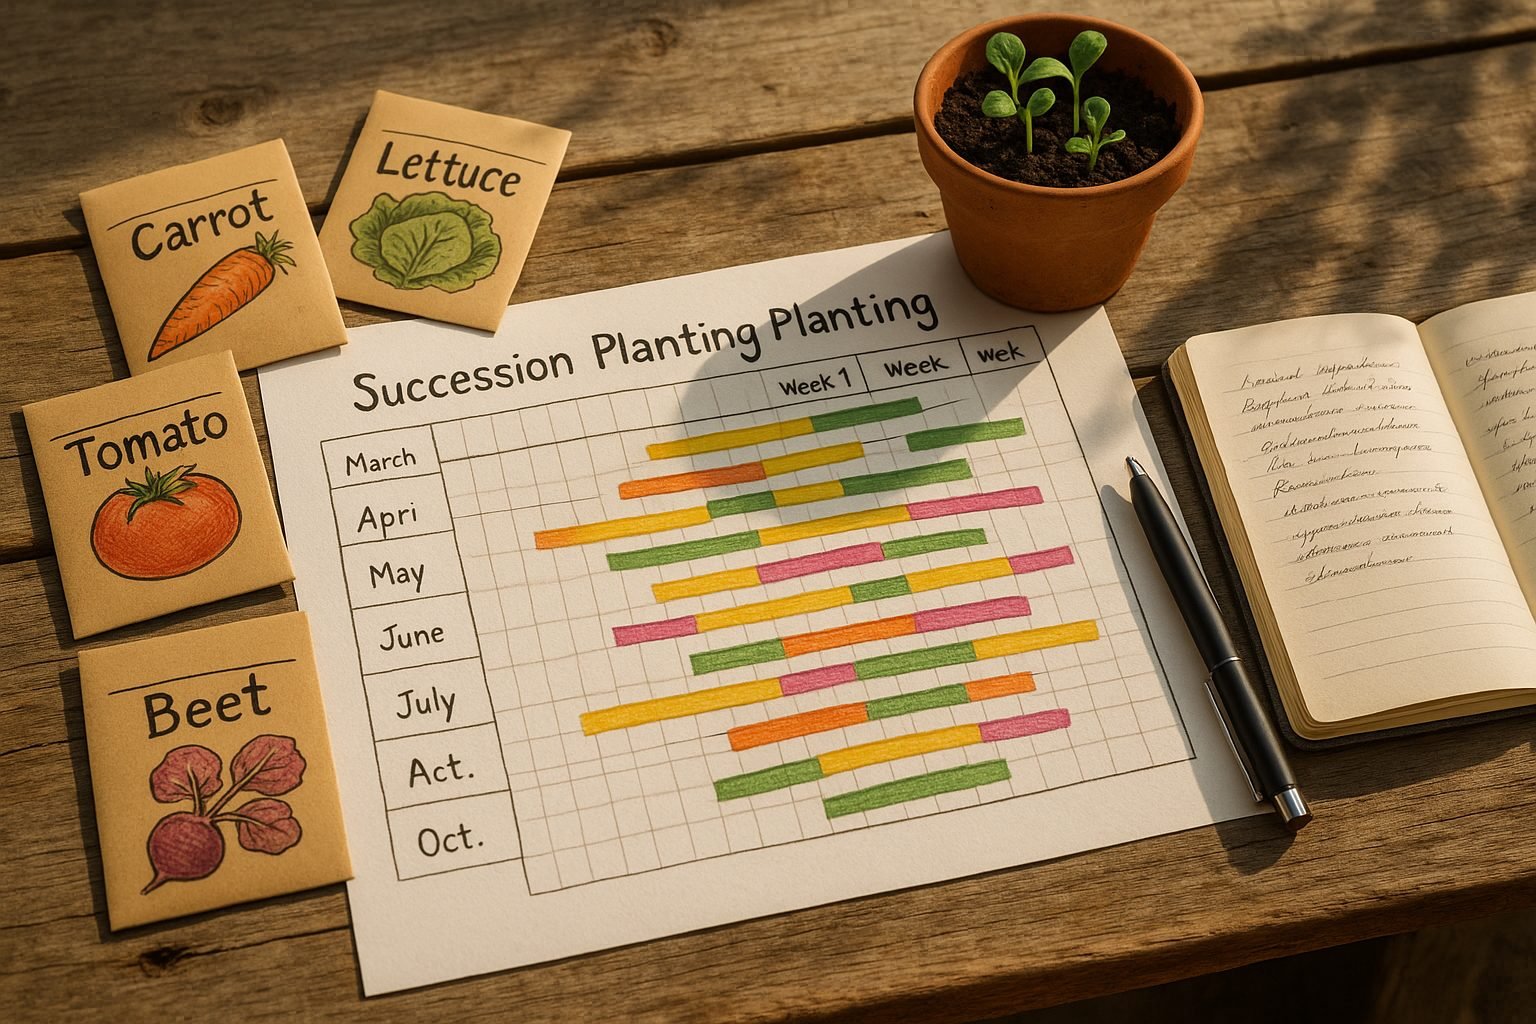
Creating a successful radish succession planting schedule starts with understanding radish growth habits and your local climate. Radishes mature quickly—many varieties are ready in just three to four weeks. To keep a constant harvest, sow new seeds every 7 to 10 days throughout the growing season. This staggered approach ensures your crops don’t mature all at once, giving you a steady supply instead of one overwhelming harvest.
For better organization, use a garden journal or planting calendar to note each sowing date and estimate harvest windows. This helps prevent gaps in your yields and reminds you when to pull your radishes. Many gardeners also rely on free garden planning apps to set reminders on their phones.
For seasonal timing, start sowing radishes as soon as the soil is workable in early spring. During cooler months, choose classic spring varieties like ‘Cherry Belle’ or ‘French Breakfast’ that thrive in chilly, moist soil. As summer heats up, switch to heat-tolerant types such as ‘White Icicle’ or ‘Rat’s Tail,’ which are less likely to bolt or become pithy in warm weather. In the fall, return to cool-season varieties. Keep in mind that radishes grow best when soil temperatures range between 50°F and 70°F.
Radish succession planting also works well with crop rotation. Because radishes mature quickly, they can follow or precede other crops in the same space, helping you maximize garden productivity. Use radishes to break up tough soil or as a quick “catch crop” between longer-season vegetables, improving soil structure and preventing nutrient depletion.
Proper planning not only ensures a steady supply of radishes but also maintains soil health and helps prevent disease cycles—making the most of every inch of your garden.
Soil, Space, and Variety Selection for Radish Succession Planting
Preparing your soil thoughtfully is key for radish succession planting, as repeated sowing can quickly drain nutrients and affect root quality. Start by loosening the soil to a depth of at least 8 inches, removing rocks and clumps so radish roots can grow easily. Before each sowing, mix in plenty of well-rotted compost or aged manure to restore organic matter and maintain fertility throughout the growing season.
If your garden soil is heavy clay or sandy, blend in peat moss or coconut coir to improve drainage and moisture retention—both essential for crisp, flavorful radishes. Regularly rotate in balanced, slow-release fertilizer to replenish nitrogen, phosphorus, and potassium, but avoid excessive nitrogen, which encourages leafy growth instead of bulbs.
When it comes to spacing, radishes need good airflow and room to mature. In raised beds, sow seeds 2–3 inches apart in rows, thinning seedlings so each radish stands at least 2 inches from its neighbor. This prevents overcrowding and lowers disease risk. For container gardening, choose wide, shallow pots and plant in a grid pattern to maximize yield—this also makes re-seeding easy as you harvest.
To keep your harvest going and add variety to your salads, try seed packets of different radish varieties. Early French Breakfast and Cherry Belle mature in as little as 20 days, while Daikon and Watermelon types take up to 60 days. This staggered planting ensures a fresh crop is always available with varying flavors and textures. This way, your radish bed stays productive and interesting from early spring through fall.
Step-by-Step Guide: Radish Succession Planting
To successfully practice radish succession planting, start by preparing a well-drained garden bed with loose, rich soil that receives plenty of sunlight. Sow your first row of radish seeds directly into the soil as soon as the ground can be worked in early spring. Plant the seeds about ½ inch deep and space them 1 inch apart in rows that are 12 inches apart.
Water the seeds gently but thoroughly after planting, keeping the soil consistently moist but not waterlogged. Germination usually occurs within three to ten days, depending on the variety and weather. To maintain a continuous harvest, sow new seeds every 7 to 10 days throughout the growing season. This staggered approach ensures fresh radishes will be ready for harvest every few weeks instead of all at once.
As seedlings emerge, monitor their growth and thin them to about 2 inches apart when they reach around 1 inch tall. This reduces competition and allows the roots to develop properly, resulting in plumper radishes. Check soil moisture regularly and water whenever the top inch feels dry, especially during hot or windy periods.
Keep an eye out for common pests like flea beetles or aphids. Cover young plants with a lightweight row cover or use organic pest controls as needed. Also, watch for signs of disease such as yellowing leaves, stunted growth, or root rot, which can indicate issues with moisture or pathogens. Remove unhealthy plants promptly to prevent spread, and rotate your planting rows each season to minimize recurring problems.
With regular care and weekly sowing, you’ll enjoy a steady supply of crisp, peppery radishes all season long—perfect for snacking, salads, and more.
Harvesting and Using Your Continuous Crop
Knowing when to harvest each batch in your radish succession planting is key to enjoying crisp, flavorful roots all season long. Most radish varieties mature in just three to four weeks, but peak readiness can vary depending on the weather and type. Check the size of the radish shoulders poking out of the soil—once they reach about an inch in diameter and feel firm, they’re ready to harvest.
Pull a few from each row at first to test their texture and flavor. If they’re still small but spicy, let them sit for a few more days—but don’t wait too long, or they may become woody and pithy. For the best flavor and crunch, pick radishes during the cool morning hours and trim the leaves immediately to prevent wilting. Store the cleaned roots in a perforated bag or container in your refrigerator’s crisper drawer, where they’ll stay fresh for up to two weeks.
Don’t toss those radish greens—rinse them well, pat dry, and use them right away in stir-fries, pestos, or salads. You can also blanch and freeze them for later use. To make the most of your ongoing harvest, slice radishes thinly for salads, layer them on sandwiches for a peppery crunch, or quick-pickle batches to extend their shelf life and add tang to grain bowls.
Roasted radishes develop a mellow sweetness, and chopped radish tops can brighten up soups or scrambled eggs. With a steady stream from your radish succession planting, you’ll have plenty of tasty ways to keep meals fresh while reducing waste—from root to leaf.
Troubleshooting & Tips for Success with Radish Succession Planting
Radish succession planting is rewarding but requires some attention to detail to achieve the best results. A common mistake gardeners make is letting the soil dry out—radishes thrive in consistently moist (but not waterlogged) conditions. Be sure to check the soil regularly and water lightly if rainfall is scarce, especially during hot spells.
Another pitfall is missing a round of sowing, which can create gaps in your harvest. To stay on track, set a calendar reminder or use a garden journal to keep your planting schedule organized.
Weather often throws curveballs, so stay flexible: if unseasonable heat arrives, shorten the interval between plantings since radishes mature faster in warm soil. Conversely, cool temperatures may slow growth, so allow your crops extra time.
If your harvest goals change suddenly—say you need a big batch for an event—adjust your sowing density or try varieties bred for faster or slower maturity. Don’t hesitate to experiment with sowing dates to find what works best for your region’s spring and fall microclimates.
Sampling different radish types, from classic ‘Cherry Belle’ to spicy ‘French Breakfast,’ keeps things interesting and helps you match your harvest to your favorite recipes. Mild, fast-maturing radishes are great for salads, while larger or slower varieties are better suited for roasting.
Keep notes after each season about what worked best, and you’ll soon develop a rhythm that fills your kitchen with crisp, homegrown radishes nearly year-round.