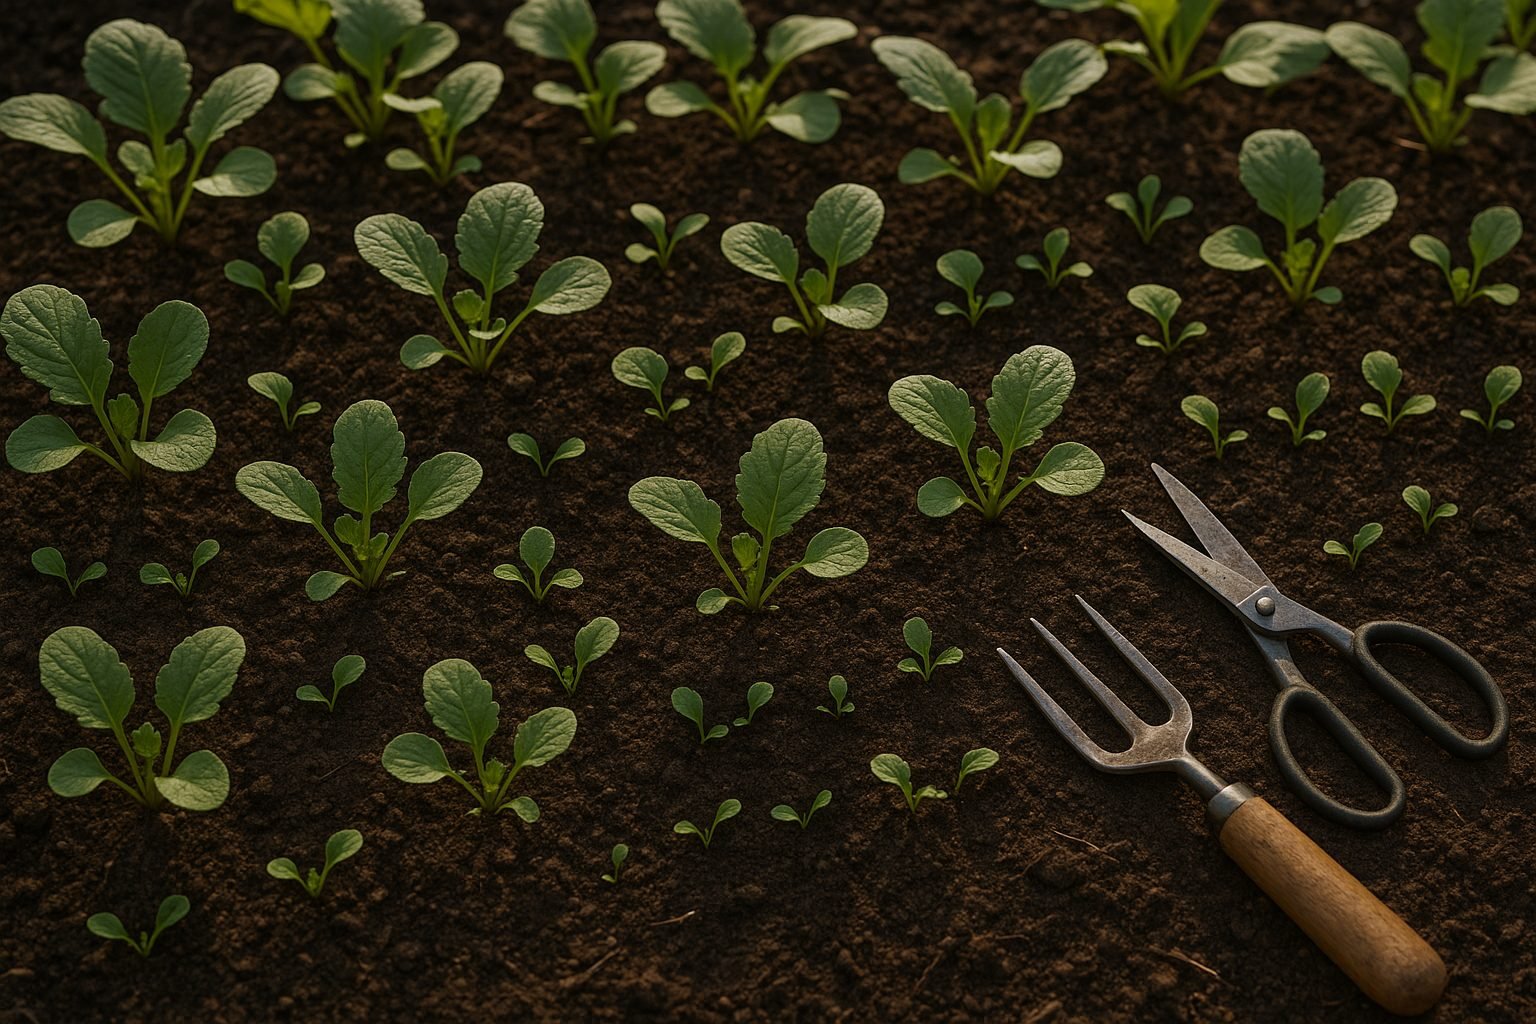
Introduction to Thinning Radishes
Thinning radishes is a simple but crucial step that can make all the difference between a disappointing, crowded crop and a bountiful harvest of plump, flavorful roots. Thinning, in the context of radish growing, means carefully removing excess seedlings so each radish has enough space to develop properly. This practice prevents overcrowding, allowing each plant to access enough sunlight, water, and nutrients.
Without thinning, radishes can become stunted, misshapen, or underdeveloped, leaving you with tiny, woody roots rather than the crispy, vibrant radishes you crave. By thinning radishes, you’re also making later tasks like watering and harvesting far easier—no more struggling to pull out tightly packed clusters or damaging nearby roots in the process.
In the following guide, you’ll learn exactly when and how to thin your radish seedlings, discover practical tips for salvaging and reusing the thinned sprouts, and find answers to common questions gardeners face. Whether you’re growing radishes in a backyard plot or a small container, proper thinning is your ticket to bigger, better, and easier-to-harvest radishes.
Why You Need to Thin Radish Seedlings
Thinning radish seedlings might seem like an unnecessary chore, but skipping this step can drastically affect your harvest. When radishes are sown too closely together, they compete for nutrients, water, and sunlight. This overcrowding leads to cramped conditions where the roots don’t have enough room to expand, often resulting in stunted, undersized, or oddly shaped radishes that are more leaf than bulb.
Worse, the dense foliage can trap moisture and limit airflow around the plants, creating a humid environment that attracts fungal diseases like downy mildew or root rot. Radishes naturally grow best with a bit of elbow room—ideally, aiming for at least an inch between each seedling lets each root stretch out fully.
Gardeners often notice that when they forget to thin, the harvest is disappointing: lots of tangled, thin roots rather than the crisp, crunchy bulbs you’re hoping for. Proper thinning gives each plant a fair shot at developing that classic, round shape and vibrant flavor.
As a bonus, better spacing means leaves dry more quickly after rain or watering, which keeps disease risks low. If you feel guilty pulling tiny seedlings, remember you can always sprinkle them on salads as microgreens—a tasty bonus for doing your garden a favor.
Making thinning a regular part of your radish routine is a small step that pays off with healthier plants, easier harvesting, and a bigger, better-tasting crop.
When and How to Thin Radishes
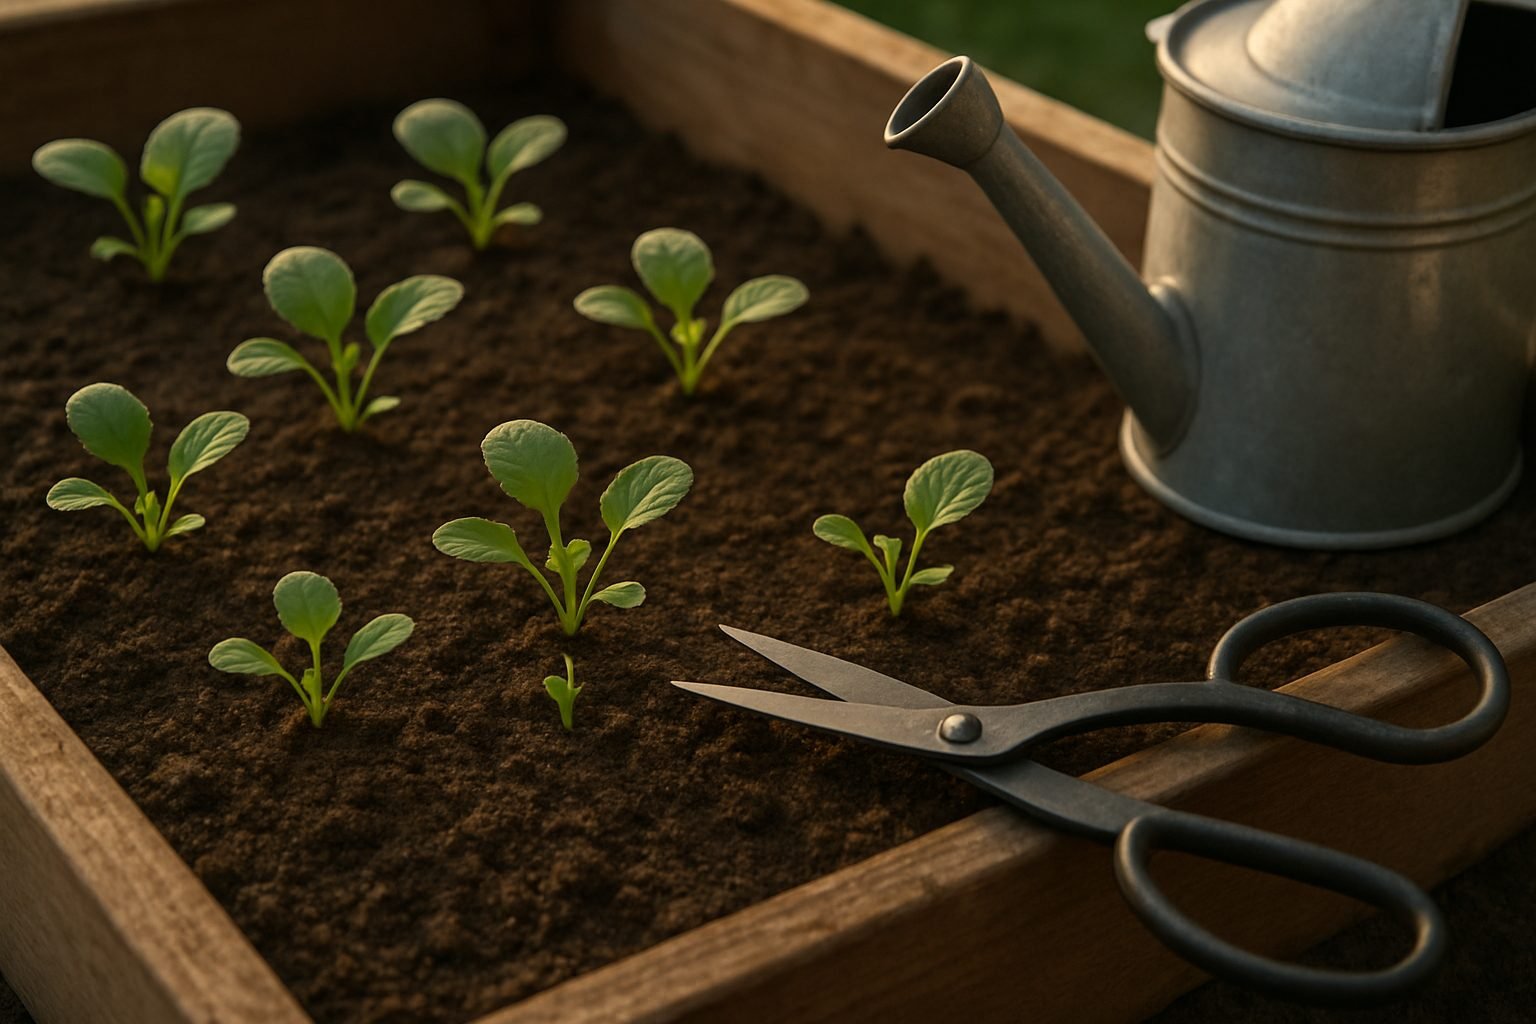
Thinning radish seedlings is a simple but crucial step to ensure your crop grows healthy and uniform. The best time to thin radishes is when the seedlings have developed their first set of true leaves—usually when they’re 2–3 inches tall.
Start by checking the spacing: ideally, radishes should stand about 2 inches apart. Look over your row and identify any clumps or spots where seedlings are too close together.
When choosing which seedlings to remove, select the weakest ones—these might look spindly, pale, or smaller than their neighbors. Overcrowded clusters are also prime spots for thinning.
To thin your radishes with minimal disturbance, use sharp scissors or small garden snips to cut the unwanted seedlings right at the soil line. This method is gentler than pulling, as it avoids disturbing the shallow roots of the remaining plants. If you must pull, do it slowly and try to hold the soil in place.
Water your radishes after thinning to help them recover from any minor shock and settle the soil around the roots. For even better results, consider thinning in the evening or on a cool, cloudy day to reduce stress on the plants.
These quick, careful steps will help your radishes develop bigger, crisper roots and maximize your garden’s yield.
Dealing with Thinned Radish Seedlings
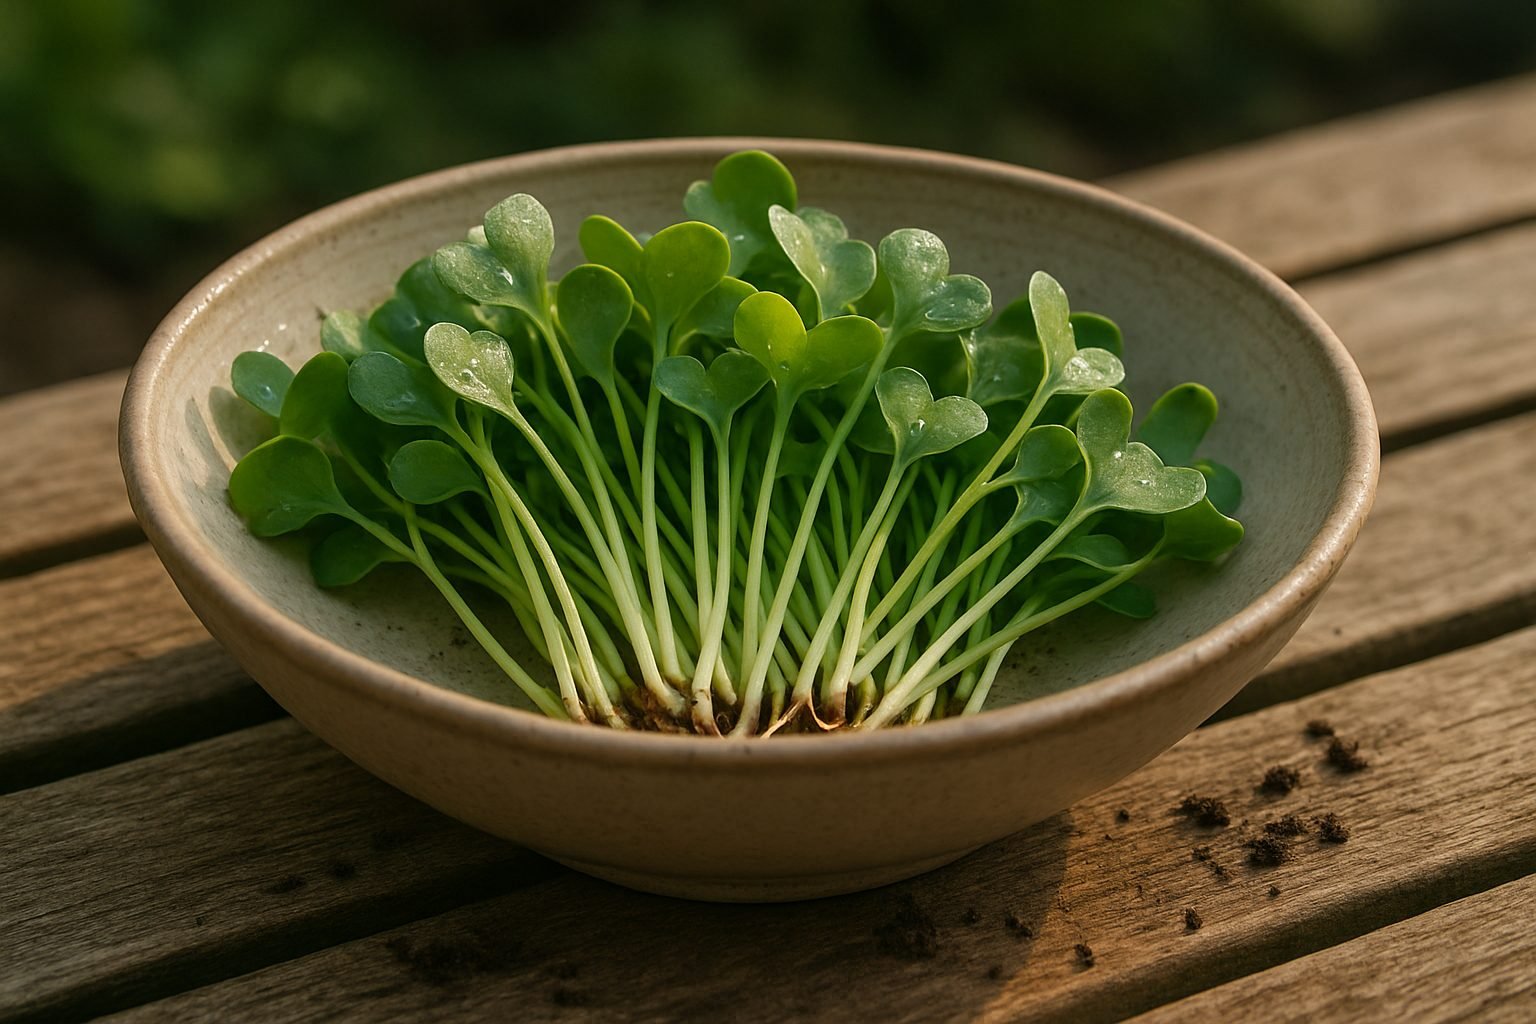
If you’ve recently thinned your radish seedlings, don’t toss those little greens—consider using them as flavorful microgreens! Radish seedlings add a peppery crunch to salads, sandwiches, or as a garnish for soups and stir-fries. Simply rinse them gently to remove soil before eating.
For gardeners wondering about transplanting the thinned seedlings, it’s doable but can be tricky. Radishes develop delicate roots that don’t like disturbance, so only attempt transplanting the strongest, healthiest seedlings—ideally those still quite young, before they get stressed.
To transplant, follow these steps:
- Carefully loosen the soil around the seedling using a small fork or stick.
- Lift the seedling with as much root intact as possible.
- Make a small hole in the new spot and gently set the seedling in.
- Firm the soil around the roots.
- Water immediately and keep the soil moist but not soggy for the next week to minimize transplant shock.
- Shade the area if the weather is hot to offer extra protection.
While not all transplants will survive, you may save a few, giving your garden a second chance at a fuller harvest.
Preventing the Need for Excessive Thinning
Preventing the need for excessive thinning starts right at the moment of sowing. Overcrowding often happens when seeds are scattered too generously, so take your time and sow carefully. Many gardeners find it helpful to mix tiny seeds like carrots or lettuce with a bit of dry sand to distribute them more evenly.
Seed tapes are a fantastic tool for beginners and experienced gardeners alike; these pre-spaced strips make it almost impossible to overseed and ensure every plant gets enough room to thrive. If you prefer a DIY approach, use a ruler, stick, or even a piece of string laid along your planting row to mark consistent intervals before dropping each seed.
For those saving seeds, try sorting them by size—larger, viable seeds are likely to germinate more reliably, letting you sow fewer seeds with greater confidence. Another smart method is to pre-germinate seeds in damp paper towels before planting, so you only sow what will actually sprout.
Finally, keep records of what worked for you each season—by logging spacing successes and failures, you’ll sharpen your skills and minimize thinning with every garden you grow. These simple steps not only save work later but also boost plant health and improve yields for the entire growing season.
Troubleshooting Common Radish Thinning Issues
Thinning radishes can come with a few hiccups, but knowing how to handle them makes the process much smoother. A frequent issue is accidentally pulling out healthy seedlings instead of the weaker ones. To reduce this risk, water your soil a few hours before thinning—this softens the ground, making it easier to separate seedlings without tugging up the wrong ones.
If you do accidentally remove a good seedling, it’s not always a lost cause; gently transplant it back into the row and water well to help minimize transplant shock.
Another common problem is bolting, where radishes go to seed prematurely, often due to thinning during hot or dry weather. To prevent this, always thin in the cooler parts of the day, preferably early morning or late afternoon when stress on the plants is lowest.
Pests like flea beetles and root maggots may also target newly exposed radish roots after thinning. Inspect your plants regularly for signs of damage and consider placing a thin layer of row cover or sprinkling a bit of diatomaceous earth around seedlings for added protection. If you notice pest damage post-thinning, act quickly by applying appropriate organic treatments or removing affected plants.
Recovering from any thinning mistake is possible: maintain even moisture, provide a touch of shade if the sun is harsh, and give your plants a little compost boost to support healthy regrowth. With careful attention, most thinning errors can be corrected, ensuring your radishes still mature into crisp, tasty roots.
Conclusion & Quick Tips for Thinning Radishes
Thinning radishes is a simple yet essential step for growing healthy, flavorful crops. Ideally, thin seedlings when they’re about two inches tall, spacing the remaining plants an inch or two apart to allow proper root development. Use gentle pinching or small scissors to avoid disturbing the roots of nearby seedlings—this helps prevent stunted growth and overcrowding.
Remember, the benefits of thinning include larger, more uniform radishes and a reduced risk of pests and diseases. Make thinning a regular part of your routine, and compost the pulled seedlings, or try tossing the young greens into salads. Avoid thinning too late, tugging aggressively, or ignoring differing growth rates.
Staying attentive ensures a rewarding harvest and encourages you to keep experimenting with different radish varieties. For more tips on companion planting, watering techniques, or common radish pests, check out extension service websites or trusted gardening blogs to keep your radish patch thriving season after season.