Introduction
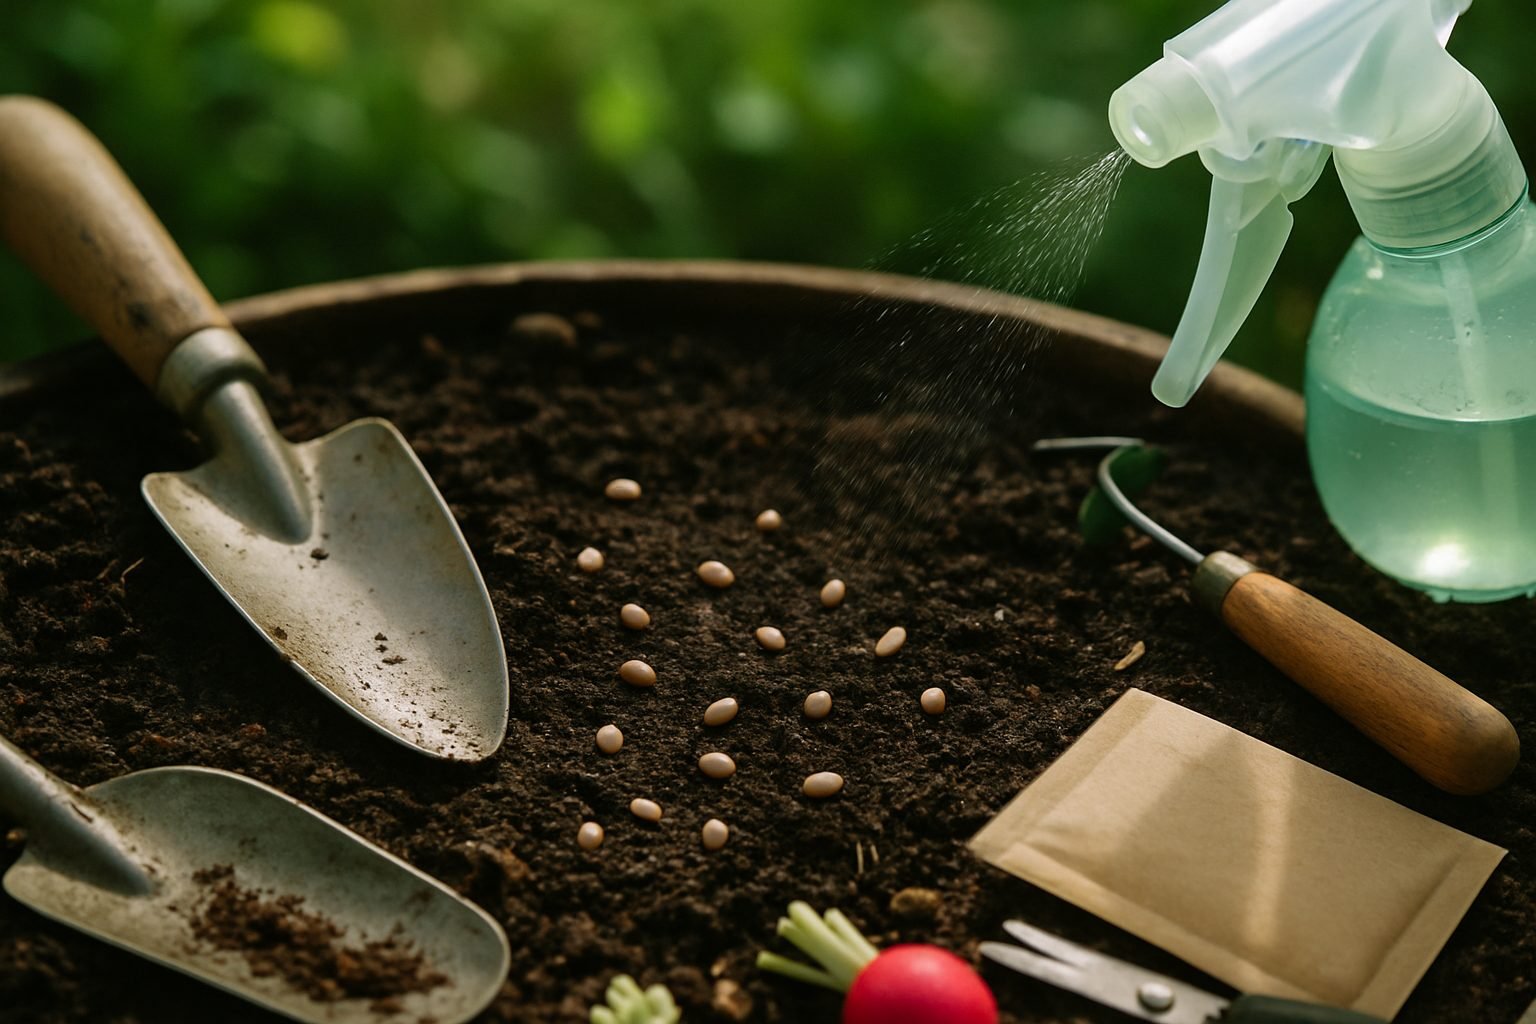
Few things are more exciting for gardeners than planting seeds and eagerly awaiting those first green shoots—so it can be pretty frustrating when you find a radish seed not sprouting. Whether you’re brand new to gardening or a seasoned pro, seed failures happen to everyone, and there are plenty of reasons why your radish seeds might not break through the soil.
Sometimes it’s a simple matter of sowing too deep or letting the soil dry out. But radish germination problems can also stem from old or poor-quality seeds, inconsistent temperatures, or even unseen pests lurking underground. Environmental factors like cold snaps or heavy rain can wash seeds away or stop them from emerging, while invisible issues such as fungal pathogens can silently sabotage your efforts.
In this post, we’ll dive into the most common reasons for failed radish germination, including how to recognize and prevent overwatering, the effects of soil temperature and moisture, and how to check seed vitality before planting. Plus, we’ll share practical tips to help you troubleshoot issues so your next batch of radishes has the best possible start.
Whether your goal is a bumper spring harvest or just a windowsill full of healthy greens, knowing why seeds fail to sprout is the first step to gardening success.
Planting Depth: Are Your Seeds Too Deep (or Too Shallow)?
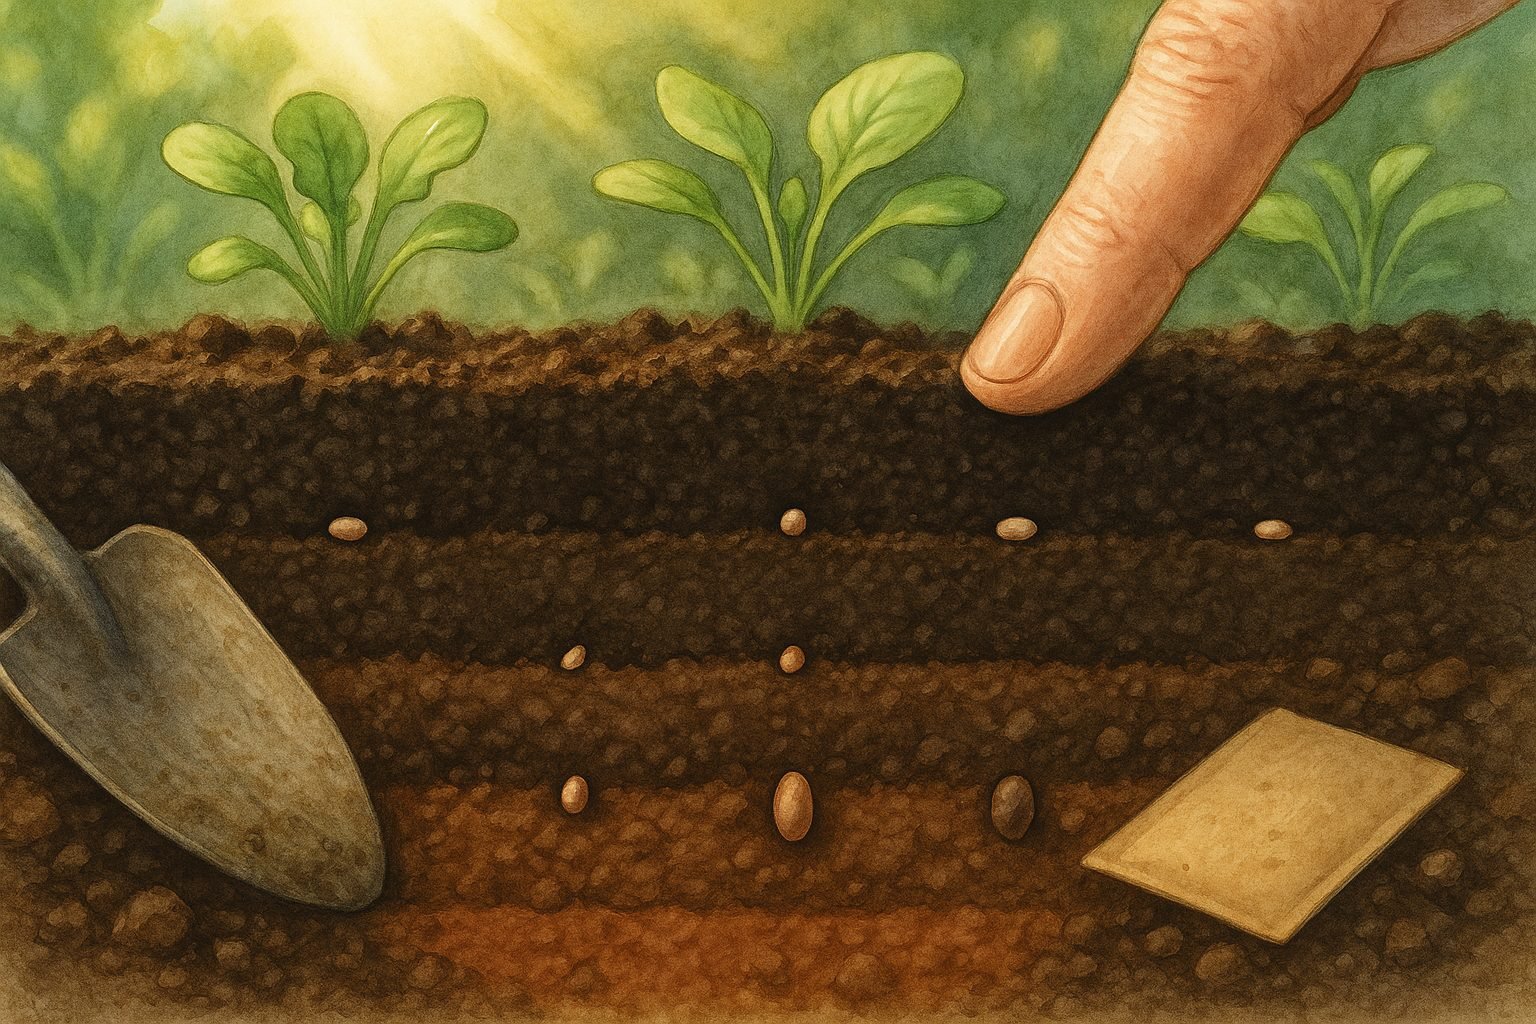
Planting seeds at the wrong depth is a common mistake that can seriously impact how well your garden grows. If seeds are planted too deep, they may run out of energy before reaching the surface, leading to poor or failed germination. On the other hand, seeds placed too close to the surface can dry out quickly or get washed away by rain or watering, leaving you with patchy plantings.
To get the best results, always check your seed packet for the recommended planting depth—this isn’t a random number. Generally, a good rule is to plant seeds at a depth twice their diameter. Small seeds like lettuce or carrots just need a dusting of soil, while large seeds like beans or peas can be planted about an inch deep.
Seed packets might specify depth in inches or centimeters, but if you’re unsure, a gentle push into the soil with your finger can help you estimate. Consider your soil type, too—heavier, clay soils mean seeds need to be slightly shallower, while lighter, sandy soils might require going a tad deeper.
If you suspect you’ve planted seeds too deep or too shallow (maybe you’re seeing poor sprouting or uneven rows), it’s not too late to fix it. Carefully uncover a test spot and check the seed position. If they’re much deeper or shallower than recommended, gently dig them up and replant at the correct depth. Even just brushing off excess soil from tiny seeds can help.
Paying a little extra attention at planting time saves you frustration and ensures your seeds have the best chance to sprout strong and healthy.
Watering Woes: How Moisture (or Lack of It) Affects Germination
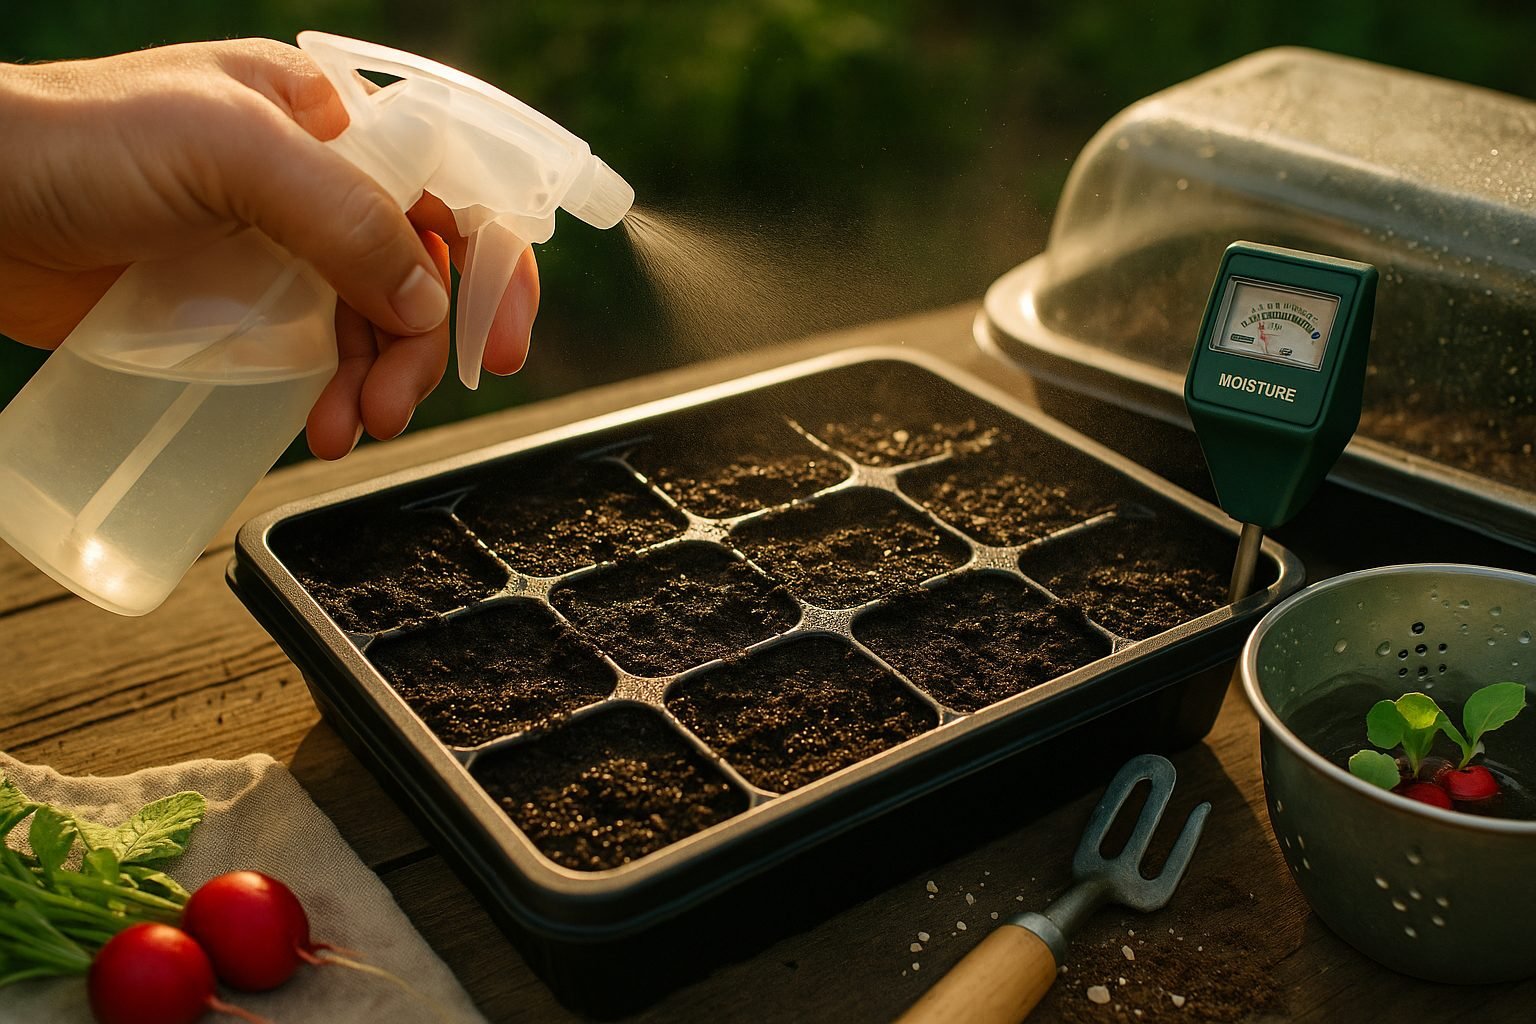
Getting moisture just right is one of the biggest hurdles in seed starting, and striking the balance can make or break your germination success. Seeds need consistent dampness to activate the enzymes that spark growth, but they also need air—soggy soil starves them of oxygen and invites mold or damping-off disease.
The risk with letting soil dry out, even briefly, is that seeds can go dormant or tiny sprouts might shrivel up before they ever get a chance to grow. For the best results, use a fine mist spray bottle or a bottom-watering tray to keep the soil evenly moist without drenching it.
A good rule of thumb is to feel the top layer: it should be damp like a wrung-out sponge, never bone-dry or muddy. If you’re unsure, press a finger about an inch into the mix—if it feels dry, water gently; if it’s saturated with pooling water, let it dry out a bit before watering again.
Watch for warning signs:
- If seedlings look wilted and pale between waterings, they might be too dry.
- If they’re yellowing, have soft stems, or there’s a musty smell, it’s time to back off the watering and improve air circulation.
Adjust your routine by watering less frequently or loosening any plastic covers if you spot overwatering. In cases of dryness, try using a humidity dome or checking the pots more often.
With a little vigilance and these simple monitoring tricks, you’ll be able to provide just the right environment for your seeds to sprout strong and healthy.
Temperature Trouble: Is Your Soil Too Hot or Too Cold?
Soil temperature plays a crucial role in seed sprouting time and overall success, often making the difference between strong seedlings and spotty, delayed growth. Most seeds have their own “comfort zones.” For example, cool-season vegetables like lettuce or spinach prefer soil temperatures between 40-75°F (4-24°C) for reliable germination, while warm-season crops like tomatoes, peppers, and beans sprout best with soil between 70-85°F (21-29°C).
Planting seeds outside these ranges could mean waiting weeks for any action or, worse, seeing nothing happen at all. The easiest way to track this is with an inexpensive soil thermometer, available at any garden center. Just push the probe a couple of inches into the ground where you’ll plant, wait a few minutes, and check the reading.
If your soil is too cold in early spring, try covering beds with clear plastic sheeting or row covers to capture sunlight and warm things up. Raised beds can also help soil warm faster, and planting in the middle of a sunny day gives seeds the best chance.
For gardens in the heat, mulch the soil with straw or wood chips to provide insulation and keep temperatures cooler, or water in the early morning to avoid trapping excess heat. Paying attention to soil temperature ensures seeds get off to the fastest, healthiest start possible—saving you time, frustration, and wasted seed.
Seed Viability: Are Your Seeds Still Good?
Seed viability refers to a seed’s ability to germinate and grow into a healthy plant. It’s influenced by both the age of the seed and how it has been stored. As seeds get older, their chances of sprouting decrease. For example, lettuce seeds usually last about one year, while tomato seeds can stay viable for up to five years under ideal conditions.
You can find basic viability charts online that break down these lifespans by common plant varieties, giving you a handy reference to judge whether your leftover seeds are likely still good.
How to Check Seed Viability Yourself
Try this simple home test:
- Place 10 seeds between damp paper towels.
- Seal them in a plastic bag.
- Set the bag in a warm spot.
After about a week (some seeds may take up to two), check how many have sprouted. If 7 out of 10 seeds germinate, you’ve got a 70% viability rate — enough for most garden projects, though you may want to sow a little thicker.
Tips for Storing Seeds to Keep Them Viable Longer
- Always store seeds in airtight containers in a cool, dry place — think glass jars in the fridge or a basement drawer.
- Avoid exposing seeds to moisture and fluctuating temperatures, which dramatically reduce their shelf life.
With a few mindful storage habits and the occasional germination test, you can save money, reduce waste, and enjoy a more productive garden year after year.
Patience Is Key: Give Your Seeds Enough Time
When starting seeds, it’s easy to get impatient—especially when nothing seems to be happening. However, most seeds take longer to sprout than we might expect, and even a day or two of cool weather or low moisture can slow things down.
For example, lettuce seeds often germinate in just 7–10 days, but peppers can take up to three weeks, and tomatoes usually need about 5–10 days. Some flowers and herbs, like parsley, can take as long as a month before you see any signs of life.
Giving up too soon and overwatering or poking at the soil can actually harm seeds that are quietly preparing to grow. Patience pays off, and waiting means you’ll see stronger, hardier seedlings.
To tell the difference between seeds that are slow to sprout and those that have failed, gently check the soil after a couple of weeks:
- If the seed is mushy or smells bad, it may have rotted.
- If it’s still firm, just cover it up and give it more time.
Marking your planting dates and researching your seed’s typical germination times can help manage expectations and keep you from giving up on seeds that are simply a little slow to get started.
Problem Solvers: Other Common Germination Issues
Germination problems can be especially frustrating when you’ve done everything right but still see spotty results. Poor soil quality is a major culprit, so always start with fresh, sterile seed-starting mix rather than reusing garden soil—which can harbor diseases and lacks the fine texture seedlings need.
If you see seeds disappearing or small holes in seed trays, you might be dealing with seed predators like birds, rodents, or even insects. Protect outdoor sowings with row covers or mesh, and check indoor trays for pests like fungus gnats.
Fungal and mold issues, signaled by fuzzy white growth or seeds that seem to rot in place, often strike in damp or poorly aired conditions. Combat this by watering from the bottom, improving airflow, and using a sterile medium.
Hard seed coats can also block germination—certain seeds, like sweet peas or morning glories, benefit from soaking in warm water overnight or gently nicking the coat with sandpaper (a process called scarification).
If, despite troubleshooting, you notice zero or sparse sprouting after the expected timeframe, it’s worth re-sowing—preferably with a new seed batch from a reputable supplier, as old or poorly stored seeds can have low viability.
Tackling each issue methodically boosts your odds of seed-starting success.
Conclusion: What to Do If Seeds Still Won’t Sprout
If your seeds still refuse to sprout despite your best troubleshooting—like checking soil moisture, light levels, seed depth, and expiration dates—don’t get discouraged. Gardening is as much about learning and patience as it is about the plants themselves. Sometimes seeds simply aren’t viable, or subtle environmental factors get in the way.
The best path forward is to review what you’ve tried:
- Was the soil consistently damp but not soggy?
- Did you keep the seeds warm enough?
- Were you planting at the right time of year for your zone?
Use what you’ve observed to adjust your setup, then buy a fresh packet of quality seeds from a reputable source, which often improves your chances dramatically. Remember to label your plantings and take notes so future attempts go even smoother.
Every gardener faces setbacks, but each try teaches you something new—so see this as part of the journey rather than a failure. With persistence and a willingness to tweak your approach, you’ll soon celebrate those first green sprouts pushing through the soil. Stay curious, keep experimenting, and trust that success is right around the corner!