Introduction
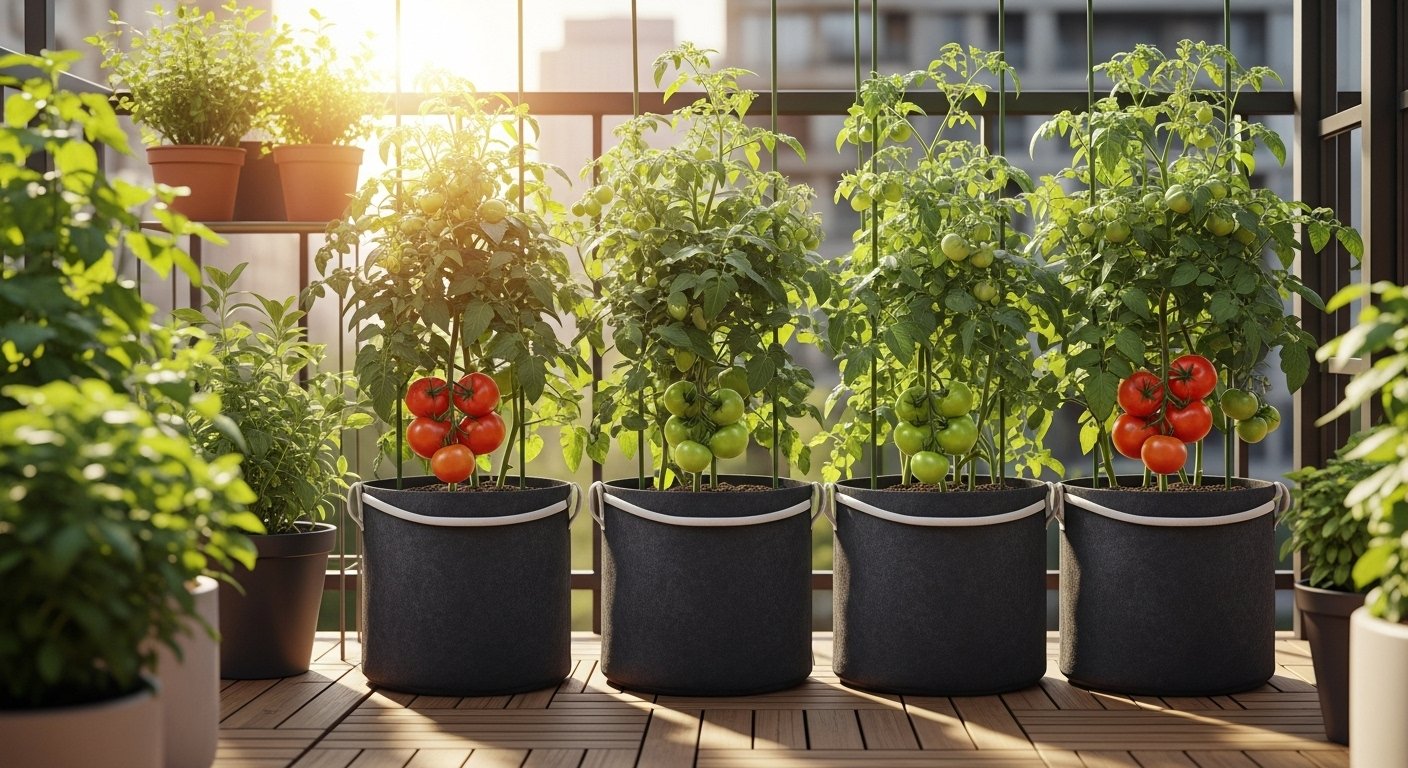
Thinking about growing tomatoes in grow bags? You’re not alone—tomatoes in grow bags have become a go-to solution for gardeners with limited space or challenging soil. Instead of battling heavy clay or weedy backyard plots, you can create the perfect environment right on your balcony, patio, or driveway.
Grow bags offer unique benefits: they maximize small spaces, make it easy to move your plants around for ideal sun exposure, and help you control soil quality and drainage far better than in-ground planting. These flexible containers are perfect for busy urban gardeners, renters, or anyone looking to experiment with growing their own juicy tomatoes at home.
In this guide, we’ll walk you through each stage—from selecting the best grow bags and soil mixes to watering, staking, and harvesting your crop—making it simple to enjoy homegrown tomatoes no matter where you live.
Why Grow Tomatoes in Grow Bags?
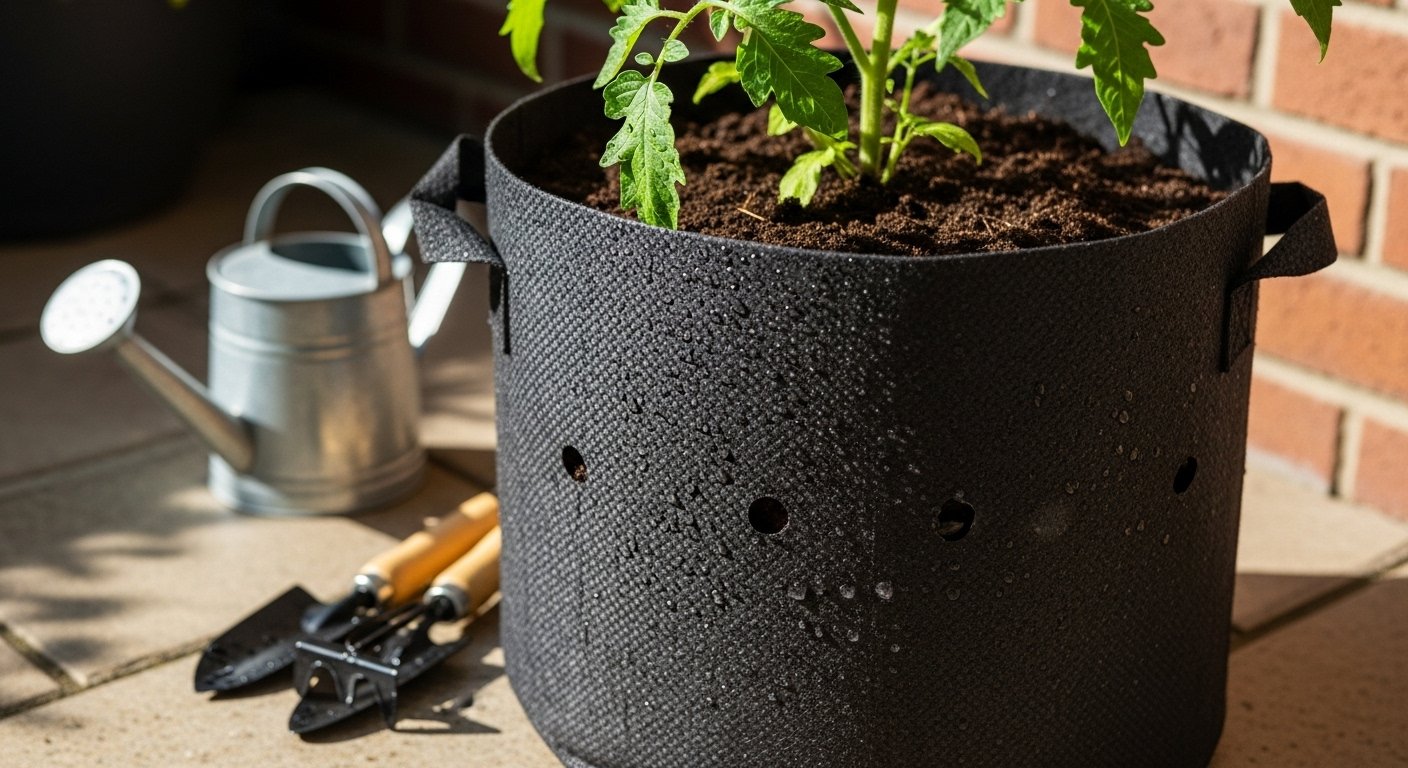
Growing tomatoes in grow bags is a smart solution for anyone short on space or dealing with poor soil. Unlike traditional garden beds, grow bags can be placed almost anywhere—on sunny patios, apartment balconies, or even in a tiny backyard. Their portability makes it easy to follow the sun or move plants indoors if a sudden frost threatens.
One common challenge with in-ground planting is heavy clay or rocky, nutrient-poor soil, which can stunt tomato growth. Grow bags let you skip the guesswork by filling them with a soil mix that’s just right for tomatoes, ensuring strong roots and healthier plants. Another advantage is improved drainage; excess water easily escapes from the breathable fabric, reducing the risk of root rot often seen when tomatoes sit in soggy ground.
Grow bags are also perfect for urban gardeners who may have only a small paved area—no digging required. For renters or those who like to rearrange their outdoor space, simply pick up the bag and move it as needed. If you’re dealing with pests or soil-borne diseases in your yard, grow bags create a clean slate, cutting down on the risk of problems spreading.
Overall, grow bags offer flexibility, mobility, and a practical way to grow homegrown tomatoes—whether you’re starting fresh or adapting to tricky gardening conditions.
Choosing the Right Grow Bag and Setup
When picking grow bags for your tomato plants, consider both the material and size to get the best results. Fabric grow bags—especially those made from breathable felt or heavy-duty polypropylene—are popular because they allow excess water to drain and boost root health through better air circulation.
For cherry or dwarf varieties, bags with a capacity of 5-7 gallons are usually sufficient, while larger slicer or indeterminate tomatoes need deeper and broader containers, ideally 10-15 gallons, so roots have room to spread and plants don’t dry out quickly. Check bag dimensions before purchasing, and look for sturdy handles that make moving plants easier.
Placement is just as crucial; pick a location that receives at least 6-8 hours of direct sunlight daily and allows for gentle airflow to prevent fungal issues. Avoid spots too close to fences or walls where air stagnates, and if you grow on a balcony or patio, rotate bags occasionally for even sun exposure.
Finally, elevate your bags slightly with bricks or a plant stand to aid drainage and avoid water pooling, which can harm roots. This thoughtful setup will help your tomatoes thrive, whether you have a sprawling backyard or a compact urban space.
Preparing the Soil and Selecting Tomato Varieties
Getting tomatoes off to a great start in grow bags begins with a well-prepared soil mix. Tomatoes prefer loose, well-draining soil that holds moisture without becoming soggy. A blend of high-quality potting mix and compost works well—aim for roughly two-thirds potting mix to one-third compost to give plants both structure and nutrients. Incorporating a handful of perlite or coarse sand improves drainage further and prevents root rot.
For added nutrition, mix in a slow-release organic fertilizer labeled for vegetables; tomatoes are heavy feeders and appreciate consistent access to nutrients as they grow.
When choosing tomato varieties, opt for those bred specifically for container growing. Determinate types, sometimes called “bush” tomatoes, stay compact and produce fruit all at once, making them ideal for smaller spaces and easy harvesting. Good choices include ‘Bush Early Girl,’ ‘Patio Princess,’ and ‘Tiny Tim.’
Indeterminate “vining” varieties like ‘Sun Gold’ or ‘Sweet Million’ can also succeed in grow bags but need sturdier supports and more frequent pruning to manage their size.
If you’re sourcing seedlings, look for sturdy, green plants with thick stems and no yellowed leaves—avoid leggy or wilted options.
Starting from seed offers more variety and control: sow seeds indoors six to eight weeks before transplanting, and provide ample light to avoid lanky starts. Whether buying seedlings or growing your own, always harden off young plants by gradually introducing them to outdoor conditions before moving them into the grow bags for best results.
Planting, Supporting, and Caring for Tomatoes
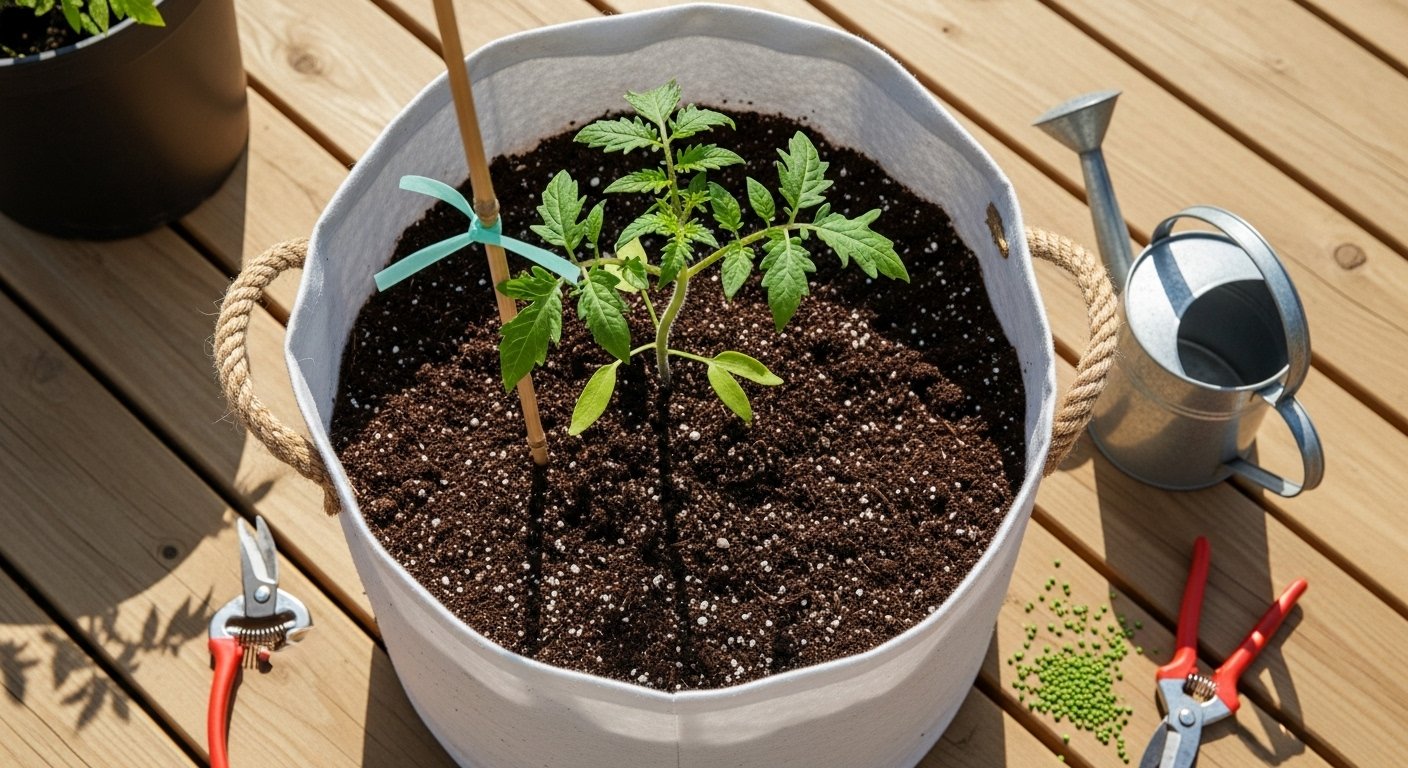
Growing healthy tomatoes in grow bags starts with proper planting. Begin by choosing a sunny spot that gets at least 6-8 hours of light daily. Fill your grow bag with a rich potting mix, ideally a blend formulated for vegetables, ensuring good drainage. Plant your tomato seedlings deep, up to the first set of true leaves, as this encourages a strong root system—generally about 6-8 inches deep depending on the plant’s size. Space multiple plants by at least 18-24 inches if your grow bag is large enough; overcrowding invites disease and hampers growth.
As soon as you plant, install a sturdy stake or tomato cage directly into the grow bag. Avoid tying plants too tightly—use soft ties and leave room for stems to grow. For grow bags, a single bamboo stake or a compact, spiral trellis is ideal, taking up little space but offering support as vines grow heavy.
Watering and Feeding
Watering is especially crucial for tomatoes in grow bags since the soil dries out faster than garden beds. Make it a habit to check moisture daily, especially during hot weather. Water in the morning, soaking the soil until excess drips from the bottom—aim for about 1-2 inches of water per week, adjusting as needed. While tomatoes love consistent moisture, be careful not to let the roots sit in soggy soil.
Fertilize after planting with a balanced, slow-release granular fertilizer, then switch to a tomato-specific liquid feed every two weeks once fruit sets.
Pruning and Supporting Growth
To keep plants healthy and productive in small spaces, prune off side shoots (“suckers”) that appear in leaf junctions on indeterminate types. Pruning helps air circulate and directs energy to fruit.
As vines grow and fruit gets heavy, use extra ties or stretchy plant tape to secure stems to stakes. Check supports weekly and adjust as needed to avoid constricting plant growth or risking branches breaking under the weight of ripening tomatoes.
With attentive care and a few tweaks for the portable nature of grow bags, you’ll enjoy robust, flavorful tomatoes all season long.
Maintenance: Pollination, Pest Control, and Common Issues
Hand-pollination can make a big difference in sheltered or urban gardens where bees and other pollinators might be scarce. To do this, simply use a small paintbrush or cotton swab to transfer pollen from one flower to another, gently brushing the inside of each blossom. This technique is especially helpful for crops like tomatoes, peppers, and zucchinis.
When growing plants in bags, keep an eye out for signs of trouble:
- Yellowing leaves may indicate poor drainage or nutrient deficiency.
- Wilted plants could signal overwatering or root rot.
- White powdery patches or brown spots might mean fungal disease, which thrives in damp, crowded conditions.
Good air circulation and spacing your grow bags apart can help prevent fungal issues.
For pest management, try introducing beneficial insects like ladybugs and lacewings to eat aphids. You can also use homemade sprays with diluted neem oil or soapy water to target soft-bodied pests. Remove any visible pests by hand and inspect plants regularly, especially on the undersides of leaves.
Compost tea or seaweed extract can give plants a gentle, organic nutrient boost and help them fight off stress. Remember, early intervention is key—catching issues before they spread will keep your grow bag garden thriving all season long.
Harvesting and Maximizing Yield
Harvest tomatoes when their color is deep, even, and typical for the variety—usually a rich red, orange, or yellow. Gently twist the fruits from the stem rather than pulling to avoid damaging the plant. For the best flavor, pick tomatoes fully ripe and let them finish ripening at room temperature if needed.
To keep your harvest coming, regularly pick ripe fruit—this encourages more flowers and fruit set. Prune excess foliage and remove suckers to direct more energy into fruit production, but don’t overdo it, as leaves protect fruit from sunscald. Drip irrigation or consistent watering helps prevent splitting and blossom end rot.
In grow bags, top up with compost mid-season and use a balanced fertilizer to replace nutrients that leach out quickly from the soil. Rotate crops in grow bags by planting different families each season—move tomatoes out after a year to avoid soil-borne diseases.
After harvest, solarize the soil by leaving bags in the sun, or refresh with compost and organic matter for the next crop. Never reuse grow bag soil for tomatoes more than two years running; instead, plant leafy greens or root crops to maintain soil health and ensure future harvests thrive.
Conclusion & Quick FAQ
Growing tomatoes in grow bags is a flexible, space-saving solution perfect for gardeners of all skill levels. These bags provide excellent drainage and promote healthy root development, while making it easy to move your plants to catch the best sunlight.
Typically, a single grow bag can yield 5–10 pounds of tomatoes, depending on the variety and care. Most quality grow bags will last 2–3 seasons if properly cleaned and stored between uses.
Starting with grow bags means you don’t need a large yard — just a patio, balcony, or a sunny spot will do. Why wait? Gather your seeds, pick up a few grow bags, and enjoy the satisfaction of harvesting delicious, homegrown tomatoes all summer long. Give it a try—your future salads will thank you!