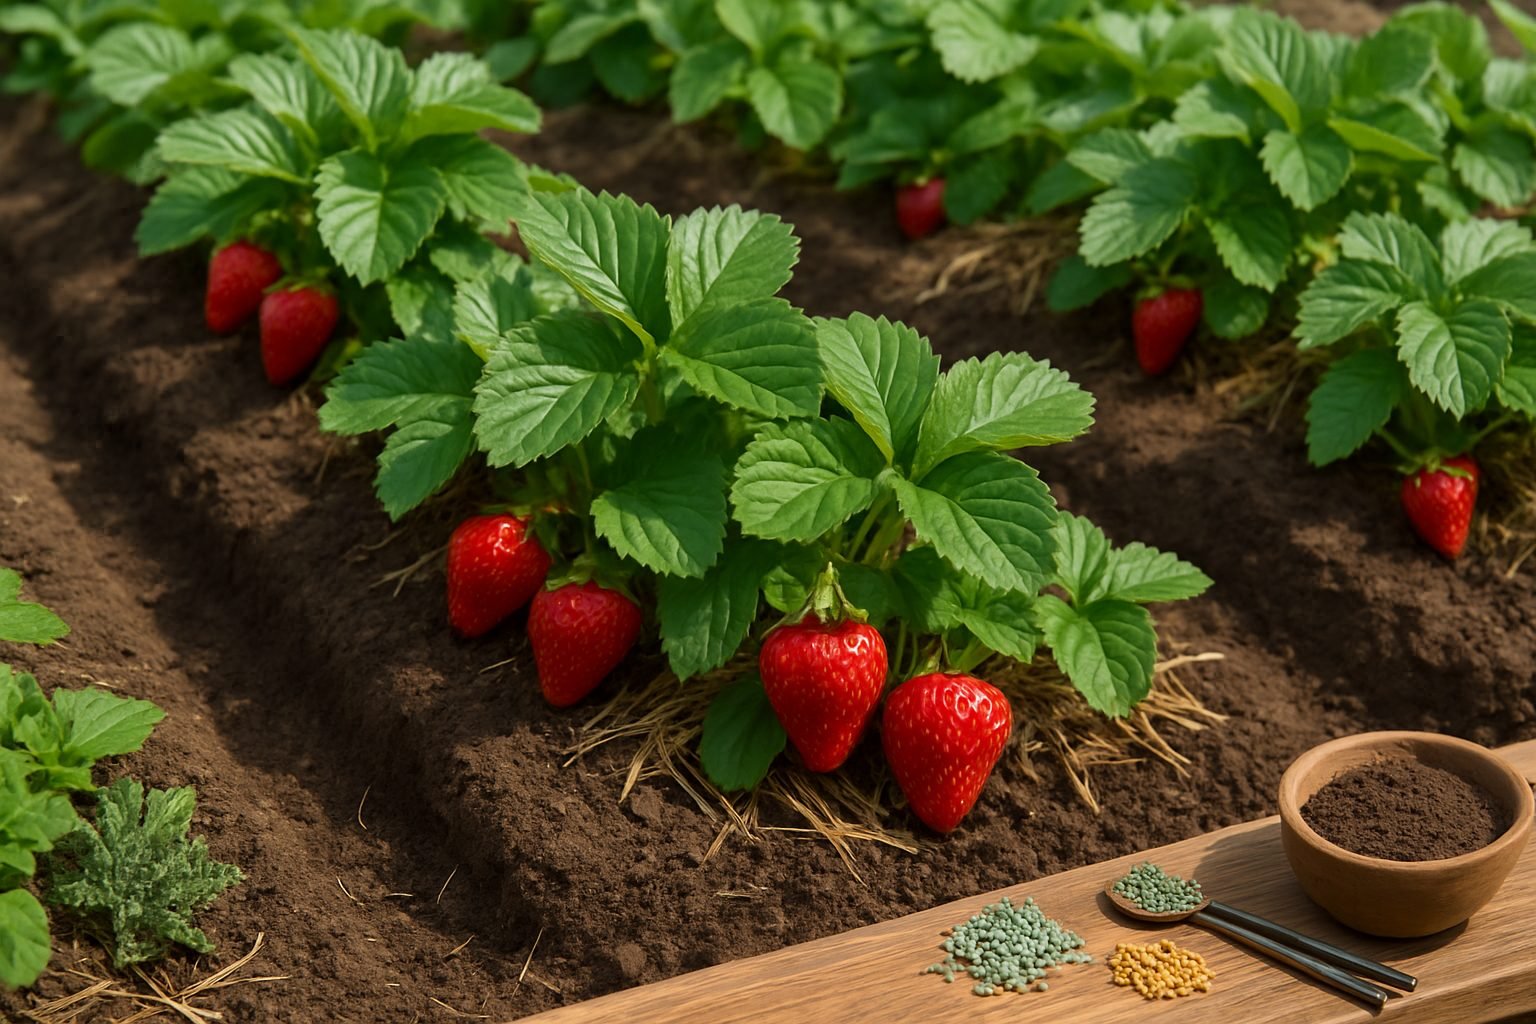
Understanding Strawberry Beds & Why Cleanup Matters
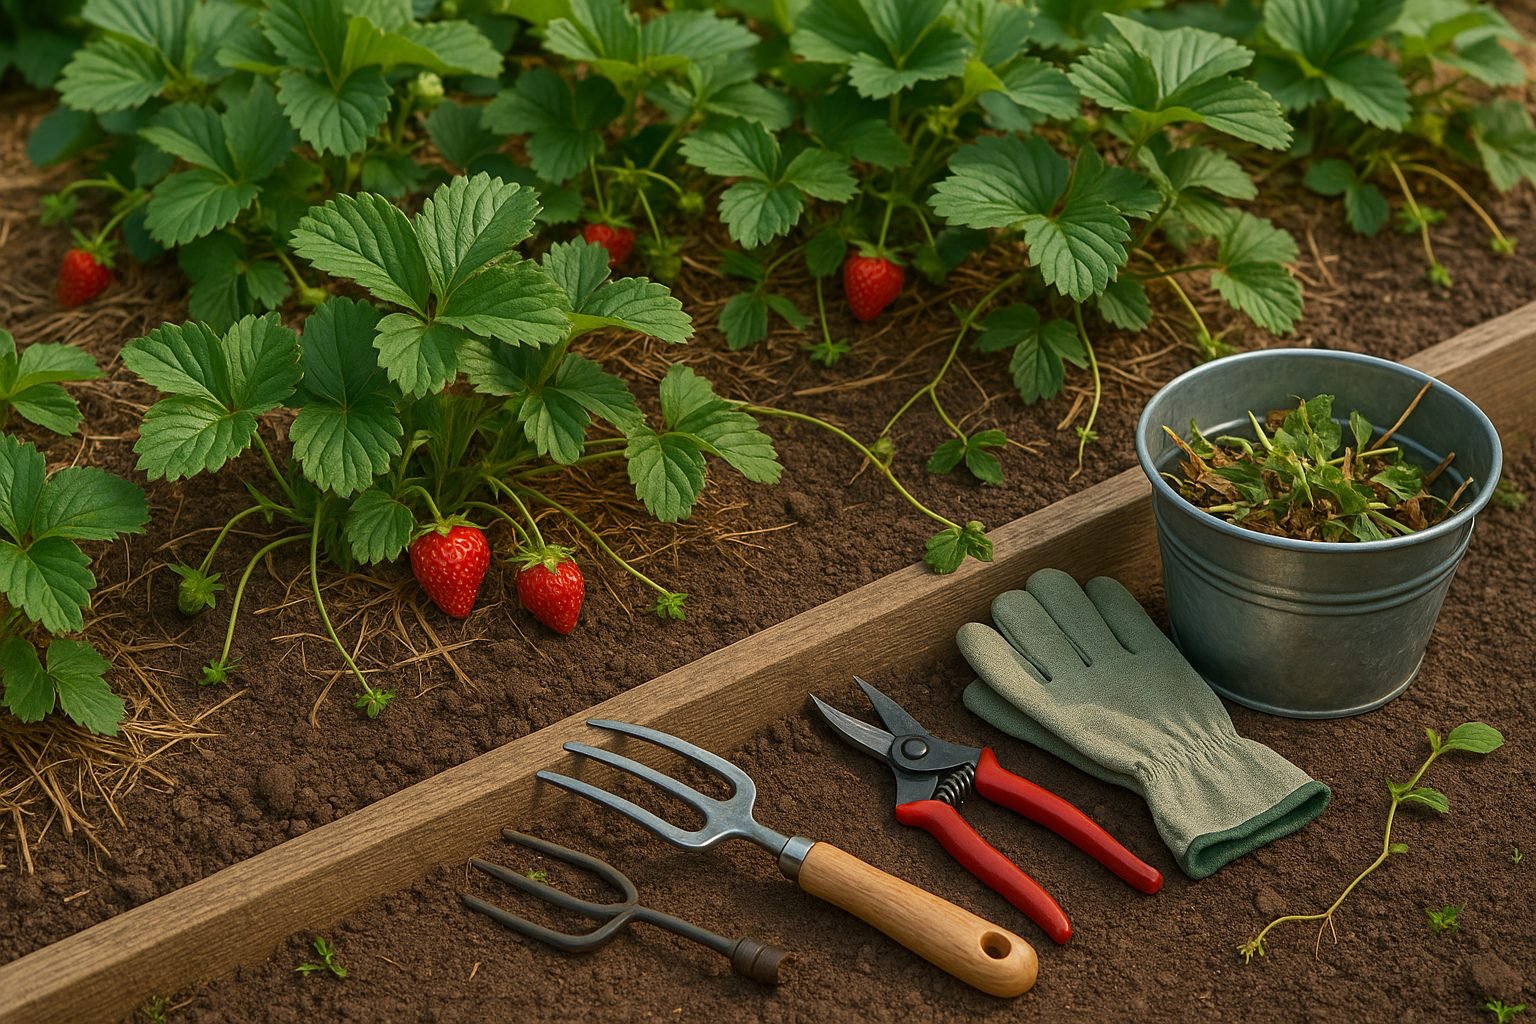
A well-planned strawberry bed care schedule is the foundation for growing those sweet, juicy berries we all love. Strawberry beds are simply designated patches, raised rows, or containers where strawberry plants are cultivated together. This arrangement provides each plant with ample root space, proper drainage, and sunlight—key factors for productive harvests. But a strawberry bed isn’t set-and-forget; it requires consistent care.
Without attention, issues like rampant weed growth can choke out your plants, while neglected beds invite pests (think slugs and spider mites) and encourage the buildup of old, diseased foliage. These problems may go unnoticed at first, but they can seriously reduce fruit quality and quantity over time.
The Importance of Regular Maintenance
Maintaining a regular strawberry bed care schedule means tackling these problems before they spiral. For instance, pulling weeds every couple of weeks prevents them from stealing nutrients. Removing spent or yellow leaves not only improves air circulation (essential for preventing fungal diseases like powdery mildew) but also signals pests that your patch isn’t an easy target.
Many gardeners find it helpful to do a thorough seasonal cleanup in early spring—removing last year’s debris and freshening up the mulch—and a lighter cleanup post-harvest to prepare for next year’s growth.
Benefits of Consistent Cleanup
Regular maintenance doesn’t just protect your berries; it pays off in higher yields and healthier plants. Fewer weeds and pests mean less competition, and clear beds allow better pollination and fruit development.
As a real-world example, community gardens that enforce a cleanup policy at the end of each season consistently report larger berry crops and fewer disease outbreaks. In short, being proactive about your strawberry bed care schedule keeps your berries thriving across seasons—rewarding you with baskets of sweet, sun-ripened fruit.
When and How Often to Clean Up Strawberry Beds
Keeping your strawberry beds clean at the right times throughout the year can make a world of difference in berry production and plant health. The optimal cleanup times fall in early spring, right after harvest, and late fall.
In early spring, as soon as the soil is workable and before new growth appears, carefully remove all winter mulch, dead leaves, and old straw to give your strawberries a fresh start. This helps deter pests and diseases that can overwinter in debris.
After the main harvest, especially for June-bearing varieties, it’s vital to clean up spent plants, cut back old foliage (mowing is common for June-bearers), and thin out overcrowded runners to encourage robust regrowth.
Everbearing and day-neutral types, which produce berries throughout the season, benefit from lighter, ongoing cleanup: periodically snip away dead leaves and unproductive runners every few weeks, rather than one big mow after harvest.
For both types, late fall cleanup means removing diseased or dying foliage, weeding thoroughly, and adding a layer of straw or pine needles for winter protection.
Here’s a basic schedule:
- Early spring — rake off mulch and clear debris, check for pests.
- June-bearers after harvest — mow foliage, thin plants, weed, water, and fertilize.
- Everbearers — snip away damaged leaves routinely and tidy beds as needed between pickings.
- Late fall — for all types, weed, remove bad foliage, and protect with mulch.
By timing cleanup tasks according to your strawberry variety and the seasons, you’ll help guarantee healthier plants, fewer pests, and sweeter berries year after year.
Step-by-Step Guide to Cleaning Up Strawberry Beds
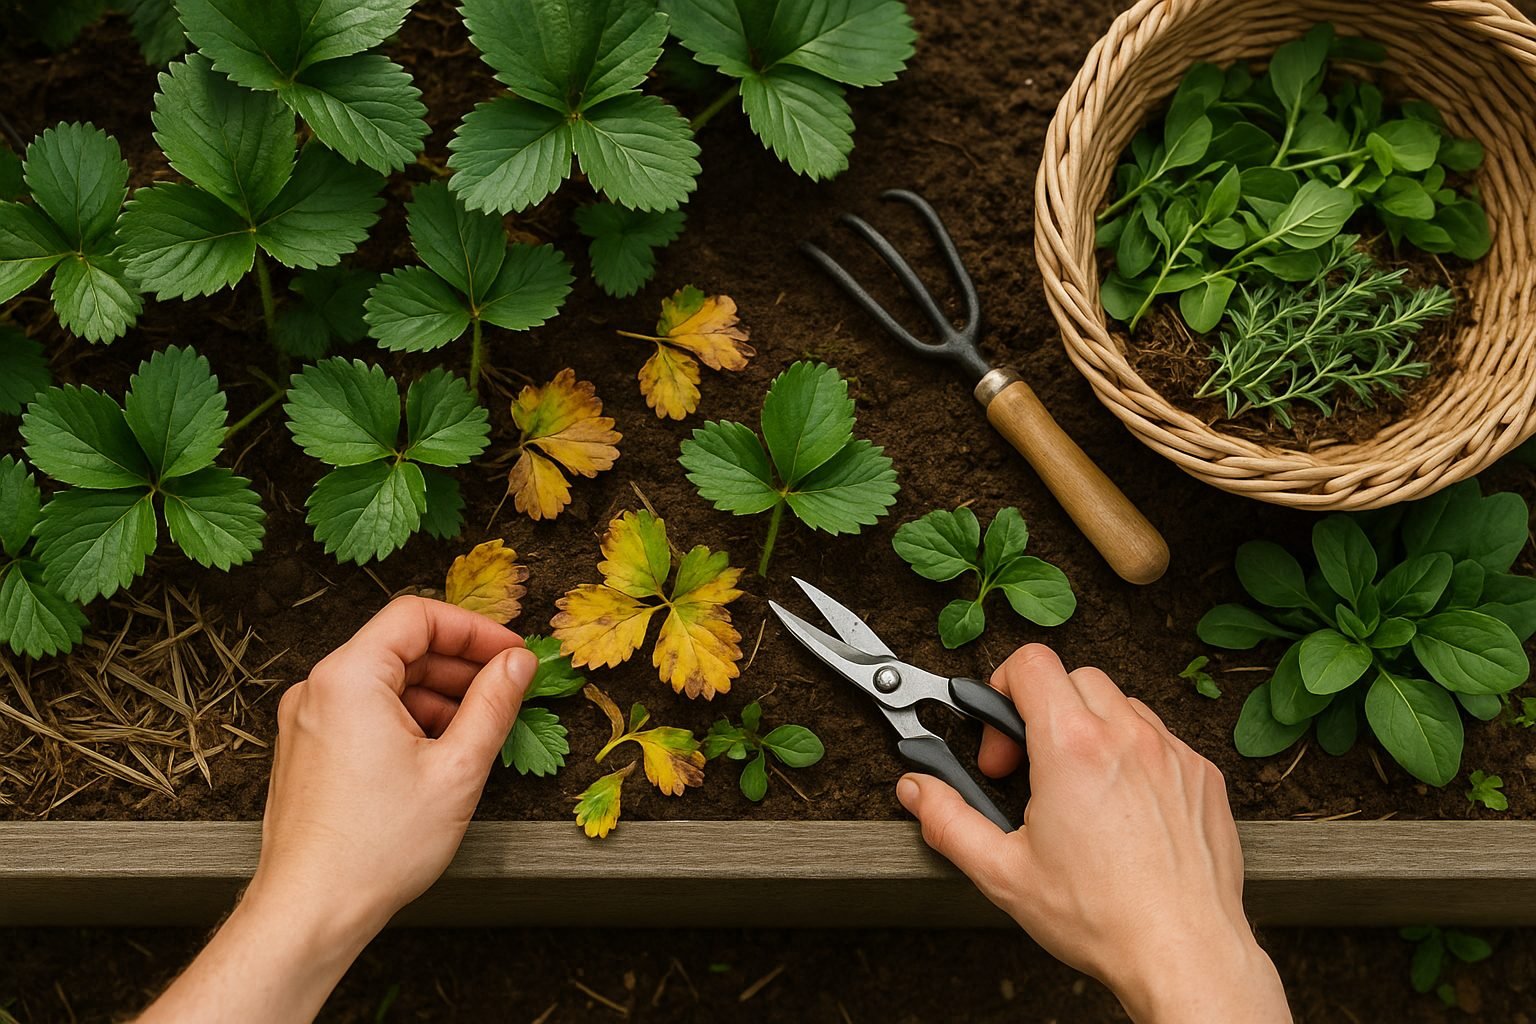
Cleaning up your strawberry beds starts with removing old leaves and debris, which not only tidies up the patch but also helps prevent disease. Use sharp, sanitized garden scissors or pruners to snip away dead or yellowing leaves, being careful not to cut the crown where new growth emerges.
Next, look for runners—those long stems that spread away from the main plant. Trim these back if you want to maintain your bed’s size and encourage more fruit where you want it; simply snip the runners close to their base, unless you’d like to transplant them for new plants elsewhere.
Thinning is also important—gently pull out the smallest, weakest plants to allow space and airflow between the healthy ones, which can reduce the risk of fungus and improve berry production.
When it comes to weeding, work slowly and use a hand fork or your fingers to loosen soil around weeds, pulling carefully to get the whole root system without disturbing strawberry roots. Shallow-rooted strawberries can be easily damaged by aggressive digging.
If you spot any leaves or plants showing signs of disease or pests, such as spots, holes, or unusual coloring, remove them right away and dispose of them in the trash rather than compost to prevent spreading issues.
Always clean your tools with rubbing alcohol or a 10% bleach solution after each use—this quick step stops diseases from hitching a ride from one plant to the next.
Gathering essentials like gloves, sharp pruners, a small fork, a bucket for debris, and some disinfectant makes the job easier and much more effective.
By giving your strawberry beds this simple seasonal tune-up, you’ll set the stage for a healthier, more productive harvest.
Soil Care, Fertilizing, and Mulching After Cleanup
After a thorough garden cleanup, don’t overlook the foundation of a thriving landscape: healthy soil. Start by assessing your soil’s texture and structure—grab a handful to check for sandy grit, heavy clay, or a nice crumbly loam. If possible, use a basic home soil test kit or send a sample to your local cooperative extension service to check pH and nutrient levels.
Once you know what your soil needs, enrich it naturally. Compost, well-rotted manure, and worm castings add both nutrients and beneficial microbes without the harshness of synthetics. Apply these fertilizers in early spring or after major fall cleanups by spreading a one- to two-inch layer, then gently work it in with a rake or hoe—avoiding going too deep, which can disturb plant roots.
For fruiting or flowering plants, side-dress with compost or add organic blends high in phosphorus as buds emerge.
The Importance of Mulching
Alongside fertilizing, mulching is key for long-term soil and plant health. After feeding your soil, spread a two- to three-inch layer of natural mulch like shredded bark, straw, or leaf mold around your plants—just keep it a few inches away from stems to prevent rot.
Mulch helps soil retain moisture, reducing your need to water and acting as insulation against temperature swings. It’s especially valuable in winter, protecting root systems from freezing and thawing cycles. Plus, a thick layer of mulch suppresses weeds naturally, saving you time on maintenance as the season progresses.
Regularly check the mulch for compaction or decomposition; top it up as needed, especially after heavy rains or windy spells.
Setting Up Your Garden for Success
By blending these practices—careful assessment, feeding with organic matter, and maintaining a generous mulch cover—you’ll set up your garden for a season of healthy, resilient growth.
Managing Pests and Diseases in Strawberry Beds
After the initial spring cleanup in strawberry beds, it’s common for gardeners to spot problems like slugs, aphids, spider mites, and fungal diseases such as gray mold (Botrytis cinerea) or powdery mildew. These issues typically emerge as the weather warms and new growth appears, making vigilant monitoring vital.
One of the simplest and most effective preventative steps is removing old leaves, dead plant material, and leftover fruit from the bed, as these attract pests and can harbor disease spores over winter. Proper spacing between plants also pays off—the increased airflow reduces leaf wetness, making conditions less favorable for fungal infections.
If slugs become a nuisance, try scattering crushed eggshells or diatomaceous earth around plants, or use beer traps to attract and drown them naturally. For fungal issues, water your strawberries early in the day so foliage dries quickly, and consider applying an organic fungicide like neem oil if problems persist. Introducing beneficial insects, like ladybugs, can help control aphid infestations without chemicals.
By staying on top of garden hygiene, practicing crop rotation annually, and keeping a close eye on your strawberry plants, you can dramatically reduce the chances that pests or diseases will take hold—and enjoy a healthier, tastier harvest.
Renovating and Revitalizing Older Strawberry Patches
If your strawberry patch isn’t producing like it used to, or if you notice smaller berries and leaves packed too closely together, it’s probably time for a renovation. Overcrowding leads to disease and reduced yields, as old plants can’t compete for light and nutrients.
Start by removing weeds and any old mulch from the beds. Thin out the patch by gently pulling up weak, damaged, or overly dense plants, leaving the healthiest strawberry crowns about 8 to 12 inches apart. If your plants have sent out lots of runners, you can dig up the best young plants and replant them at the recommended spacing for a fresh start.
Trim off any dead foliage, and when replanting, make sure the crown sits just above the soil so it doesn’t rot. Water well and add a fresh layer of mulch to suppress weeds and retain moisture.
For long-term vitality, rotate your strawberry beds every 3-4 years to a new spot where you haven’t grown strawberries or other related crops (like tomatoes or peppers). This helps break disease cycles in the soil.
Each renovation season, consider introducing new disease-resistant varieties alongside your established plants to keep your patch vigorous and productive. Regular renovation like this not only extends the life of your strawberry bed but also ensures a healthier harvest year after year.
Ongoing Maintenance for a Thriving Strawberry Patch
Keeping your strawberry patch productive all season means regular, hands-on care tailored to the plant’s natural growth cycles. Start by watering consistently, giving your plants about 1–1.5 inches of water weekly, preferably in the morning to minimize disease risk. Raised beds tend to dry out faster than ground-level plots, so check soil moisture often by pressing your finger an inch or two into the dirt.
Keep weeds at bay with mulch like straw or wood chips, which also helps preserve soil moisture and keeps berries clean. As your strawberries spread, runners (long stems with baby plants) will appear; trim most of them back unless you want to expand your patch, so your main plants produce larger, better-quality berries.
Remove any dead or yellowing leaves, especially after harvesting or during damp weather, to boost airflow and prevent fungal issues. Make it a habit to inspect plants for signs of pests like slugs, aphids, or spider mites, as well as common diseases such as powdery mildew or leaf spot. Catching problems early makes a big difference, so check under leaves and around fruit clusters every few days.
In both raised and ground-level beds, keep an eye out for ants or birds eyeing your ripe fruit. Simple netting or copper tape barriers can deter unwanted visitors.
When harvest time comes, pick berries as soon as they are fully red for the sweetest flavor, pinching gently at the stem to avoid damaging plants. Collect ripe fruit every two to three days during the peak season, as leaving overripe berries will attract pests and sap plant energy.
With these simple habits—thoughtful watering, selective pruning, vigilant monitoring, and timely harvesting—you’ll keep your strawberry patch healthy, productive, and bursting with flavor year after year.