Introduction
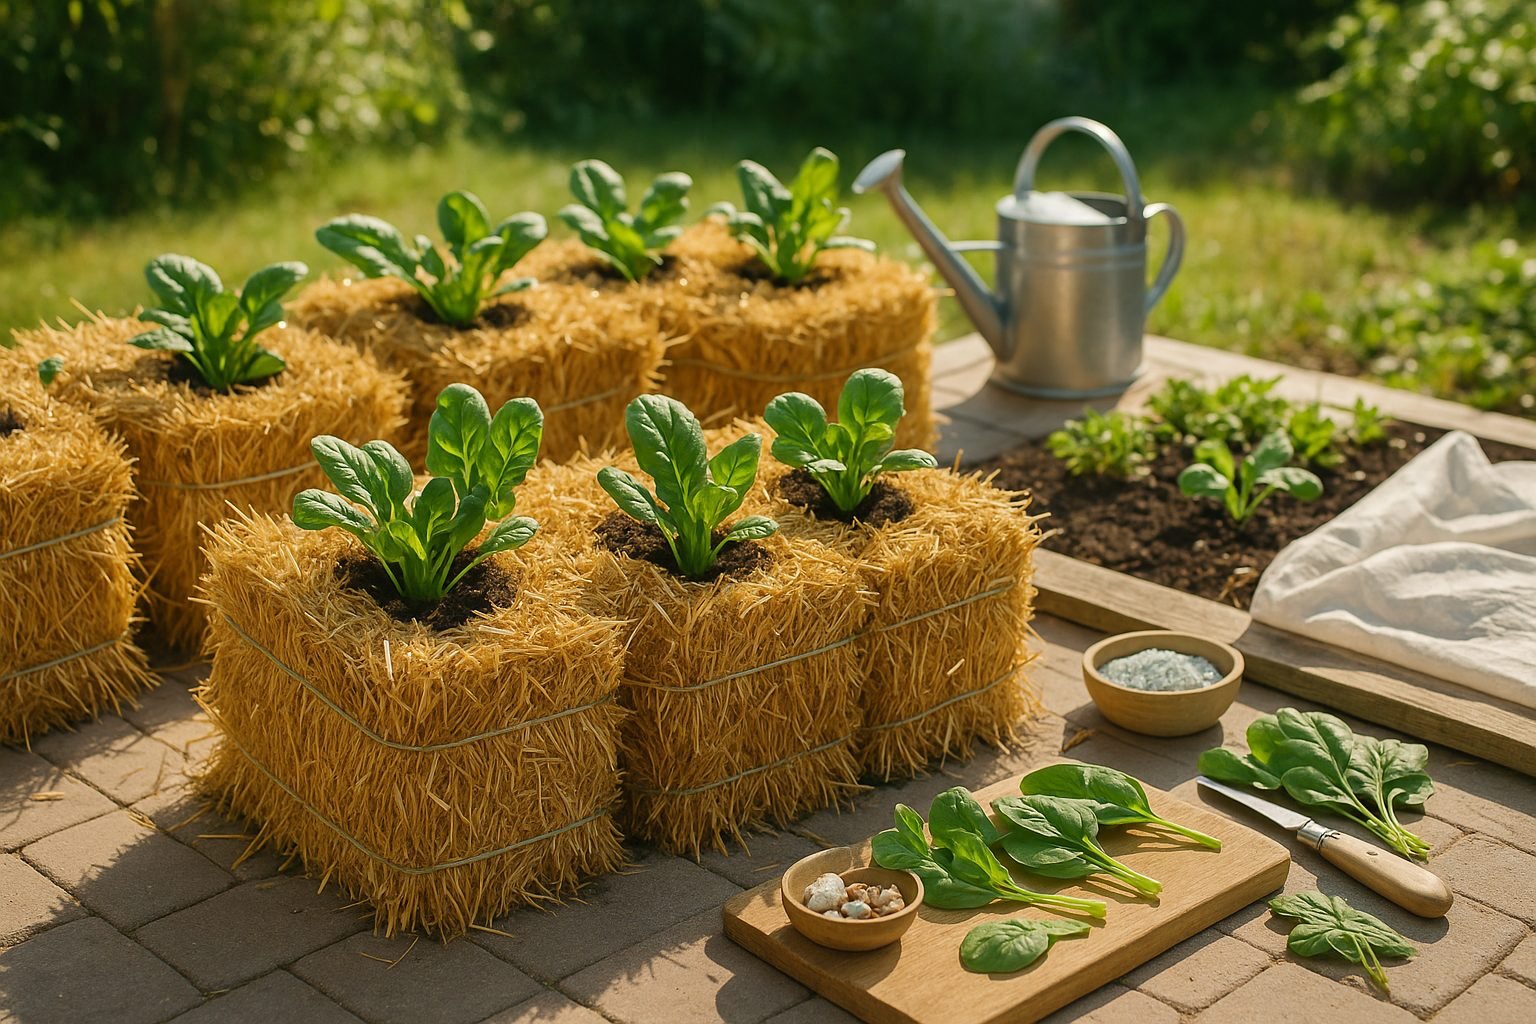
If you’re curious about alternative gardening methods, you may have wondered about growing spinach in straw. Straw bale gardening—a technique where plants like spinach are cultivated directly in bales of straw or hay—has surged in popularity for good reason. This innovative method helps gardeners bypass traditional soil, making it an excellent solution for those with limited yard space, challenging soil conditions, or even city balconies. It’s especially beginner-friendly, as straw provides a weed-free, well-aerated environment that can lead to fewer pests and quicker growth for leafy greens like spinach.
Imagine transforming your patio or driveway into a productive mini-garden—no digging or tilling necessary. Plus, straw bales are affordable and easy to set up, offering a great introduction to gardening for children and first-timers. Throughout this article, we’ll dive into how and why spinach thrives in straw, step-by-step tips to set up your own straw bale garden, and real-world advice on maintaining healthy crops. We’ll also explore key things to watch for, such as watering routines, fertilization, and common mistakes. Whether you’re short on space, new to gardening, or just looking for an easier way to grow spinach, read on to discover if planting spinach in straw might be the solution you’ve been searching for.
Benefits of Straw Bale Gardening
Straw bale gardening offers a host of practical advantages, making it an appealing option for both new and seasoned gardeners. One major benefit is space efficiency—you don’t need a big backyard to get started. Straw bales can be arranged in tight spots like driveways, patios, or even on rooftops, allowing anyone with a small or non-traditional outdoor space to cultivate vegetables and flowers.
Accessibility is another plus, especially for people with mobility issues or those who have trouble bending down to ground level. The bales’ raised height makes planting, tending, and harvesting much easier on your back and knees.
Straw bales also create a barrier between your plants and the native soil, significantly reducing the risk of soil-borne diseases and pests. This can lead to healthier plants and often better yields.
From an environmental standpoint, straw is an agricultural byproduct—using it as a planting medium helps recycle materials that might otherwise go to waste. Over time, the bales break down and enrich the soil beneath with organic matter, improving soil texture and fertility for future growing seasons.
Plus, straw bale gardening allows for efficient water use—water drains well through the bales, preventing common problems like root rot while still retaining enough moisture for plant roots.
Overall, straw bale gardening is not only space- and resource-efficient, but it’s also a sustainable approach that makes gardening accessible just about anywhere.
How to Set Up Your Straw Bale Garden
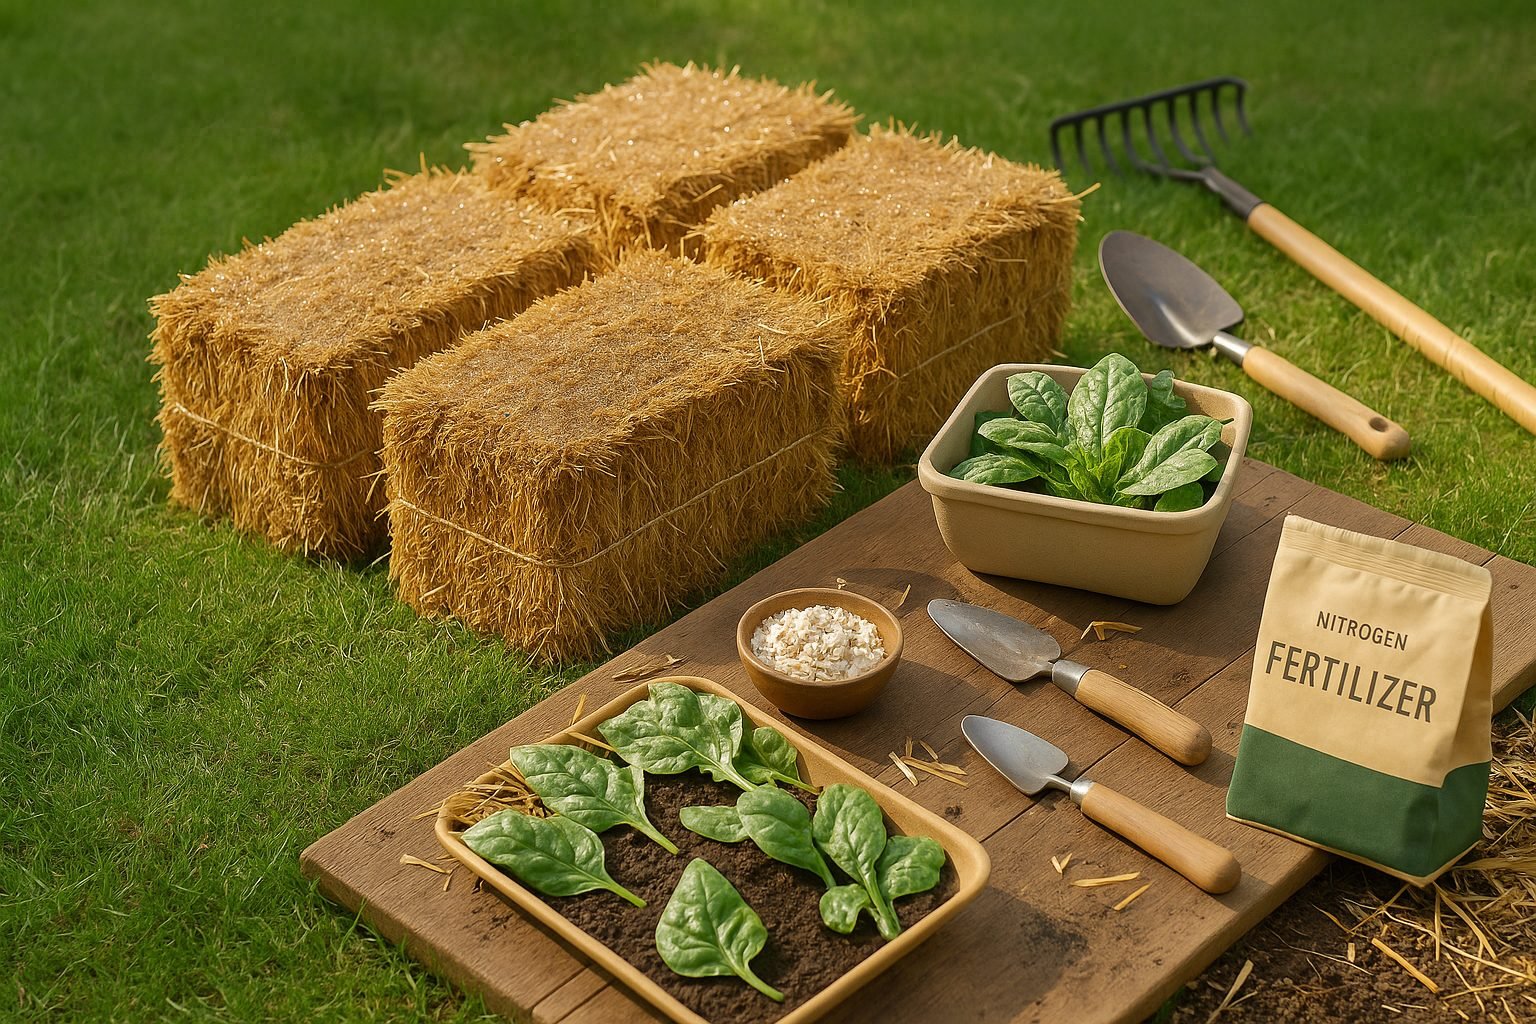
Choosing the right spot for your straw bale garden is essential—look for a location that gets at least six to eight hours of direct sunlight daily, ideally facing south or west to maximize exposure.
Arrange your bales with the cut, straw-filled ends facing up and the strings running along the sides, which helps them retain water better.
When planning your layout, decide between a single row for narrow spaces or blocks for larger areas and easier access; for example, a block of two bales by three makes a compact yet productive patch.
Place the bales directly on grass or soil, spacing them about an inch apart for airflow and drainage.
Use wheat or oat straw rather than hay, since straw has fewer weed seeds—ask local garden centers or farmers for bales that haven’t been sprayed with herbicides.
Before planting, water and condition the bales for ten to fourteen days so they start to compost internally; this provides a nutrient-rich, warm bed for your plants.
With these steps, even beginners can enjoy a thriving, space-efficient garden almost anywhere.
Conditioning and Preparing Straw Bales
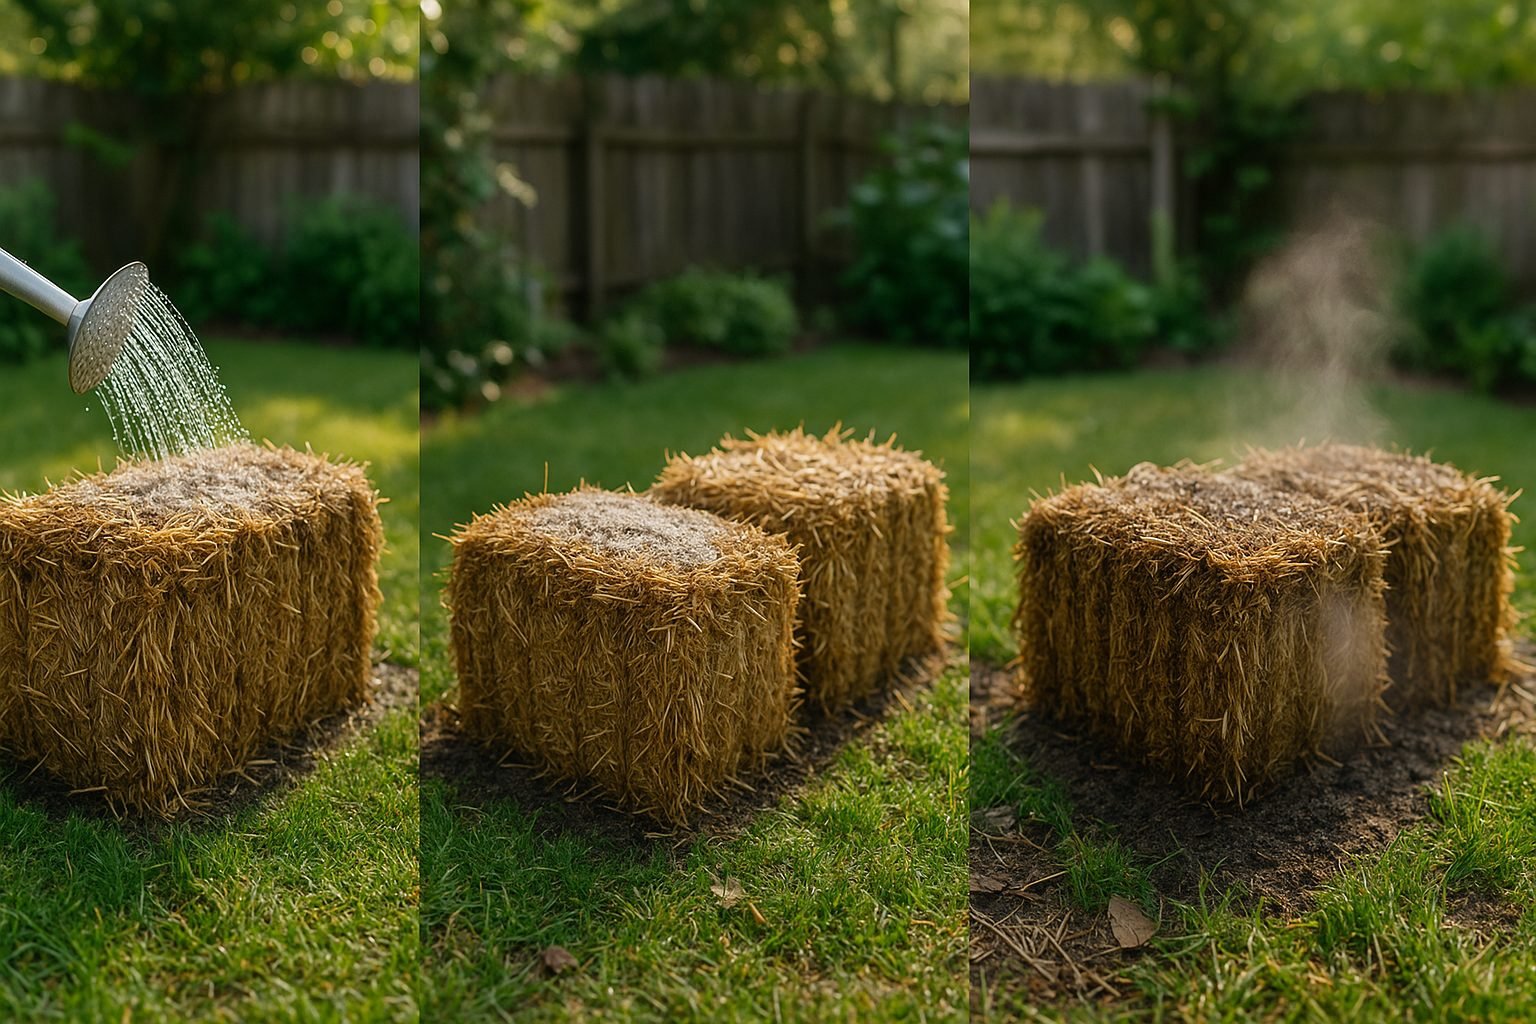
Conditioning straw bales is a crucial step before planting, as it transforms the dense straw into a nutrient-rich, decomposing medium where plants can thrive. Start by placing your bales in a sunny spot with the cut sides facing up—this allows water and fertilizer to penetrate easily.
Over the next two weeks, follow this simple day-by-day schedule:
- Days 1-3: Thoroughly soak the bales with water every morning to kickstart the decomposition process.
- Days 4-6: Continue watering, but add a high-nitrogen fertilizer (like ammonium sulfate or blood meal) to help microbes break down the straw—apply about half a cup per bale each day, sprinkling it evenly before watering.
- Days 7-9: Reduce fertilizer to a quarter cup daily but keep soaking the bales each morning.
- Days 10-12: Stop the fertilizer and just water well, checking the bales for warmth; they should feel slightly steamy but not hot.
Common pitfalls include skipping fertilizer (which leads to poor decomposition), underwatering (the bales must stay moist), and planting too soon before the internal temperature drops below 100°F, which can wilt seedlings. To avoid these issues, be consistent with your schedule, use a compost thermometer if possible, and don’t rush the process.
Well-conditioned bales should smell earthy and show signs of straw softening—not dry or moldy—so take time to get this step right for a thriving straw bale garden.
Planting, Supporting, and Caring for Your Garden
Planting in straw bales opens up creative possibilities for gardeners, but each crop needs a thoughtful approach for the best results. Quick-rooting veggies like lettuce, spinach, and radishes can be seeded directly into small holes poked in the tops of well-conditioned bales. Larger transplants—think tomatoes, peppers, or squash—require planting pockets carved out, big enough to cradle their root balls snugly.
Always plan your layout in a checkerboard pattern, leaving enough space between each plant for airflow and growth. Typically, one tomato or pepper per bale end, or a row of three lettuce per bale, works well.
For taller or vining crops, such as tomatoes, pole beans, or cucumbers, embed sturdy stakes or trellises right into the bale at planting time. This gives them immediate support as they grow and avoids disturbing the roots later.
Don’t forget that straw bales dry out faster than traditional soil, so daily watering during hot spells is often necessary. A soaker hose or drip system makes this much easier and more consistent.
Fertilizing is essential because straw decomposes and uses up nitrogen in the process—supplement with a balanced, water-soluble fertilizer every couple of weeks. Mulch any exposed top surfaces with a bit of compost or more straw to keep the bale moist and roots cool.
By paying extra attention to planting techniques, spacing, and supports, plus regular care, your straw bale garden can thrive with a riot of healthy, productive plants.
Managing Pests, Diseases, and Troubleshooting
Straw bale gardens are refreshingly low-maintenance, but pests and diseases can still pop up, especially in warm, damp conditions. Common culprits include aphids, slugs, pill bugs, and fungal diseases like powdery mildew or damping off.
For organic pest control, try strong sprays of water to knock off aphids, introduce beneficial bugs like ladybugs, or sprinkle diatomaceous earth to deter slugs and beetles. If you spot mildew, improve air circulation and avoid watering the foliage. Remember to rotate crops each year and remove plant debris to prevent disease build-up.
Sometimes, structural issues become just as frustrating: bales that collapse or lean often signal overwatering or insufficiently tight bales at the start. Use sturdy supports like stakes or cages to keep them upright and double-check your watering schedule—bales typically need less water as decomposition slows after the initial weeks. Uneven watering leads to dry patches and stressed plants, so install soaker hoses or drip lines across the surface for even moisture.
If your plants look pale or aren’t thriving, you may have nutrient deficiencies. Add a weekly feeding of fish emulsion or compost tea, and monitor for yellowing leaves, which suggest a nitrogen shortage. A little troubleshooting goes a long way; by addressing small issues early and sticking to organic solutions, you’ll create a resilient straw bale garden that yields healthy, happy crops all season.
Frequently Asked Questions about Straw Bale Gardening
Straw bale gardening offers a fresh way to grow veggies, but it’s natural to have questions. One common concern is how long a straw bale really lasts. Typically, a bale will serve you well for one full growing season, after which it breaks down into compost that you can mix into your soil or use as mulch.
While some folks worry about weeds popping up, using straw rather than hay greatly reduces this risk. That’s because hay contains seeds that often sprout, whereas straw is usually made from leftover stalks of cereal grains and is mostly seed-free. If you’re debating between straw and hay, straw is the clear winner for less weeding.
Another important thing to watch for is chemical residue. Some bales may be treated with herbicides, so always try to buy straw labeled as untreated or organic, or source it from a farmer you trust.
When the season wraps up, simply break apart the bale and spread the decomposed material over your garden beds to enrich your soil—nothing goes to waste.
Straw bale gardening is especially handy if your native soil is poor or you have limited space. However, it may not be the best fit if sourcing clean straw is tough in your area. Overall, it’s a practical, low-maintenance method with great potential, especially for beginners ready to try something new.
Conclusion & Next Steps
Straw bale gardening is an approachable and innovative way to grow fresh produce, even if you have poor soil, limited space, or are new to gardening. The beauty lies in its flexibility—just a few bales in a sunny spot can yield plenty of tomatoes, herbs, or even flowers with hardly any digging.
To get started, choose straw (not hay) bales and allow two weeks for conditioning them; this means watering the bales and adding a bit of fertilizer to kickstart decomposition. Once conditioned, plant your seeds or seedlings directly into the bale, keeping them well-watered throughout the season.
Try experimenting with different crops to discover what works best in your climate and for your taste. Some gardeners even use bales for vertical gardens or creative backyard designs. Don’t be afraid to make mistakes—every season brings new lessons!
For more inspiration and practical tips, check out online gardening forums, YouTube tutorials, or books dedicated to straw bale gardening. You might also want to explore related topics like soil health, container gardening, or composting to deepen your gardening knowledge.
With a little curiosity and a few straw bales, you’re just weeks away from growing your own delicious harvest.