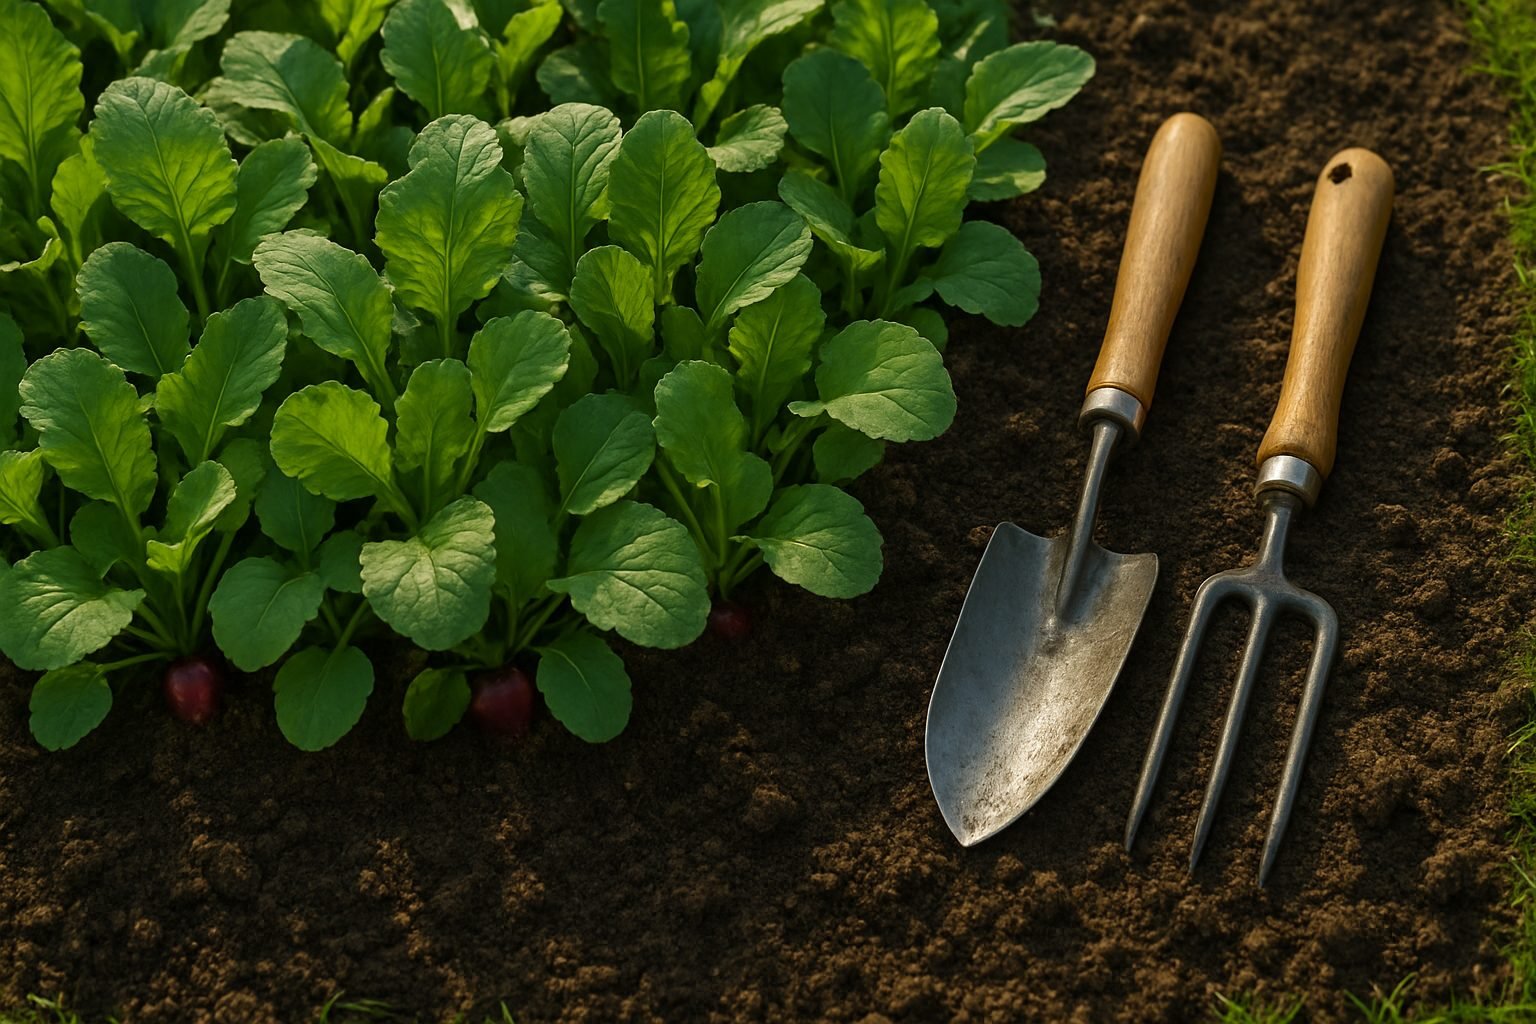
Introduction to Common Radish Growing Problems
For many gardeners, growing radishes is one of the most satisfying parts of the season. Their quick growth and crisp bite make them a top choice for anyone seeking fast, homegrown results. But even experienced gardeners can find themselves stumped when it comes to “radish not forming”—a surprisingly common problem that leads to spindly leaves and no round, crunchy bulbs in sight. If you’ve ever planted a row of seeds with high hopes, only to harvest nothing but leafy tops and skinny roots, you’re not alone. This frustration can leave you questioning your soil, your gardening skills, or even the seeds themselves.
Radishes are generally considered easy and low-maintenance, which makes this issue even more puzzling and discouraging. The good news? Most problems with radish bulb formation are caused by a few specific, easily fixable issues, such as temperature swings, improper planting depth, overcrowding, or nutrient imbalances. For example, sowing radish seeds too thickly or leaving them in hot weather can both prevent those signature round bulbs from ever forming. In some cases, it might come down to watering habits or even the variety you’ve chosen—small tweaks can turn everything around.
This guide is designed for gardeners who want real, actionable answers. We’ll walk through the most common problems behind radish bulbs not forming, highlight warning signs to look for, and share step-by-step fixes that fit into any routine. Whether you’re gardening in containers, raised beds, or traditional plots, these tips will help you get back to harvesting crisp, flavorful radishes you can be proud of. With a little troubleshooting and practical know-how, you can overcome these radish-growing challenges and enjoy a more reliable (and delicious) crop.
Soil Preparation and Site Selection
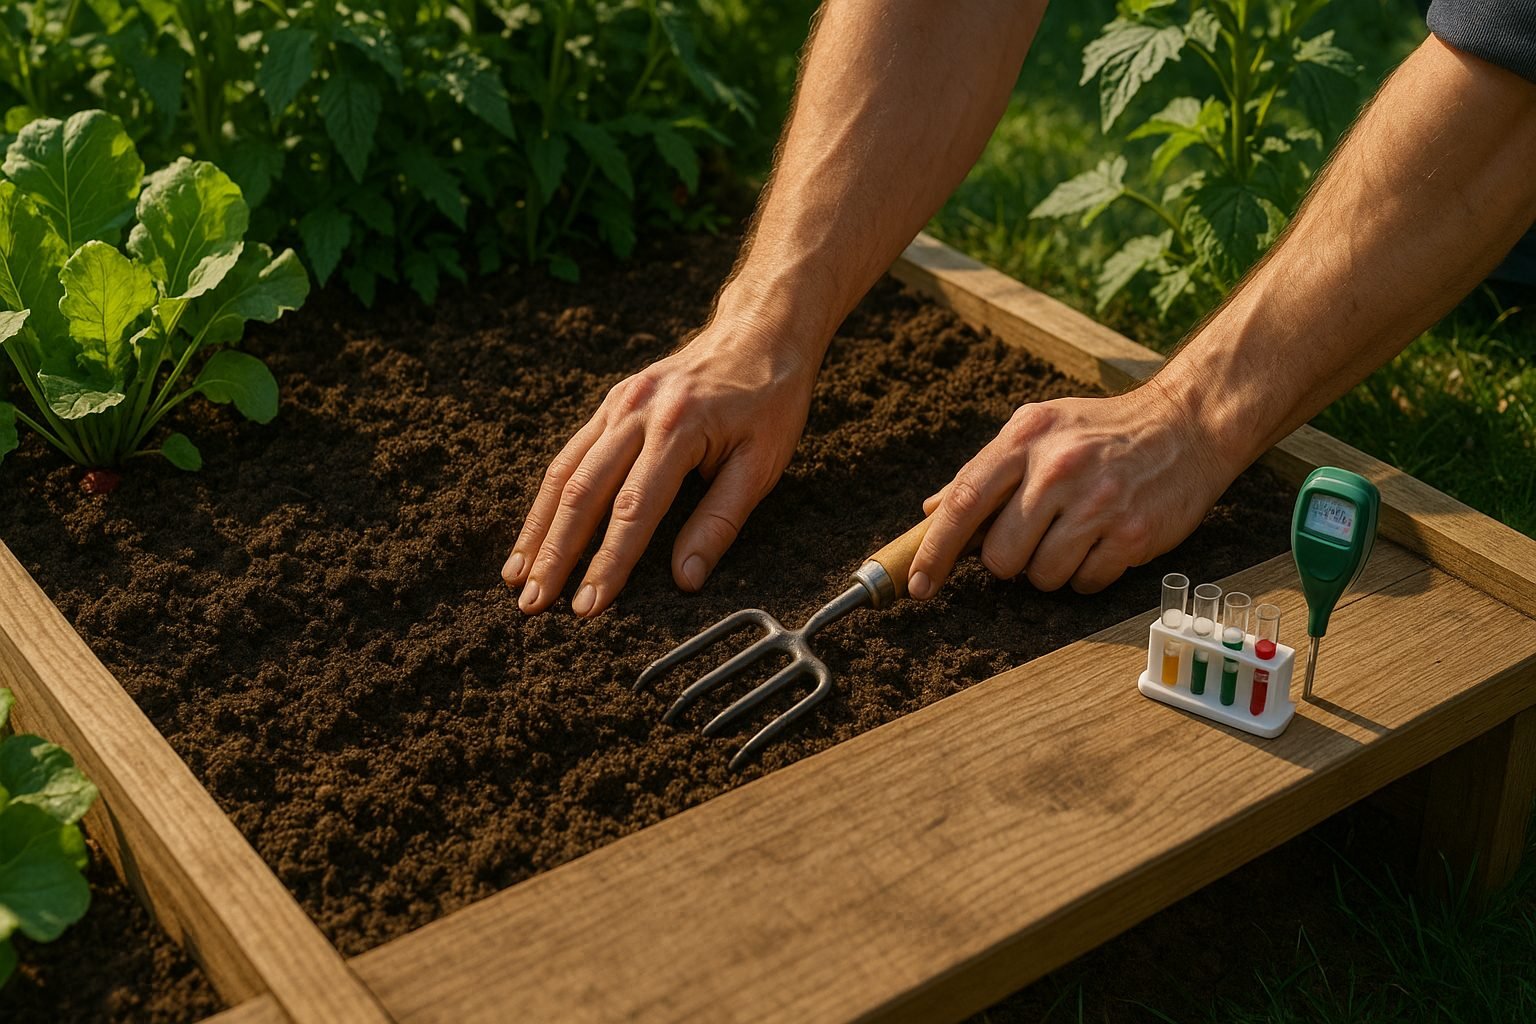
Choosing the right site and preparing your soil properly can make or break your garden’s success. Poor soil preparation often leads to compaction, which means roots can’t grow deeply, and air or water can’t move freely. This causes weak, stunted plants.
If your soil doesn’t drain well, roots can easily rot—especially after heavy rain. Conversely, sandy soils may not hold enough water, forcing you to irrigate frequently. Low fertility, where the soil lacks key nutrients, results in pale leaves and minimal growth.
To avoid these pitfalls, always start with a soil test. You can buy a simple home testing kit or send samples to your local extension office for more detailed results. A test will show your soil’s pH and nutrient content, so you’ll know exactly which amendments to add—like lime to raise pH, sulfur to lower it, or compost to boost organic matter.
For texture, working in organic material such as compost or well-rotted manure helps break up heavy clay and gives sandy soils better moisture retention.
Location also matters: most vegetables and flowers need at least six hours of direct sunlight daily, so avoid areas shaded by trees or buildings. Before planting, spend some time observing the light in your yard throughout the day to pick the sunniest, flattest spot with good air circulation. If possible, steer clear of low-lying spots where water collects, as this can create soggy roots and foster disease.
With good site selection and soil preparation, your plants will have the best chance to thrive, saving you time and frustration later.
Seed Sowing Issues and Spacing
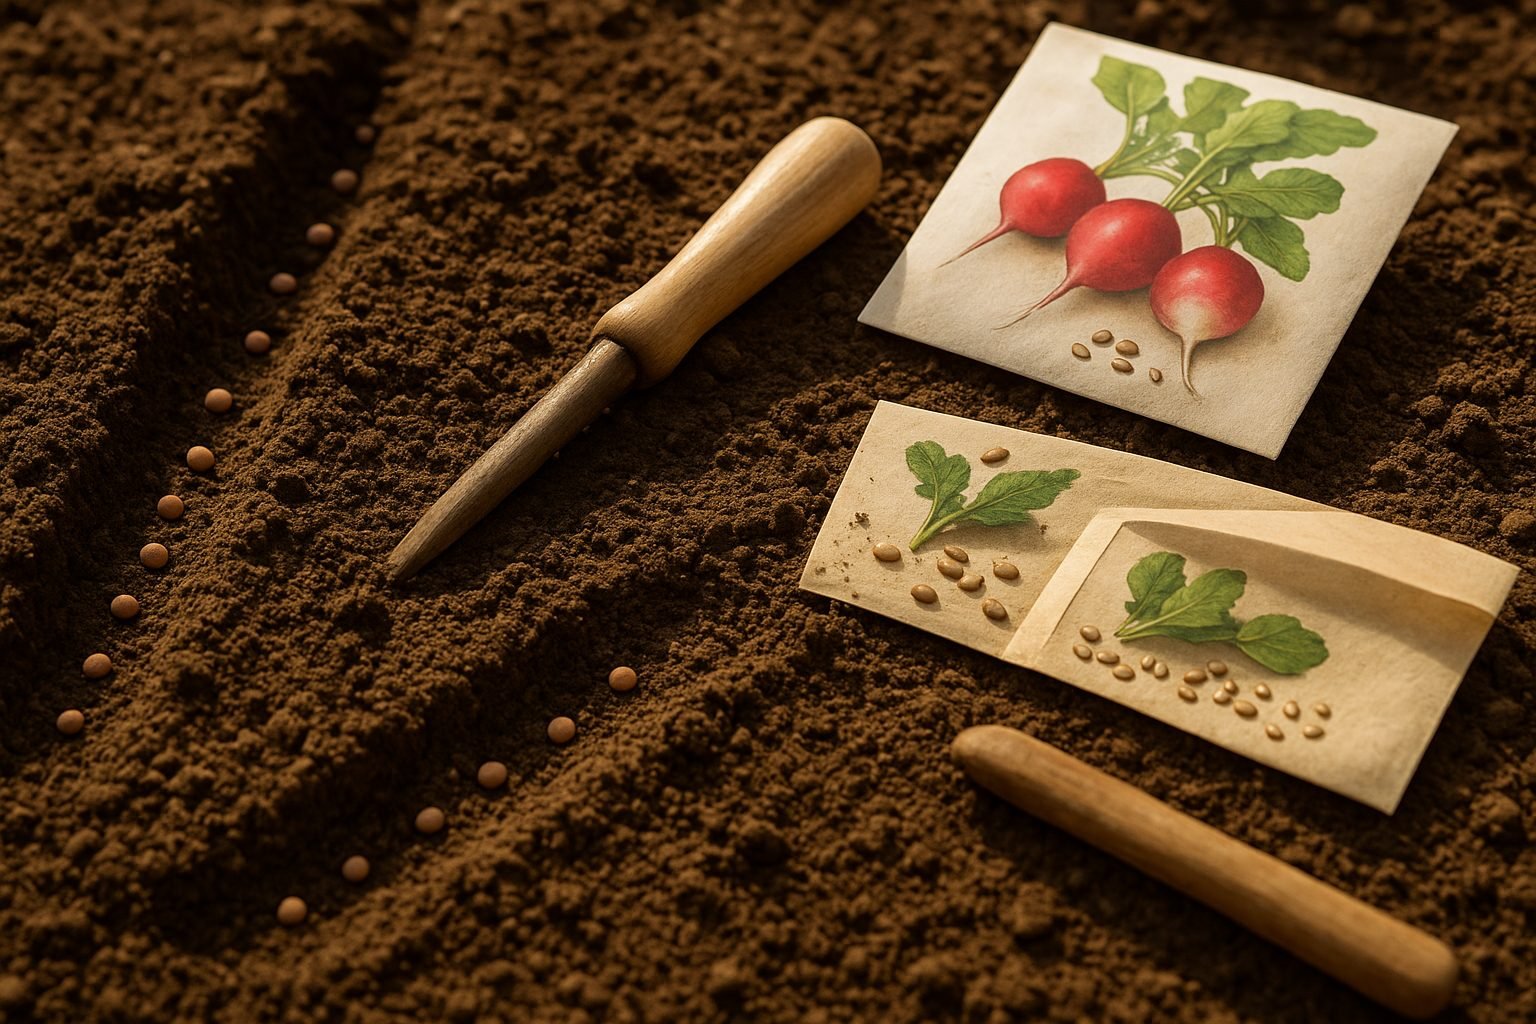
Sowing seeds may seem simple, but overcrowding and incorrect depth are common mistakes that can compromise your harvest. If you scatter seeds too thickly, seedlings compete for light, water, and nutrients, often resulting in weak, spindly growth and undersized bulbs.
Similarly, planting seeds too deep can prevent them from breaking through the soil, while shallow sowing might leave them vulnerable to drying out or bird predation. To avoid these issues, always check the seed packet for recommended spacing and depth—typically, smaller seeds like carrots or onions should be sown about ¼ inch deep and spaced 1–2 inches apart.
As the seedlings grow, you’ll need to thin them: gently remove the weaker plants, leaving enough space (about 3–4 inches apart for most bulbs) for the strongest ones to develop properly. Thinning may feel wasteful but gives your crops the room they need to form healthy bulbs and roots.
For the best germination, sow seeds during the optimal window for your local climate—cool-weather crops like onions and carrots should be planted in early spring or late summer, when soil temperatures are mild and moisture is consistent. Remember, using fresh seeds and well-prepared, loose soil also boosts your success rate.
A little attention to spacing and timing can make the difference between a crowded, disappointing patch and a thriving, bountiful garden.
Watering and Weather Challenges
Inconsistent or insufficient watering can seriously impact the quality and flavor of your root vegetables, especially carrots and beets. When these plants don’t get a steady supply of moisture, roots may become small, cracked, or woody, and their sugars don’t develop fully, leading to bland or bitter flavors. Even worse, uneven watering—when the soil alternates between too dry and too wet—can cause roots to split or become oddly shaped.
High temperatures and weather swings add extra challenges. Sudden heat spikes often cause root crops to bolt, or flower prematurely, which makes the roots stop growing and turn fibrous or spongy. Young plants hit by a cold snap may also struggle, as fluctuating conditions can stunt root development or trigger stress responses that reduce flavor.
To help your garden cope, try applying 2-3 inches of organic mulch, like straw or shredded leaves, around your plants. Mulch keeps the soil evenly moist and cool, protecting sensitive roots from rapid drying or heating. During very hot weather, you can rig up simple shade cloths or even repurpose an old bedsheet to cover your plants during the hottest part of the day, preventing heat stress and bolting.
Most importantly, stick to a regular watering routine—aim for deep, thorough soakings once or twice a week, depending on your soil and climate, rather than shallow daily sprinkles. This encourages roots to grow deeper and develop better texture and taste.
With just a little extra care, you can help your root crops thrive, even when the weather is working against you.
Nutrient Deficiencies and Fertilization Mistakes
Nutrient deficiencies and fertilization mistakes are common hurdles for gardeners, often leading to lackluster plant growth and disappointing harvests. Over-fertilization, especially with nitrogen, is a frequent issue—too much nitrogen can cause lush, leafy growth at the expense of flowers or fruits, and may even burn plant roots or contribute to environmental runoff.
On the flip side, deficiencies in key nutrients like potassium and phosphorus manifest in stunted growth, weak stems, or discolored leaves. For instance, a potassium deficiency might present as yellowing leaf edges or brown tips, while phosphorus shortages typically make leaves appear dark green or purplish.
The best way to avoid these problems is by adopting mindful fertilizing practices:
- Always start with a soil test to understand what your plants genuinely need.
- Follow recommended amounts on fertilizer packages rather than guessing.
- Time your fertilizer applications based on your plants’ growth cycles—plants often benefit most from feedings during early vegetative growth or at the start of flowering.
If you see signs of nutrient stress, act quickly by re-evaluating your feeding routine. Organic fertilizers like compost or manure release nutrients slowly and can be safer for beginners, while slow-release synthetic blends help maintain consistent nutrition. Always water after fertilizing to help nutrients reach the roots without causing burn.
Remember, more isn’t always better: it’s often easier to correct a mild deficiency than to fix the damage caused by excessive feeding. Frequent monitoring and adjusting your approach based on plant appearance and soil conditions will keep your garden healthy and resilient.
Pests and Diseases Affecting Radishes
Radishes, though quick and easy to grow, can fall prey to a variety of pests and diseases that seriously impact your harvest.
One of the most common pests is the root maggot—tiny white larvae that tunnel into radish roots, causing unsightly holes and brown streaks. If you notice wilting leaves or stunted growth, it could be a sign maggots are at work underground.
Flea beetles are another notorious pest, easily recognized by the tiny “shotgun” holes they chew through young radish leaves. Severe infestations can slow plant growth or even kill seedlings.
Slugs may seem slow, but their nighttime feeding results in irregular, ragged holes on leaves and even direct damage to the roots. Keeping an eye out for shiny slime trails can help you spot a slug problem early.
Common Diseases Affecting Radishes
On the disease front, damping off is a frequent issue, especially in cool, damp conditions. It presents as seedlings collapsing at the soil line—a surefire sign that soil or seed trays are too wet.
Clubroot causes swollen, distorted roots and wilting that doesn’t improve with watering, commonly seen in acidic soils.
Various fungal infections often start as yellow or brown leaf spots or white fuzz on foliage.
Organic and Preventative Care Tips
- Rotate crops yearly and ensure good soil drainage to deter soil-borne pests and diseases.
- Use floating row covers right after planting to keep flea beetles and maggot-laying flies off your crops.
- Water in the morning so leaves dry quickly and space plants properly to encourage airflow, reducing fungal risk.
- For slugs, hand-pick them at dusk, use barriers like crushed eggshells, or set shallow beer traps.
- Avoid overwatering and discard any infected plants immediately to stop disease spread.
- Consider planting radishes in well-balanced soil and adding garden lime if clubroot has been an issue, as it thrives in acidic conditions.
These simple, proactive steps keep your radishes healthy and plentiful without harsh chemicals.
Troubleshooting Growth Problems: Bulbs and Leaves
If your plants aren’t forming healthy bulbs, are producing too many leaves, or developing small and misshapen roots, it’s usually a sign that something’s off in the growing environment. Bulb crops like onions or garlic might stay leafy and fail to swell into usable bulbs if they get too much nitrogen fertilizer or are spaced too closely together, which encourages leaf growth at the expense of bulbs.
Small or deformed roots often result from poor soil structure—think heavy clay, waterlogging, or compaction—or inconsistent watering, which stresses young plants as they establish themselves. Another major factor is transplant shock, especially if seedlings are moved when it’s too hot, too cold, or they haven’t been properly hardened off. Symptoms of transplant shock include stunted growth, yellowing leaves, and a reluctance to form proper bulbs or roots.
Stressors like extreme temperatures, abrupt weather changes, pest infestations, or mechanical damage during transplanting can worsen these problems.
How to Fix These Issues
- Check the basics: ensure plants are spaced properly and use a balanced fertilizer suited for your specific crop.
- Make sure the soil drains well without becoming too dry or soggy.
- Use mulch to moderate temperature fluctuations and retain moisture.
- Gently loosen the soil around plants to prevent compaction and encourage healthy root growth.
- If you suspect transplant shock, be patient—plants often recover in a week or two if kept well-watered and protected from direct midday sun.
If after two weeks there’s little to no improvement and growth remains abnormal, it may be best to remove the affected plants and replant. Starting fresh with amended soil and healthy transplants can save time and result in heartier, more productive crops.
Lastly, keeping a garden journal to track environmental conditions and changes in care can help you identify patterns and troubleshoot more effectively in the future.
Harvesting Tips and Preventing Future Issues
Radishes are at their best when harvested promptly—wait too long, and you risk tough, woody roots or split skins that make them less appealing. Keep an eye on the size: most common radish types are ready about three to four weeks after sowing, once their shoulders peek above the soil at a size similar to a grape or golf ball.
If you’re unsure, gently brush away the dirt around one plant and try pulling it out for a quick check. If the root looks plump and smooth, it’s ready.
When harvesting, use two hands—grasp the base of the foliage with one hand and steady the soil with the other to ease roots out without snapping. For bigger plantings, a garden fork can help loosen soil and make lifting easier, but be gentle to avoid bruising.
After pulling, twist off the tops about a half-inch above the root to keep radishes fresher in the fridge.
To prevent future problems like woodiness or cracks, keep the bed consistently moist and plan for quick succession sowings; radishes mature fast, so plant a new row every couple of weeks for a steady, high-quality supply.
Between crops, add compost or well-rotted manure to improve drainage and reset the soil’s nutrients, which helps roots develop evenly. Rotate radish beds each year to avoid building up pests or diseases.
With these harvesting techniques and a bit of soil prep, you’ll enjoy crisp, tasty radishes season after season.
Frequently Asked Questions About Radish Growing Problems
Radish growers often face a few recurring challenges, so here are answers to some of the most common questions.
Why are my radishes all leaves and no roots?
This usually happens when the soil is too rich in nitrogen or the plants are spaced too closely. Be sure to use a balanced fertilizer and thin seedlings to about 2 inches apart.
What causes radish roots to split or become woody?
Over-mature radishes left in the ground too long are often the culprit. Harvest them promptly as soon as they reach the desired size.
Are pests like maggots and flea beetles ruining your crop?
Floating row covers and crop rotation help prevent infestations. For maggots, try removing infested plants and avoid growing radishes in the same soil year after year.
If radish leaves turn yellow or wilt, what should I do?
Check for overwatering and ensure your soil drains well. Radishes prefer consistent, light moisture but dislike waterlogged roots.
Why are radishes emerging misshapen?
Compacted or rocky soil can lead to oddly shaped roots. Loosen your soil and remove debris before planting.
Where can I find more troubleshooting tips?
University extension sites like your local Cooperative Extension, along with gardening resources such as The Old Farmer’s Almanac and the University of Minnesota Extension, provide deeper dives into specific issues.
These simple adjustments and reliable sources will help you keep your radish crop healthy and productive.