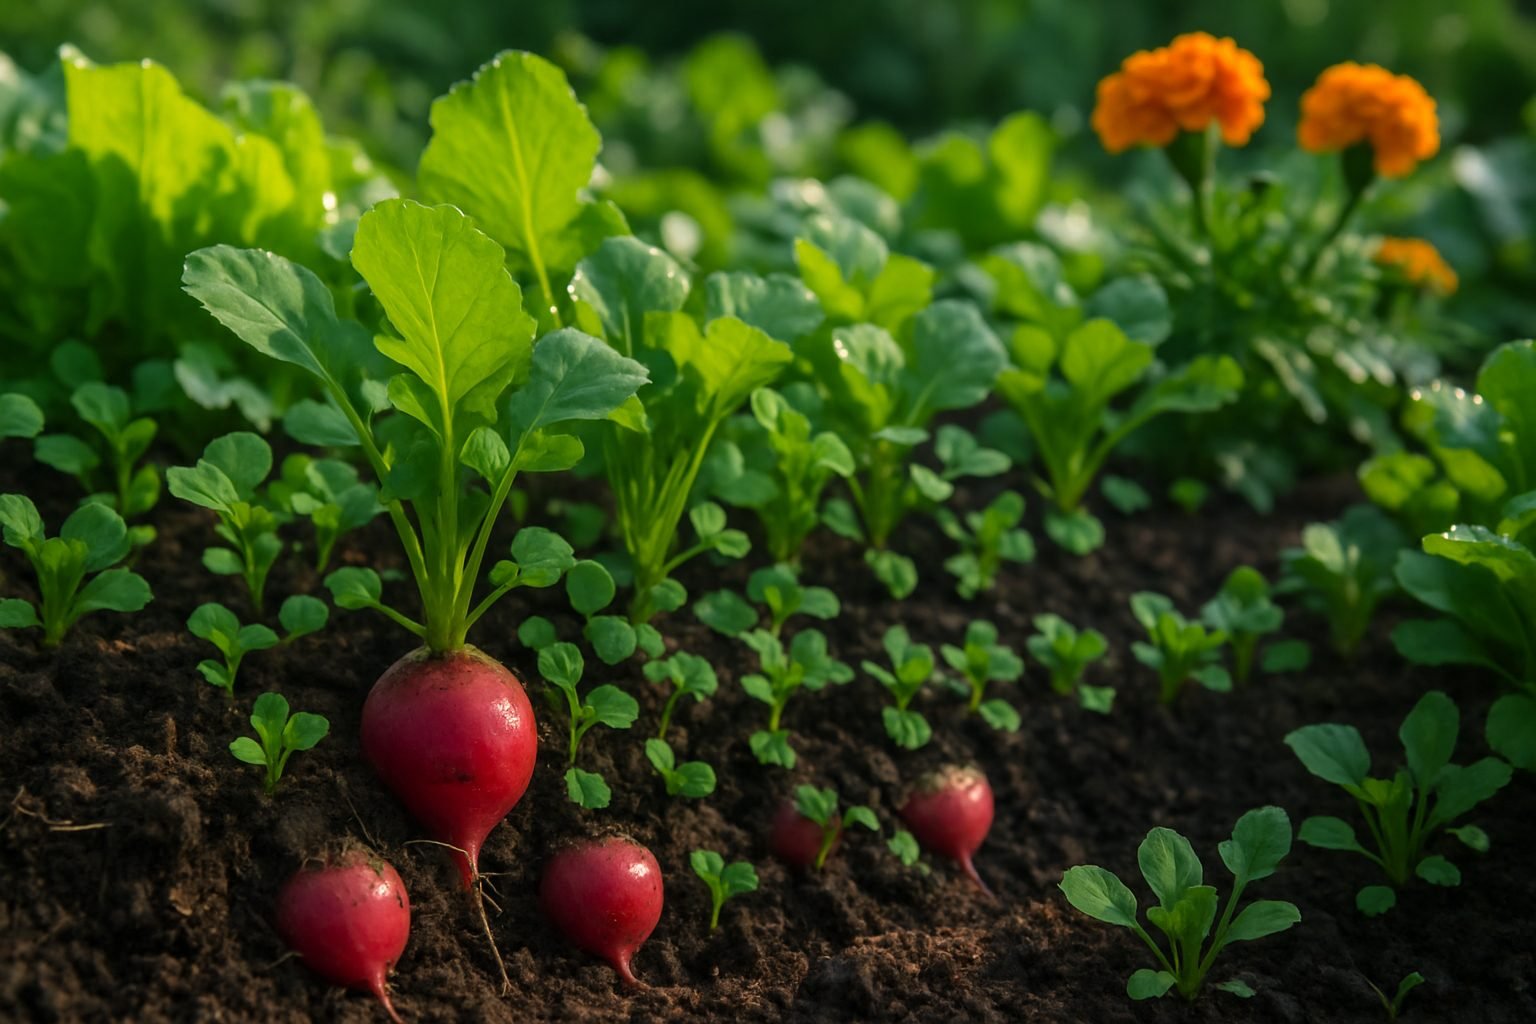
Introduction to Growing Radishes
If you’re looking for a fun and simple way to help your kids grow radishes, you’re in for a rewarding experience that delights budding gardeners and foodie families alike. Radishes are a favorite among home gardeners because they’re fast-growing—often ready to harvest in just three to four weeks! Their easy care means little hands can sow, water, and watch them thrive without frustration, making them perfect for first-time gardening projects.
Plus, once harvest time rolls around, radishes shine in the kitchen; their crisp, peppery crunch livens up any salad or snack platter, and kids love picking something they can actually eat. In this article, you’ll discover the best types of radishes for young gardeners, step-by-step planting tips, and fun ways to get children involved from soil prep to dinner table.
We’ll also share real-world tips for keeping kids engaged—like tracking germination with a calendar or setting up taste-tests in the kitchen. Join us as we explore how radishes can spark a lifelong love of gardening and healthy eating for your family, both outside in the dirt and inside at the dinner table!
Preparing the Ground for Radishes
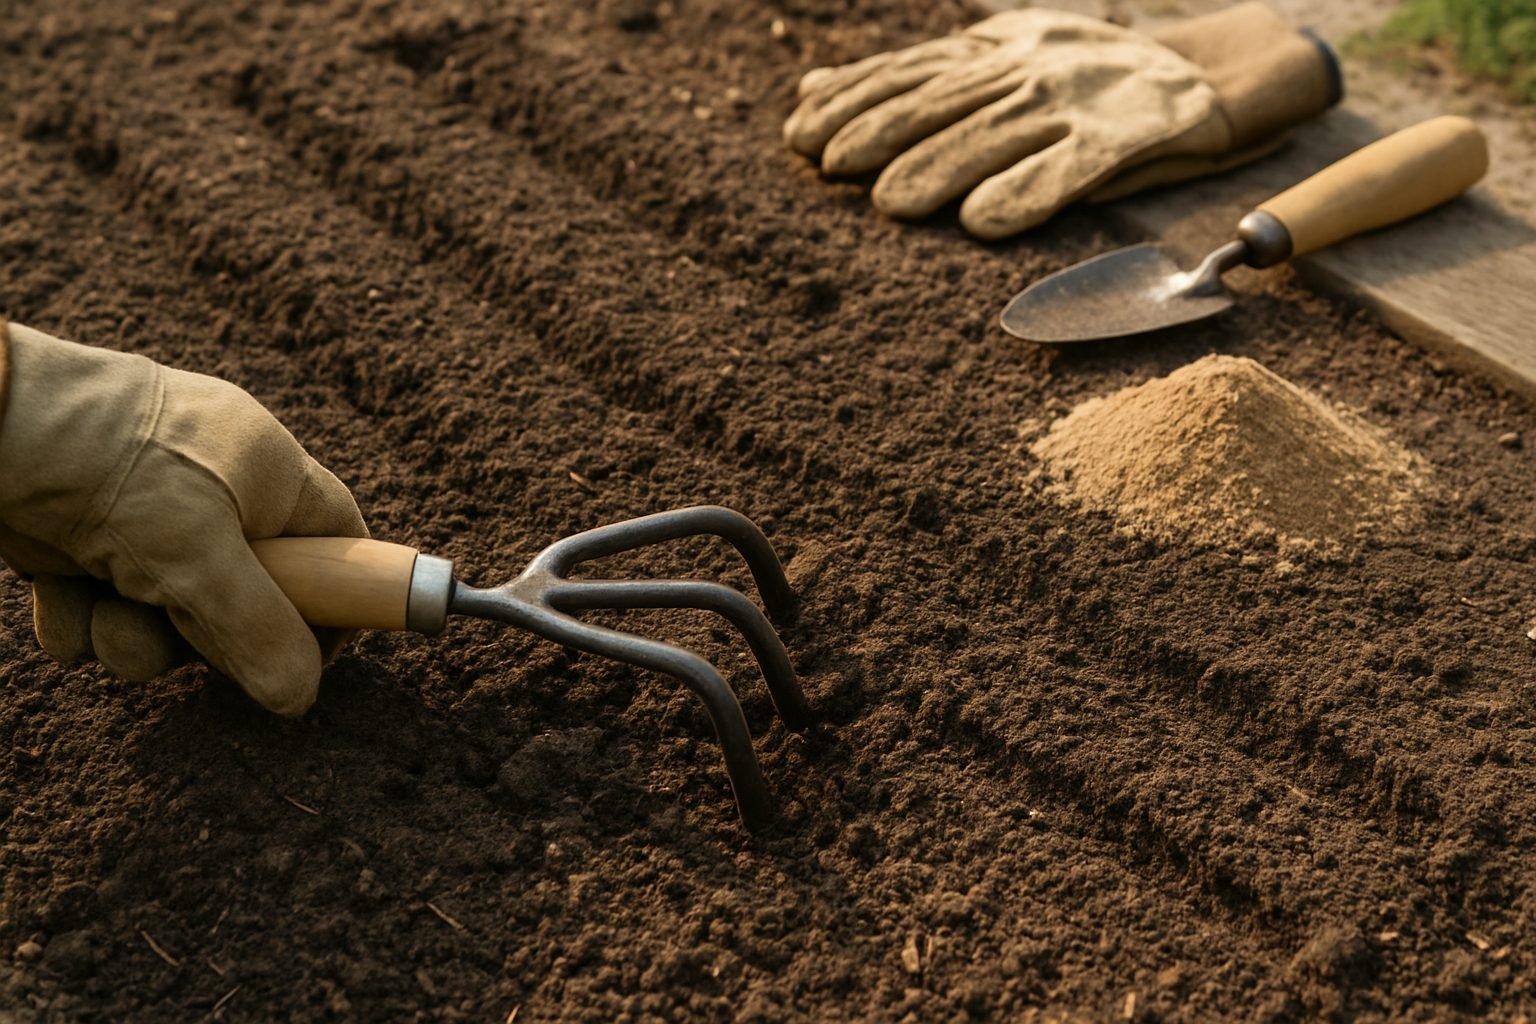
Choosing the right spot is key to growing healthy radishes. Find a location that gets at least six hours of direct sunlight every day—this helps the roots grow quickly and stay crisp, rather than spindly. Make sure the area drains well; if water pools after rain, those spots aren’t ideal, as soggy soil can rot radish roots fast.
To prepare the soil, start by pulling out any weeds, stones, and sticks—radish roots need an open path to expand. Loosen the dirt with a garden fork or tiller down to eight to twelve inches; compacted soil makes for stubby or misshapen radishes. Mix in plenty of compost or aged manure for nutrients and to improve texture. If your garden soil is heavy with clay, add some sand to help with drainage and create a light, crumbly texture.
Radishes like planting rows to be about twelve inches apart for good airflow and ease of harvesting. Make shallow rows in the loosened soil, spacing seeds about an inch apart, then lightly cover with half an inch of soil—press gently to settle the surface without compacting it. For raised beds, keep soil depth at least ten inches so roots have enough room.
Moist, soft, and well-prepped soil is the magic ingredient for fast-maturing, tender radishes—just remember: if you can easily push your finger in, it’s ready for planting.
How to Sow Radish Seeds
Sowing radish seeds is simple and rewarding, even for beginners. Start by choosing a sunny spot in your garden with well-draining soil; radishes thrive when planted directly in garden beds or containers. Prepare the soil by loosening it to a depth of at least six inches and removing rocks or debris.
Sow seeds about ½ inch deep and 1 inch apart in rows spaced 12 inches apart. This ensures each plant has enough room to develop round, crisp roots. Water gently after sowing to settle the seeds.
To enjoy a steady supply of radishes all season, try succession planting—every 7–10 days, sow a new row or patch of seeds. This way, you’ll always have a fresh batch maturing just as you harvest the previous one.
Radish varieties like Cherry Belle and French Breakfast are fast-maturing, ready in just 3–4 weeks, and grow best in the cool weather of early spring or fall. For longer, white roots, try Daikon radishes; these need a bit more space and fare best when planted in late summer for a fall harvest.
Remember, radishes prefer cool temperatures, so avoid sowing in mid-summer heat. By matching the timing and variety to your local climate, you can enjoy crisp, flavorful radishes for months on end.
Caring for Radish Plants
Caring for radish plants is simple but requires attention to a few key details. Radishes thrive with consistent soil moisture, so aim to water them every few days, keeping the soil evenly moist but not soggy. If the soil dries out, radishes can bolt, meaning they’ll flower early and become woody. Using a soaker hose can help maintain steady moisture, especially in hot weather.
To avoid splitting, never overwater after the roots start developing. Sudden heavy watering causes rapid growth spurts that crack the roots. Pests like flea beetles can be a nuisance, but floating row covers and companion planting with nasturtiums can reduce infestations.
Weeding is crucial because radishes compete poorly against weeds. Hand-pulling or using a small hand fork works best to avoid disturbing their delicate roots. Thinning seedlings is also essential: once plants reach about two inches tall, gently pull out the extras so the remaining ones are spaced an inch or two apart, preventing stunted growth.
Applying a light mulch of straw or shredded leaves keeps the soil cool and locks in moisture, making it harder for weeds to take hold. Regularly remove any damaged leaves and check for signs of pests or disease to keep your radishes growing at their best. These small, steady efforts make harvesting crisp, tasty radishes a breeze.
Best Companion Plants for Radishes
Companion planting with radishes is a smart way to boost your garden’s yield and overall health. Radishes pair especially well with crops like carrots, cucumbers, lettuce, peas, and spinach. These plants have complementary growth habits—lettuce and spinach, for example, help shade the soil, keeping it cool and moist for quick-growing radishes. Meanwhile, carrots share the space efficiently by extending deep roots while radishes stay closer to the surface, minimizing competition.
Peas add nitrogen to the soil, naturally enhancing radish growth. Herbs like chervil and dill also make great neighbors; they produce scents that repel pesky aphids and flea beetles, common radish pests. Marigolds are a tried-and-true companion flower that deters pests while adding vibrant color to your garden.
However, avoid planting radishes near brassicas like broccoli, cabbage, or cauliflower—they compete for nutrients and attract similar pests, worsening infestations. Also, keep radishes away from hyssop, which can stunt their growth, and from potatoes, which may hinder their development.
By mixing in the right companions, you’ll not only deter insects and encourage healthy growth but also maximize your garden’s productivity—allowing your radishes and their plant friends to thrive together.
Harvesting and Using Your Radishes
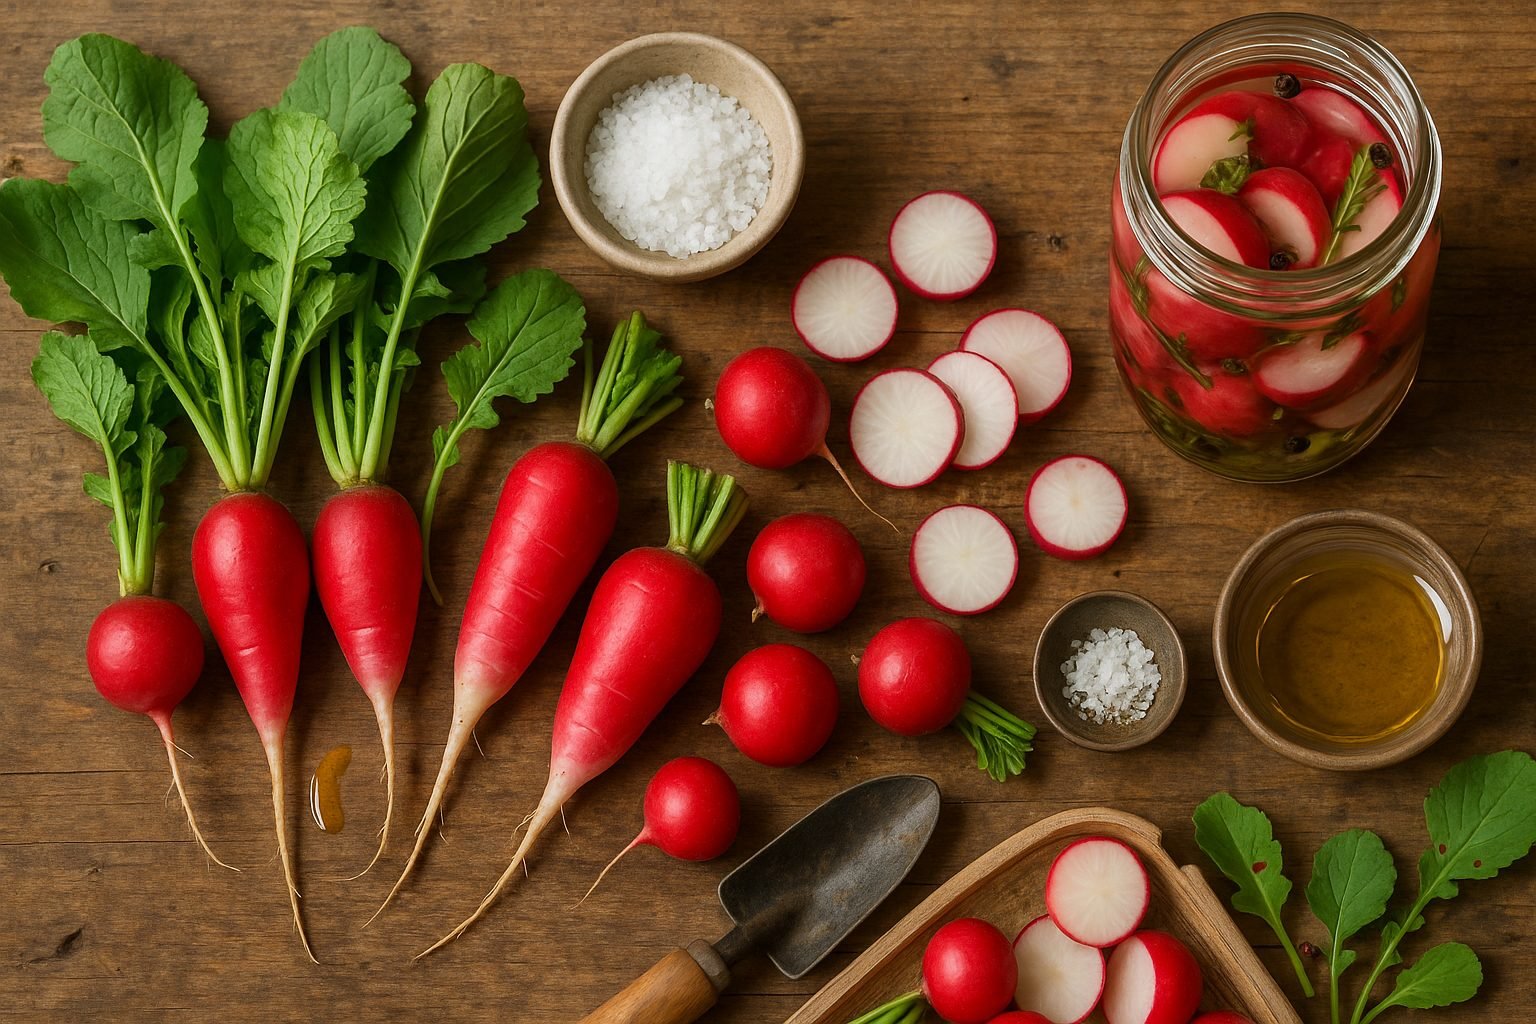
Radishes are ready to harvest once their roots poke above the soil and reach about the size of a large marble—usually around three to four weeks after planting. To check for ripeness, gently brush away some soil and feel the root; a firm texture means it’s good to pick. If left too long, radishes can turn woody or overly spicy, so check your crop often and pull them promptly.
After harvesting, clip the leafy tops about an inch above the root to prevent moisture loss, but don’t toss the greens—they’re edible and tasty!
How to Use Radishes
Use crisp radishes sliced raw in salads, layered in sandwiches, or as crunchy dippers for hummus. For a milder flavor, try roasting them with olive oil and your favorite herbs, which brings out their natural sweetness.
The leafy tops can be added to salads, sautéed with garlic, or blitzed into a zesty pesto.
Storing Radishes
To store fresh radishes, remove the leaves and keep the roots in a perforated bag in your fridge’s crisper drawer, where they’ll last for up to two weeks.
For longer storage, pickle them in a simple vinegar brine—they come out snappy and delicious, perfect for topping tacos or grain bowls.
If your greens start to wilt, revive them with a quick soak in ice water before use.
With these simple tips, you’ll get the most out of every part of your radish harvest.
Troubleshooting Common Radish Growing Problems
Radishes are usually easy to grow, but gardeners sometimes face hurdles like spindly roots, tiny bulbs, or leaves riddled with holes. If your radishes have lots of leaves but no roots, the most common culprit is overcrowding—avoid this by thinning seedlings to at least an inch apart right after they sprout.
Tiny or woody bulbs usually signal heat stress or a harvest that’s been left too long; try sowing seeds in cooler weather and harvesting promptly for crisp, tasty roots. If holes appear in your radish leaves, flea beetles are likely to blame; floating row covers offer a quick shield, while mulching with straw makes your plants less inviting.
To prevent issues in the future, rotate where you grow radishes each year to disrupt pest cycles, water consistently to avoid stress, and use light, well-draining soil to support healthy root development. Remember, no two gardens are exactly the same—experimenting with sowing times, soil amendments, or pest barriers can reveal what works best in your local conditions.
Stay observant, tweak your approach as needed, and soon you’ll have a reliable crop of vibrant, healthy radishes.