Why Harvest Your Own Kale Seeds
Saving kale seeds isn’t just for seasoned gardeners—it’s a simple, rewarding step anyone can take toward greater self-sufficiency and lower grocery bills. By harvesting your own kale seeds, you ensure a steady, reliable supply of your favorite leafy greens every season, no matter what’s available in stores. Plus, growing kale varieties that thrive in your own backyard means you can select for taste, tenderness, and resilience, preserving family favorites and unique heirlooms that might otherwise disappear from commercial catalogs.
There’s a strong sustainability angle here too. Saving kale seeds reduces reliance on packaging and long-distance shipping, cutting down your carbon footprint while empowering you as a grower. Seeds adapted to local conditions—thanks to years of careful selection and replanting—often outperform generic store-bought packets, standing up to your region’s specific pests and weather. Over time, you’re creating a mini-gene bank tailored to your plot of soil.
The basic process of saving kale seeds is surprisingly straightforward. Letting a few healthy plants bolt and flower, then collecting the dry pods once they mature, is all it takes to gather a bounty for next year. A gentle threshing and a little patience yield dozens of seeds from a single plant—a generous return on a small initial investment. Even new gardeners will find the learning curve inviting, and there’s no better feeling than starting the next growing season with seeds you harvested yourself.
Choosing and Preparing Kale Plants for Seed Saving
When saving kale seeds, start by choosing your healthiest, most robust plants as parents—avoid any showing signs of pests, disease, or damage, since weak plants can pass on poor genetics. Inspect leaves for holes, discoloration, or wilting, and select specimens with vibrant, uniform foliage. This careful selection helps ensure your next generation of kale thrives with good resistance and vigor.
Besides health, think about traits you want to preserve: maybe you love curly leaves, a particular color, or faster growth. Tag these standout plants early in the growing season so you can monitor them.
Kale easily cross-pollinates with other brassicas like cabbage or broccoli, which can result in unpredictable hybrids. To prevent this, plant different brassica species at least half a mile apart for home use, or separate varieties with physical barriers like row covers if space is limited.
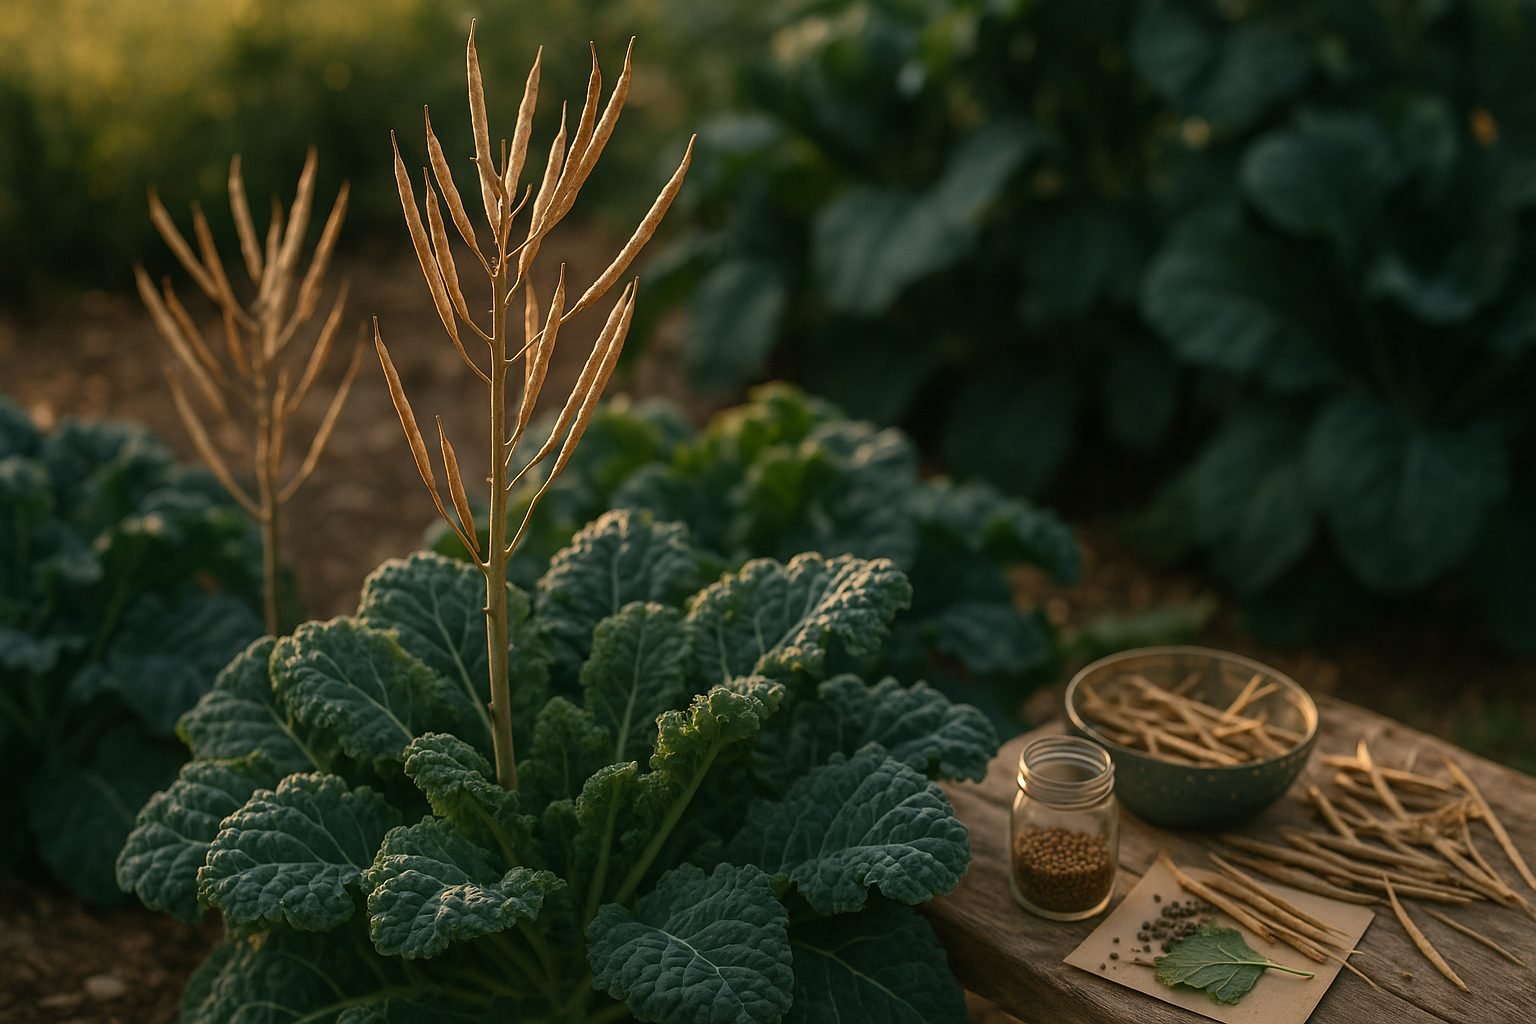
Once your selected plants mature, allow them to bolt—this happens as temperatures rise and days lengthen. You can encourage bolting by leaving plants in the ground through late spring into early summer, giving them enough room and nutrients during this phase. Tall flower stalks will grow, eventually producing yellow blossoms, which then develop seed pods.
Keep the soil evenly moist and stake the plants to prevent toppling. As the pods turn brown and dry—a sure sign they’re ready—harvest on a dry day to collect your homegrown seeds. Selecting, isolating, and carefully tending your kale through this process pays off in vigorous, true-to-type crops each season.
Step-by-Step Guide to Harvesting Kale Seeds
Harvesting kale seeds is a rewarding way to extend your garden’s bounty, but timing and technique are key to avoid losing your hard-earned seeds. Start by watching for the right signs—kale seed pods turn from green to a tan or beige color as they mature, and you’ll notice they feel dry and brittle to the touch.
Mature pods often shatter easily with a gentle squeeze, releasing the seeds inside, so act before a breeze scatters them around your garden.
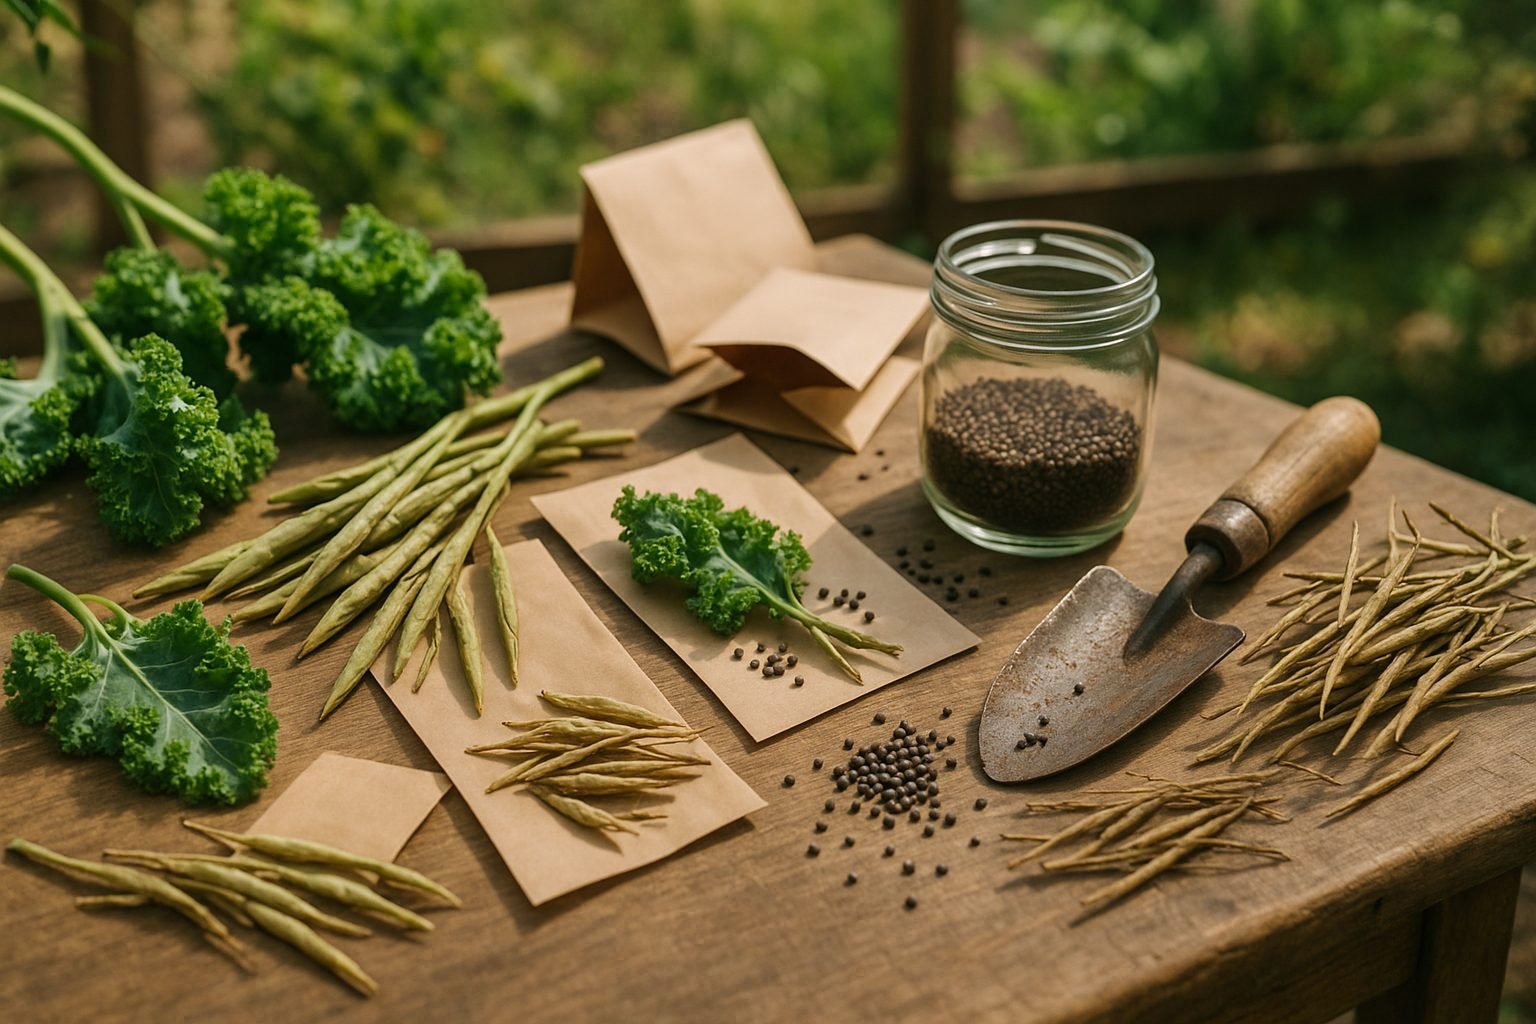
To harvest, choose a dry day and use clean, sharp garden scissors or pruners to cut entire seed-bearing branches, or even the whole plant if most pods have changed color.
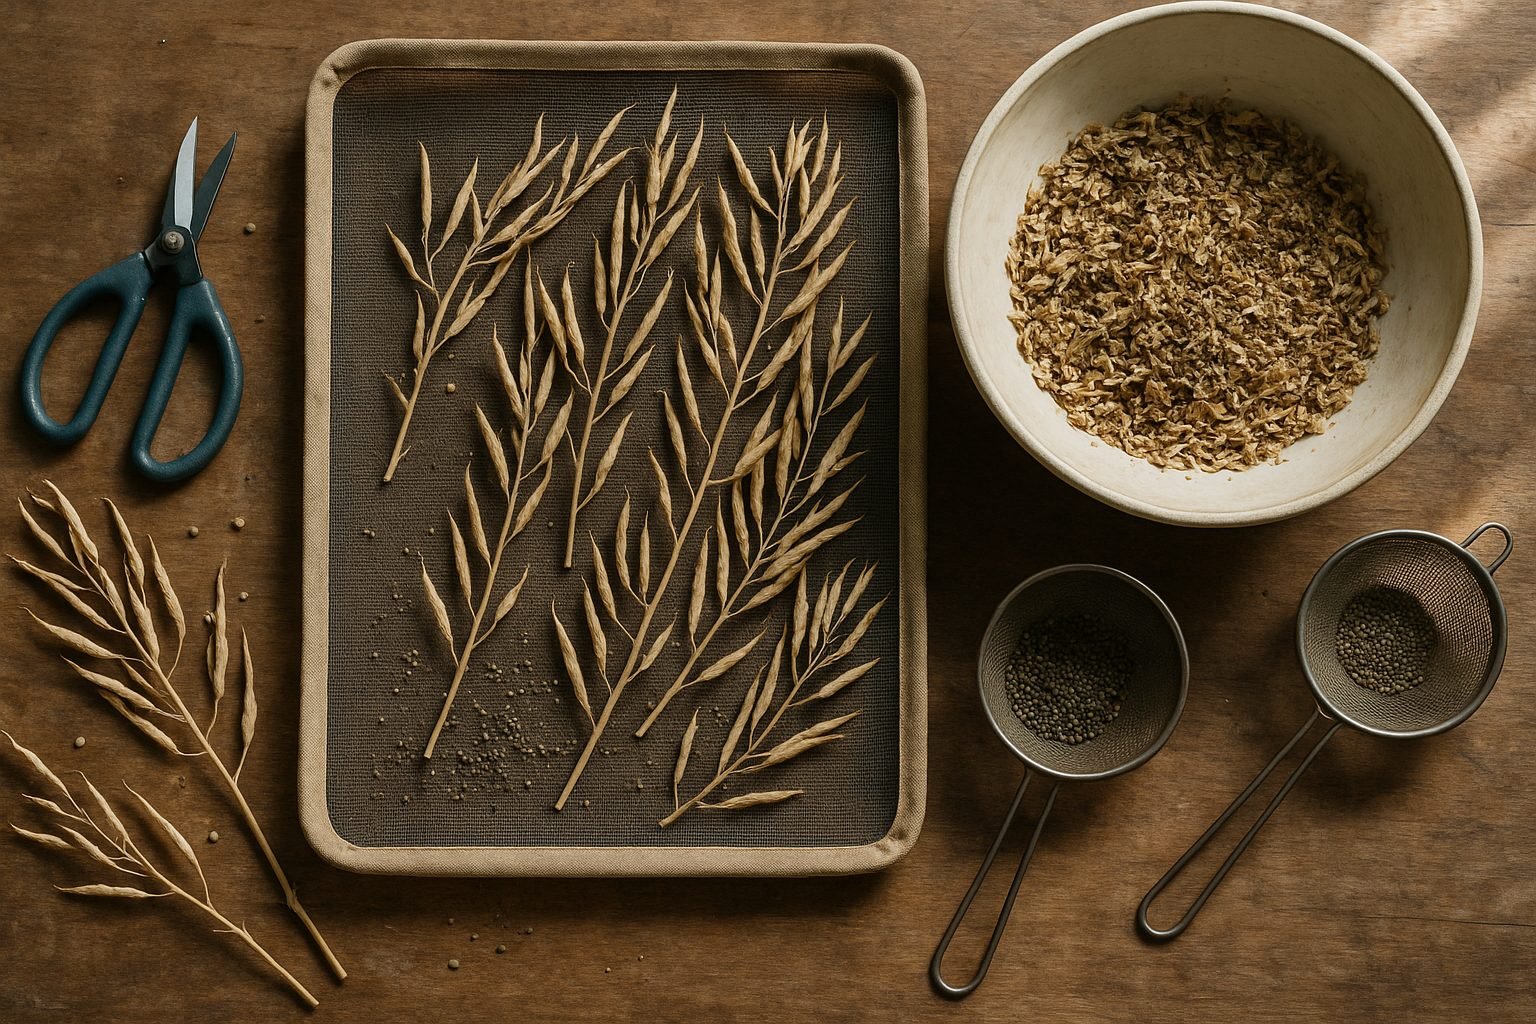
Lay these branches in a single layer on a breathable surface like newspaper or a mesh rack in a sheltered, dry spot—garages or shaded porches work great—where air can circulate but direct sunlight won’t overheat the seeds.
Avoid stacking pods, which traps moisture and encourages mold growth. If rain threatens, consider hanging the branches upside down in paper bags, which catch any seeds that fall during drying.
Let the pods dry for about two weeks, checking periodically to make sure they’re crisp.
When ready, gently crumble pods over a large bowl or tray, and sift out chaff by hand or with a kitchen sieve.
To catch loose seeds during this step, work over a towel or sheet, so stray seeds aren’t lost.
Store cleaned seeds in labeled envelopes or airtight containers in a cool, dark place for next year’s planting.
With these steps, you’ll save a surprising number of viable seeds with minimal waste or fuss.
Cleaning, Drying, and Storing Kale Seeds
After you’ve harvested mature kale seed pods (they’ll be brown and brittle), it’s time to thresh and release the seeds. For small home batches, lay the pods on a clean sheet or in a large bowl and gently crush them with your hands, rolling the pods until the hard, tiny seeds spill out. A rolling pin or lightly stepping on the pods can also help, but be gentle to avoid crushing the seeds themselves.
Next comes cleaning—remove large stems and pod pieces by hand, then separate lighter chaff from seeds with winnowing: pour the mix slowly from one container to another while blowing gently, or use a fan on low to blow away debris. A mesh kitchen strainer helps sift out fine dust, further cleaning the seeds.
After threshing and cleaning, spread the seeds in a single layer on a paper towel or mesh screen and let them air-dry for one to two weeks somewhere cool and dry; skipping this step can result in mold or poor germination later.
Once fully dry, store seeds in airtight containers like glass jars or resealable plastic bags, and add a packet of silica gel for extra moisture protection if available. Always label your container with the kale variety and harvest date—an easy detail to overlook but crucial for tracking seed freshness.
Keep your seeds in a cool, dark, and dry place like a pantry or even the refrigerator (in a sealed jar to prevent humidity). Under good storage conditions, kale seeds typically stay viable for up to four years, though heat, moisture, and fluctuating temperatures can shorten their lifespan.
With careful cleaning, thorough drying, and proper storage, you’ll have healthy seeds ready for seasons to come.
Tips for Successful Kale Seed Saving and Troubleshooting
Saving kale seeds can be a rewarding way to keep your favorite varieties thriving, but a few challenges may come up along the way. Common issues like pest damage often stem from cabbage worms or aphids, which can quickly ruin seed pods. To prevent infestations, check your plants regularly and use row covers or introduce beneficial insects like ladybugs.
Fungal diseases also threaten seed quality, especially in damp weather, so make sure to space plants well for good airflow and avoid overhead watering. If you’ve struggled with low germination rates, it might be due to harvesting seeds too early or improper drying. Wait until the seed pods turn dry and brown before collecting them, and let them cure in a cool, dry spot for another week to maximize viability.
Unpredictable weather—like heavy rain or heat waves—can compromise seed development. Keep an eye on the forecast and consider staggered harvesting: gently pick mature pods as they ripen rather than waiting for the whole plant to be ready.
Testing Seed Viability
Before planting your saved seeds next season, test their viability by placing ten seeds on a damp paper towel and checking how many sprout after several days. A germination rate over 70% indicates solid seed quality.
Organizing Your Seeds
To stay organized, label your seed envelopes with the kale variety and harvest date, then store them in a cool, dry place. Planning ahead helps—consider creating a simple spreadsheet or journal to track which batches performed best and when you need to sow them for optimal growth next year.
By keeping an eye on pests, harvesting at the right time, monitoring seed quality, and planning your plantings, you set yourself up for successful kale harvests season after season.