Introduction
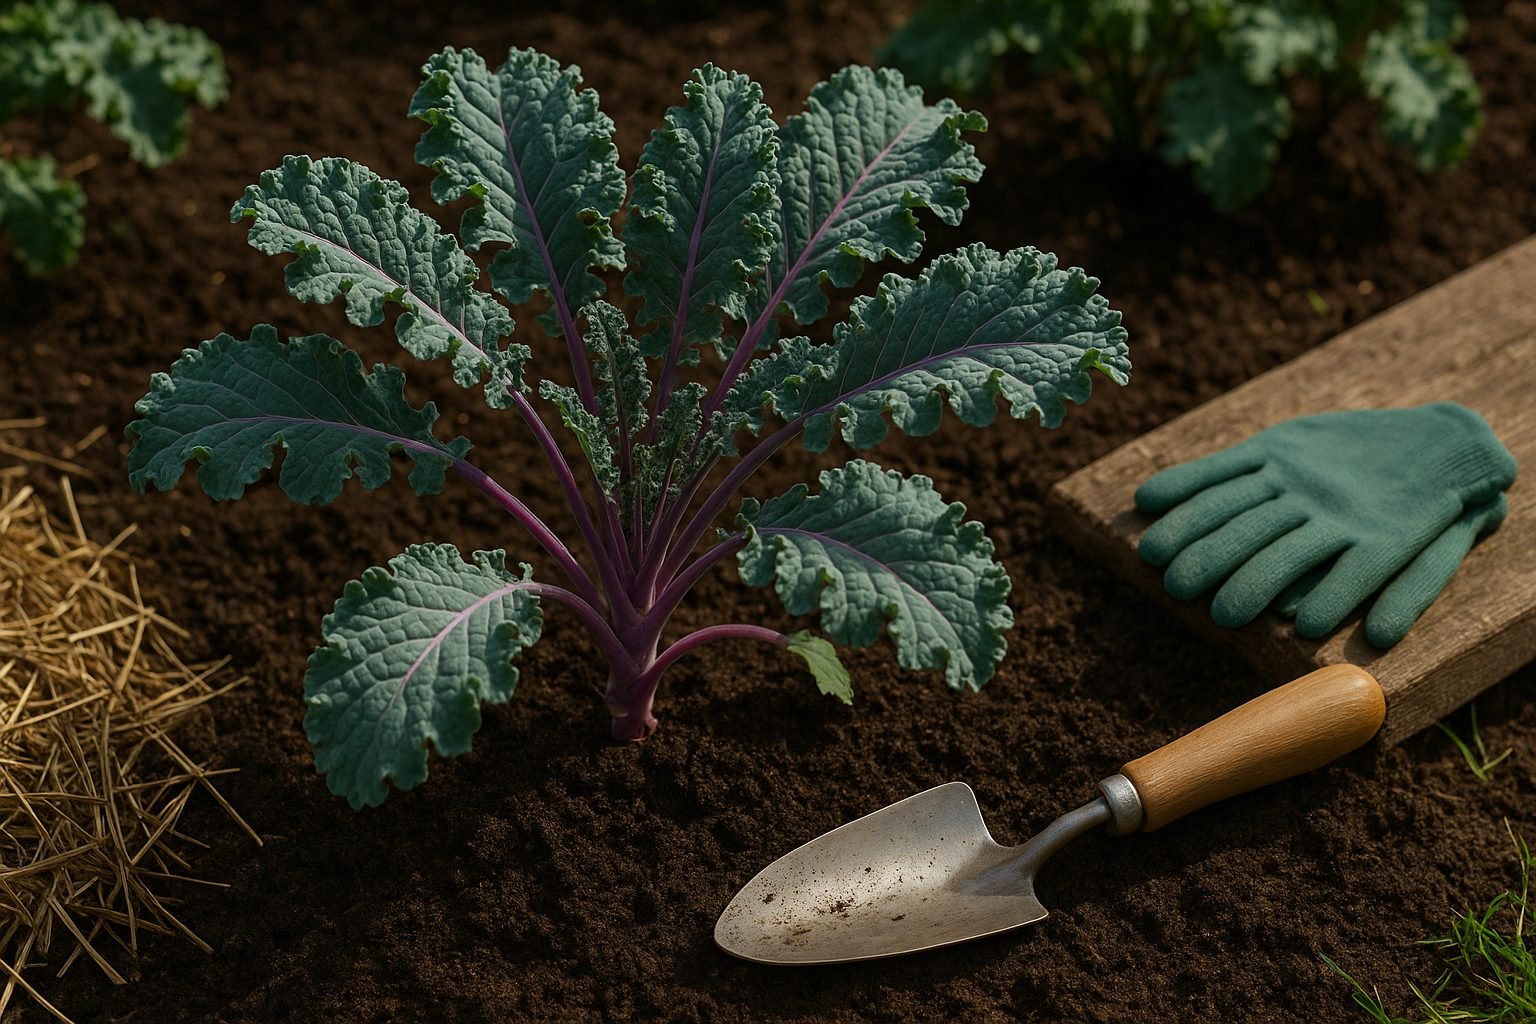
Red Russian kale growing has quickly become a favorite activity among home gardeners—and for good reason. This vibrant heirloom variety features eye-catching purple stems and tender, flavorful leaves, making it both beautiful and delicious. Even better, Red Russian kale is known for being easy to cultivate, thriving in a wide range of climates and soil conditions.
It’s also a nutritional powerhouse, packed with vitamins A, C, and K, along with beneficial antioxidants. Whether you’re a first-time grower or a seasoned gardener, Red Russian kale rewards you with hearty harvests and minimal fuss.
In this article, we’ll walk you through every step of successful Red Russian kale growing — from preparing your soil and sowing seeds to caring for young plants and maximizing your yields. You’ll also find real-world tips on pest prevention and easy harvesting techniques, ensuring your garden stays full of fresh, healthy greens all season long.
Choosing and Sourcing Red Russian Kale Seeds

When it comes to choosing Red Russian kale seeds, sourcing from reputable suppliers is key. Local garden centers often stock seeds suited to your region, while trusted online vendors like Johnny’s Selected Seeds or Baker Creek Heirloom Seeds offer a wide range of options with detailed descriptions and reviews. Seed swaps organized by community groups or gardening clubs can also connect you with fresh, high-quality seeds and enthusiastic growers.
When selecting seeds, consider whether you prefer organically produced seeds—ideal if you want to avoid synthetic treatments—or if you’re comfortable with conventional ones, which may be more budget-friendly. Look for information on disease resistance in seed descriptions, as newer varieties may help you avoid common kale problems like powdery mildew.
To ensure you’re buying viable seeds, check for recent packaging dates—fresh Red Russian kale seeds generally have higher germination rates and better growth. Trusted suppliers typically display this information clearly and offer germination guarantees or strong customer support. Be wary of outdated seeds or sellers with little information, as germination rates for older stock can drop steeply.
For extra security, inspect reviews and social media for customer feedback before you purchase. All these steps will help you start your Red Russian kale crop confidently, whether you’re growing a small kitchen patch or sowing a larger garden bed.
Preparing the Ground
To grow healthy, robust kale, start by choosing well-draining soil rich in organic matter—think loamy soil that holds moisture without becoming soggy. Kale prefers slightly acidic to neutral conditions, so aim for a soil pH between 6.0 and 7.0; testing kits from garden centers can help you check this.
If your soil is too clay-heavy or sandy, mix in compost or well-rotted manure to improve its texture and fertility. Compost not only feeds your kale but also boosts beneficial microbes, helping plants thrive naturally. Sprinkle a balanced organic fertilizer if your soil test shows low nutrient levels, but avoid over-fertilizing, which can lead to excessive leafy growth with a milder flavor.
When selecting a planting site, look for a spot that receives at least 6 hours of direct sunlight daily—too much shade results in leggy, weak plants. Clear the area of weeds and debris before loosening the top 8 to 12 inches of soil with a shovel or garden fork; this aerates the ground and makes root growth easier.
For multiple kale plants, give each one about 12 to 18 inches of space—crowding reduces airflow and can encourage disease. If you’re growing in containers, pick pots at least 12 inches deep and fill them with a high-quality potting mix enriched with compost. These careful preparations set the stage for vibrant, productive kale that will reward you with crisp, flavorful leaves throughout the season.
Sowing and Planting Red Russian Kale
When it comes to growing Red Russian kale, you can either sow seeds directly into the garden or start them indoors—each method has its perks depending on your climate.
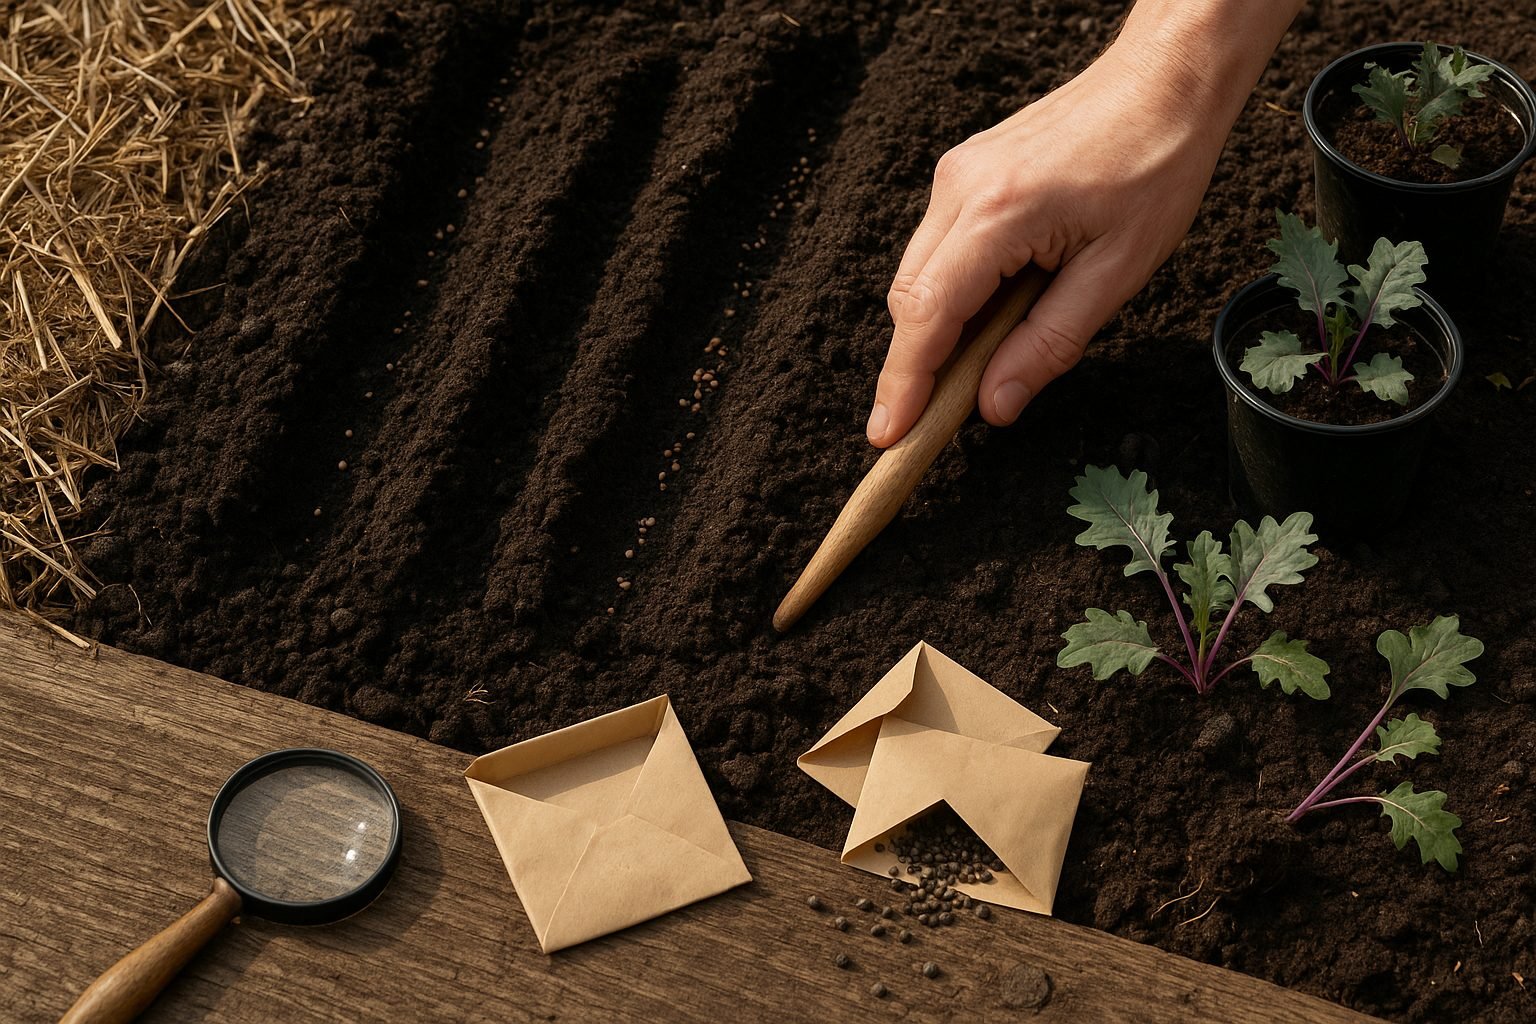
Direct sowing is ideal if you live somewhere with mild springs and falls. Simply wait until the last expected frost has passed, then plant seeds about a half-inch deep and one inch apart in rows spaced 12 to 18 inches apart. This method allows the seedlings to adapt to local conditions from the start.
If your area has a short growing season or unpredictable spring weather, start seeds indoors 4 to 6 weeks before your last frost date. Use a seed tray or small pots filled with moist potting mix, sowing seeds a quarter-inch deep and keeping them in a warm, bright spot.
Once seedlings have two or three sets of true leaves and outdoor temperatures are reliably above freezing, it’s time to transplant. Harden off your seedlings by gradually exposing them to outdoor conditions over a week. When transplanting, space them 12 to 18 inches apart in well-drained soil, keeping the base of each plant level with the soil surface.
Water thoroughly after transplanting and provide consistent moisture as they establish—a gentle soak once or twice a week is better than shallow, frequent watering. Whether direct sowing or transplanting, mulch helps conserve moisture and suppress weeds.
In summary, if you want to get a jump on the season or live where late frosts are common, start seeds indoors for stronger plants. In milder or longer seasons, direct sowing is fast and effective. Either way, Red Russian kale is pretty forgiving once established, rewarding you with tasty, tender leaves for months.
Caring for Your Plants
Keeping your kale plants healthy starts with a smart watering routine. Water deeply about one to two times a week, aiming to keep the soil consistently moist but not soggy—if the top inch of soil feels dry, it’s time to water. Morning is the best time to water, as the leaves dry quickly and this discourages fungal diseases.
Applying a two- to three-inch layer of mulch, such as straw or shredded leaves, helps lock in soil moisture and keeps weeds from stealing nutrients. Feed your kale every four to six weeks with a balanced vegetable fertilizer, looking for key nutrients like nitrogen for leafy growth, phosphorus for strong roots, and potassium for disease resistance.
When it comes to pests like aphids and cabbage worms, inspect leaves regularly and pick off any invaders by hand or use insecticidal soap for severe infestations. To prevent diseases such as powdery mildew or black rot, ensure good air circulation by spacing plants properly and removing any damaged leaves promptly.
With regular care and quick responses to problems, your kale will thrive and provide tasty harvests for months to come.
Harvesting Red Russian Kale
Red Russian kale is ready to harvest when the leaves are about the size of your hand and display a rich green color with purplish veins—an indication that they’re tender and full of flavor. The best time to pick is in the cool morning hours when the leaves are crisp and less stressed by heat.
To encourage ongoing growth, start by snipping the largest outer leaves about an inch above the base, being careful not to damage the growing center or the young leaves at the top. This method, called “cut-and-come-again,” allows the plant to keep producing new leaves throughout the season. Avoid harvesting more than a third of the plant at once to maintain its health.
You can typically pick leaves every five to seven days, especially once the plant is well-established. After harvesting, rinse the leaves thoroughly and dry them well. Kale stores nicely in a plastic bag or airtight container in the fridge, where it will stay fresh for about a week.
Long-Term Storage
For longer storage, consider blanching and freezing the leaves. Simply trim the stems, blanch the leaves in boiling water for a couple of minutes, then cool, dry, and pack them into freezer bags.
With regular harvesting and proper storage, you’ll enjoy a steady supply of vibrant Red Russian kale perfect for salads, sautés, and smoothies.
Troubleshooting and Common Problems
Even the most diligent gardeners run into problems, but knowing how to identify and address them makes all the difference. Common pests like aphids and cabbage worms often target leafy greens; both can be controlled organically by handpicking or spraying leaves with a gentle solution of water and mild soap. You can also introduce beneficial insects like ladybugs to keep aphid populations in check.
Downy mildew, a frequent disease in damp conditions, causes yellow patches and fuzzy growth on leaves—remove infected foliage promptly and increase air circulation around your plants to help prevent it.
If you notice leaves with holes, curling, or yellowing, look closely for pests hiding on the undersides, and use neem oil or insecticidal soap if natural predators aren’t enough. Stunted growth may signal depleted soil nutrients or compacted earth; try top-dressing with compost and gently loosening the soil around the roots.
When it comes to environmental stressors, sudden hot weather can cause lettuce and spinach to bolt (go to seed early), making them bitter. Plant heat-sensitive crops in a partially shaded spot or use row covers to cool them down and delay bolting. Frost damage, which turns leaves limp or blackened, can be avoided with old blankets, fleece, or garden fabric thrown over plants on chilly nights.
Regularly rotating crops, watering at soil level, and clearing debris help prevent many issues before they start, ensuring a healthier, more resilient garden through the season.
Enjoying and Using Your Kale Harvest
Once you’ve harvested fresh kale, there are plenty of delicious ways to enjoy it. Try tossing torn raw leaves into salads for extra crunch and nutrients—massaging the leaves with a little olive oil and lemon juice helps soften their natural toughness.
Sautéed kale with garlic and a splash of broth makes a quick and flavorful side, or add it to hearty soups and stews where it holds its shape and soaks up flavors. Kale chips are a trendy, crispy snack; just coat bite-sized pieces in olive oil and your favorite spices before roasting at a low temperature.
If you’re a smoothie fan, blend a handful of raw kale with banana, frozen fruit, and yogurt for a vibrant, vitamin-packed breakfast. Don’t be afraid to experiment—swap kale into pesto, casseroles, or grain bowls to get creative in your kitchen.
If you end up with more kale than you can use fresh, wash and dry the leaves thoroughly, then store them wrapped in paper towels inside a zip-top bag in the fridge for up to a week. For longer storage, blanch kale leaves for a few minutes in boiling water, cool them quickly in ice water, and freeze in airtight bags—perfect for quick meals later.
This way, you’ll enjoy your garden’s bounty well beyond harvest day.
Conclusion
Growing Red Russian kale offers a variety of benefits, from its resilience in different climates to its delicious, tender leaves packed with nutrients. Whether you’re a beginner or an experienced gardener, its easy cultivation and regular harvests make it a rewarding addition to your garden beds or containers.
If you’ve tried growing this variety, share your stories or questions in the comments—connecting with fellow gardeners often uncovers valuable tips and inspiration!
To keep improving your gardening skills, explore trusted blogs, join local gardening groups, or try online courses focused on vegetable cultivation. With each season, you’ll pick up new ideas and soon enjoy your own homegrown, flavorful kale dishes straight from the garden.