Introduction
If you’re planning your first vegetable garden or looking to up your greens game, focusing on your kale raised bed layout can make all the difference. Kale has quickly become a superstar in home gardens thanks to its impressive nutrition—packed with vitamins, antioxidants, and fiber, it’s a top pick for smoothies, salads, and hearty stews alike.
But growing lush, tasty kale isn’t just about popping seeds in the dirt; how you space and organize your raised bed is crucial for thriving plants and an abundant harvest. Proper plant spacing in your kale raised bed layout impacts everything from air circulation (which helps prevent disease) to sunlight exposure and ease of harvesting. Plant your kale too closely, and you risk small leaves, poor airflow, and an open invitation for pests; space them too far apart, and you could be wasting valuable garden real estate.
In this article, we’ll walk you through simple, effective spacing guidelines for kale in raised beds, tailored tips for boosting kale production, and the most common planting mistakes to avoid. Whether you have a compact urban garden or a sprawling backyard patch, the right layout helps ensure your kale grows vibrant, robust, and ready for your kitchen. Dive in for practical strategies and discover how a thoughtful kale raised bed layout translates directly into a richer, more reliable harvest!
Why Kale Plant Spacing Matters
Proper spacing is one of the most important factors when growing healthy kale, yet it’s often overlooked by eager gardeners. Giving your kale plants adequate room ensures that air can move freely around each leaf, reducing the risk of moisture buildup that encourages fungal diseases like powdery mildew and black spot.
Good air circulation also helps the leaves dry quickly after rain or watering, making them less attractive to pests such as aphids and caterpillars. When plants are crowded together, they have to compete for light, water, and nutrients, which can lead to stunted growth, pale foliage, and disappointing harvests.
Overcrowded kale beds are especially prone to infestations, as pests and diseases spread more rapidly from one plant to another.
Ideal Spacing for Different Types of Kale
- Full-size varieties: Such as Lacinato (Dinosaur) and curly kale, need about 12 to 18 inches between plants to reach their full potential size.
- Baby kale: Since it’s harvested young and tender, seeds can be planted closer together—about 4 to 6 inches apart—as you’ll be picking them before they need extra room.
- Microgreens: These require the least amount of space and can be sown densely in trays or shallow containers, as they’re harvested at the seedling stage before crowding becomes an issue.
Always refer to your seed packet for specific recommendations, but remember: investing a little extra effort in proper spacing now will lead to healthier plants and a much more generous, disease-free harvest in the months ahead.
How Much Space Does Kale Need?
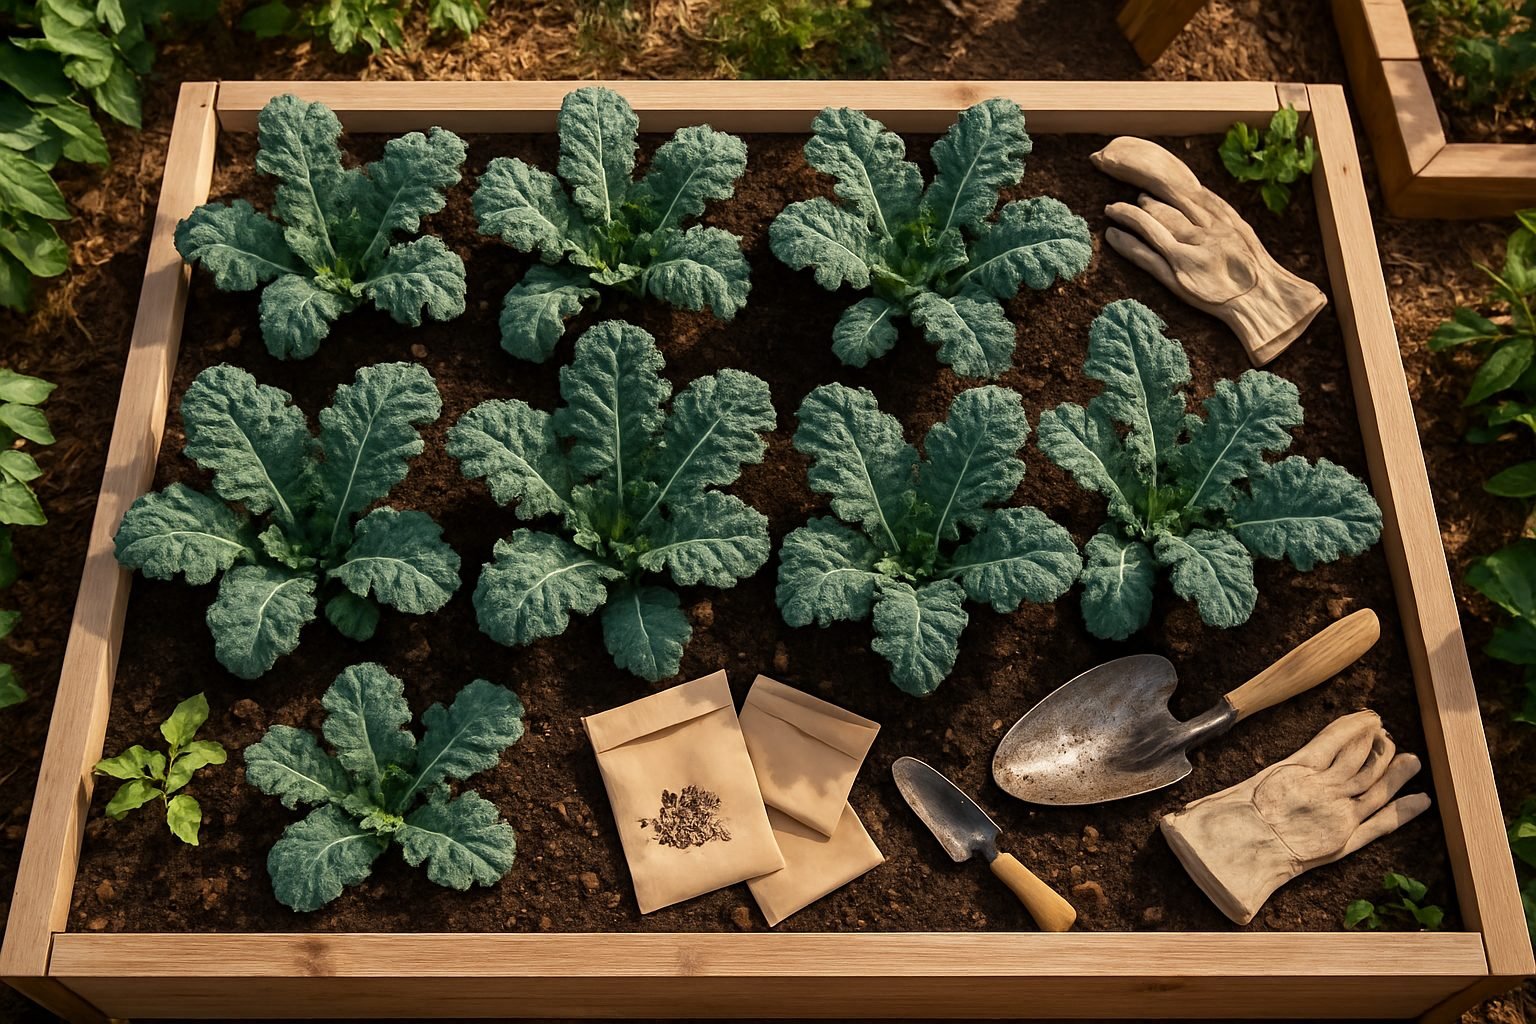
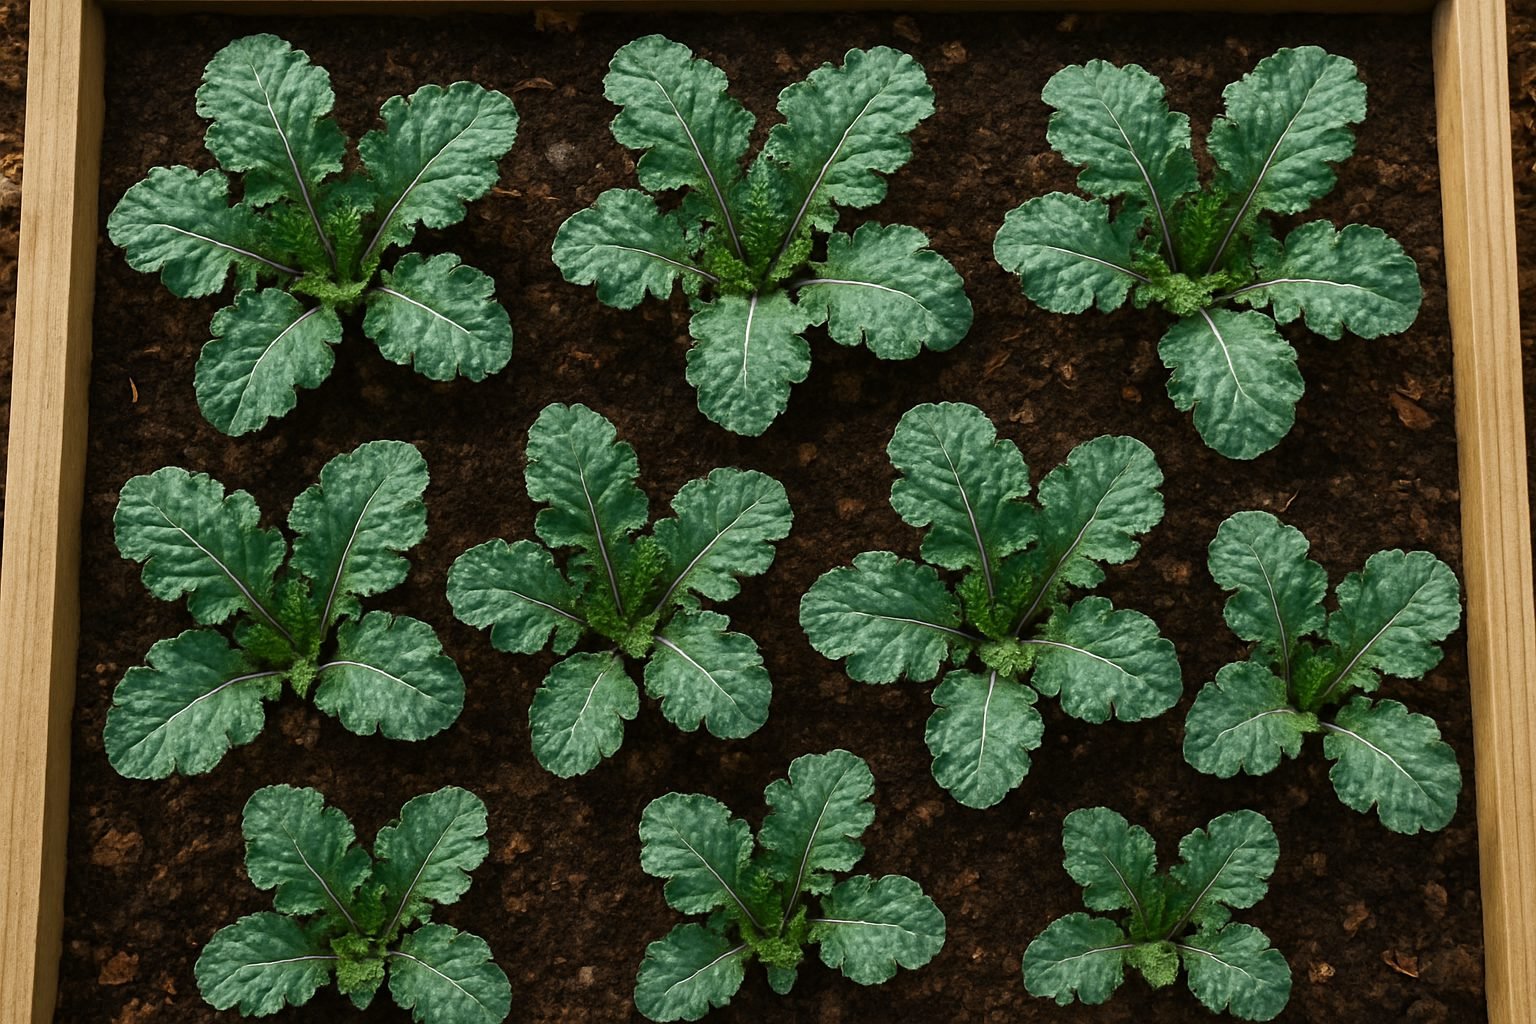
Kale is a versatile crop, but giving it the right amount of space is key for healthy growth and abundant yields. For in-ground or raised bed gardens aiming for full-sized kale heads, plant seeds or transplants about 12 to 18 inches apart (30 to 45 centimeters) in rows spaced around 18 to 24 inches (45 to 60 centimeters) apart. This breathing room helps the plants develop broad leaves and makes harvesting easier.
If you’re working within a square foot gardening framework, place one kale plant per square, creating a simple grid that’s easy to manage and maintain. For baby kale, space seeds or seedlings more closely—just 1 to 2 inches (2.5 to 5 centimeters) apart—since you’ll be harvesting the tender, smaller leaves before they mature. Microgreens require even less space; simply scatter seeds densely over the surface of trays or shallow containers, lightly pressing them into the soil with only about a ¼-inch (0.5 centimeter) gap.
Regardless of method, sufficient spacing boosts air circulation, which lowers disease risk, and reduces competition for water and nutrients, resulting in healthier plants.
For a visual way to picture your planting, imagine neat rows with each kale plant standing like chess pieces on a board, with enough room to “move” in every direction, or envision a grid pattern where each square houses one plant, maximizing both order and productivity.
Adjust your layout depending on the type of kale you want—spacious rows for robust, full-size heads or tight clusters for quick baby greens—and you’ll set yourself up for a flourishing, easy-to-harvest patch.
Preparing the Ground for Kale
Choosing the right spot for your kale is the first step toward a healthy, productive crop. Kale thrives in areas that receive at least six hours of sunlight each day, so look for a sunny patch in your garden that isn’t shaded by trees or buildings. Good drainage is key—avoid low spots where water collects after rain, since soggy roots can lead to disease.
Once you’ve picked your site, it’s time to prepare the soil. Start by clearing away weeds or old plant debris, then use a garden fork or tiller to loosen the soil at least 12 inches deep; this encourages roots to grow strong and helps water flow easily. Mix in two to three inches of compost to boost nutrients and retain moisture; compost also improves the soil’s texture.
Kale prefers soil with a slightly acidic to neutral pH, ideally between 6.0 and 7.0. You can check your soil’s pH with an affordable testing kit from a garden center—if the pH is too low, add a bit of lime, and if it’s too high, sulfur can help balance it out.
With rich, well-prepared soil, you’ll find it easier to space your kale plants properly—about 12 to 18 inches apart—giving them room to thrive without crowding. Thoughtful site selection and soil preparation make a huge difference, setting the foundation for robust growth, fewer pests, and flavorful leaves.
Sowing and Planting Techniques
When it comes to starting kale, you have two primary options: direct sowing seeds into your garden soil or transplanting young seedlings.
Direct sowing is straightforward—simply plant seeds about ¼ to ½ inch deep directly where you want them to grow. This works well if you’ve prepared loose, fertile soil and soil temperatures are above 45°F (7°C). Place seeds about 1 inch apart in rows, then thin seedlings to stand 12-18 inches apart once they develop two sets of true leaves. This thinning is crucial, as overcrowding leads to poor air circulation and smaller, less productive plants.
Transplanting, on the other hand, allows you to start seeds indoors 4-6 weeks before your last expected frost. Sow seeds in seed trays at the same ¼ to ½ inch depth and keep them under bright light. When seedlings have at least four leaves and the soil outside can be worked, harden them off (gradually expose to outdoor conditions over a week) before transplanting. Set them at the same depth they grew indoors, spacing transplants 12-18 inches apart in rows 18-24 inches apart.
Growing Baby Kale and Microgreens
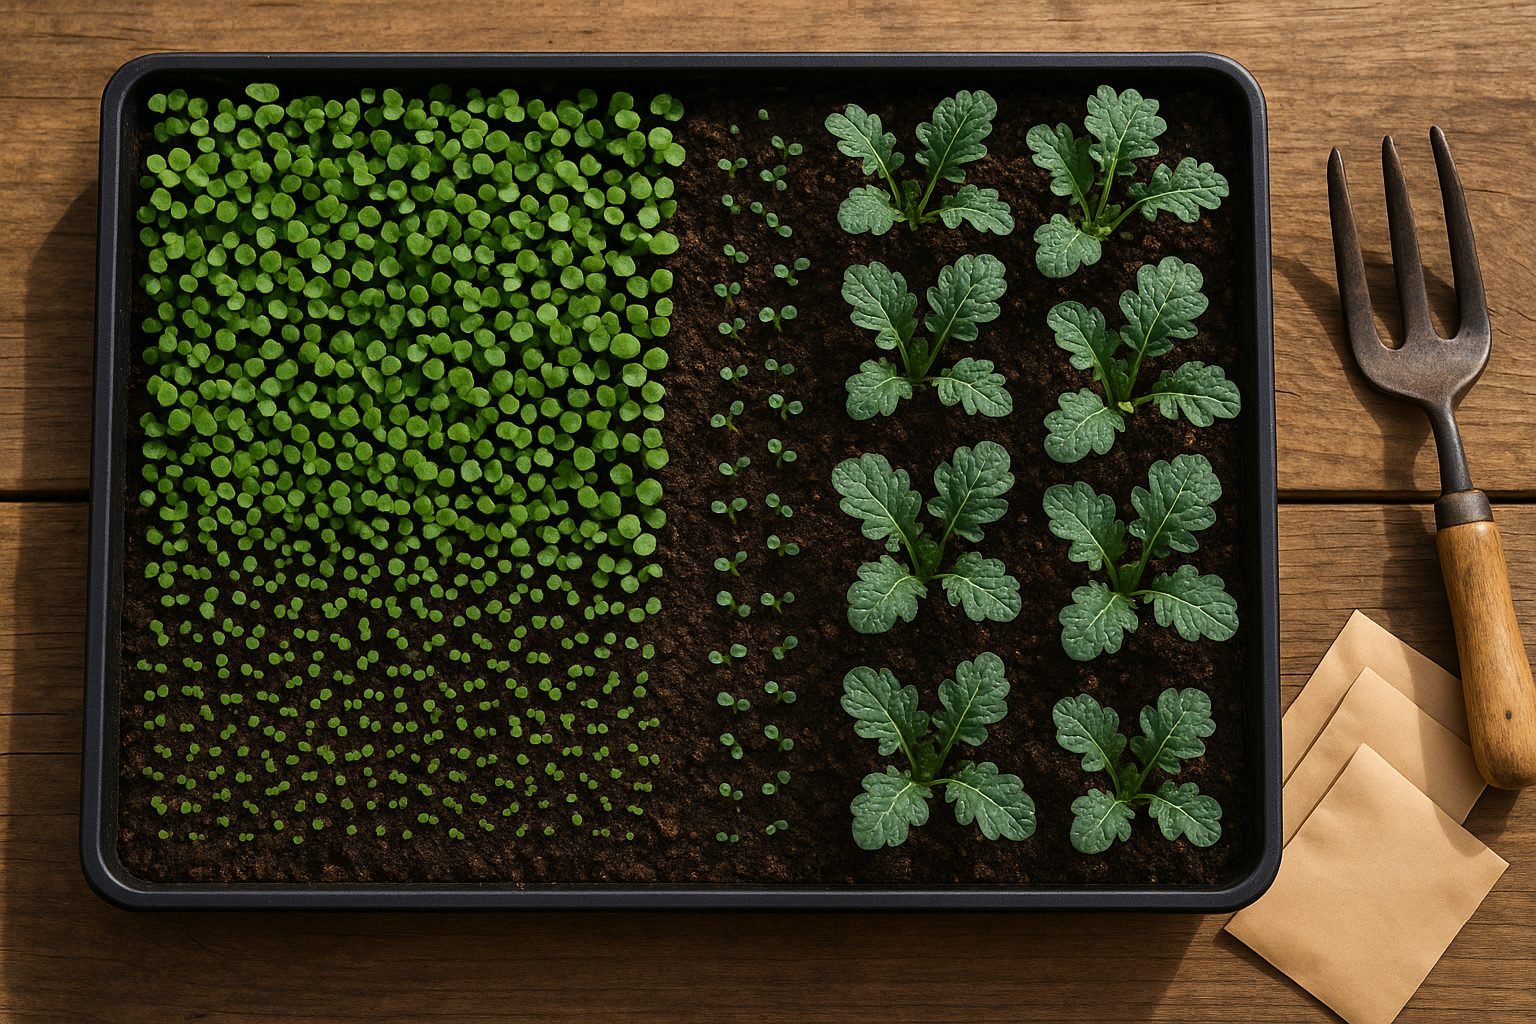
If you’re interested in baby kale or microgreens, sow seeds much more densely.
- Baby Kale: Broadcast seeds thickly in a wide row or shallow tray, aiming for about ½ inch between seeds, and harvest when leaves are 2-4 inches long. Light thinning may help prevent mold and improve airflow.
- Microgreens: Scatter seeds almost shoulder to shoulder in a tray of moistened soil and lightly press them in. Harvest the shoots with scissors in about 14 days, just above the soil. No thinning is needed.
Container Growing
If you’re short on space, kale thrives in containers and small garden beds. Choose a pot at least 12 inches deep and wide for a single full-grown plant. For baby kale or cut-and-come-again harvesting, use a broad, shallow tray and sow densely. Use a high-quality potting mix and ensure the container drains well.
Remember, kale likes six hours of sun and steady moisture—container plants dry out faster, so check them often, especially during warm spells. With careful spacing, good soil, and regular thinning, you’ll enjoy healthy kale whether you garden in backyard beds or on a sunny apartment balcony.
Ongoing Kale Plant Care and Spacing Maintenance
To keep your kale plants thriving, ongoing care and proper spacing are key from seedling to mature growth. Early on, thin your seedlings so there’s about 12–18 inches between each plant. This may feel wasteful, but it prevents crowding and ensures good airflow, giving each kale plant room to spread out.
Thinning is simple: snip the weakest seedlings at soil level rather than pulling them, to avoid disturbing the stronger ones left behind. As the plants mature, double-check that none are encroaching on their neighbors—another round of thinning may be needed if some outpace others.
Water deeply but less frequently, especially with wider spacing, to encourage robust root development. Avoid shallow, daily watering that can promote disease.
When fertilizing, spacing makes a difference: more room between plants means each root system can access nutrients better. Use a balanced fertilizer once a month and consider side-dressing with compost for a slow, steady nutrient supply.
Mulching with straw, leaves, or grass clippings conserves moisture, suppresses weeds, and helps regulate soil temperature, especially in the open spaces between well-spaced plants.
Adequate spacing is also your first defense against pests and disease—even a few extra inches helps reduce powdery mildew, leaf spot, and aphid infestations by boosting airflow and making it easier to spot issues early.
Be vigilant for yellowing leaves, holes from cabbage worms, or sticky residue left by aphids—these problems are easier to catch and manage when plants don’t overlap.
Practicing crop rotation and removing debris also reduces disease buildup in closely spaced beds.
With a little extra attention to spacing and care, you’ll set your kale patch up for a productive, healthy season and fewer headaches down the road.
Harvesting: Maximizing Yield with Proper Spacing
To maximize your kale yield, harvest timing and method should align with your plant spacing and the desired leaf size. If you’ve spaced your kale plants closer together—around 6-8 inches apart—you’ll get smaller, more tender leaves, perfect for harvesting as “baby kale.” Pick these leaves when they’re about 2-4 inches long, snipping the outermost ones with clean scissors or pinching them off. This allows the younger inner leaves to keep growing, giving you a steady harvest every week or so.
This cut-and-come-again approach works best with dense plantings, ensuring a regular supply and preventing overcrowding. For plants spaced farther apart, like 12-18 inches, let them mature into full heads—these take about 55-75 days. When the heads look full and sturdy, but before the leaves turn tough or yellow, cut the entire head off at the base.
Some gardeners prefer a mix of both methods: sow some seeds close together for baby leaves and others with wider spacing for mature heads. Whichever approach you choose, harvest in the early morning when leaves are crisp and full of moisture, using sharp, clean tools to prevent disease.
Remember to avoid stripping too many leaves from one plant at a time—always leave enough foliage (at least a third) for photosynthesis and regrowth. Rotating your harvest among multiple plants or rows helps ensure a continuous supply throughout the season.
With thoughtful timing and spacing, you can enjoy fresh kale all season long, whether you crave tender salads or hearty, robust greens.
Conclusion and Common Mistakes to Avoid
Proper spacing is essential for healthy kale growth and higher yields, as it gives each plant enough room for good airflow, sunlight, and root development. Overcrowding is a common mistake that leads to stunted plants and increases the risk of disease, since leaves touch and moisture lingers.
Another frequent issue is neglecting soil preparation—kale thrives in rich, well-draining soil, so take the time to amend beds with compost before planting. Inconsistent thinning is also a problem; it’s tempting to let all seedlings grow, but too many plants will compete for nutrients and space.
To get the best results, adapt spacing to your specific garden—consider the variety of kale, sun exposure, and whether you’re growing in raised beds or containers. Don’t be afraid to experiment with plant distances and layouts each season to see what works best for you.
Remember, a little time spent planning and adjusting your kale spacing can lead to healthier plants, larger leaves, and a more abundant harvest.