Introduction to Growing Kale
If you’ve found yourself searching “kale not growing,” you’re definitely not alone. kale has become one of the most popular leafy greens, prized for its impressive nutritional punch—packed with vitamins A, C, and K, antioxidants, and fiber that can easily boost any meal’s wellness factor. With its hardy nature and versatility in salads, smoothies, and sautés, it’s no wonder so many gardeners are eager to grow kale at home. Not only does homegrown kale taste fresher and often milder than store-bought leaves, but it can also save you money and reduce food waste. The best part? Kale is surprisingly beginner-friendly—its resilience means that even new gardeners have a great shot at success.
Yet, sometimes even the most enthusiastic gardener can hit a roadblock and wonder why their kale is not growing as fast or as lush as expected. If your kale plants seem stunted, pale, or just a bit lackluster, don’t worry—there are usually a few simple reasons and straightforward solutions. Common issues range from poor soil quality and inconsistent watering to pests like aphids or cabbage worms. Environmental challenges, such as insufficient sunlight or sudden temperature swings, can also play a part. Knowing what to look for and when to intervene can transform your kale patch from disappointing to abundant.
In this article, we’ll walk you through everything you need to get your kale thriving—from how to plant and care for your seedlings, to troubleshooting those stubborn growth issues, all the way to a successful and ongoing harvest. Whether you’re cultivating your first vegetable plot or adding leafy greens to your container garden, you’ll find easy, actionable tips for every stage. Let’s help your kale grow strong, healthy, and delicious season after season!
Choosing the Right Kale Variety and Planting Time
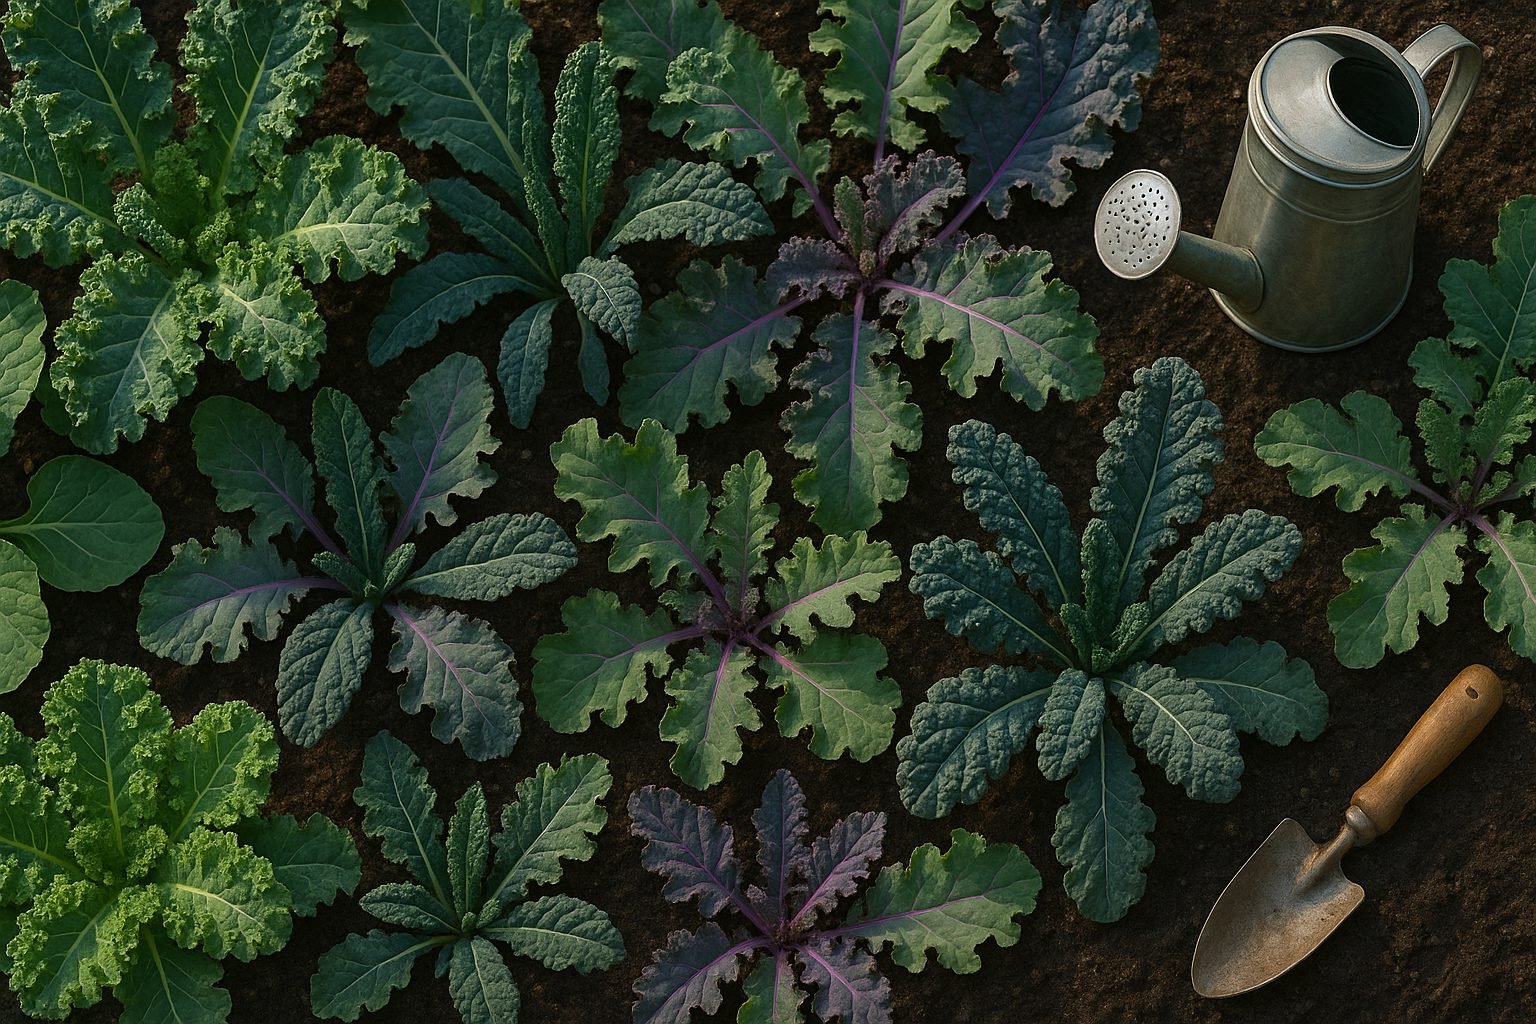
When it comes to growing kale, picking the right variety is key to a successful harvest and tasty meals. Curly kale is the most popular and widely available, known for its ruffled leaves, vibrant green color, and mild, peppery flavor—great for salads or sautés. Lacinato kale, often called “dinosaur” or “Tuscan” kale, features long, dark blue-green leaves with a more robust, earthy taste, making it a favorite for soups and stews. Red Russian kale offers frilly, reddish-purple leaves and a tender texture, even when young—perfect for fresh eating or juicing.
If you’re short on space, try baby kale or dwarf varieties like ‘Dwarf Blue Curled Vates,’ which grow well in containers and are easy to manage in smaller gardens or even on patios. Climate is important—kale thrives in cool weather, so if you live in a region with hot summers, opt for heat-tolerant varieties like ‘Red Russian’ or ‘Premier.’ Cooler regions can enjoy almost any type, as kale is frost-hardy and actually gets sweeter after a light freeze.
For the best results, sow seeds directly outdoors about 2–4 weeks before your last expected spring frost, or start them in late summer for a fall harvest—autumn-grown kale is often more tender and sweet. In milder climates, plant again in late winter for a spring crop. If space is tight, stagger your sowing every couple of weeks for a continuous harvest. No matter which kale you choose, proper timing and a little planning will help you reap the freshest, most flavorful leaves all season long.
Preparing the Soil and Sowing Seeds
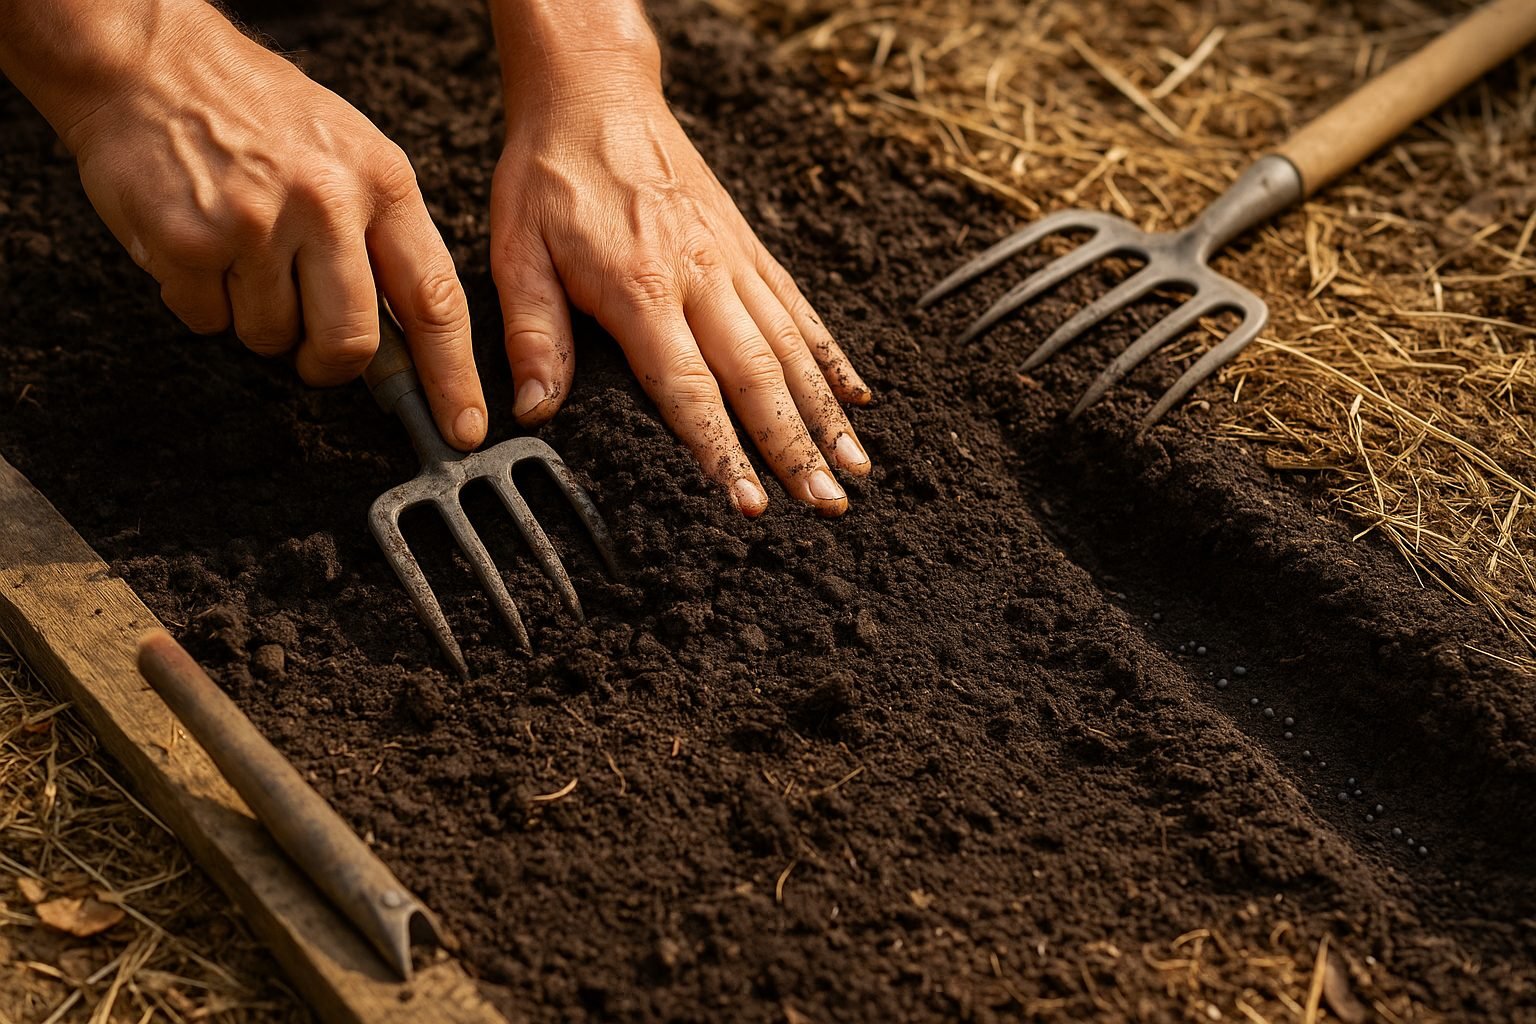
Kale thrives best in rich, well-drained soil with a neutral to slightly acidic pH, ideally between 6.0 and 7.0. To prepare beds or containers, start by loosening the soil to a depth of about 12 inches using a garden fork or spade—this improves drainage and lets roots expand easily. Mix in plenty of compost or well-rotted manure to boost fertility and water retention; about two to three inches worked into the top layer is perfect. If you’re using containers, pick ones at least 12 inches wide and deep, and fill them with high-quality potting mix blended with compost. Remove rocks, weeds, or debris from your garden bed before planting, and level the surface with a rake for even moisture and seed placement.
For outdoor sowing, plant kale seeds directly in the soil as soon as the ground can be worked in early spring or about six to eight weeks before your average first fall frost. Mark shallow furrows about 1/4 to 1/2 inch deep and 12–18 inches apart, spacing seeds roughly one inch apart within the row. Once the seedlings are two inches tall, thin them so mature kale plants have 12 to 18 inches of space between each other; this prevents overcrowding and encourages strong growth.
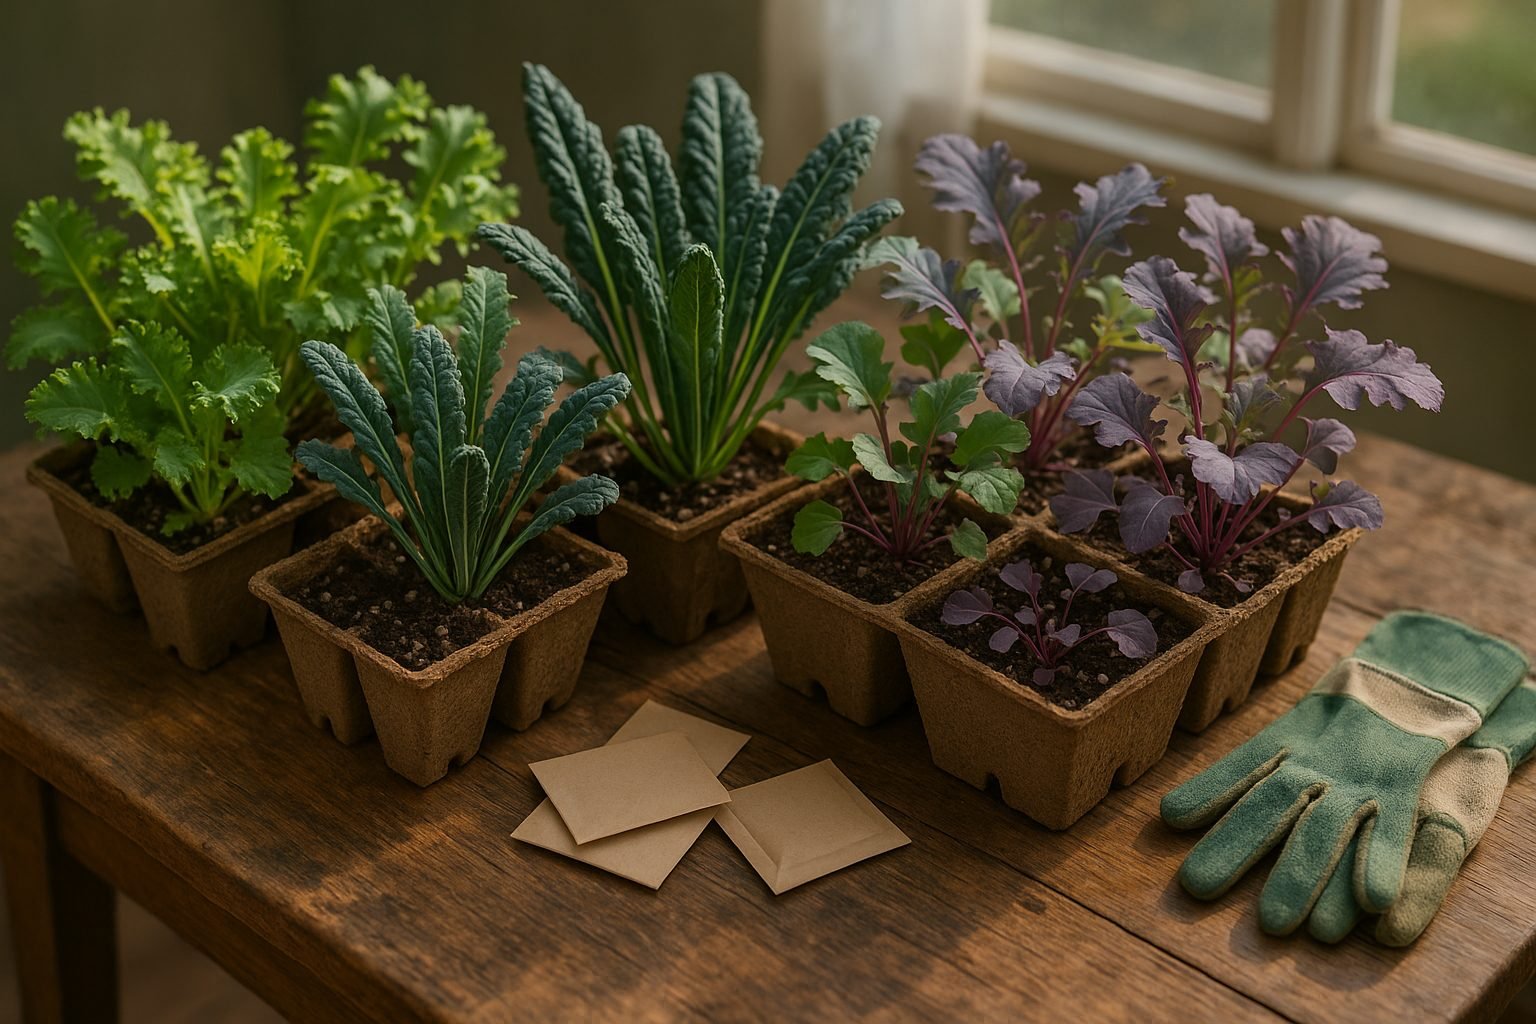
If you’d rather start seedlings indoors, fill seed trays or pots with seed-starting mix and sow seeds 1/4 to 1/2 inch deep, planting one or two seeds per cell. Keep the trays in a warm, bright spot—like a sunny windowsill or under grow lights—for five to seven hours daily. Ideal indoor temperatures for germinating kale are between 65°F and 75°F. As soon as the seeds sprout, move them under bright light or closer to a sunny window to prevent leggy, weak seedlings.
Initial watering is crucial to get kale seeds off to a good start. Water the soil gently but thoroughly right after sowing to ensure the seeds settle in and are in close contact with moist soil; a fine mist from a spray bottle prevents disturbing the tiny seeds. Indoors, aim to keep the soil evenly moist but not waterlogged—overwatering can cause seeds to rot. Outdoors, check soil moisture frequently, especially if the weather is warm or windy. Consistent, gentle moisture helps seeds germinate quickly and gives new seedlings the best chance to grow strong, healthy leaves.
During the first weeks, providing five to seven hours of sunlight daily is vital, whether outdoors or indoors under grow lights. This attentive care in the early stages lays the foundation for a plentiful and healthy kale harvest.
Planting and Early Care
When it comes to planting kale, a strong start sets the stage for healthy growth and a productive harvest. If you’re transplanting seedlings, wait until they have at least four true leaves, and plant them outside after the last expected frost. Carefully loosen the roots and space the seedlings about 12 to 18 inches apart; crowding can stunt growth and promote disease.
For direct sowing, plant seeds half an inch deep and thin seedlings so each has enough room—removing weaker sprouts to leave the strongest 12 to 18 inches apart. Spacing matters: good airflow reduces the risk of mildew and pests, while allowing leaves to get plenty of sunlight.
After planting, water the soil thoroughly to settle roots and minimize transplant shock. Keep the soil consistently moist but not soggy, especially during the first few weeks. Applying a 2 to 3 inch layer of organic mulch, such as straw or shredded leaves, helps keep soil moist, blocks weeds, and moderates temperature swings.
If a cold snap threatens, drape row covers or old bedsheets over young kale to protect it from frost. For natural pest control and even better growth, try planting kale near herbs like dill or mint, which can repel aphids and cabbage moths, or alongside onions and garlic, which deter soil-borne pests. Mixing in marigolds offers added protection and color.
These early steps help ensure your kale keeps thriving from seedling to harvest.
Kale Plant Care Throughout the Growing Season
Caring for kale throughout the growing season means paying close attention to its needs as the weather changes and the plant matures. Water consistently—about an inch per week—preferably early in the morning so the leaves dry off and avoid fungus.
To keep soil moist and cool, lay down a thin layer of mulch like straw or compost around the plants. This not only suppresses weeds but also feeds the soil as it breaks down. Fertilize every four to six weeks with an organic amendment, such as well-rotted compost or a balanced vegetable fertilizer, to support steady, leafy growth.
Common Issues to Watch For
- Bolting: Often triggered by hot weather, so plant early in spring or provide afternoon shade once it gets hot.
- Leggy, floppy plants: Usually caused by crowding or too little light. Thin seedlings to 12–18 inches apart and ensure your patch gets at least six hours of sun.
Pests and Diseases
Scout regularly for aphids and cabbage worms. Remove pests by hand or spray the leaves with a mild solution of water and dish soap. To prevent fungal diseases, water at the base of the plants and space them to allow good airflow. Rotate your crops each year to keep the soil healthy.
Routine Maintenance
- Pull weeds by hand or hoe to avoid competition.
- Trim old or yellowing leaves to direct energy to healthy growth.
- If plants start to topple in wind or rain, use small stakes to gently prop them up.
With attentive care, your kale patch will stay productive from spring through fall—even after a few light frosts, when the leaves get even sweeter.
Harvesting Kale: Timing and Methods
Knowing when and how to harvest kale can make all the difference in both flavor and the plant’s continued growth. For the sweetest and most tender results, pick baby kale leaves when they’re about 2 to 4 inches long—simply pinch off the outermost leaves, leaving the inner ones to grow.
Mature kale is best harvested when the leaves reach about the size of your hand but remain deep green and firm. Avoid waiting too long, as larger, older leaves can turn bitter and tough.
A great trick for continuous harvesting is the “cut-and-come-again” method: always snip from the bottom outer leaves, keeping the growing crown (center) untouched. This encourages your kale to produce fresh leaves for several weeks or even months.
For storing freshly picked leaves, don’t wash them until you’re ready to use them—moisture can cause them to spoil faster. Instead, place the unwashed leaves in a loosely closed plastic bag with a dry paper towel inside to absorb excess moisture, then refrigerate. This should keep the kale crisp for up to 5 days.
If you live in a region with mild winters, prepping for a winter harvest is simple: mulch heavily around the base of your kale plants with straw or leaves to insulate the roots, allowing the plants to keep producing through many frosts. Kale actually tastes sweeter after exposure to cold, so don’t be afraid to pick leaves well into the colder months.
Whether you’re collecting handfuls of baby greens for salads or harvesting hearty leaves for soups and sautés, a little attention to timing and care will reward you with a steady supply of fresh, delicious kale for much of the year.
Troubleshooting Common Kale Problems
Kale is a hardy crop, but like any garden favorite, it can face various challenges if conditions aren’t ideal. Pests such as aphids, cabbage worms, and flea beetles often gather on leaves, leaving holes or sticky residue behind. Combat these invaders organically by handpicking larger bugs, spraying leaves with a gentle soap-and-water solution, or introducing beneficial insects like ladybugs to your garden.
Yellowing leaves usually indicate overwatering, nutrient deficiencies, or disease. If the yellowing starts at the base and moves upward, check the roots for rot and improve drainage by amending the soil with compost. Boost nutrients by feeding with a balanced organic fertilizer or a dose of fish emulsion, making sure to water only when the top inch of soil is dry.
Stunted growth can result from compacted soil, lack of sunlight, or depleted nutrients. Loosen the soil around the plants, ensure they get at least six hours of sunlight daily, and side-dress with compost midseason. Mulch around kale to retain moisture and regulate temperature, but keep mulch from directly touching stems to prevent rot.
Sometimes, kale plants bolt—or send up flower stalks early—especially during drastic temperature swings. While bolted kale tends to lose sweetness, you can quickly harvest remaining leaves and edible flowers, then start a new crop in a shadier, cooler spot.
To revive stressed kale, trim off any yellowed or damaged leaves, water consistently but avoid soggy soil, and shield the plants from midday sun during hot spells using shade cloth or a light row cover.
Prevent most issues with regular garden clean-ups, crop rotation, and proper spacing for good airflow. By responding quickly to symptoms and sticking with organic practices, you can keep your kale vibrant, healthy, and productive all season long.
Enjoying and Using Your Kale Harvest
Harvesting your own kale is a satisfying experience, and there are countless ways to savor its flavor and nutrition. For fresh meals, try tossing chopped kale into salads; its sturdy leaves hold up well against bold dressings, especially after you massage them briefly with a little olive oil and salt to soften their texture.
If smoothies are your thing, blend kale with bananas, frozen berries, and a splash of orange juice for an energizing breakfast.
Cooking kale unlocks even more flavors—simply sauté it with garlic and olive oil, stir it into hearty soups and stews, or bake it into crispy chips by tossing bite-size pieces with olive oil and your favorite spices, then roasting at 350°F until crisp.
Always wash your kale thoroughly to remove garden dirt and any little critters; a quick soak in a bowl of cold water followed by a rinse under the tap usually does the trick. When prepping, strip the leaves from the tough stems—saving the stems for broths or stir-fries if you’re feeling resourceful.
Don’t be afraid to get creative with your homegrown greens. Mix kale into pasta, rice dishes, frittatas, or even pesto; its mild, earthy bitterness pairs well with tangy, salty, and spicy flavors. By experimenting with new recipes and cooking styles, you’ll find plenty of tasty reasons to keep growing and enjoying your fresh kale harvest.