Getting Started with Kale
Growing baby kale at home is a rewarding way to enjoy one of the most nutrient-packed greens you can add to your plate. Baby kale isn’t just loaded with vitamins A, C, and K—it’s a tender, mild leaf that fits effortlessly into salads, smoothies, sautés, and sandwiches. Many home gardeners love kale because it’s remarkably versatile and forgiving, letting you snip off just what you need all year round with proper care. Imagine stepping outside in winter or summer to harvest a fresh handful to toss into tonight’s dinner or tomorrow’s lunch.
Choosing Your Kale Variety
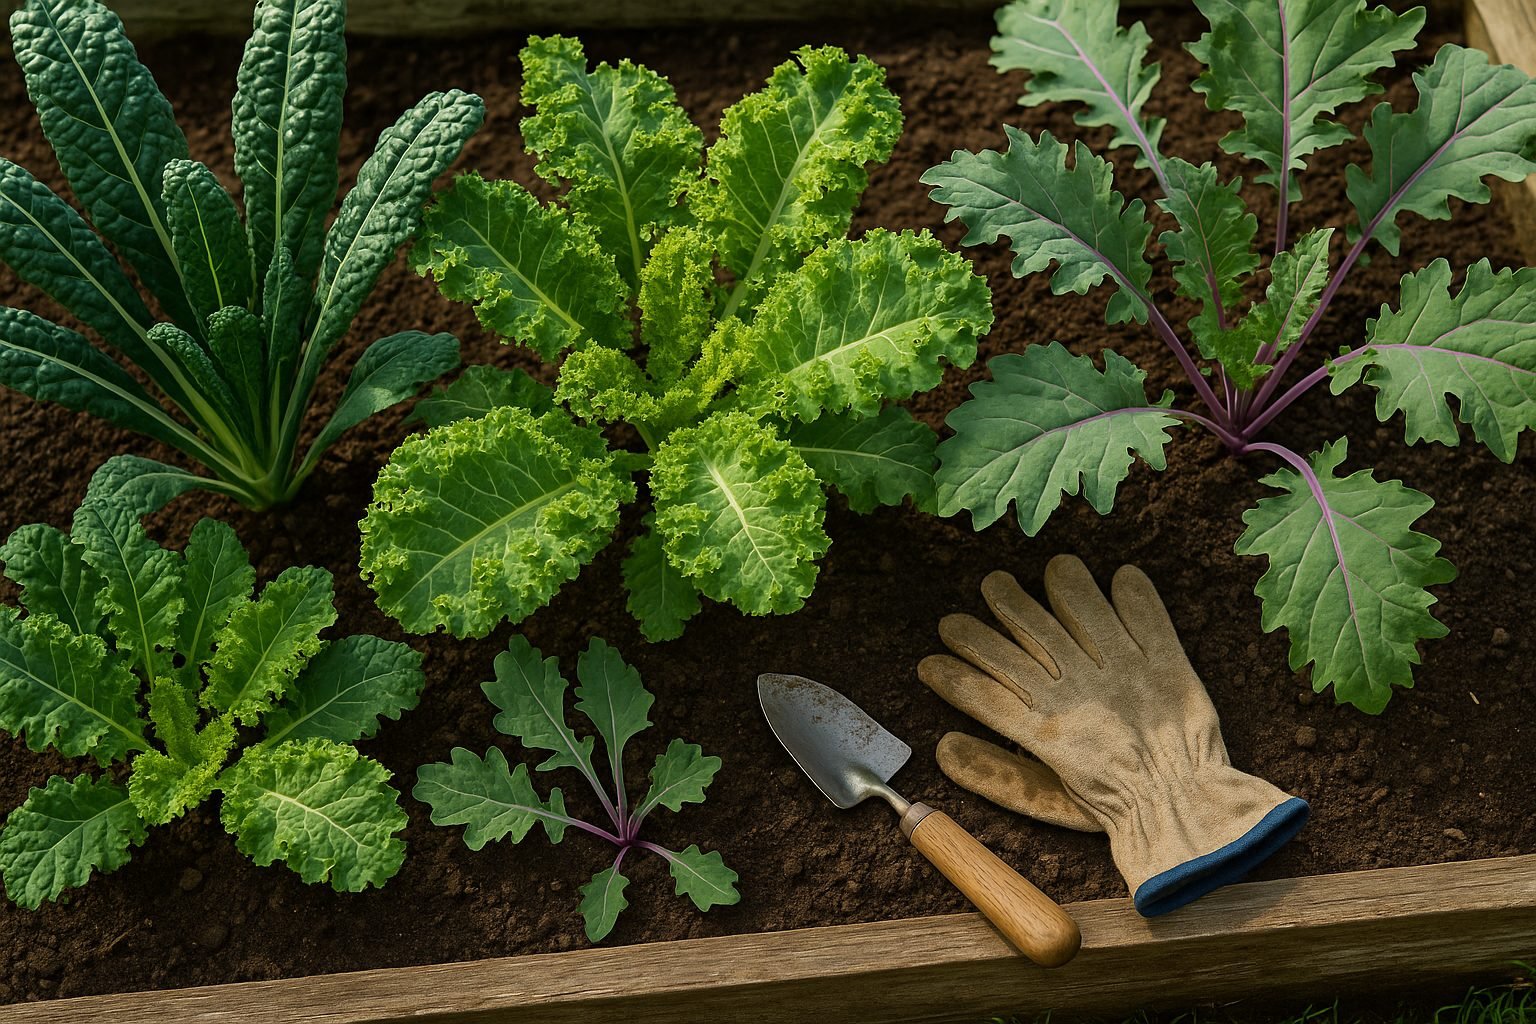
When it comes to varieties, there’s more choice than you might think. Red Russian is known for its pretty purple stems and slightly sweet, tender leaves—perfect for those who don’t care for kale’s sometimes-bitter bite. Lacinato (also called Dinosaur or Tuscan kale) offers long, dark blue-green leaves beloved for their hearty texture. Winterbor has curly, emerald-green leaves that stay sweet even after a touch of frost. Each type works well as a baby green, so choose whichever flavor profile or texture appeals to your palate and your kitchen.
Growing Baby Kale at Home
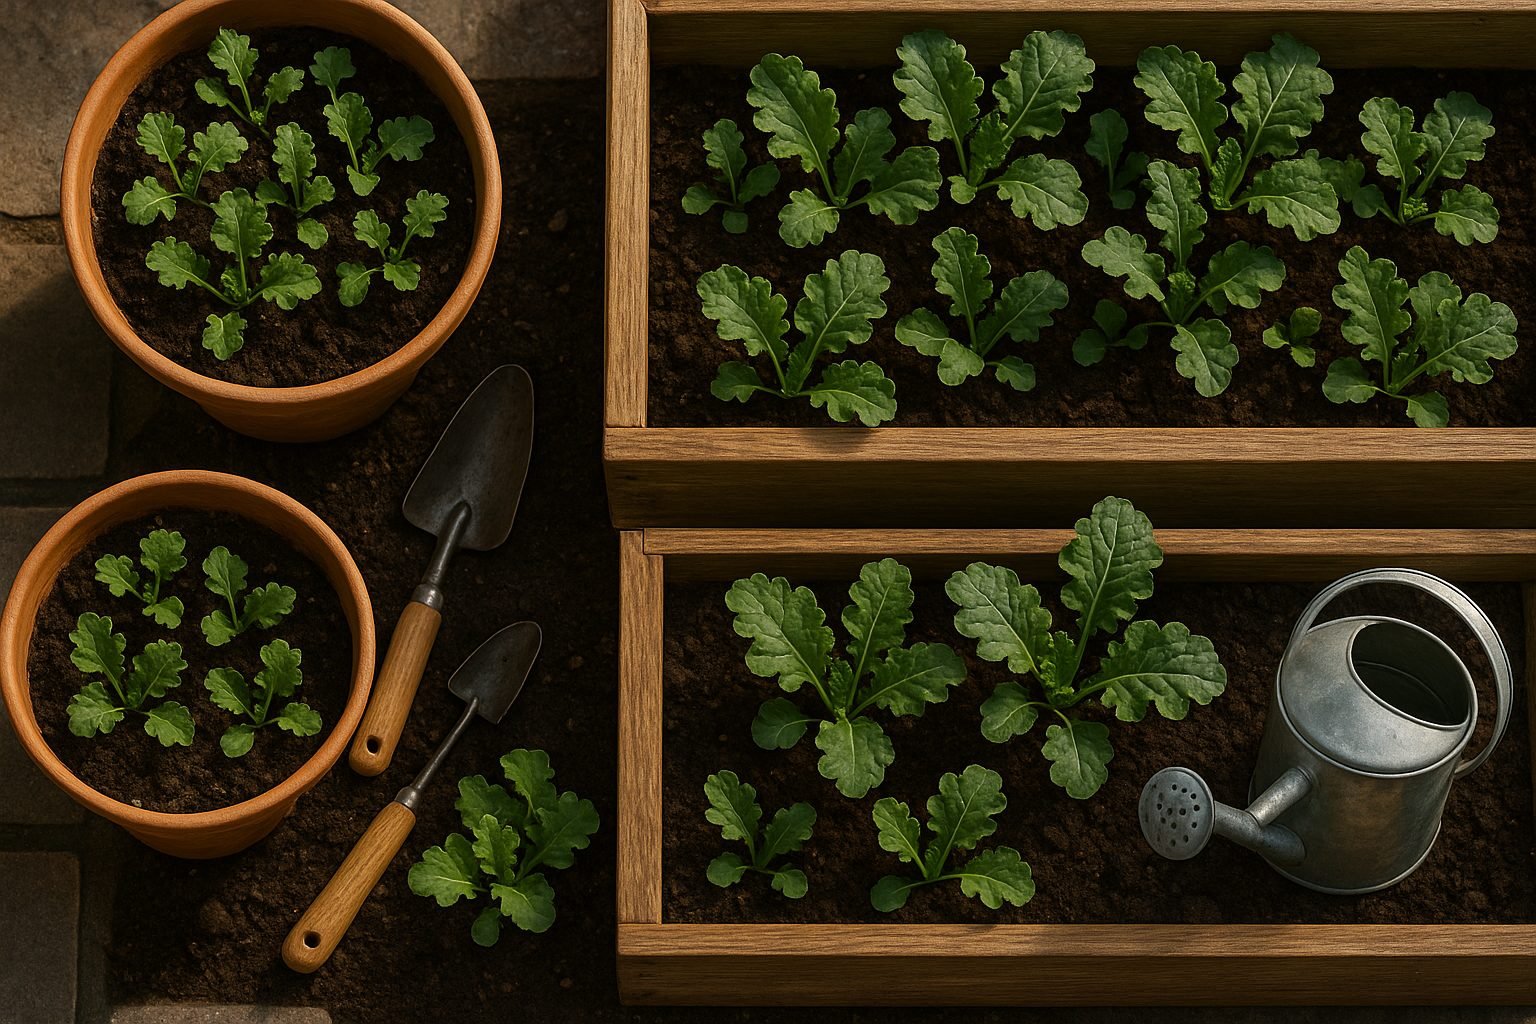
Baby kale is surprisingly easy to grow, even if you’re short on outdoor space. Raised garden beds, roomy pots, window boxes, or balcony planters can all work well—just ensure your chosen spot gets at least 4-6 hours of sunlight a day for healthy growth. Kale thrives in cooler seasons, but by selecting the right spot and variety, you can grow and harvest in almost any climate. In hotter regions, providing a little afternoon shade can help prevent plants from wilting.
What You’ll Need
You won’t need a complicated setup either. All you need to get started is:
- Quality kale seeds
- A shallow container or garden bed with good drainage
- Rich potting soil
- Basic tools like a trowel, watering can, and gardening gloves
With minimal effort and a few simple supplies, you’ll soon be enjoying fresh, homegrown baby kale picked at its peak, whenever you want.
Preparing the Soil and Choosing a Planting Method
To grow healthy, vigorous kale, start by focusing on your soil—this green loves a well-draining, crumbly bed that’s rich in organic matter. Test your soil first; kale thrives in a neutral to slightly acidic pH, ideally between 6.0 and 7.0. If your soil feels heavy or clay-like, mix in compost or well-rotted manure to improve texture and increase nutrients. Raised beds or adding perlite can also help if drainage is an issue. Sheet mulching with cardboard and organic material is an easy way to build fertility over time.
When it comes to planting, you have two main options: direct sowing outdoors or starting seeds indoors for later transplanting.
Direct Sowing
Direct sowing is simple—once the soil is workable in early spring, sow seeds ½ inch deep, spacing rows about 12 to 18 inches apart. This method is great if you have consistent weather, decent soil temperatures (ideally 45–75°F), and want minimal fuss.
Starting Seeds Indoors
Alternatively, starting seeds indoors about 4–6 weeks before your last frost date gives you a head start. Transplant robust seedlings outside once they have a few true leaves and the risk of frost has passed. This method is ideal for gardeners in shorter growing seasons or those dealing with heavy pest pressure, since stronger transplants withstand early challenges better.
Fall Crops
For fall crops, sow outdoors in midsummer or start seeds indoors in late summer, aiming to transplant seedlings about 6–8 weeks before the average first fall frost; cool weather sweetens kale’s flavor.
Which Method Is Best for You?
Here’s a quick checklist to help you decide:
- Do you have a short growing season or unpredictable spring weather? Start seeds indoors.
- Eager for an early harvest? Indoor starts give you a jump.
- Is your garden soil warm and workable early, and you prefer a hands-off approach? Direct sow.
- Battling flea beetles or other pests? Go for transplants.
- Limited on indoor space or time? Direct sowing keeps things simple.
No matter which you choose, well-prepared soil and timing your planting for cool weather are the keys to a bountiful kale harvest.
Sowing & Planting Kale
Sowing kale is simple and rewarding, whether you plant directly in your garden soil, in individual containers, or start seeds indoors.
For outdoor sowing, wait until the soil has warmed to at least 45°F (7°C), then choose a sunny spot with well-drained soil. Make shallow rows about 1/4 to 1/2 inch deep and place seeds one inch apart, covering them lightly with soil. Keep rows about 12 to 18 inches apart to allow room for growth and airflow. Water gently but thoroughly after planting to encourage even moisture, which is key for good germination.
If you’re sowing in containers, choose pots at least 12 inches wide and deep, and use a high-quality potting mix. Containers dry out faster, so keep an eye on moisture.
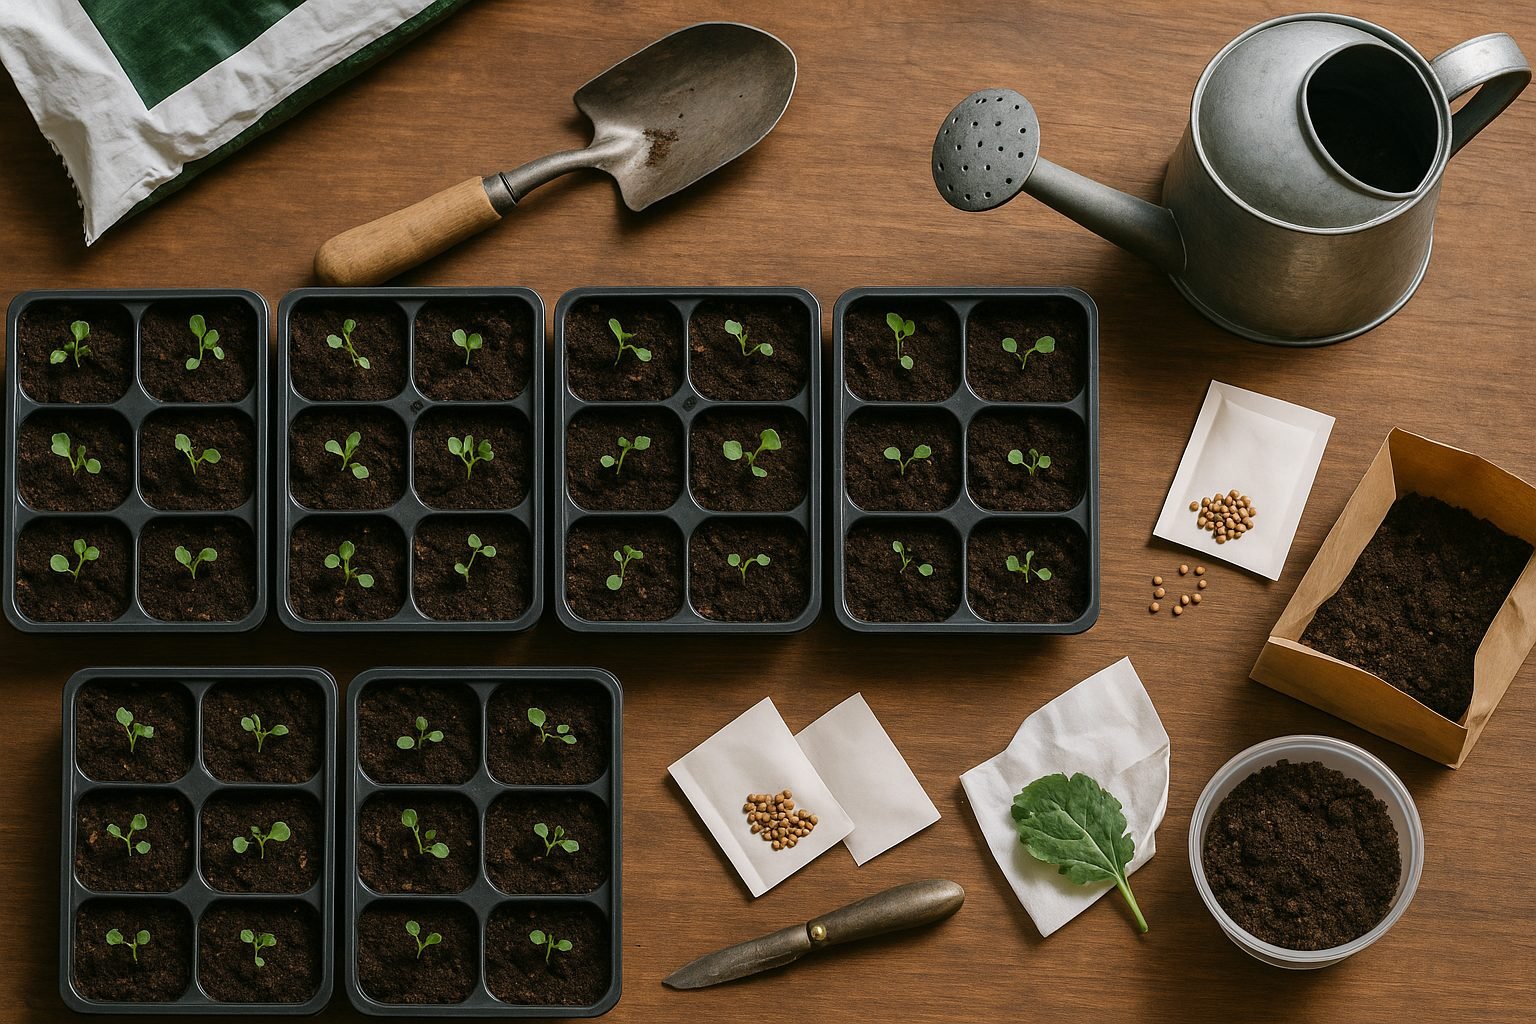
For indoor starts, sow seeds in seed trays or small pots 6 to 8 weeks before your last expected frost—again, about 1/4 to 1/2 inch deep. Place the trays somewhere warm (around 70°F/21°C) and keep the soil consistently moist until germination, which usually takes 5-10 days.
Once seedlings have two sets of true leaves and outdoor temperatures are reliably above freezing, harden them off by gradually exposing them to outdoor conditions over a week. Then transplant outdoors, spacing each seedling 12 inches apart.
If you have limited space, kale grows happily on a balcony in containers—just make sure your pots have drainage holes, and place them where they get at least six hours of sunlight.
Mulching around young plants helps retain moisture and keeps weeds at bay. Regular watering, especially in pots, and occasional feeding with an organic fertilizer will keep your kale lush and productive all season.
Caring for Your Kale Plants
To keep your kale plants thriving, start by watering them consistently—aim for about 1 to 1.5 inches of water per week, either from rain or gentle soaking at the base of the plants. Check the soil with your finger; if the top inch feels dry, it’s time to water. Overwatering can cause roots to rot and make plants prone to blight, so ensure containers or beds have good drainage and never let them sit in standing water.
Add a 2-3 inch layer of organic mulch, such as straw or shredded leaves, around the plants to lock in moisture, regulate soil temperature, and keep weeds at bay. Feed kale every four to six weeks with a balanced fertilizer or compost, avoiding products with high nitrogen content that might create lots of leaves but less flavor.
As your kale grows, you’ll notice that seedlings might be crowded; thin them until each plant stands 12 to 18 inches apart—snip extras at soil level with scissors, ideally when they’re a few inches tall, to prevent disturbing roots.
Protect your crop from pests like pigeons and caterpillars by using floating row covers, chicken wire hoops, or installing garden netting. For caterpillars, check leaves regularly and handpick any you see, or spray with a natural solution like neem oil if problems persist.
Kale is relatively hardy, but sudden freezes can damage young plants; cover them with garden fleece or old sheets on frosty nights, and provide some afternoon shade with shade cloth if you’re facing a heatwave.
Ongoing maintenance is simple but important: weed regularly, trim off any yellowing or damaged leaves to prevent disease, and harvest lower leaves first to stimulate new growth.
By monitoring soil moisture, mulching, fertilizing on schedule, thinning out crowded stems, and keeping an eye out for pests and extreme weather, you’ll help your kale produce tender, tasty leaves for months.
Harvesting and Storing Kale
To enjoy a steady supply of kale, it’s important to harvest it correctly so the plant keeps producing. Start picking leaves when they reach the size you prefer: baby kale leaves are tender and about 2-3 inches long, while mature leaves are larger and a bit tougher.
For baby leaves, use clean scissors or pinch off just the outermost leaves, leaving the inner growth untouched. This allows the plant to continue producing new foliage, which is perfect for salads or smoothies. If you want to harvest mature leaves, grip the bottom of each leaf and snap it downward and off the main stem, working from the outside in and always leaving several leaves at the center.
Never remove more than one-third of the plant at a time; this prevents stressing the kale and ensures it keeps growing.
Once picked, rinse the leaves and dry them thoroughly, then store them in the fridge inside a plastic bag or container lined with a paper towel to absorb moisture. Fresh kale should last about a week this way.
For longer-term storage, blanch the clean leaves for two to three minutes in boiling water, then transfer them to an ice bath, dry them, and freeze flat in freezer bags. This quick blanching locks in the color and nutrients.
Alternatively, you can make kale chips by roasting the leaves with olive oil for a healthy snack, or dry them completely and crush into flakes to sprinkle over meals.
By following these simple harvesting and preserving methods, you’ll keep your kitchen stocked with vibrant, homegrown kale all season and beyond.
Troubleshooting Common Kale Problems
Growing kale can sometimes feel challenging, especially when unexpected problems pop up. One of the most common issues is pest infestation—aphids and caterpillars love kale leaves, leaving behind holes or sticky residue. To tackle these pests organically, try blasting them off with water from a hose or introduce helpful insects like ladybugs. Floating row covers can also be very effective for keeping bugs out.
Disease can also take hold—keep an eye out for yellowing, wilting, or brown spots, which are signs of fungal issues. Prevent this by spacing plants well, rotating crops each season, and watering at the base instead of overhead to keep leaves dry.
If your kale looks weak or isn’t growing, poor soil or lack of sunlight could be the culprit. Enrich the soil with compost and ensure your kale gets at least six hours of sun daily.
Remember, most kale problems have simple fixes, so don’t panic if you spot trouble. Fellow gardeners on online forums and local extension offices are great resources for advice tailored to your area. If you catch problems early and act quickly, your kale will bounce back healthier than ever.
Keeping Your Kale Going Year-Round
To enjoy fresh kale all year, you’ll need a combination of smart planting strategies and a little season-extending creativity. Succession planting is key—every few weeks throughout spring and summer, sow a new batch of seeds to keep a steady supply going. This prevents all your kale from maturing at once and running out mid-season.
As you head into fall, consider protecting your outdoor crops with row covers or a simple cold frame. These act as mini-greenhouses, sheltering kale from frost and letting you harvest well into winter. In colder areas where outdoor growing isn’t possible, you can bring the garden indoors. Use roomy containers (at least 8 inches deep) and a sunny window, or set up a basic grow light to keep your kale happy inside; just remember to water and fertilize regularly, like you would with any houseplant.
Another long-term trick is seed saving—let a few of your healthiest plants bolt and set seed after their main harvest. Once pods dry out, collect and store the seeds in a cool, dark place. This way, you’ll be ready to replant next season without another trip to the store.
Mixing these methods lets you harvest fresh leaves for smoothies, salads, or soups all year long—no matter your climate or garden size.