Introduction
Starting hot pepper seeds indoors is a deeply rewarding journey for gardeners and spicy food lovers alike. Not only does it give you access to an incredible variety of unique and flavorful peppers that you’ll rarely find at nurseries or grocery stores, but it’s also a cost-effective way to fill your garden with colorful heat. Growing hot peppers from seed means you control quality and freshness from day one, and you can pick just the right varieties to suit your taste.
In this blog post, we’ll guide you through everything you need to know about starting hot pepper seeds indoors, from choosing the right supplies to mastering the conditions for sprouting success. Whether you’re a total beginner or a seasoned gardener looking for new tips, you’ll find practical advice to make this season’s hot pepper crop your best yet. Let’s unlock the spicy potential of your home garden together!
When to Start Hot Pepper Seeds
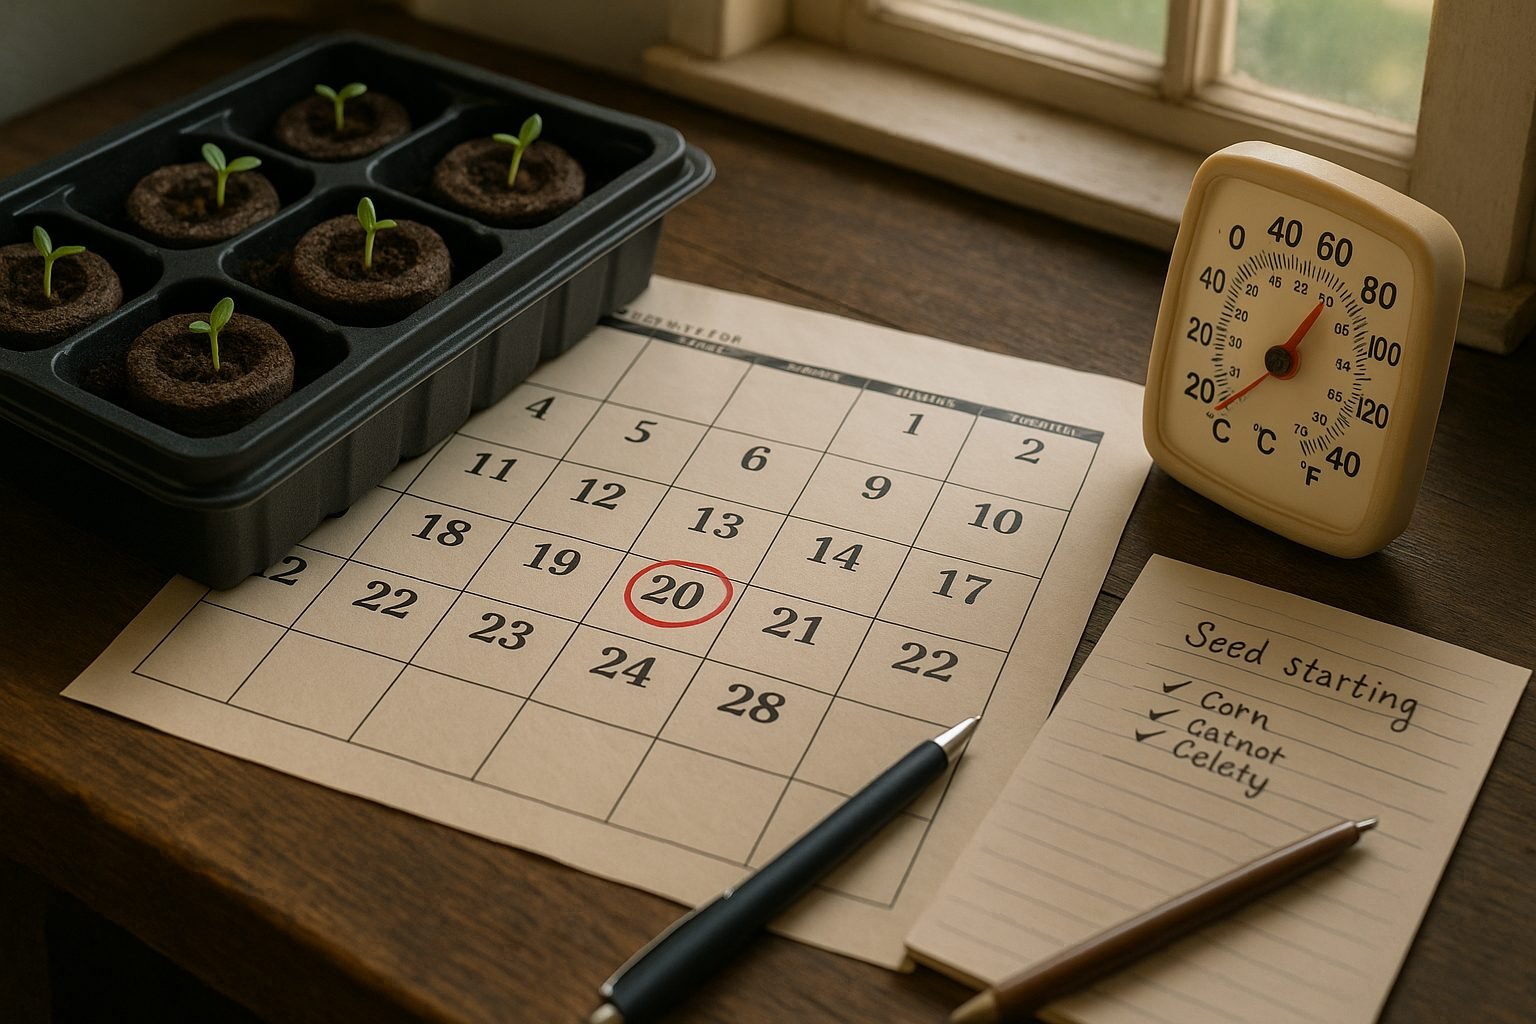
Starting hot pepper seeds at the right time is crucial for a successful harvest. The best window is typically 8–10 weeks before your region’s last expected frost date—this gives your seedlings time to develop strong roots and leaves before moving outdoors.
For example, if your last frost is in mid-May, aim to start seeds indoors around early to mid-March. Getting the timing right helps your peppers beat the rush of summer heat that may stunt younger plants and ensures they have a long enough growing season to set fruit and ripen.
If you start seeds too early, the seedlings can become leggy or outgrow their pots before it’s safe to move them outside. Start too late, and you risk not having enough warm days for peppers to fully mature.
Regional climate also plays a big role:
- In cool northern areas with short summers, an early start is even more important.
- Southern gardeners with longer frost-free periods have more flexibility and can sometimes start seeds a little later.
Always check your local frost schedule and adjust your indoor planting date accordingly to give your hot peppers their best shot at thriving all season long.
Essential Steps for Germinating Hot Pepper Seeds
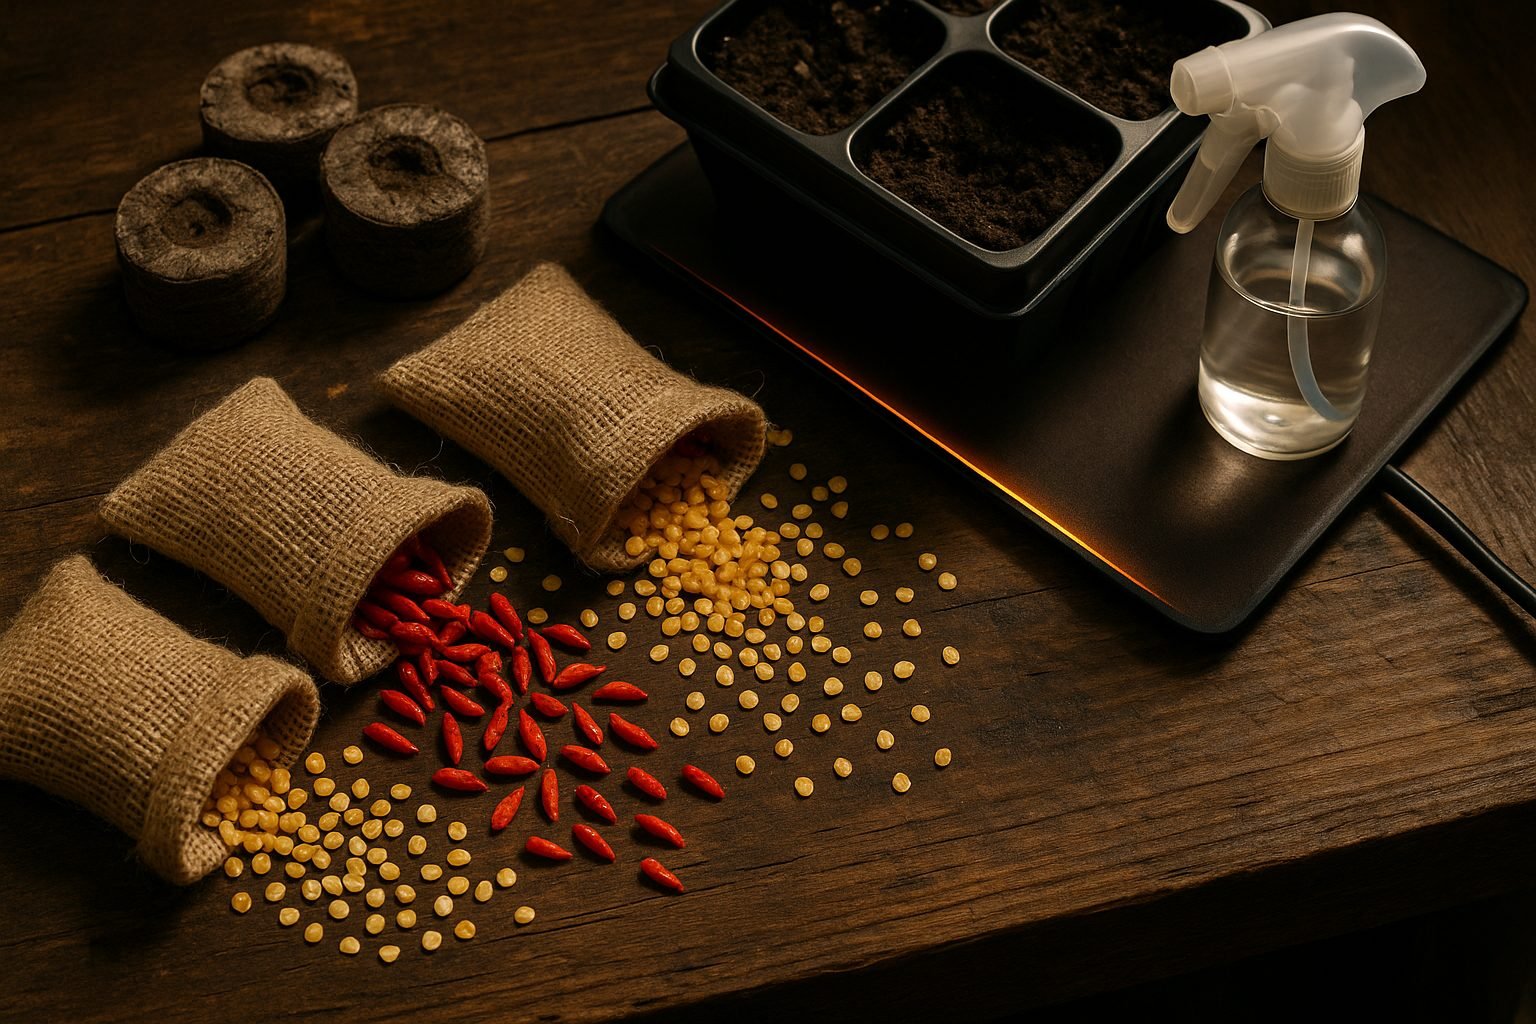
Germinating hot pepper seeds successfully starts with recreating the conditions these fiery plants crave: warmth, moisture, and light. Begin by pre-soaking your pepper seeds for 8–12 hours in warm water—this softens the hard seed coats, helping stubborn seeds sprout faster.
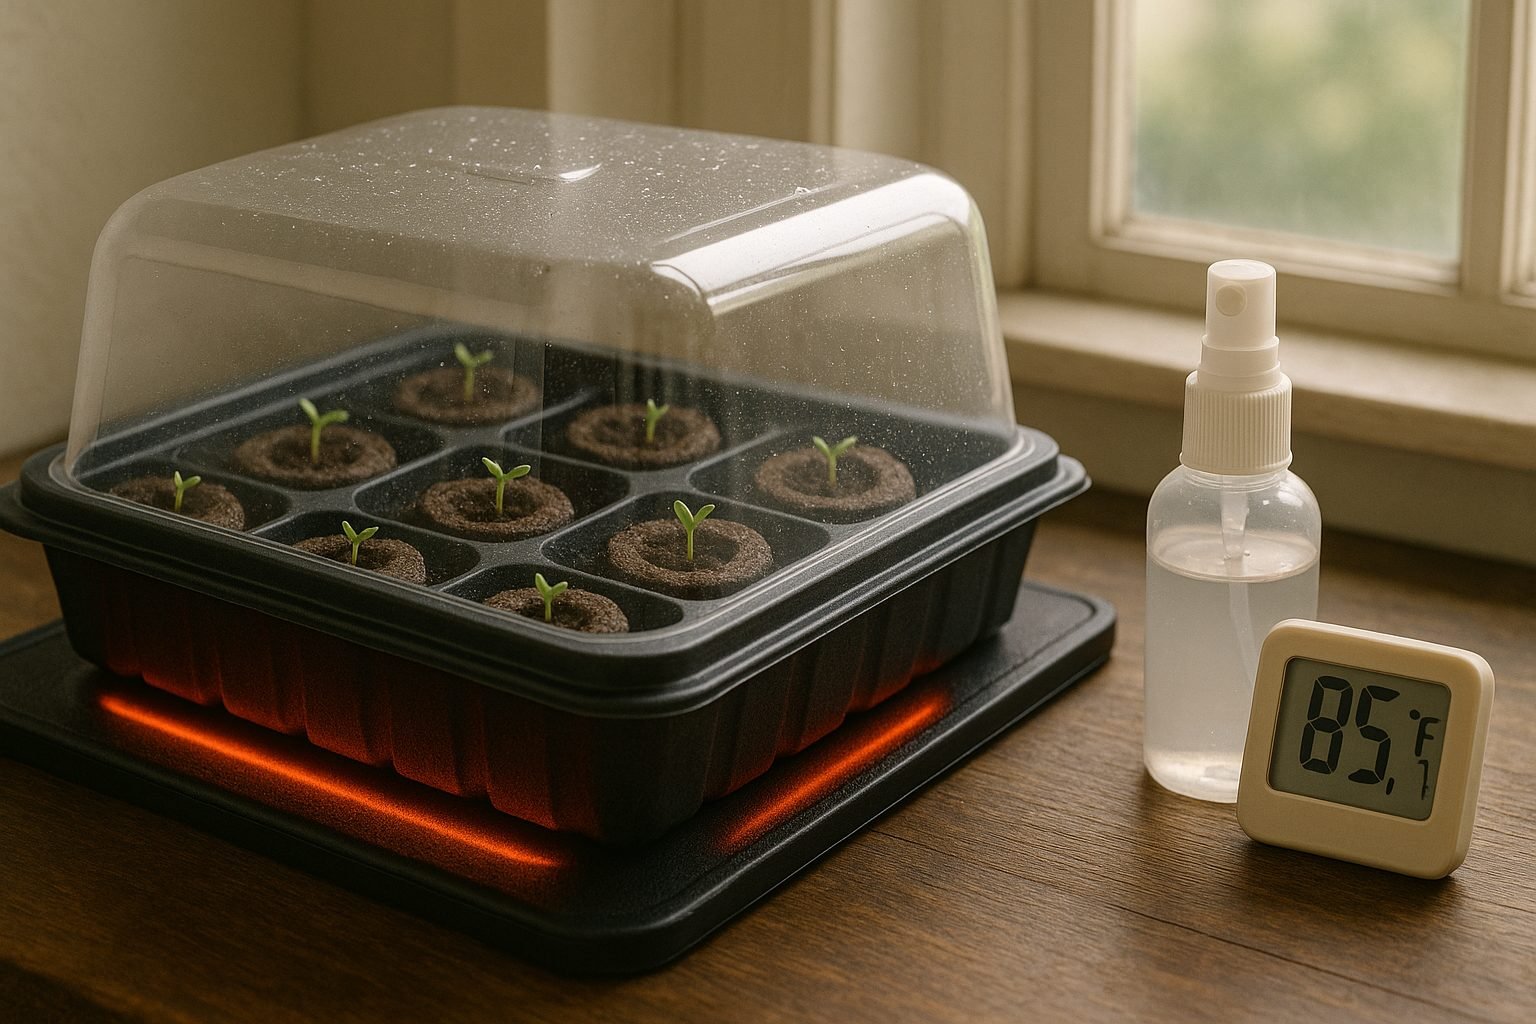
Choose a good quality seed-starting medium, like peat pellets or a light, soilless mix, as these provide the right balance of moisture and air. Seed-starting trays with clear plastic lids work well for maintaining humidity, but recycled containers with holes for drainage will do the trick, too.
For optimum germination, keep your seeds in a consistently warm spot—between 80–90°F is ideal. Most homes aren’t quite this toasty, so using a heat mat under your trays can make all the difference; many gardeners find this cuts germination time significantly.
Place the trays somewhere bright but out of direct sunlight—a sunny windowsill often works, or use grow lights set a few inches above the surface to avoid leggy seedlings. Moisture is key, but don’t overdo it—a spray bottle can help you keep the soil evenly damp without saturating it.
Be patient, as hot pepper seeds often take 1–3 weeks, sometimes longer, to sprout. If you notice slow germination, double-check that temperatures haven’t dropped and that the medium hasn’t dried out.
Mold can be a common issue when humidity is high, so always use sterile trays and fresh seed-starting mix, keep the lid slightly open for air circulation, and remove any visible mold promptly.
With patience, the right environment, and a bit of care, you’ll soon see those tiny shoots emerging, ready to grow into robust pepper plants.
Caring for Hot Pepper Seedlings
To grow healthy hot pepper seedlings, start by ensuring they get enough light. If you don’t have a sunny windowsill, place them under bright artificial grow lights for 14–16 hours a day. This helps avoid “leggy” seedlings that stretch for light and become weak. Keep the lights about 2–3 inches above the seedlings and raise them as the plants grow.
Water the seedlings when the top of the soil feels dry, but don’t overdo it—soggy soil can encourage damping off, a disease that wilts young plants. Use a spray bottle or a gentle stream to avoid disturbing roots, and always water in the morning to allow surfaces to dry out.
As seedlings grow strong, thin them by snipping weaker ones at the base to give the healthiest plant more space. When you see roots poking out of drainage holes or the plants have at least two sets of true leaves, gently repot them into slightly larger containers to encourage robust root growth.
Early fertilizing helps too—after a couple of weeks, offer a diluted liquid fertilizer (about one-quarter strength) every two weeks.
Watch for Common Issues
- Legginess: Signals not enough light.
- Damping off: Looks like stems pinching and collapsing near soil level. If you see this, cut back on water and improve airflow.
- Pests: Inspect regularly for aphids or fungus gnats. A quick swipe with a damp cloth or yellow sticky traps can keep pests at bay.
With a little attention to these basics, your pepper seedlings will be on track for a bountiful season.
Hardening Off and Transplanting Peppers
Hardening off pepper seedlings is a crucial step before moving them outdoors, as it helps prevent transplant shock from sudden changes in temperature, wind, and sunlight. About two weeks before transplanting, start by placing seedlings outside in a sheltered spot for a few hours each day, gradually increasing both their sun exposure and time outdoors. Bring them in at night to protect against chilly temperatures or unexpected weather.
For transplanting, wait until nighttime lows stay above 55°F (13°C) and soil temperatures reach at least 65°F (18°C)—peppers thrive best in warm, stable conditions. Space your transplants 18–24 inches apart in well-drained soil with full sun, ideally in a spot sheltered from strong winds.
To minimize transplant shock:
- Water seedlings thoroughly an hour before moving them.
- Keep as much of the rootball intact as possible.
- Transplant on a cloudy day or in the late afternoon to avoid harsh midday sun.
Mulching around plants right after transplanting helps lock in soil moisture and keeps roots cool. With a little care and patience, your peppers will adjust quickly and reward you with vigorous growth.
Common Problems When Growing Peppers (and How to Solve Them)
When growing peppers, gardeners often run into a few common problems—but most have straightforward solutions.
Pests like aphids, spider mites, and pepper maggots can quickly damage plants. Check leaves often for tiny bugs or holes, then spray with a mild soap solution or introduce ladybugs to help naturally control infestations.
Diseases such as bacterial leaf spot and fungal blight show up as spots or wilting. To reduce disease risk, avoid overhead watering, give each plant good airflow, and rotate crops each year.
Weather stress is another culprit. Peppers dislike cold nights and extreme heat, so use row covers if temperatures dip below 55°F, or consider afternoon shade for hot climates.
If your peppers are growing slowly, check for compacted soil and consider feeding with a balanced fertilizer to encourage healthy roots.
Flower drop is often caused by inconsistent watering or extreme heat, so water deeply and evenly, especially during droughts or heatwaves.
For leaf problems like curling or yellowing, ensure your soil isn’t soggy and test for nutrient deficiencies—adding compost or a calcium boost can solve these issues.
Remember, most pepper problems can be traced to water, temperature, pests, or nutrition—a little attention goes a long way to a healthy harvest.
“`html
Tips for Success & Growing Hot Peppers in Containers or Indoors
For a thriving indoor or container pepper garden, start by choosing compact varieties like Thai chili, cayenne, or mini bell peppers, which adapt well to smaller pots and limited sunlight. Use containers at least 2 gallons in size, with drainage holes to prevent soggy roots.
Place your plants near a sunny window or supplement with grow lights for 12-16 hours daily. Boost your harvests by feeding plants every two weeks with a balanced liquid fertilizer and keeping soil evenly moist but never soggy.
Mulching with straw or coco coir helps retain moisture and keeps roots cooler, even indoors. Don’t be afraid to prune leggy stems—regular pinching back encourages bushier growth and more fruit.
Rotate containers every few days so all sides get light, and hand-pollinate flowers with a small paintbrush if you notice low fruit set.
Have fun experimenting with different pepper varieties—each brings unique heat and flavor, and some, like the ornamental Numex Twilight, add a splash of color to your windowsill.
“`
Conclusion & Additional Resources
Starting peppers from seed is a rewarding journey—just remember to provide warmth, light, and patience as your seedlings grow. Keep the soil consistently moist and give your plants plenty of sunlight for the best results.
For more tips, check out resources like the University of California’s Master Gardener Program or “Pepper Geek” blogs for pepper-specific advice.
As you nurture your plants, you’ll discover the joy of harvesting fresh hot peppers right from your garden. Don’t be afraid to experiment with different varieties—you’ll savor both the process and the spicy rewards!