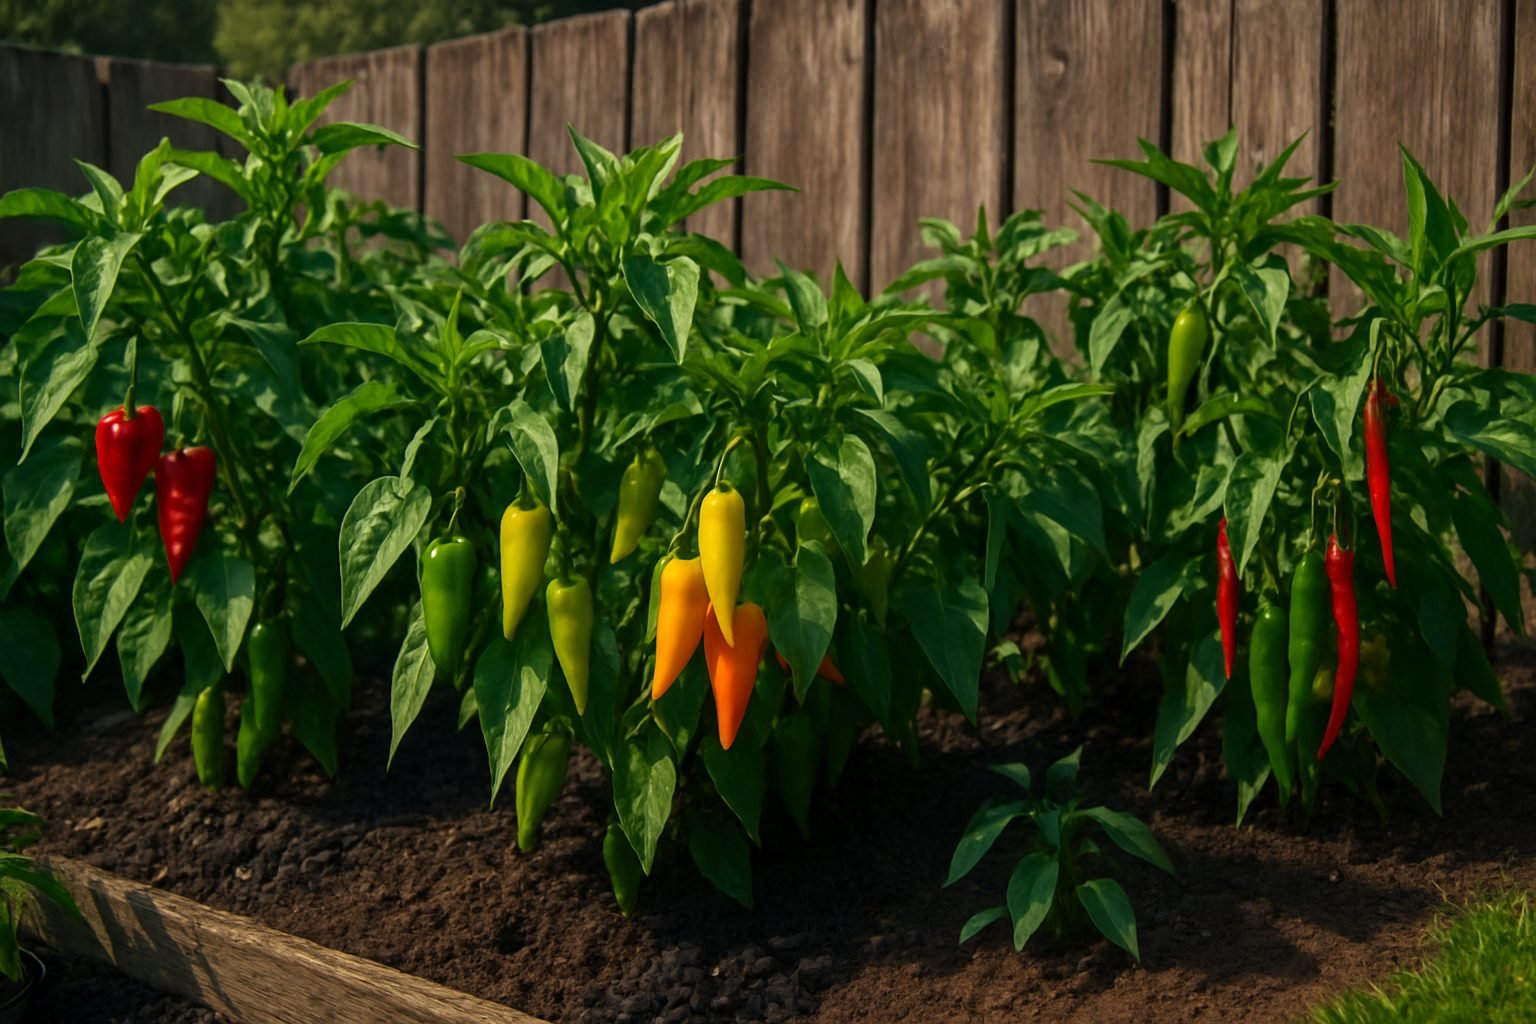
Choosing the Right Pepper Varieties
Growing hot peppers in cold weather may seem challenging, but with the right approach, gardeners in chilly regions can enjoy a fiery harvest. If you’ve struggled with slow-growing bell peppers or disappointing yields in a shorter season, it’s time to rethink your strategy.
Not all peppers are created equal when it comes to dealing with cool nights and brief summers. Hot peppers, especially those with smaller fruits, tend to outperform large, blocky bell peppers in cold climates because they mature more quickly and require less heat to ripen.
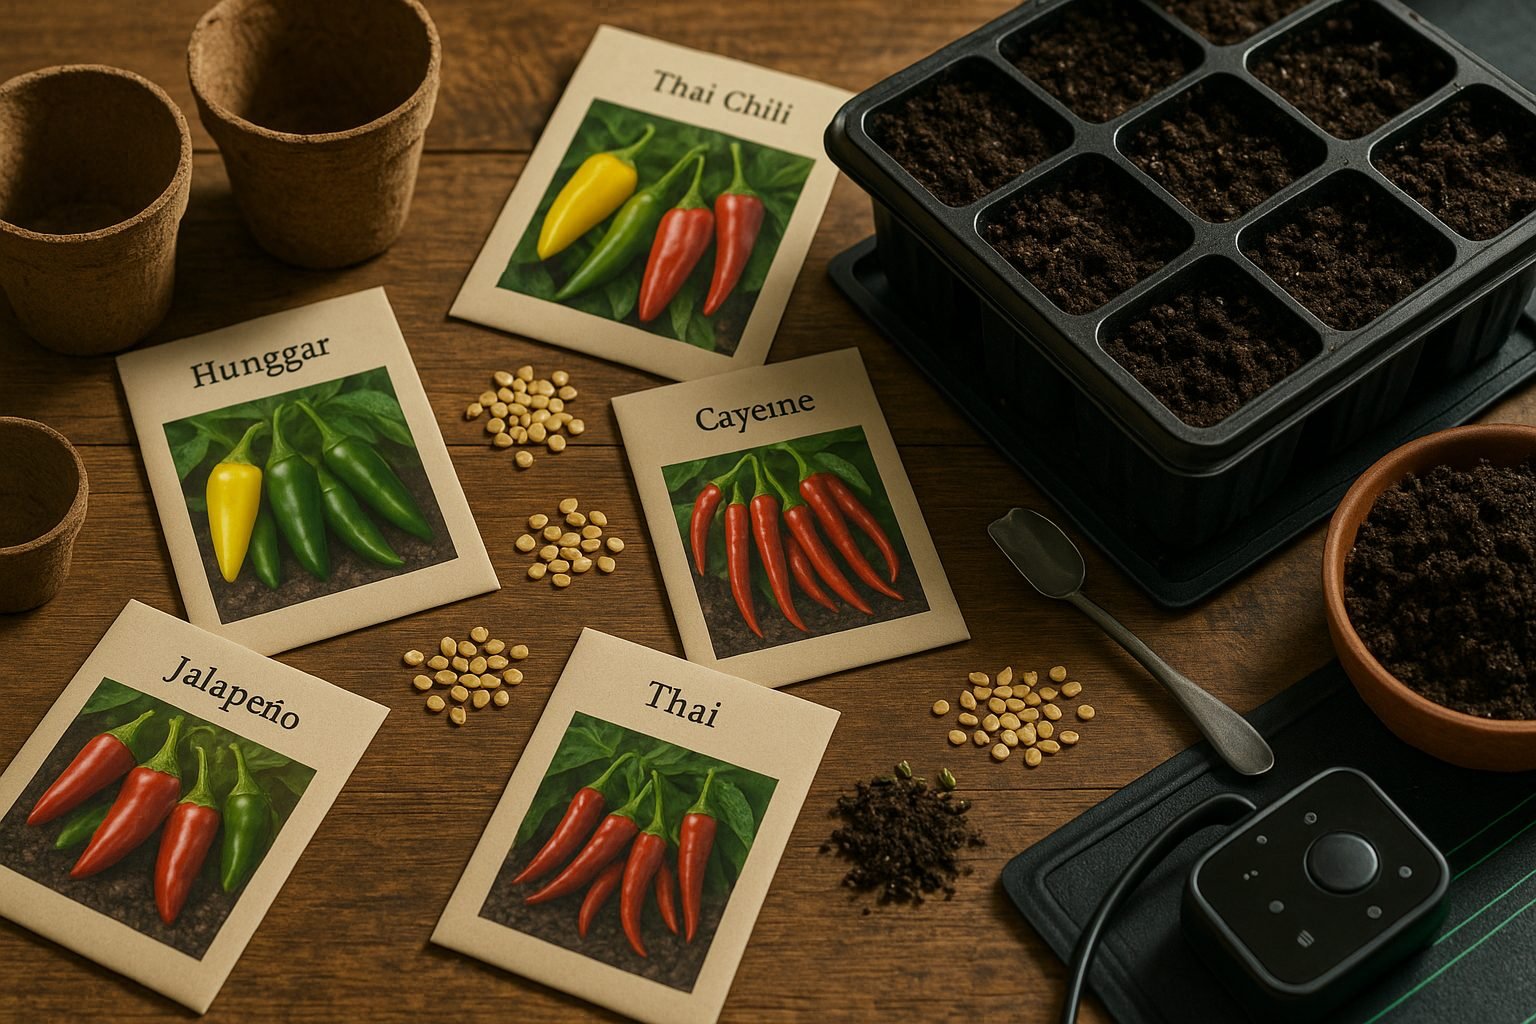
Early-maturing and short-season varieties like Hungarian Wax, Hot Portugal, and Thai Chili can produce ripe fruit even if your growing window is tight. Look for varieties labeled as “early,” “short season,” or those with days-to-maturity under 75—these signals mean the pepper is more likely to thrive despite unpredictable weather.
Seed companies such as Baker Creek, Johnny’s Selected Seeds, and Territorial Seed Company are reliable sources known for carrying varieties tested in cooler environments. Pay attention to key traits like compact growth habits, resistance to common cold-weather diseases, and proven performance in northern gardens.
For example, varieties like Jalapeño Early and Czech Black have earned loyal followings among northern growers for their reliability and heat. In your search, read seed catalog descriptions carefully—gardeners in Alaska and Canada often share helpful reviews.
A little research upfront can lead to a season full of spicy, homegrown flavors, even when the weather’s not on your side.
Starting Peppers Indoors
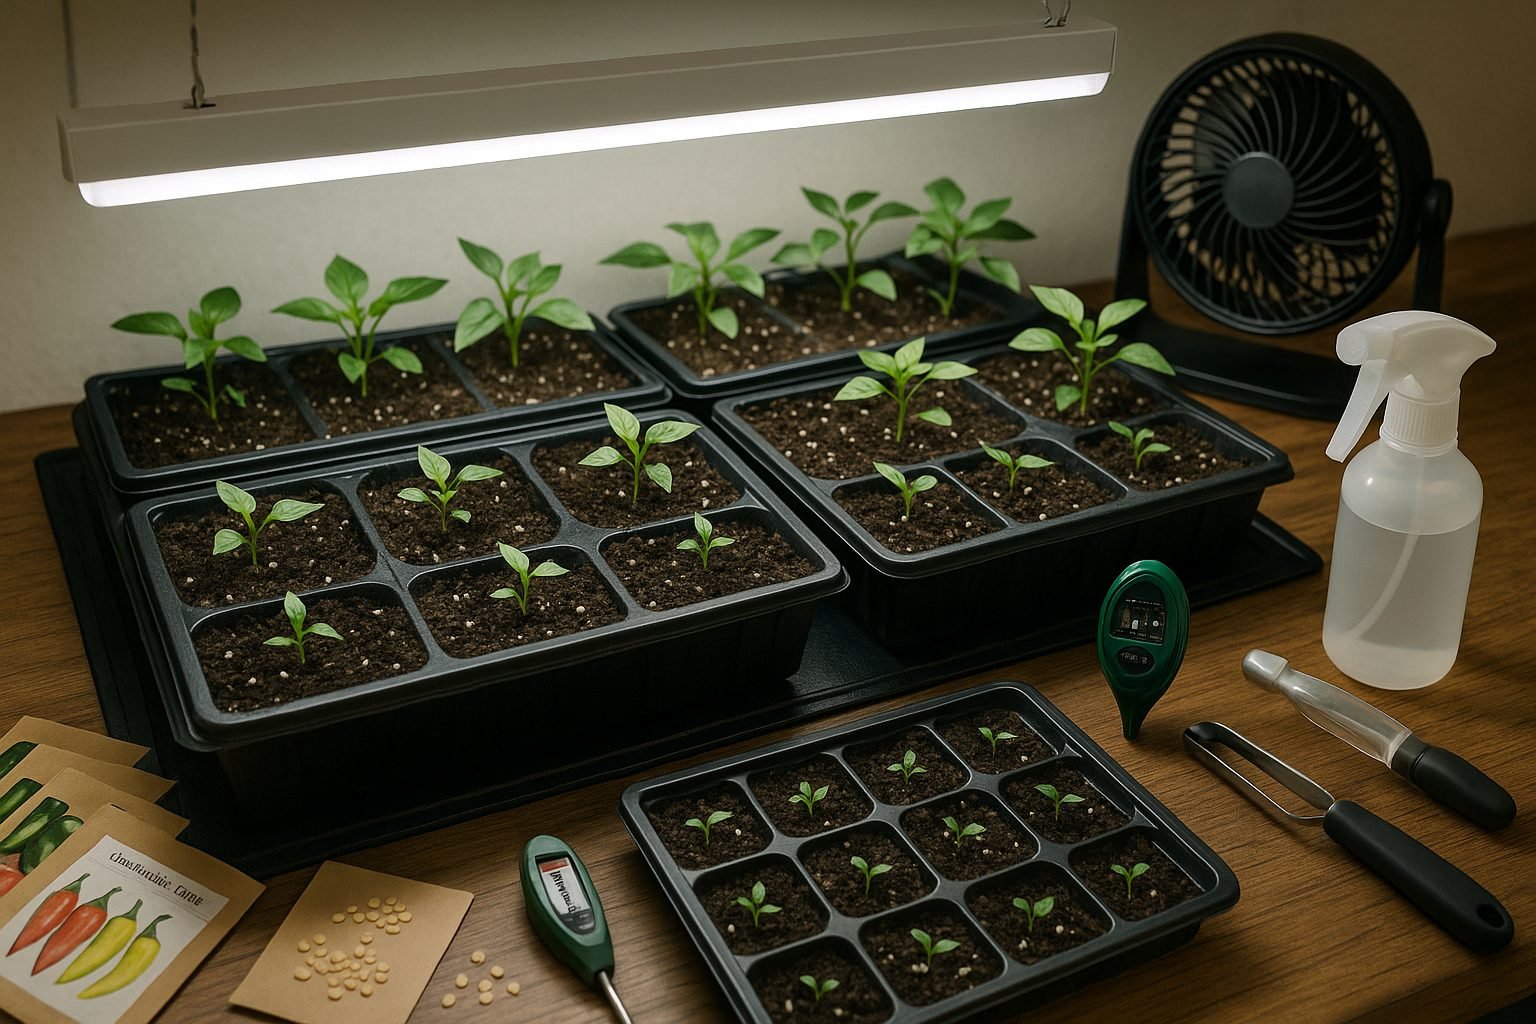
In cold climates where the growing season is short, starting peppers indoors is essential to give your plants enough time to mature and produce a bountiful harvest. Planning your seed-starting schedule around your area’s average last frost date is key—start seeds indoors about 8 to 10 weeks before you expect to plant them outdoors.
Pepper seeds need warm soil to sprout well, so use a heating mat to maintain consistent soil temperatures around 80°F (27°C). Choose a lightweight seed-starting mix and small trays or cell packs with drainage holes to prevent waterlogged roots.
Supplemental lighting, such as LED grow lights positioned a few inches above the trays, ensures young seedlings get 14 to 16 hours of light daily—often more than a sunny windowsill can provide. As seedlings develop true leaves, thin them to one sturdy plant per cell to avoid overcrowding and competition.
If you notice flower buds forming early, pinch them off immediately. Early flowering can stunt the plant’s growth by redirecting energy away from healthy leaf and root development. Keep the soil evenly moist but not soggy, and gently circulate air with a fan to strengthen stems and prevent fungal issues.
With careful attention to timing and simple indoor tools, you can set your peppers up for success long before they ever see the outdoor garden.
Transplanting and Hardening Off
Timing is everything when transplanting pepper seedlings outdoors—aim to move your plants once the danger of frost has fully passed and nighttime temperatures consistently stay above 55°F (13°C). For most gardeners, this means waiting until about two weeks after your area’s average last frost date.
Before planting, help your tender seedlings adjust to the harsher outdoor environment through a process called hardening off. About seven to ten days before transplanting, take your peppers outside for a few hours each day, gradually increasing their exposure to sunlight, wind, and cooler temperatures. This step is crucial because it reduces transplant shock and encourages sturdier stems and healthier growth.
If space or unpredictable weather is a concern, growing peppers in containers is a smart alternative. Containers can be moved indoors or to protected spots during cold snaps and can warm up faster than garden soil, giving your peppers a head start on the season. Just make sure the pots have good drainage and are at least 12 inches wide for each plant.
Whether you transplant to garden beds or opt for containers, taking the time to harden off your seedlings and monitor temperatures will set your peppers up for a productive season.
Managing Temperature and Microclimates
Pepper plants thrive best when daytime temperatures stay between 70 to 85°F (21 to 29°C) and nighttime temps don’t dip below 60°F (16°C). This range supports strong growth, flowering, and fruit set.
If your garden tends to run cool, you can warm things up by choosing the sunniest spot possible—south-facing fences or walls work great since they radiate extra warmth. To boost early season temps or protect plants during chilly spells, try using row covers, cloches, or even upcycled materials like clear plastic storage bins; these trap heat and shield peppers from cool breezes. Spreading black mulch or gravel around your plants’ base also helps absorb and reflect warmth directly to the roots.
Watch out for signs of temperature stress, such as flower drop, curled leaves, or pale, stunted growth—these usually mean your peppers are too cold, but wilting or leaf scorch could signal excessive heat. If you spot these issues, act fast:
- Cover plants overnight if frost threatens.
- Open covers for ventilation during midday sun.
- Offer shade cloth during heatwaves.
With these microclimate tweaks, you’ll keep your peppers happy and productive all season long.
Essential Pepper Plant Care
Caring for pepper plants starts with establishing a routine that caters to their unique growth and productivity needs. Begin with consistent feeding: use a balanced fertilizer every 2-4 weeks, and incorporate compost into the soil to provide essential nutrients over time.
Watering should be steady but not excessive—aim for deep, infrequent soaks that keep the soil moist but never soggy, as peppers dislike waterlogged roots. Use mulch to retain moisture and regulate soil temperature, especially during hot spells.
Regularly check your plants for signs of pests like aphids or spider mites, and remove them by blasting with water, applying insecticidal soap, or inviting beneficial insects such as ladybugs. For diseases, watch for discolored spots on leaves and promptly remove affected areas to stop the spread.
Pruning is another essential step. Remove early flowers by pinching them off to encourage the plant to focus energy on leaf and root development, resulting in stronger plants and bigger yields later on. Practice topping—snipping off the main growing tip early in the season—to promote bushier growth and more fruiting branches. While topping can slightly delay your first harvest, it usually leads to a heavier long-term yield.
Finally, support pollination, especially for indoor or greenhouse peppers, by gently shaking the plant or brushing inside each flower with a small paintbrush to mimic insect activity. This hand-pollination method ensures flowers set fruit even when bees or wind aren’t around.
By keeping a close eye on your plants and responding with these targeted care practices, you’ll enjoy healthier pepper plants and a more bountiful harvest.
Harvesting and Maturity Planning
As fall approaches and temperatures start to dip, it’s important to keep a close eye on your peppers to know when they’re ready for harvest. Peppers are generally ready when they have reached their full size and show vibrant, mature color—whether that’s red, yellow, orange, or purple, depending on the variety.
If you expect an early frost, check the weather daily—peppers are sensitive to cold, and even a light frost can damage the fruit. For container plants, moving them indoors to a sunny window or sheltered porch can buy you extra ripening time.
Another handy tip is to pick peppers as soon as they show their final color, even if they’re not as sweet or as hot as you’d like; this will encourage the plant to focus its energy on ripening the remaining fruit.
If you must harvest unripe peppers at season’s end, don’t toss them! Place them in a warm, bright spot inside your home, ideally in a single layer, and they should finish ripening over the next few days. Alternatively, green peppers can be used in cooked dishes where their slightly tangier flavor works well.
By planning ahead, you can extend your pepper harvest and make sure none of your hard-earned produce goes to waste.
Troubleshooting Common Problems
Growing peppers in cold climates comes with unique challenges, often leading to issues like slow growth, flower drop, poor fruit set, and increased vulnerability to pests and diseases. Chilly temperatures stress plants, making them more susceptible to fungal diseases like powdery mildew. Pests such as aphids often take advantage of weakened plants. Cold weather also disrupts pollination, causing flowers to drop before setting fruit.
To quickly remedy these issues:
- Use row covers or cloches to trap warmth during cold snaps.
- Water only in the morning to prevent fungal growth.
- Inspect leaves regularly for pests, removing them by hand or with insecticidal soap.
For long-term prevention:
- Choose cold-tolerant pepper varieties and start seeds indoors to give plants a strong head start.
- Practice crop rotation and use well-draining soil to minimize disease risk.
If a plant remains stunted, fails to flower, or shows severe disease despite your best efforts, it’s wise to remove it to prevent spreading issues. Each season, keep notes on what worked, and adjust your planting times or protection methods for better results next year. Accepting occasional losses as part of learning can ultimately lead to healthier, more productive pepper harvests.