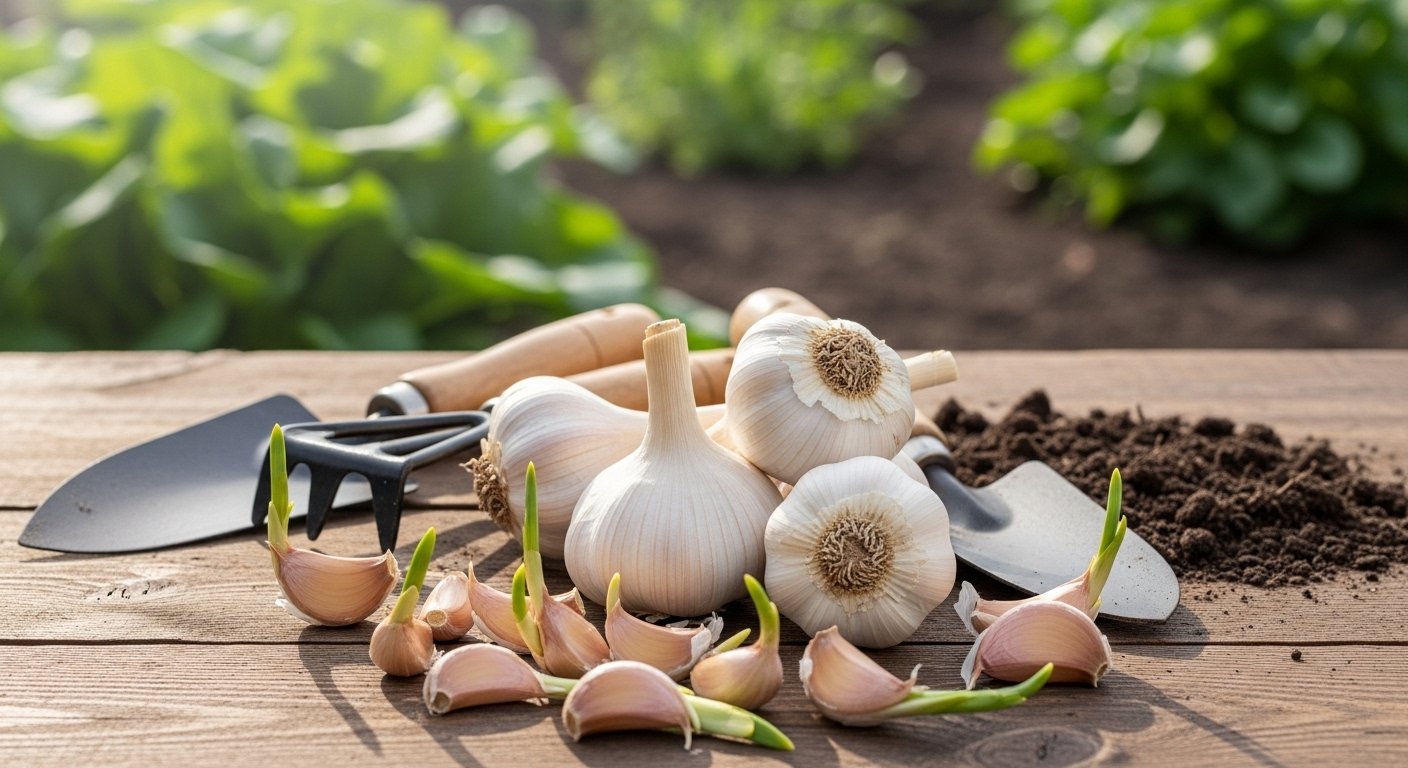
Introduction to Growing Garlic
If you’ve ever wondered how to regrow garlic from sprouting cloves, you’re not alone—garlic is one of the most beloved and useful crops for home gardeners everywhere. Not only does it play a pivotal role in countless cuisines, but it’s also remarkably easy to grow and yields satisfying results. Garlic is a forgiving plant that thrives whether you nurture it indoors on a sunny windowsill, tuck it into containers on your patio, or dedicate a bed in your outdoor garden. This versatility makes garlic a top choice for gardeners with limited space or those looking to boost their homegrown ingredients.
Regrowing garlic starts with something as simple as a clove that’s already sprouting in your kitchen. Instead of tossing it out, you can give it a second life—and eventually, a fresh harvest. In this article, we’ll guide you step-by-step through the entire process, beginning with how to select the right type of garlic for your climate and culinary preferences. You’ll discover practical tips for preparing your cloves, choosing the best growing medium, and ensuring your garlic thrives, whether indoors or outdoors. We’ll finish by covering how and when to harvest your homegrown bulbs so you can enjoy the fruits of your labor in everyday cooking. Whether you’re a novice or a seasoned gardener, regrowing garlic can bring lasting rewards to both your kitchen and garden.
Types of Garlic & What To Grow
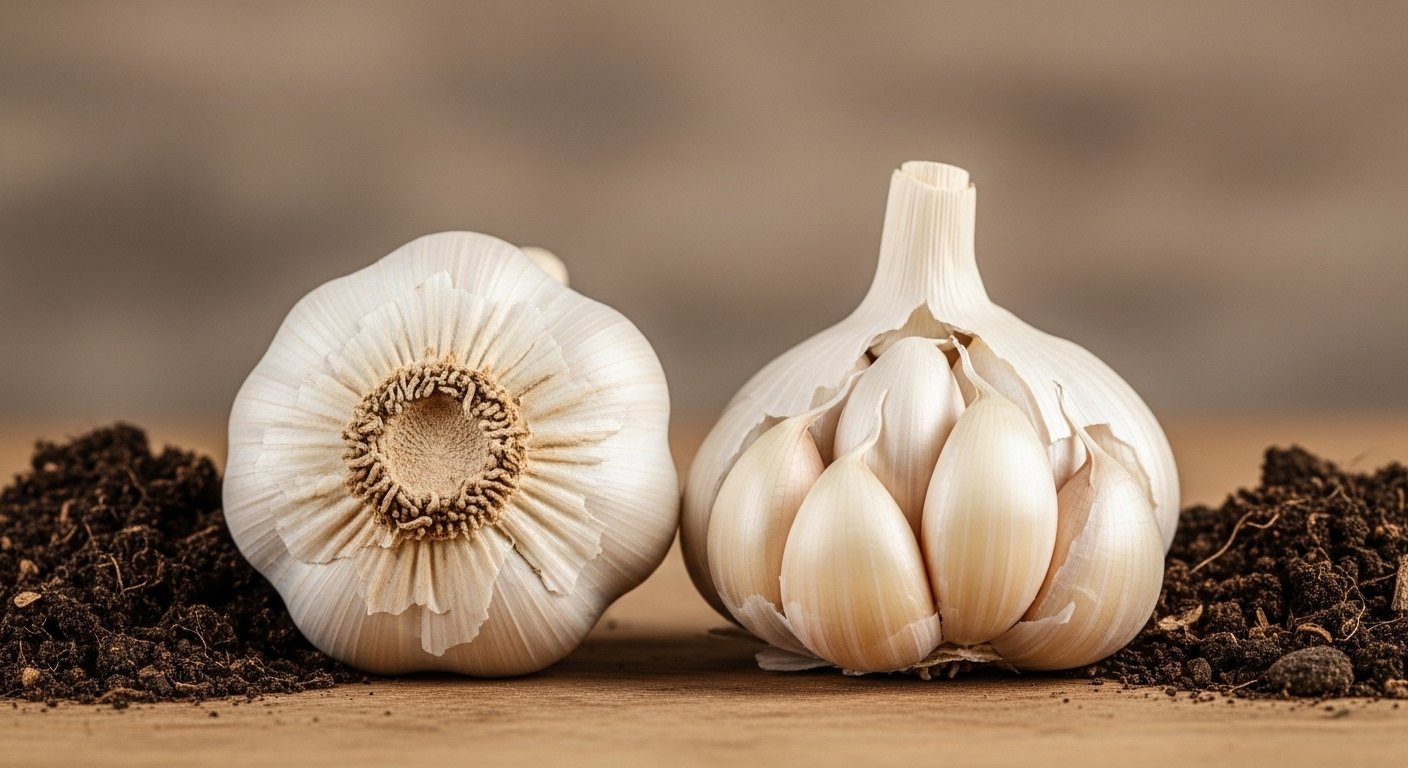
When choosing which garlic to grow, it helps to know the two main types: hardneck and softneck. Hardneck garlic, like Rocambole or Purple Stripe, is known for its distinctive central stalk and large, easy-to-peel cloves. These do best in colder climates since they need a period of cold to develop properly, making them a smart choice for gardeners in the northern U.S., Canada, or anywhere winter gets chilly.
Softneck garlic, such as California Early or Silverskin, lacks the stiff stalk and produces more cloves per bulb, though they’re usually smaller. This type thrives in milder climates where winters are not as harsh, making them perfect for southern states.
If you’re a beginner, start with softneck varieties like California Softneck or Inchelium Red; they’re low-maintenance, widely available, store well for months, and grow reliably in different conditions. For those wanting to experiment or who live in cold areas, Music and German Extra Hardy are popular hardneck options praised for their robust flavor and simplicity.
No matter your climate, starting with disease-free seed garlic from a reputable seller is key—avoid supermarket bulbs, which are often treated and might not be suited for your region. If you’re keen on trying more than one kind, plant both types and see which thrives—often, local gardening groups or extension offices can share the best regional choices.
When & Where to Plant Garlic
For the best garlic harvest, timing and location are key. In most regions, the ideal time to plant garlic is in the fall—about 4 to 6 weeks before the ground freezes. This allows the cloves to establish roots before winter, resulting in bigger bulbs by summer. If you miss the fall window, early spring planting is possible, but the bulbs may be smaller.
Choose a spot that receives at least six hours of direct sunlight daily. Garlic thrives in loose, well-drained soil rich in organic matter; heavy clay or waterlogged soil can cause the bulbs to rot. Amending your garden bed with compost and ensuring proper drainage is vital.
Climate also plays a role in garlic’s success. In colder northern regions, hardy hardneck varieties perform best and tolerate winter chills, while milder southern climates can grow softneck types that do well with shorter, warmer winters. Mulching after planting helps insulate the cloves and retain moisture, especially in colder zones.
By picking the right time and place, you’ll set the stage for a flavor-packed garlic harvest.
Step-by-Step: Planting Garlic Cloves
Getting started with planting garlic cloves is simple, but a little preparation can make a big difference in your harvest. Begin by picking firm, healthy garlic bulbs; steer clear of any that feel soft or have moldy spots. If you’re using store-bought garlic, check for “sprout inhibitor” labels or unusually shiny bulbs—some are treated with chemicals that prevent growth. To test, plant a few cloves in a pot for a week and see if they sprout.
When ready, gently break apart the garlic bulb just before planting, keeping the papery skins on each clove.
Preparing the Soil
Next, focus on prepping your soil: garlic thrives in loose, well-draining soil rich in organic matter. Add compost or well-rotted manure and work it into the top 6 to 8 inches. Make sure your soil bed is weed-free and has good drainage to avoid soggy roots.
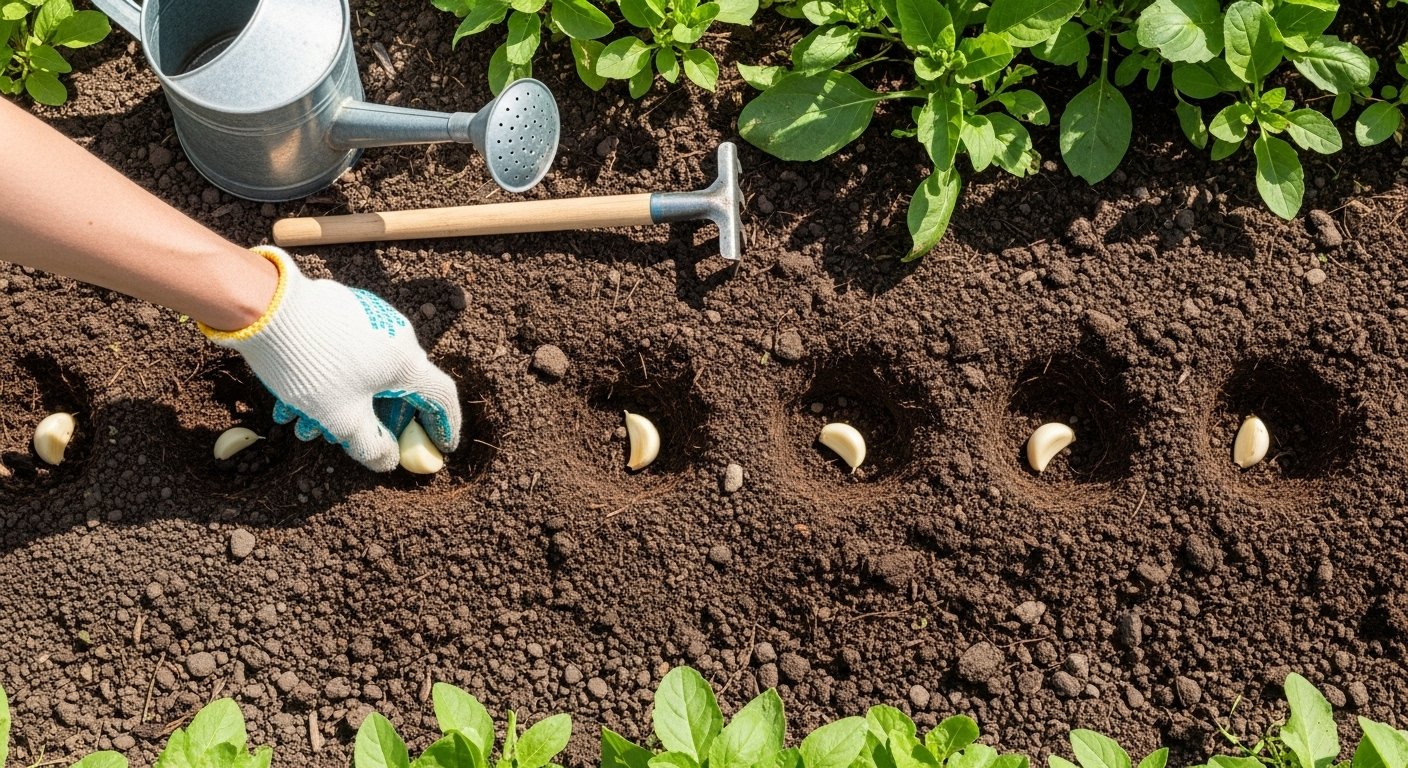
Planting the Cloves
Dig planting holes about 2 inches deep. Place each clove with the pointed tip facing upward, spacing them 4 to 6 inches apart within rows; keep rows about 12 inches apart to allow for airflow and easy weeding.
After planting, gently cover the cloves with soil and pat it down lightly. For a nutrient boost, apply a balanced organic fertilizer on top and water the area thoroughly to help the cloves settle in. Avoid soaking the soil—just water enough to keep the area moist until you see green shoots emerge.
With these careful steps, you’ll set your garlic up for a strong start and a plentiful harvest in the months to come.
Indoor & Alternative Methods: Growing Garlic in Water or Indoors
Growing garlic indoors or in water is an easy way to enjoy fresh greens year-round, especially if you don’t have outdoor space. To sprout garlic in water, separate a few healthy cloves—keeping their papery skins intact—and place them pointed side up in a small glass with just enough water to cover the bottoms. Set the glass on a sunny windowsill and change the water every couple of days to prevent mold.
Within a week, you’ll see green shoots emerging, which can be snipped and used like chives or scallions.
Planting garlic cloves in pots filled with well-drained soil works similarly: bury the clove about an inch deep and water lightly.
The main advantage of growing garlic indoors is convenience and the ability to produce green garlic quickly—perfect for garnishing soups and salads in just a few weeks. However, you won’t get full garlic bulbs indoors without ample light, space, and patience. Outdoor cultivation generally yields larger bulbs.
Indoor garlic is ideal if your goal is harvesting flavorful greens (often called garlic scapes or green garlic), but if you want traditional garlic heads, outdoor planting in a sunny garden bed is still your best option.
Garlic Care and Troubleshooting
Caring for garlic is simple but requires some attention to detail. Water your garlic regularly, making sure the soil stays moist but not soggy—aim for about an inch of water per week, especially during dry spells. Mulch with straw or shredded leaves after planting to retain moisture, suppress weeds, and keep temperature swings in check.
Fertilize lightly with a balanced organic fertilizer or compost once green shoots emerge, then again in mid-spring to encourage robust bulbs.
Watch for pests like onion maggots or aphids; using floating row covers and practicing crop rotation can help keep these at bay. White rot and downy mildew are the most common diseases; to avoid them, plant disease-free cloves and avoid wet, crowded conditions.
If you notice slow growth or yellowing leaves, check the soil—poor drainage can stunt garlic, while yellowing may indicate a nitrogen deficiency. Side-dress with compost or organic nitrogen fertilizer if needed.
Also, make sure garlic isn’t overshadowed by taller plants and that the bulbs aren’t exposed, as this can stress them. By staying alert to these details, you’ll maximize your garlic harvest and minimize frustration in the garden.
Harvesting, Curing & Storing Garlic
Knowing when to harvest garlic is key to getting plump, flavorful bulbs that last in storage. Watch for the lower leaves to turn brown while a few green leaves remain at the top—typically in midsummer. This balance means the bulbs have matured but aren’t drying out underground.
To harvest, avoid pulling on the stalks, which can damage or break the bulbs. Instead, use a garden fork or shovel to gently loosen the soil around each plant, then lift the bulbs out by hand. Brush off excess dirt but don’t wash the bulbs, since moisture can encourage rot.
Once gathered, spread the garlic in a single layer in a dry, shady, well-ventilated area—like a garage, shed, or covered porch—for curing. Lay the stalks and bulbs on newspaper, racks, or hanging bundles for two to three weeks; good air circulation helps the skins dry and tighten for better storage.
After curing, trim off the roots and stalks, and store the bulbs in mesh bags or open baskets in a cool, dark place. Avoid storing garlic in the fridge, as it can sprout. For maximum shelf life, check for soft spots or mold monthly, and remove any compromised bulbs to prevent spread.
Properly cured and stored garlic can last up to eight months, letting you enjoy homegrown flavor well into winter.